Last updated April 12th, 2024 at 03:33 pm
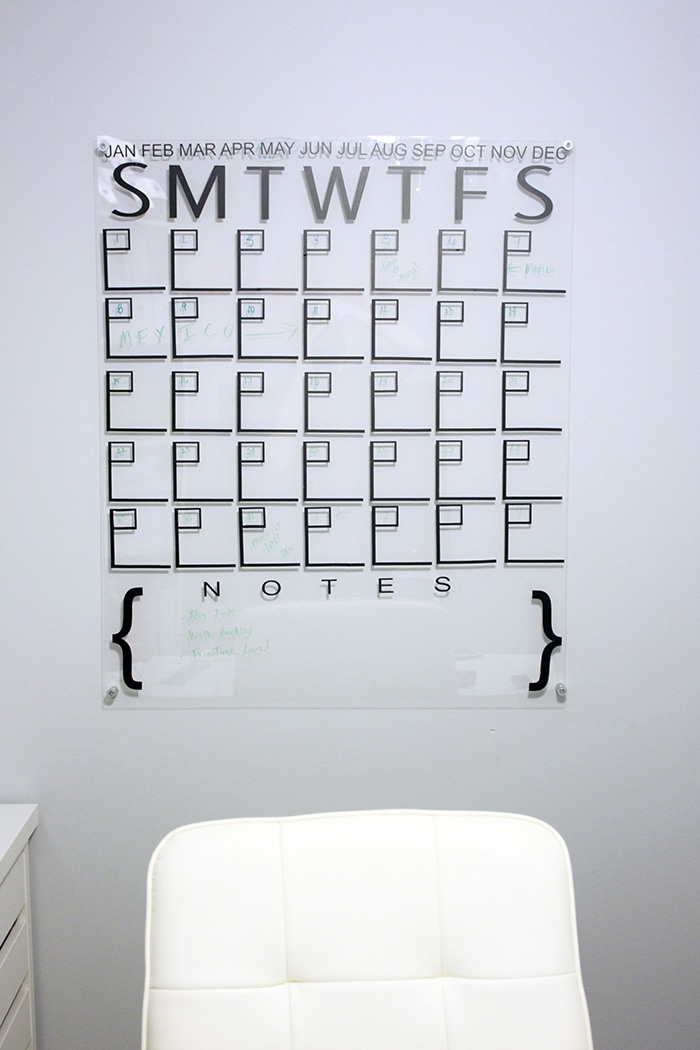
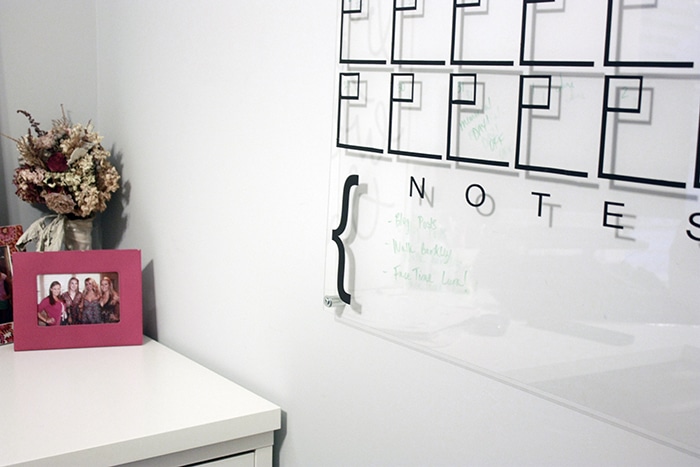
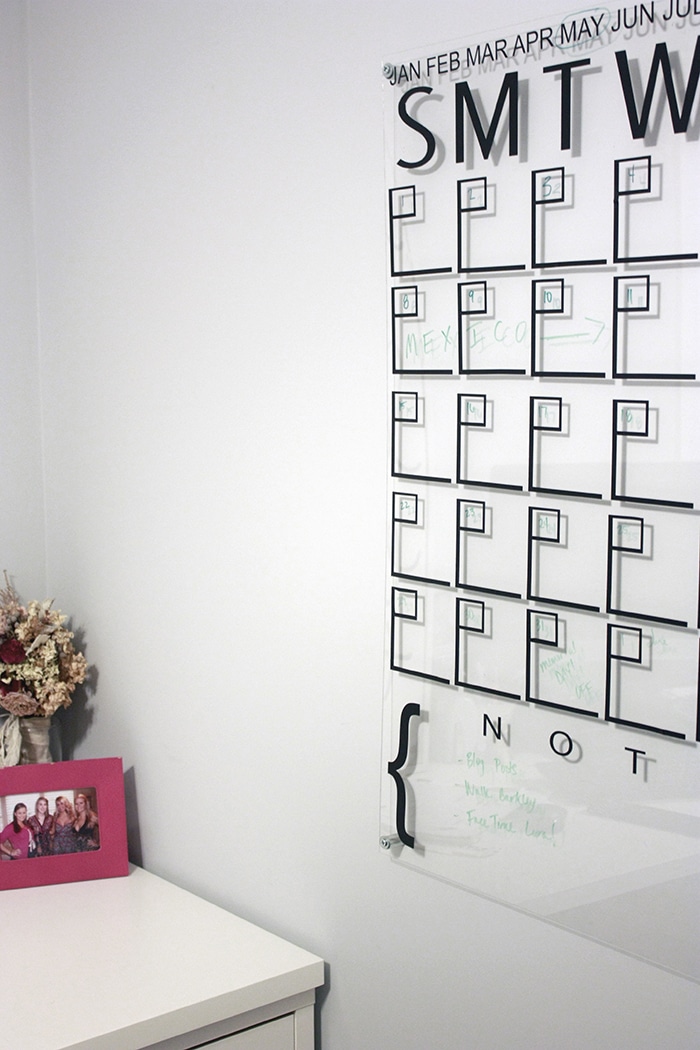
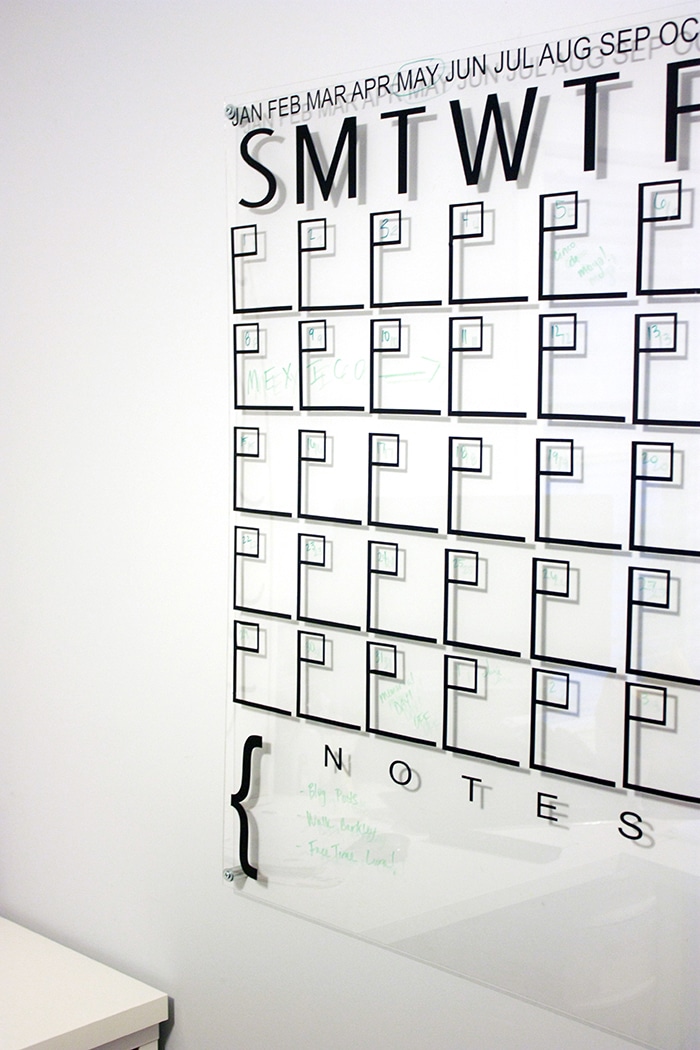
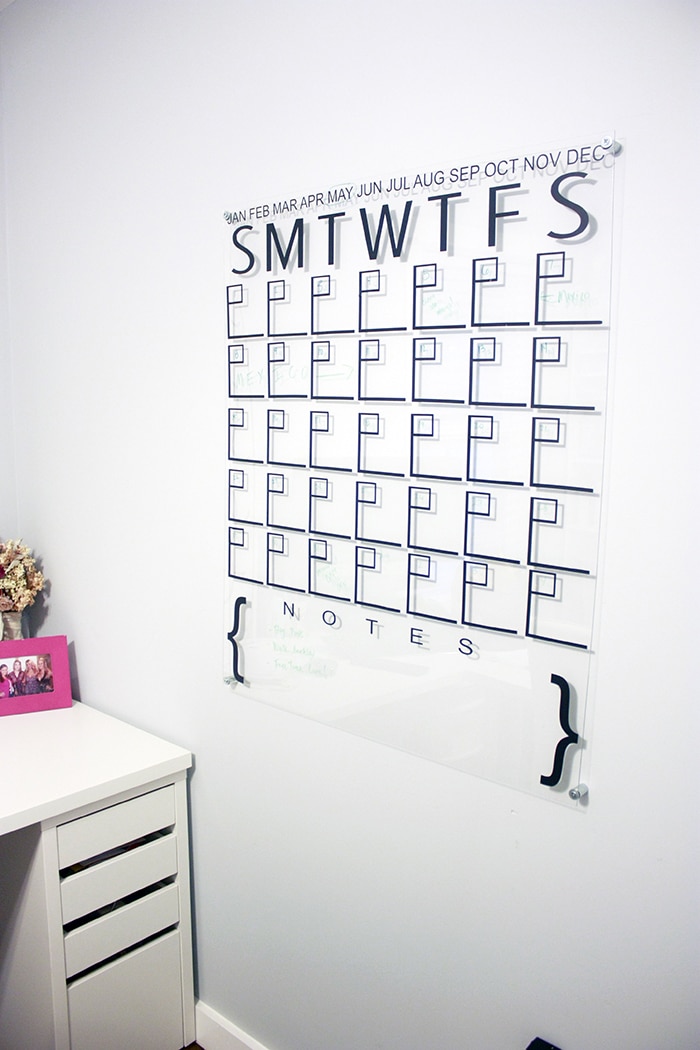
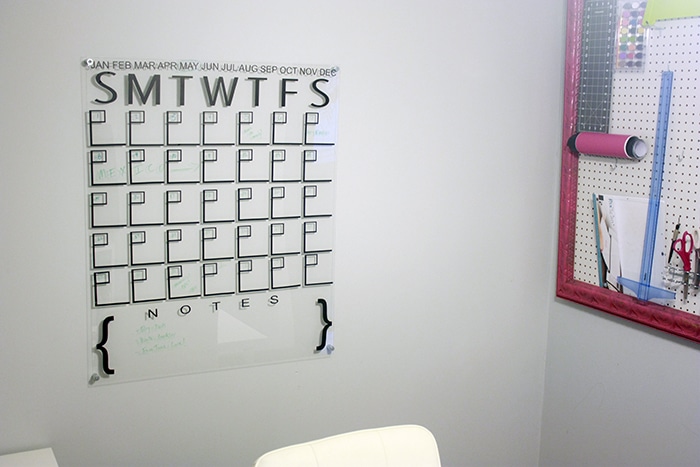
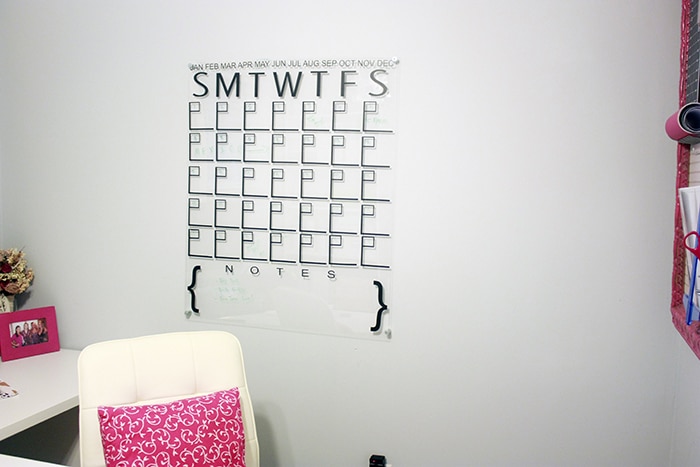
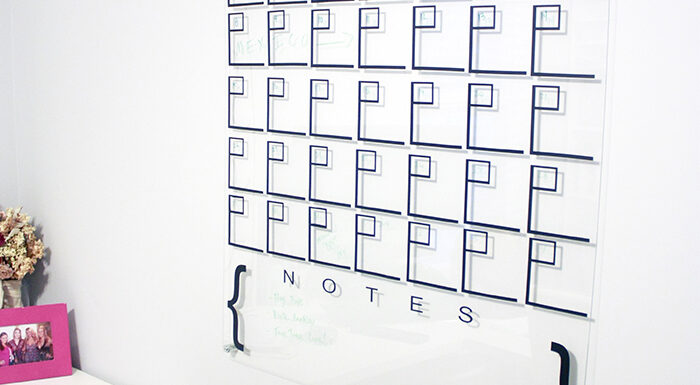
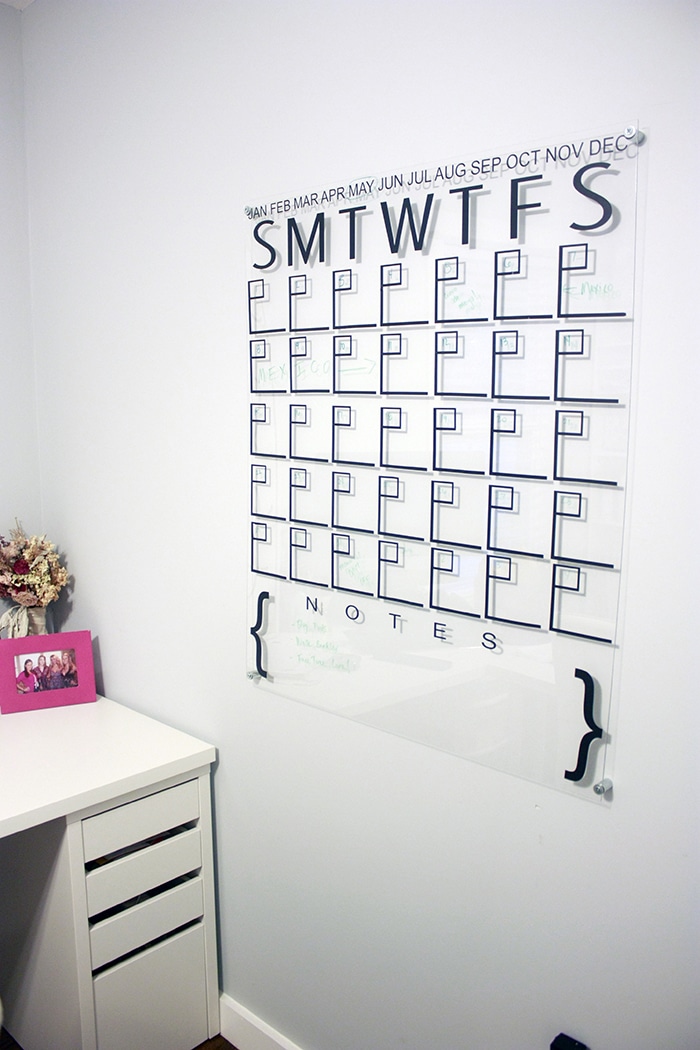
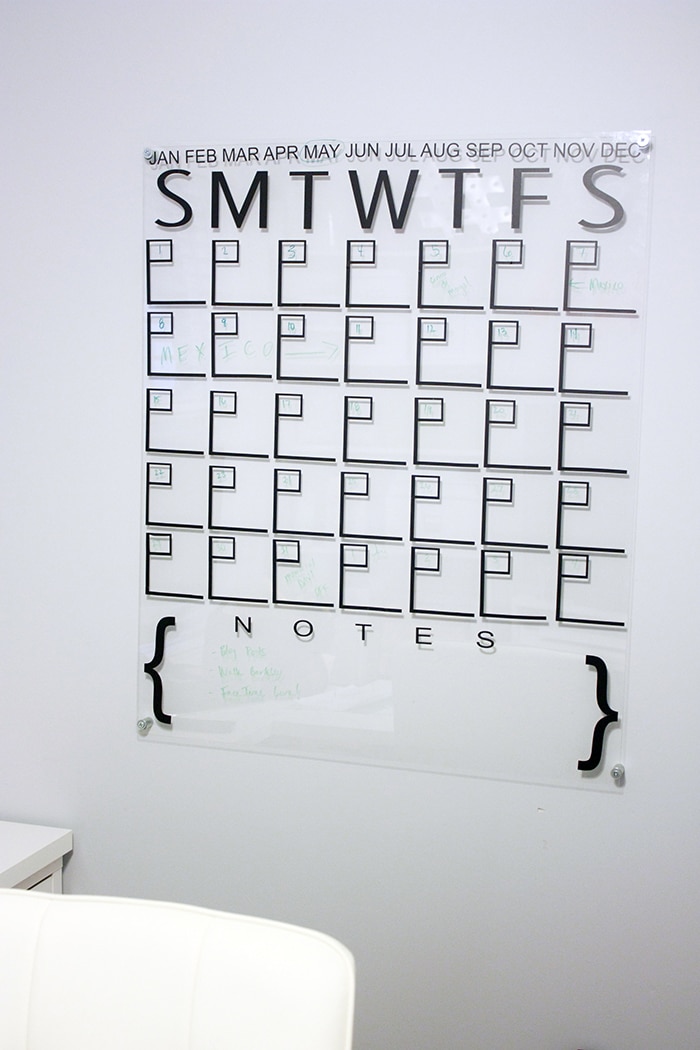
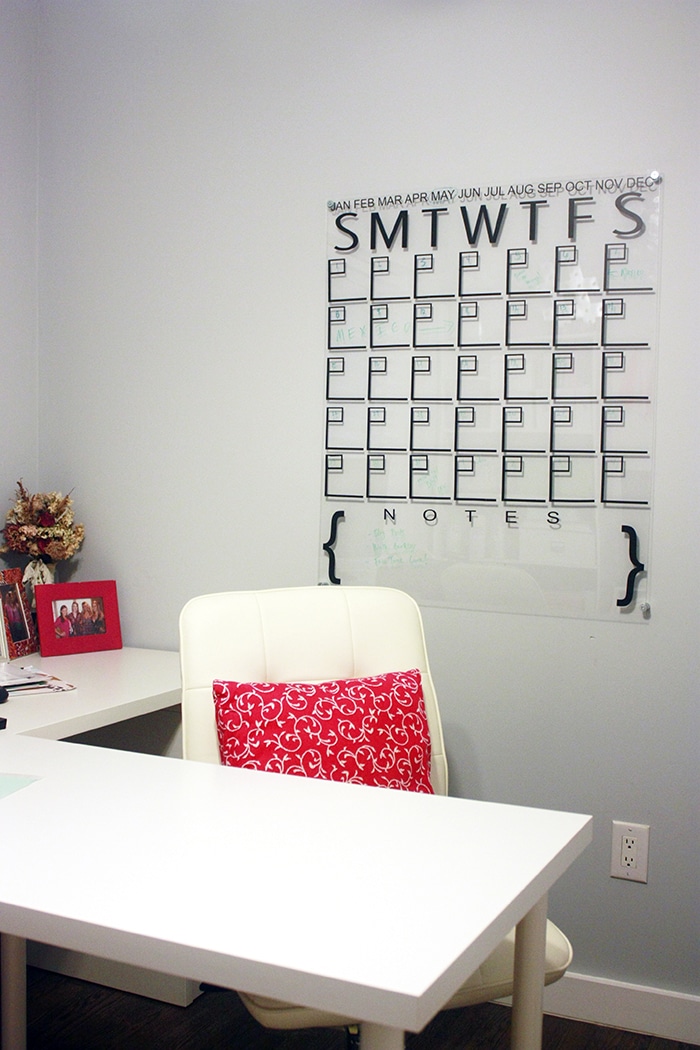
Is it really week 5 of the One Room Challenge?! Time has seriously flown by these past few weeks. I kinda hate when people say “I’m really busy” (because we all are!) but I really have been! Blogging consistently (and working full time!) is no joke – especially when you are actually creating the content you share. This week I’m sharing another update to my home office – a DIY acrylic calendar! I was planning on doing a gallery wall (and I still may) but this DIY acrylic calendar stole the show.
This post contains affiliate links. If you shop from my blog, I may be compensated for clicks or purchases that you make. Thank you for your support – it means I can keep crafting! Please refer to my disclaimer page for more information.
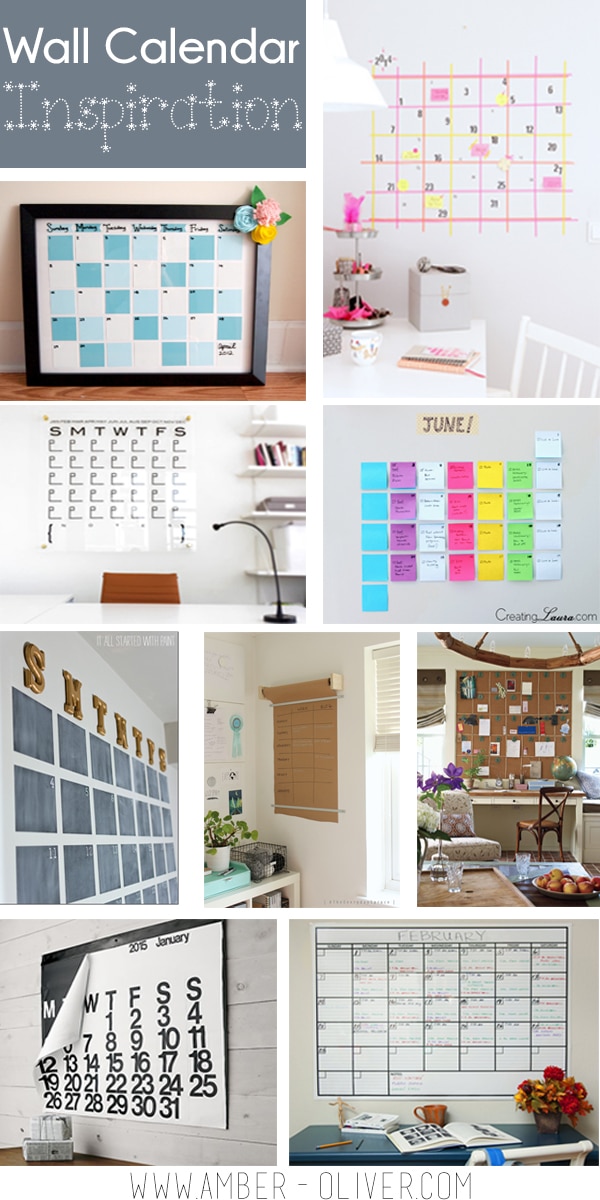
A while back I shared a roundup of wall calendar ideas. On there I shared a link to a lucite calendar that cost over $1,000!!!! I knew there had to be a way to make your own so I checked out the hardware store and found you can get a 30×36 sheet of acrylic (AKA Plexiglass – Plexiglass is a brand name for a type of acrylic) for less than $30! Ummm hellooooo DIY….. I bought the sheet of acrylic last fall and have been dying to get this DIY acrylic calendar together!
This project was actually pretty simple. After coming up with the idea, I found that Classy Clutter had already done a similar project and shared it on A Beautiful Mess! There’s no point reinventing the wheel, so I used the Silhouette Cameo cut files they shared to cut out vinyl for the calendar. If you don’t have a Silhouette Cameo YOU NEED ONE, but you can also purchase the decals here.
DIY Acrylic Calendar
I placed the acrylic sheet on top of my cardboard pattern cutting board so I would line up the vinyl pieces easier. This made a huge difference!
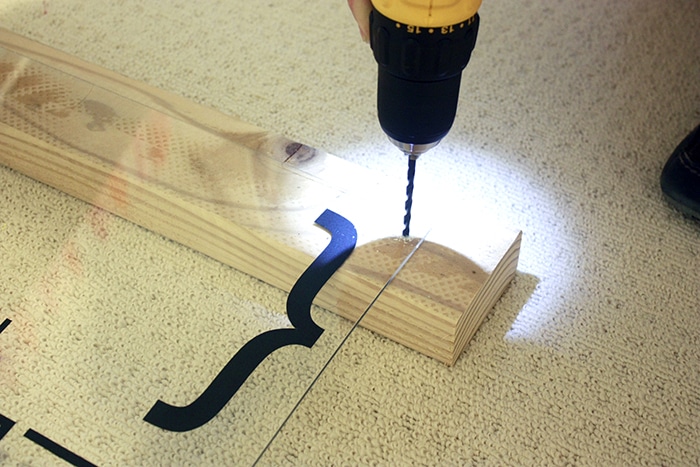
To mount the calendar: use a drill bit in reverse to drill a hole through the acrylic. We put down a board behind to protect the carpet. After you’ve made the hole be sure to clean up the plastic pieces.
We pre-drilled the holes in the wall, then came back and put 1/2 inch couplings and 1/2 inch washers in place before screwing all the way in the wall. Check out a full tutorial here.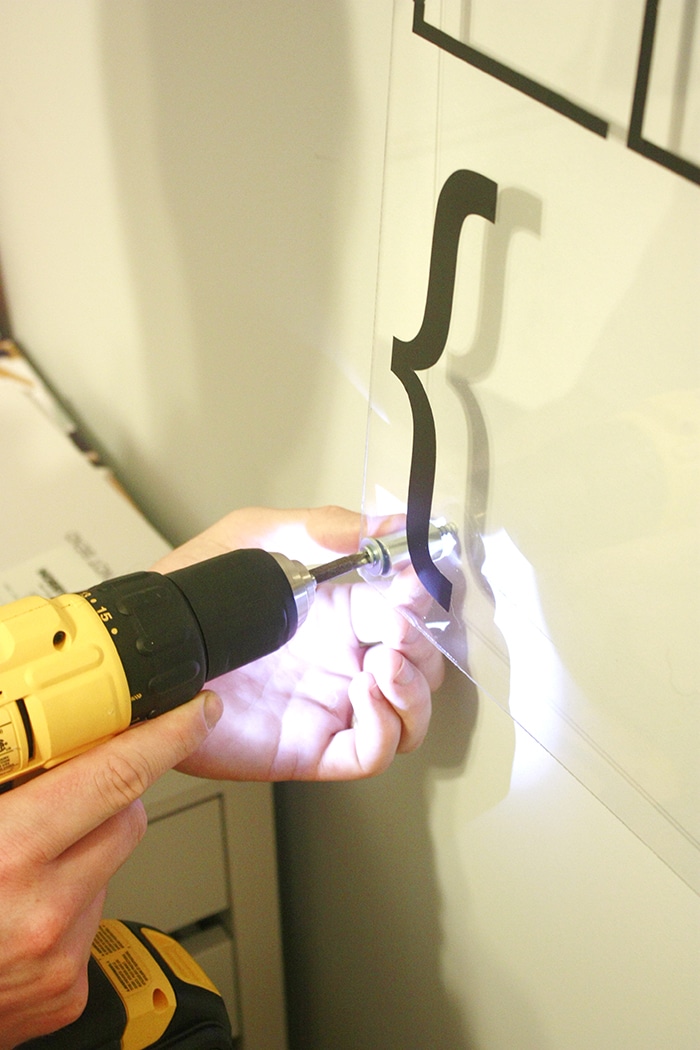
The One Room Challenge
Week 1: Introduction
Week 2: DIY Peg board
Week 3: Floor covering and Window Treatment (On hold due to personal issues)
Week 4: Organization
Week 5: Gallery Wall (DIY Acrylic Calendar)
Week 6: The big reveal!
Next week we return from vacation on Tuesday night, so getting a post ready for Thursday will be a stretch. The final room reveal will tentatively be next week but it may get pushed to the week after. Thanks to everyone who has subscribed to my blog and is following along! (You can do so on the sidebar!) I still have to share my painted rug tutorial and I have one last HUGE project to finish! Trust me, you’ll love it 🙂

Follow me! INSTAGRAM | TWITTER | FACEBOOK | BLOGLOVIN
UPDATE:
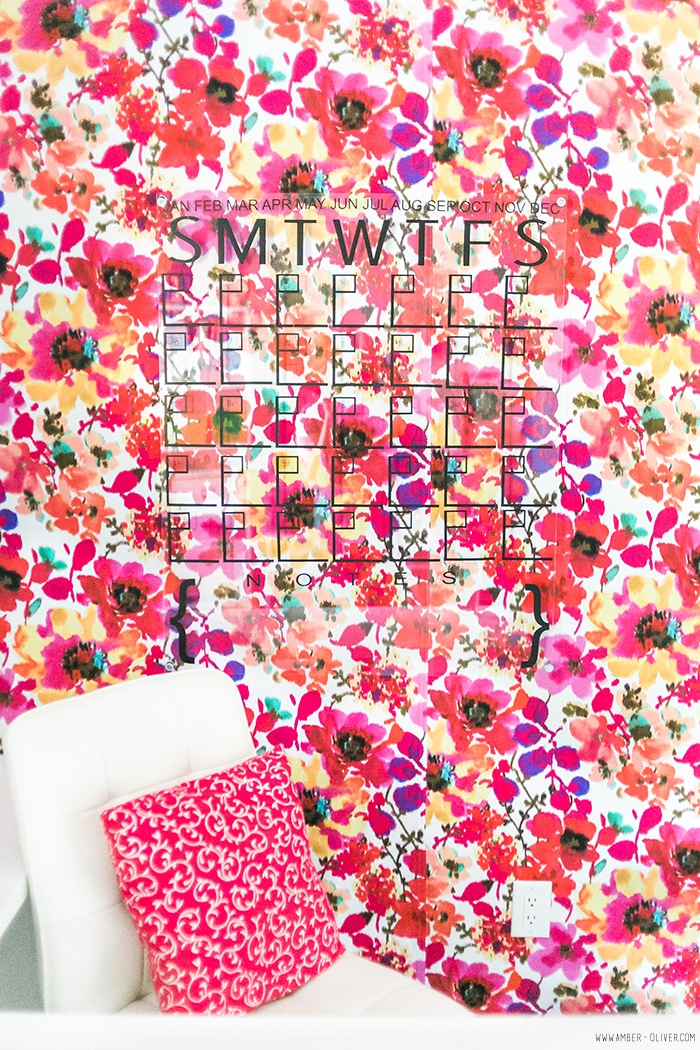
Be sure to check out my FULL OFFICE REVEAL! How awesome does this DIY Acrylic Calendar look on that FABRIC covered wall?




Christine says
Hi! I noticed in the original turtorial from A Beautiful Mess they used acrylic sheet with .22 thickness and you used .93. It makes the acrylic more cost effective to use the thinner option. Any downside?
Amber Oliver says
Hey Christine! It’s worked great for me. It gives a bit when you write on it, but I’m only adding quick notes not novels 🙂
Vickey H says
Are you going to eventually do the painted rug ?? Sounds very interesting . I truly loved all your diy ideas, but now I have a lot more ideas for my craft room. Thank you so very much!
Amber Oliver says
Thank you!! I haven’t… with the bold wall I decided to stick with the neutral rug 🙂