Last updated September 17th, 2019 at 04:43 pm
Thanks for stopping by to check out my DIY fabric covered wall! I hope you’ll also follow along while I fill my home with color, patterns, and fun!
Follow me! INSTAGRAM | TWITTER | FACEBOOK | BLOGLOVIN
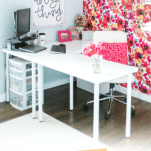
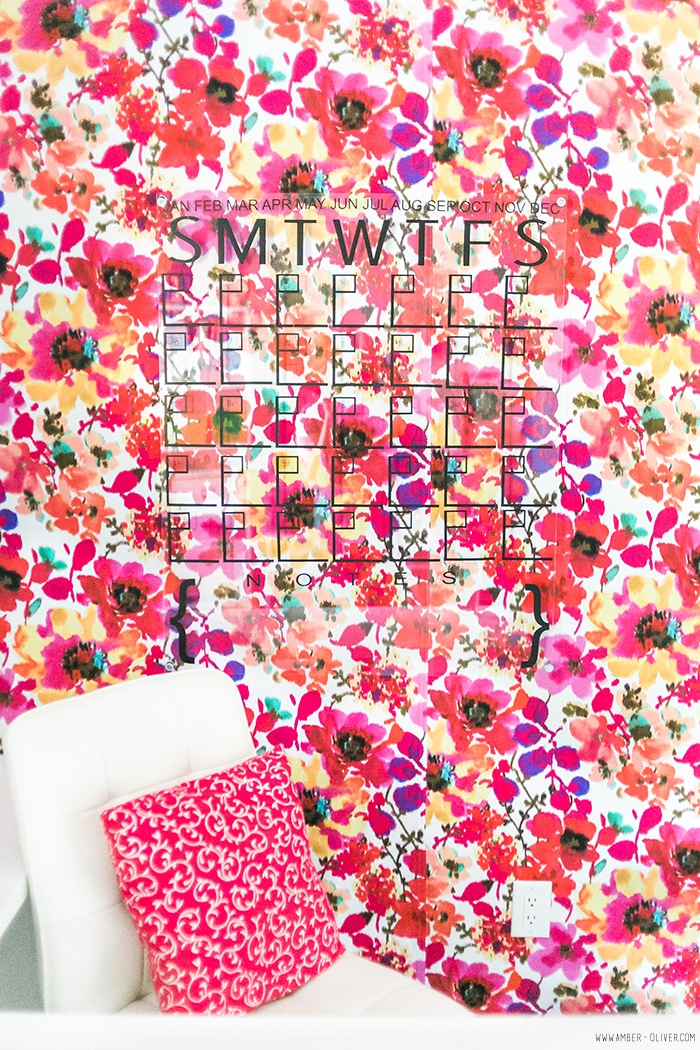
When I was planning my home office makeover, I knew I wanted an accent wall. I’ve kept a pretty neutral tone throughout our entire house. We have dark wood floors, light blue/gray walls, and bright white trim. I’ve accented with shades of blue and green and love how calm and welcoming our home feels. In my home office/craft room, I wanted something bright, colorful, and fun. I wanted a room that reflected my personality and would make me happy every time I walked in. I originally considered wall paper, and found several beautiful options. Unfortunately, it was WAY out of my price range. I also liked the idea of something that wasn’t permanent. Enter my DIY FABRIC COVERED WALL!
Check out my DIY Acrylic Calendar!
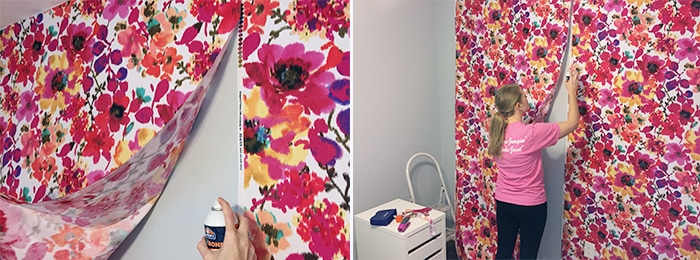
I actually did my first fabric covered wall in college. My freshman year, I covered a wall in my apartment with ZEBRA fabric! (So 2007!) To hang the fabric, I simply stapled it at the top and bottom. This go round, I used Elmer’s Craftbond Spray Adhesive. I did put a few staples (I have hot pink staples that blended perfectly) but I only used those along a few of the seams where someone could accidently brush against the wall. This is a surprisingly simple DIY that makes a dramatic difference!
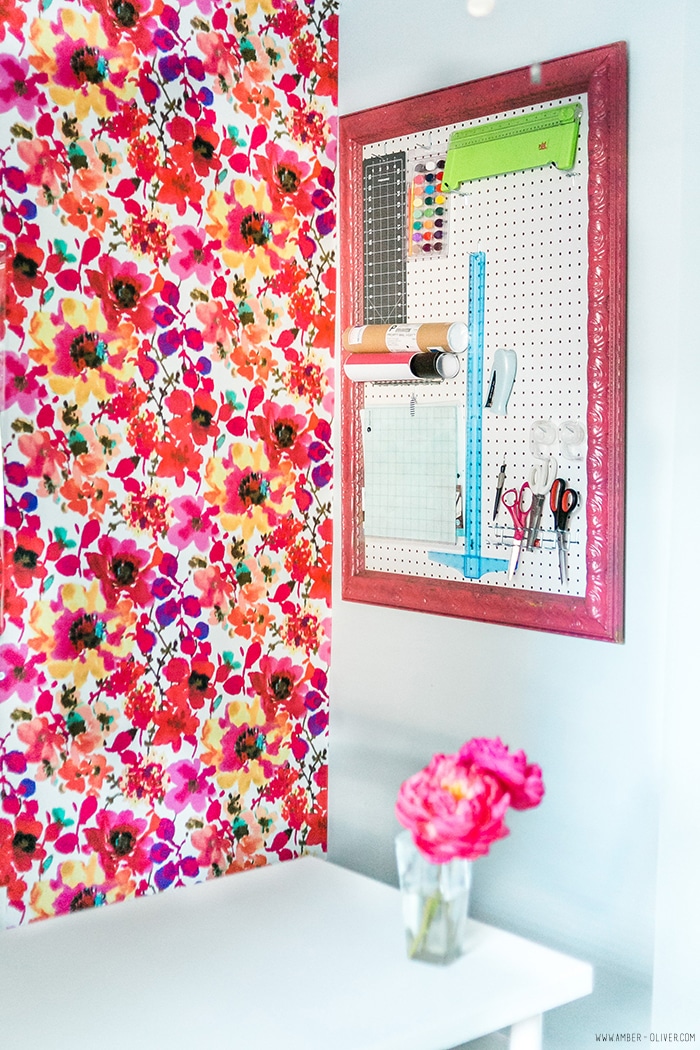
Check out my tutorial for a DIY Peg Board!
My friend and I went to 2 different JoAnn’s stores to get enough fabric for my wall. The fabric is 48 inches wide so I needed 3 eight foot sections. The last strip is only about 8 inches wide (bummer it wasn’t a perfect fit!) but now I have a nice long section of this gorgeous fabric I can use for something else. I can’t find the fabric anywhere online, but they had it in multiple JOANN stores. It’s called Ikat Diva by Home Essentials.
How to: DIY Fabric Covered Wall
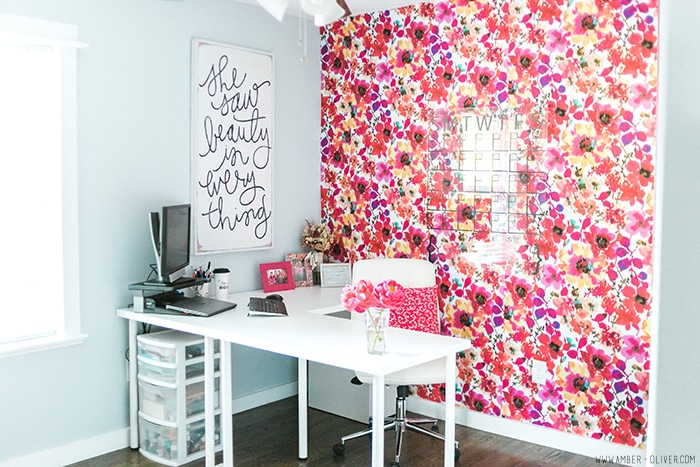
Wallpaper was way out of budget (and a mess to hang). Here's a less permanent wall covering. This tutorial shows you how to do a fabric covered wall.
Materials
- Enough fabric to cover your wall
- Elmer's Craftbond Spray Adhesive
- An extra set of hands
- Colored staples (optional)
Tools
Instructions
- Measure your wall. When you pick your fabric, you'll have to do a bit of math to figure out how many yards you need. I recommend adding an extra half yard.
- I laid the fabric out in the dining room (after sweeping the floor!) and used sharp scissors to cut out the 8 foot sections. The sharper your scissors, the cleaner your edges will be. Luckily, the cut edges will be by the ceiling and baseboard so if it's not *perfect* you shouldn't be able to see it.
- When you are ready to hang your fabric, start in the corner. Spray the adhesive across the wall the width of the fabric and down about 2 feet. Your goal is to get the top section up so you can move slowly down the wall. Make sure your edge is lined up!
- The spray adhesive is pretty forgiving, but do try to stick it and leave it. If you have to readjust you can, but you may want to spray a bit more adhesive. Using your hands, smooth out the wrinkles, working from your starting corner out.
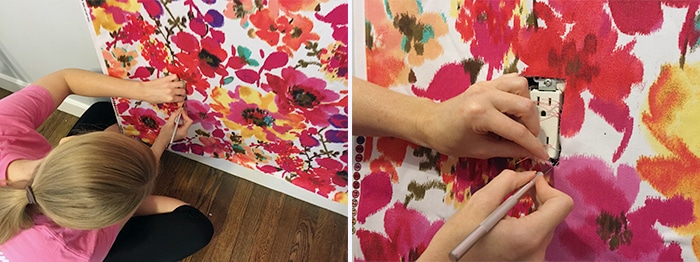
- The wall I was using only had one outlet. I got the fabric adhered on the wall until I was just above the outlet. Unscrew your outlet, and using an X-ACTO knife CAREFULLY cut an opening for the power outlet. You only have to cut enough out that the fabric is free from the plug area, not the entire size of the hole.
- Once your hole is cut, use the spray adhesive to adhere the fabric around the hole, then put the plate back on the outlet.
- When all the fabric is hung, use the xacto knife to go along the baseboard and trim away any excess fabric or strings.
- I added the colored staples near the seam that was in the middle of the wall. The other was behind my desk so I didn't worry about stapling it.
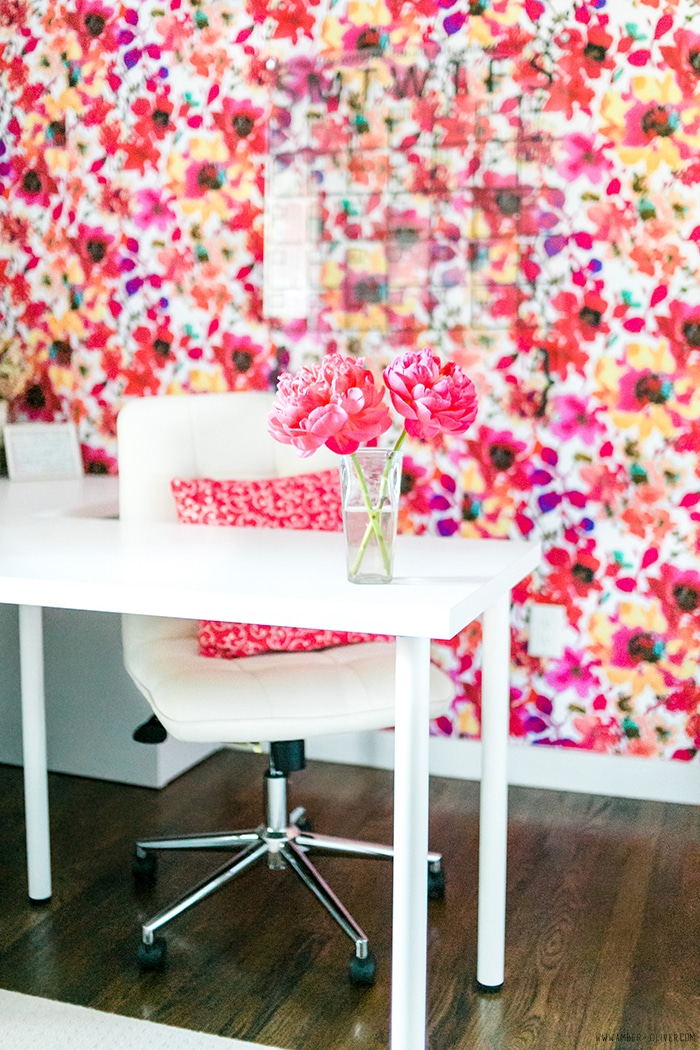
What do you think of my fabric covered wall? Would you attempt this in your home or apartment? It would be perfect for a rental situation!
Don’t forget to PIN for later!
Shop this project:


Jaclyn Kent says
I’m seriously blown away by the things you come up with and bring to life. I seriously HAVE to do this.
Gill Owen says
Is there any residue left on the wall when you remove the fabric?
Amber Oliver says
Hi Gill. I haven’t removed it from the wall yet, but I did have one corner fall a bit after a few weeks. I did not see any visible damage to the wall (no discoloration or anything). If you were to remove, you’d probably want to use a damp rag to wipe the wall where the adhesive was since it’s a bit tacky.
Erin says
Just searching everywhere to find a way to bring life to my apartment…. Any chance you have removed them or had experience with the spray adhesive leaving damage to the wall?
Denise Kainrath says
LOVE LOVE LOVE. Now to convince the husband this needs to happen in a super un-masculine print 😀
Amber Oliver says
Thank you! So glad you like it! The beauty of this project is it can be customized with any fabric! 🙂
Jordan says
Great idea! How is the adhesive holding up after a year? Have you had to reapply adhesive?
Amber Oliver says
The top right corner peeled back about 4 inches a few months in but I just sprayed a bit more adhesive and fixed it!
Nicole says
Hey Amber! Considering this project for my office wall! Is there a type of fabric that works better for this project? I think I might dive into this on the weekend!
Jocelyn Caatro says
Hey Amber! I love the idea!
Is there any way you can give me the number of the fabric?
I tried looking and the workers at the JoAnn store needed some sort of number from the fabric to be able to see if they have it in stock.
I am doing this for my Sunday school preteen class this weekend! (:
Amber Oliver says
Hi Jocelyn! All I know is it’s called Ikat Diva by Home Essentials. So sorry I don’t have any numbers 🙁
Patricia Kelley says
Your wall is lovely! I did this fabric covering of walls years ago using nothing more than starch. I did it in my son’s apartment and when he moved, the landlord asked him to leave it. With starch, the fabric is easily removed with no residue left, as if there had been nothing put on the wall at all. You can cover any object with fabric using starch. I covered a recipe box for him that matched his kitchen and also sewed up some pot holders that matched. It was really cute!
mary says
I used the starch method as well. I tire of a look pretty often so the starch works for me since I just spray it with water, let it set for 5 mins and it comes right off. Starch is the only residue left and can easily wash off.
I wonder what is left with the spray. I think that would make a difference where I would use it but I love the option. How about fumes with the spray?
Donna says
I did this in a smaller way. I made a border around a bedroom but I adhered it with fabric softener and sponged it through fabric. Stayed on walls till I wanted it off years later. No stapling. And the wall wiped down easily when I took it off. And it smelled good in there.
Jackson says
I can’t remember the last time I read something this good! You’ve made me feel things I didn’t even know were possible.
This idea is so unique, my daugther loved it. We were able to apply what we learned in this article. Her room is like Kate Spade inspired look now. Do you have other blogs like this?
You are such a natural storyteller. I just love your writing. “
Annie Atherton says
Hi there,
I’m a journalist writing a piece for The Washington Post about inexpensive home upgrades. Another blogger, Monica Benavidez, let me know about your project with the fabric wall and I’d love to include it in this piece.
Would you be open to sharing a high res photo of the fabric wall (and anything else you’ve used this method on), for us to include in the article? Also, a few words about how you did it, how much it cost, and how long it took you?
Thank you!