Last updated April 12th, 2024 at 03:27 pm
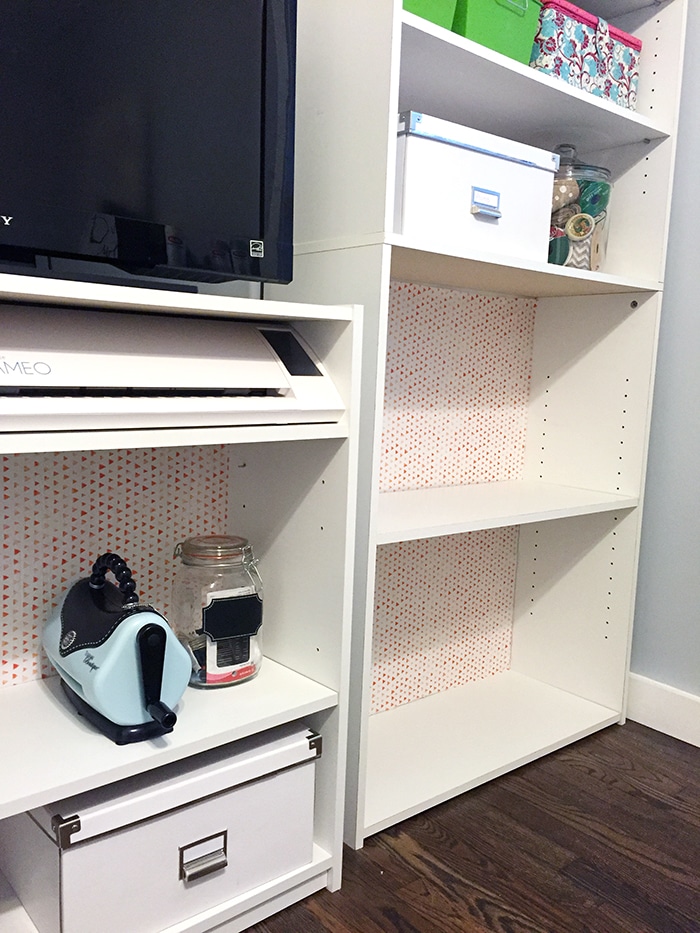
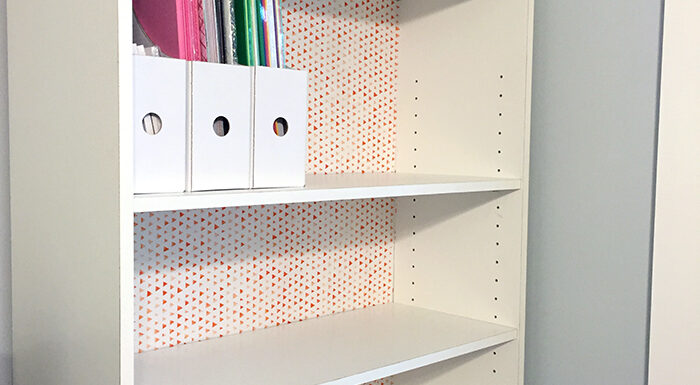
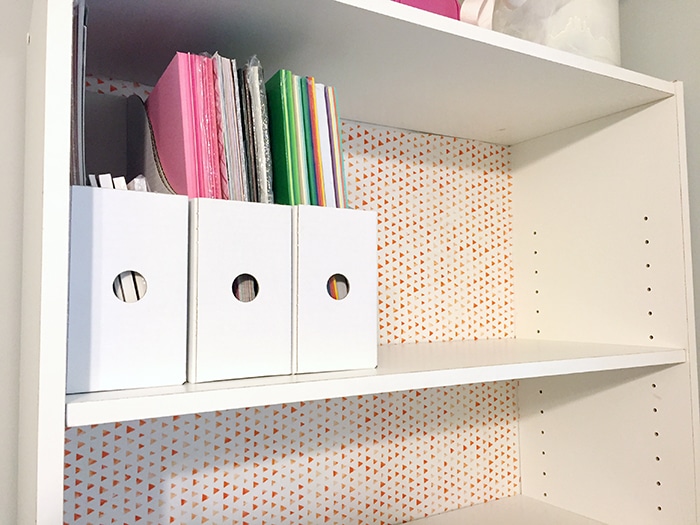
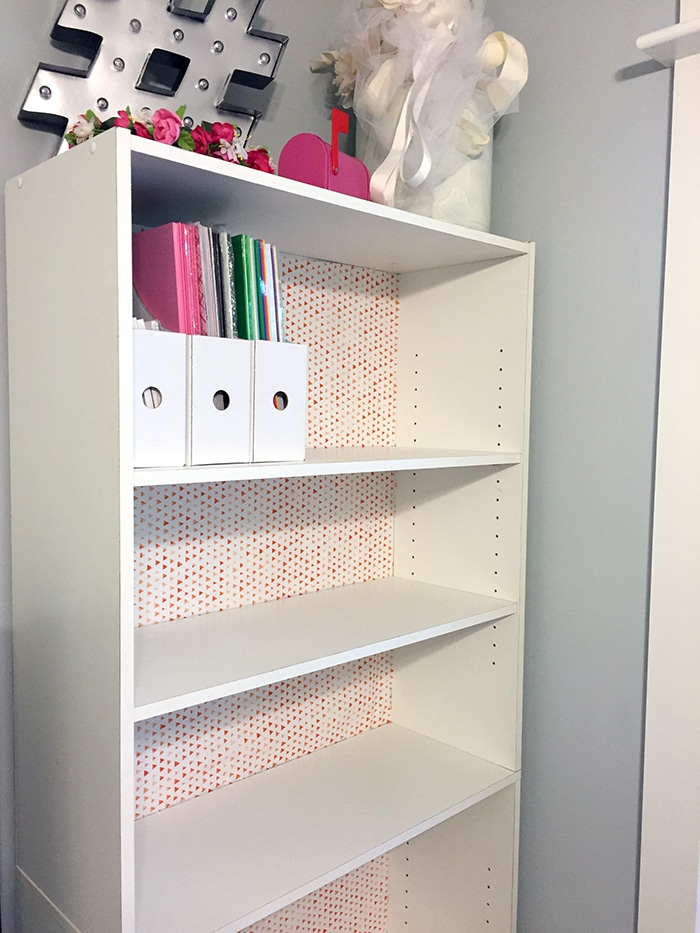
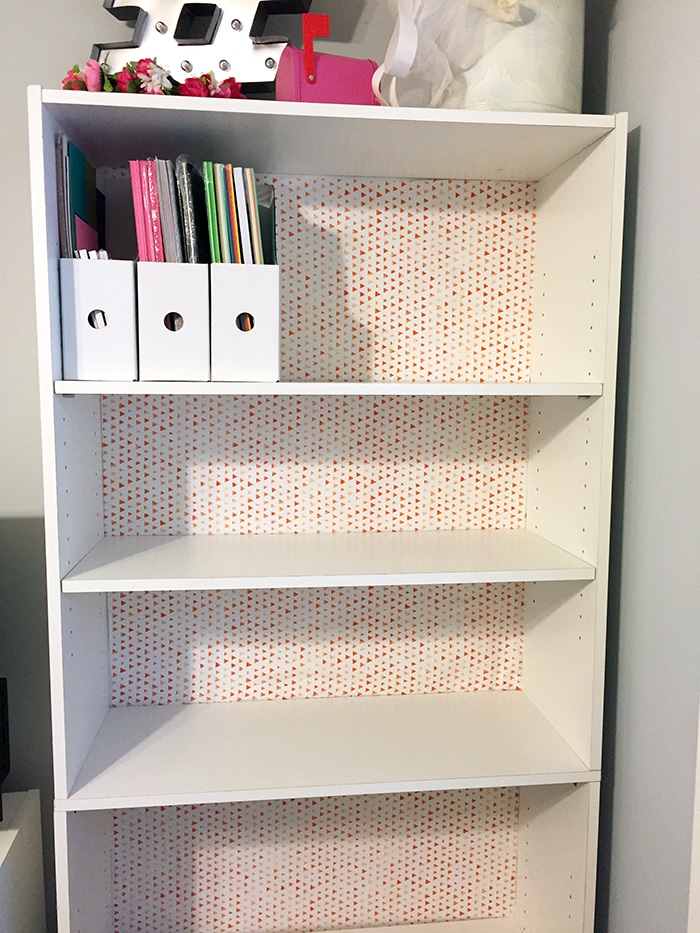
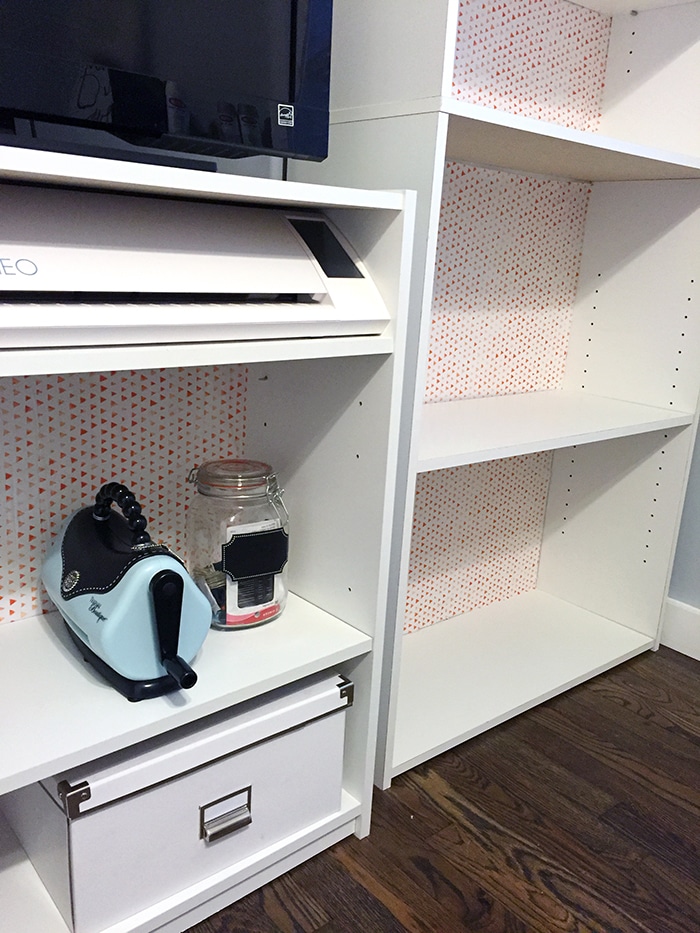
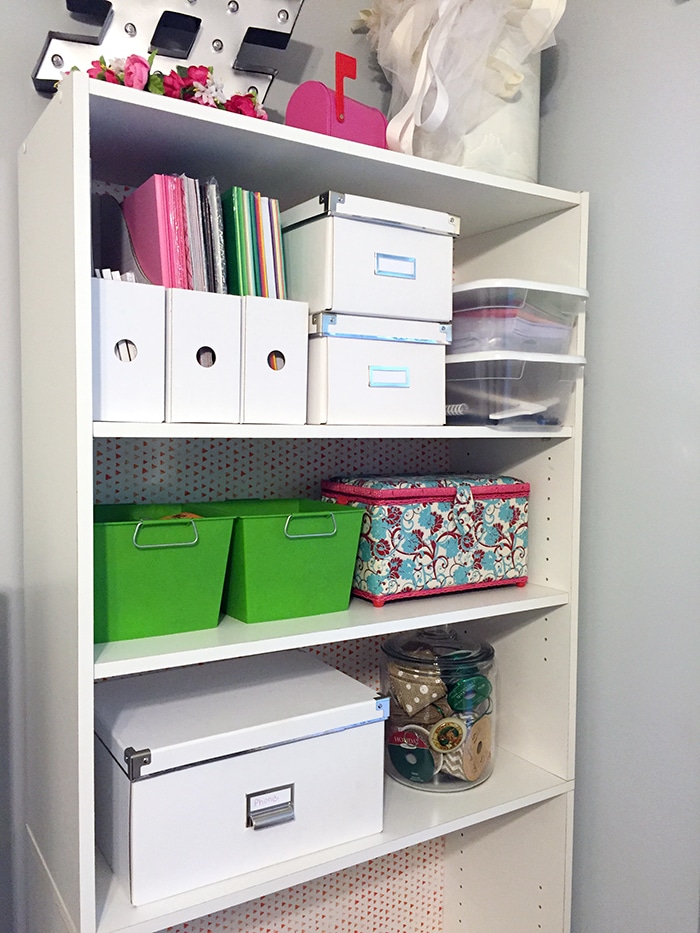
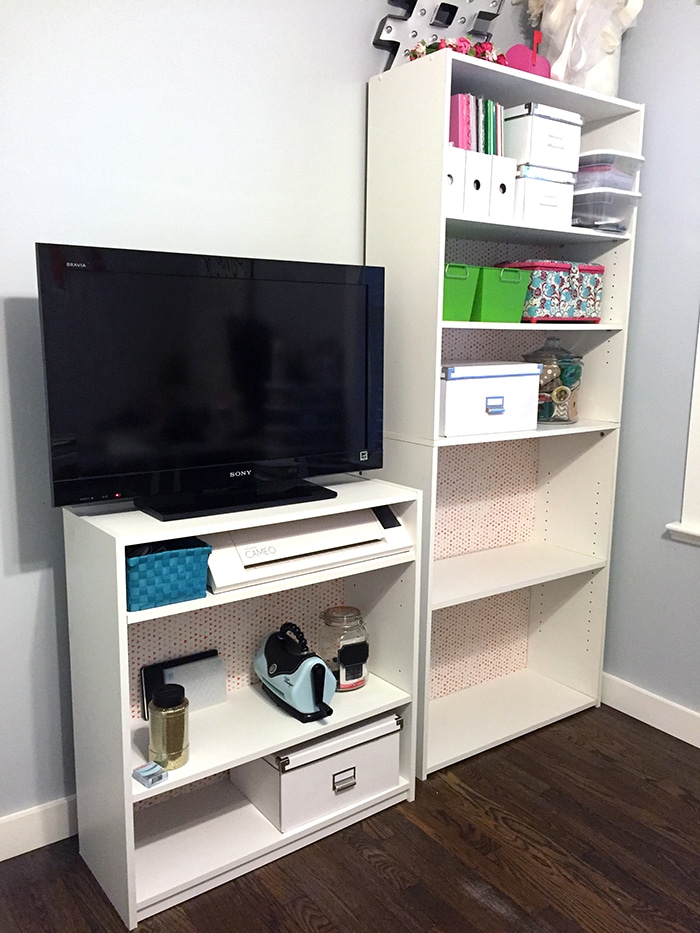
If you’ve been following along here on the blog and through Instagram and Facebook, you may have noticed I didn’t get a post up in time for Week 3! Our family had a few issues, and that took precedence over my office makeover and the One Room Challenge. Luckily, I am back at it this week and wanted to share a quick update about how it’s going in my home office. Week 1 I shared a bit about my plans and some inspiration for the room. Week 2 I shared the first project we completed: my DIY peg board! This week I was able to expand the storage in this room and customized some bookshelves. I found the best deal on bookcases at Walmart and wanted to make a DIY Fabric backed bookshelf! The 5-shelf bookcase is less than $30 (!!!!) and the shorter, 3-shelf bookcase is less than $20. Talk about a bargain! I’ve had the 5 shelf one for several years and decided to add on the shorter shelf next to it so I could put a TV on top. We recently got a new TV in the living room, so the old one got a new home in my office! #NetflixAndCraft. I may add on a 3rd bookcase (another 5 shelf one) on the far left, but I may put a chair in that space. Still deciding! The main point here is you can never have enough storage space! I wanted to customize them a bit since the plain white was a bit bland. I measured the backing and used spray glue to attach fabric on the back to get a DIY Fabric backed bookshelf. If you get the shelves new, this would be much easier to apply before attaching the back, but I was able to add it pretty easily regardless.
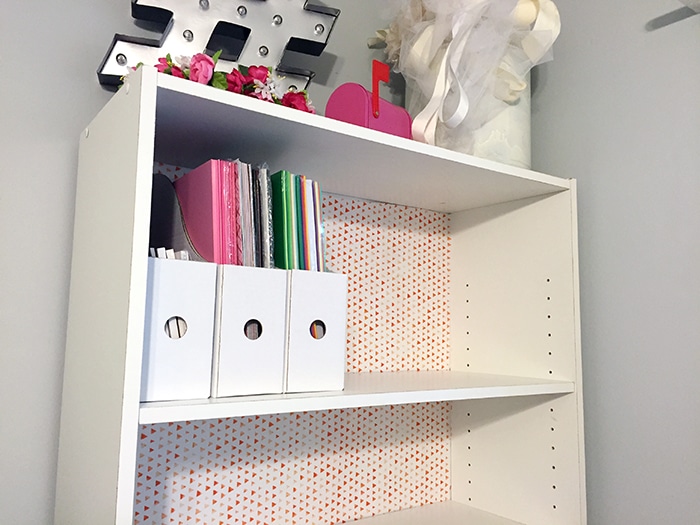
I’ve scoured the internet for ideas on paper storage. The easiest/cheapest solution I found was sticking my cardstock in those Ikea magazine holders! I like that they are all organized but still easily accessible. This also look pretty! Next up, I need to find a storage solution for all my 12×12 scrapbook paper. 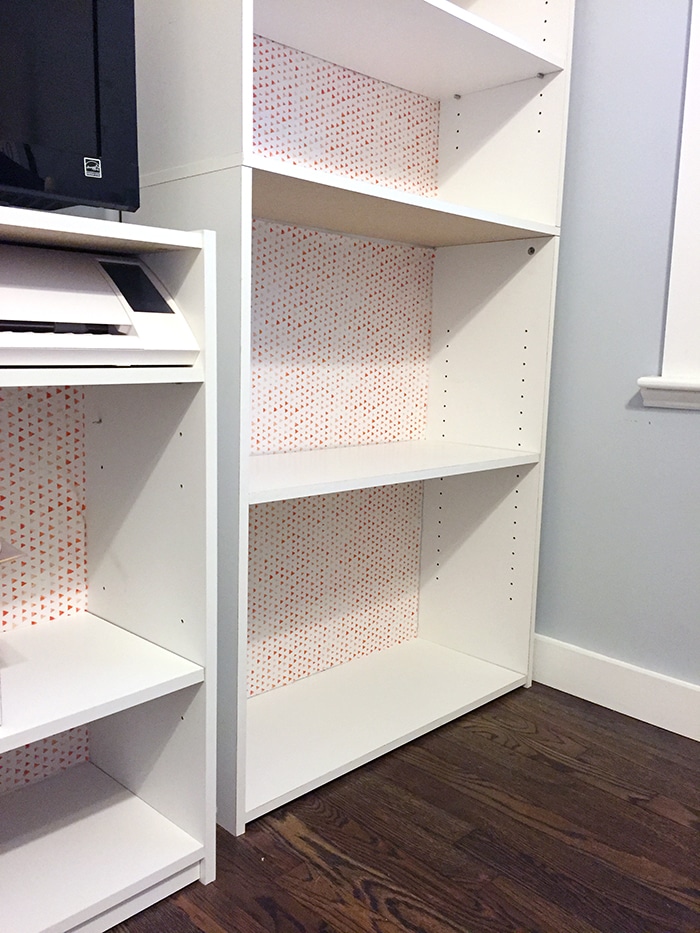

DIY Fabric backed bookshelf:

I still have a lot of open space I’m playing with and trying to make the most out of. I currently have all my paint supplies in a Rubbermaid storage unit and would like to come up with a pretty way to store those. Ribbon is stored in boxes and jars, which works, but I’m toying with the idea of having them out on a rod so they’re easily accessible. I don’t use ribbon much, so that may be a bit of overkill.
The One Room Challenge
Week 1: Introduction
Week 2: DIY Peg board
Week 3: Floor covering and Window Treatment (On hold due to personal issues)
Week 4: Organization (DIY Fabric backed bookshelf)
Week 5: Gallery Wall (DIY Acrylic Calendar)
Week 6: The big reveal!
Next week I’m hoping to bring you 2 post to make up for missing week 3. I’m still looking for a value priced rug to do the painted rug tutorial. I also need to hang up a curtain. That means I need to choose a fabric! I did pick up some AMAZING fabric last weekend that I will use in the next two weeks! Can’t wait to share! We are getting closer to the end 🙂 Stay tuned!




Kari @prairiegirlhome says
Hi Amber, your shelves are looking so cute and so organized! I love the idea of another taller one on the left. I’m a sucker for symmetry;) Sorry to hear about your husband losing his job, but it sounds like you have a really great perspective about it. Keep your heads up, this is just one small blip in the story of your life! Take care!
Lura says
LERVE IT! It’s coming together so nicely. How do I get a ding when you have a new post? ME WANTS NOW!
Lura
x