Last updated April 15th, 2024 at 09:50 pm
The week 4 project is super late in getting posted, but I’m getting it done before week 5 so I think we’ll consider that a win! This project wasn’t a grand slam but I wanted to share it anyway.
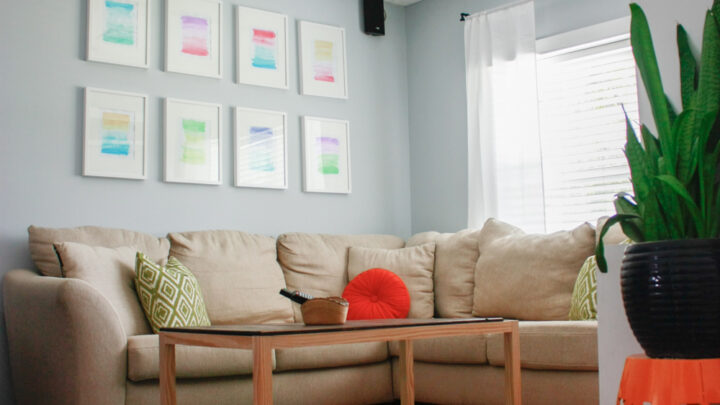
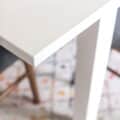
Because our ottoman was so big and bulky, I wanted a coffee table that was lighter and not as “visually heavy”. To archive this, I decided to build this open bottom DIY coffee table. I tried to tackle this project on my own, and as with most woodworking projects, it’s better if you have an extra set of hands.
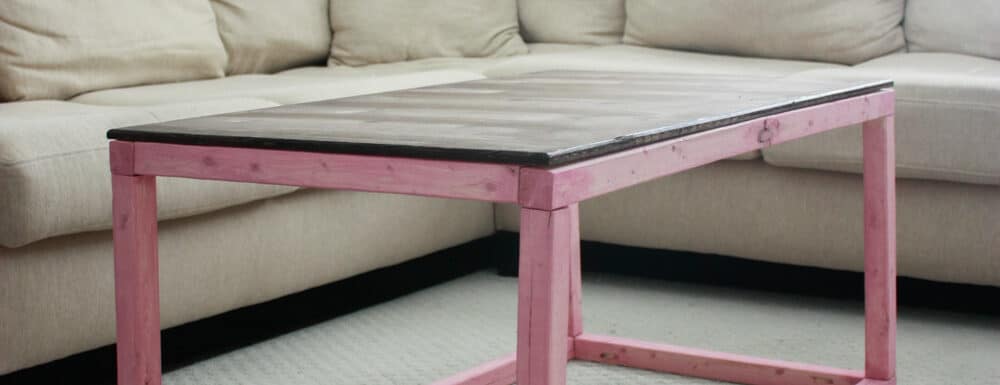
The reason I don’t consider this a successful project is based soley on my choice of wood. I wanted to start with wood that was already square, and these 2×2’s at Lowe’s. The problem is, this is crummy wood that was not straight AT. ALL. So I did my best to cut from the straight sections, and at less than $10 for all the wood this would be a super cheap project if it’d had worked out. I could tell it wasn’t going to be perfect but figured it would be sturdier once I got the top on.
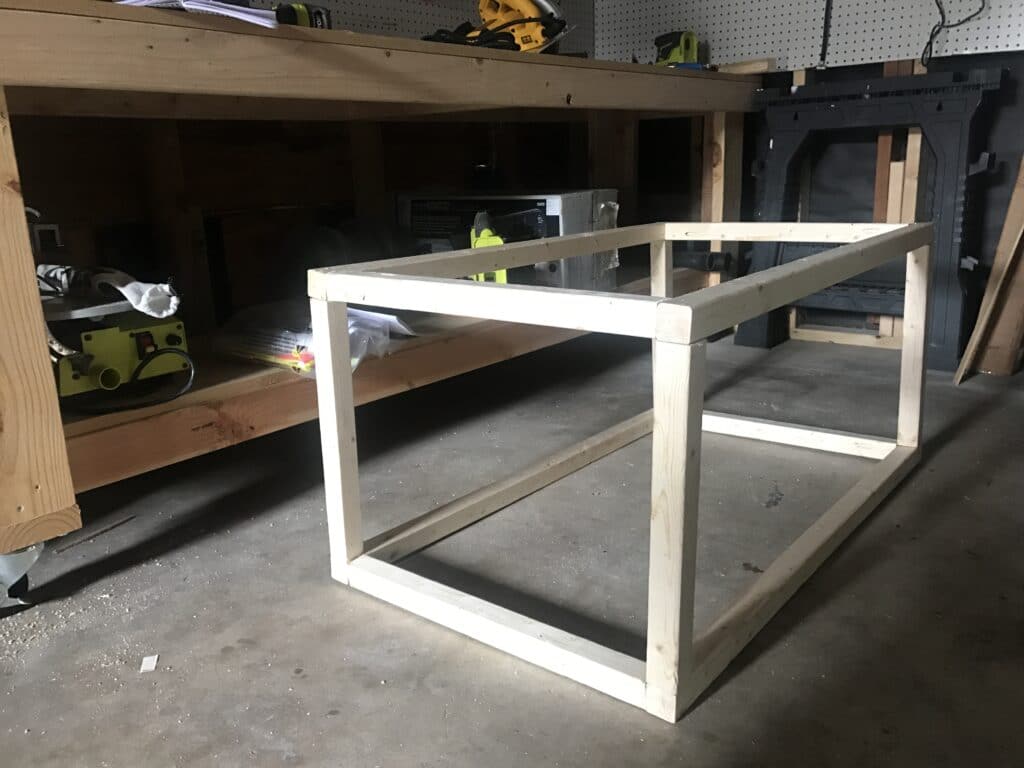
I based the table dimensions on the height of the old ottoman we had, but made it not quite as wide. You’ll need four 2x2x8 foot boards cut to the following dimensions:
Board 1:
Two – 40 inch sections
Board 2:
Two – 40 inch sections
Board 3:
Four – 2o inch sections
Board 4:
Four 18 inch sections
For the top:
I used a scrap piece of plywood cut to fit 2o inches x 40 inches.
Assemble the top and bottom separately by making a rectangle with two 40 inch sections and two of the 20 inch sections. I used the Kreg Jig to attach, but this was difficult since the wood was so warped. After you’ve assembled both sections attach with the four 18 inch sections. Lastly, attach the plywood top (after staining and routing the edges) with wood glue or screws.
This project gave me a chance to try the new DecoArt Vintage Effect Wash.
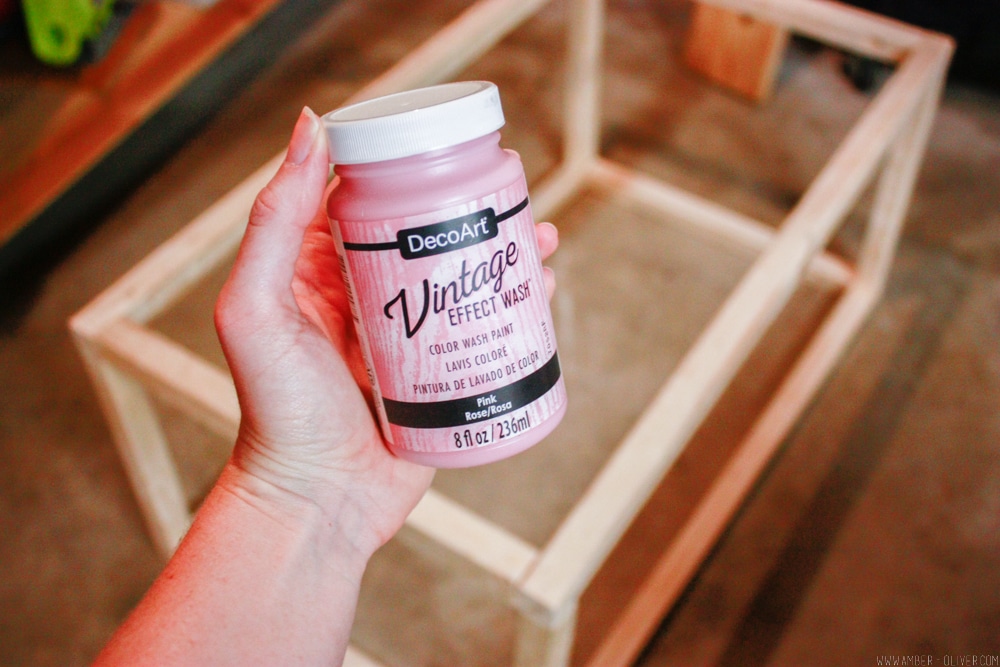
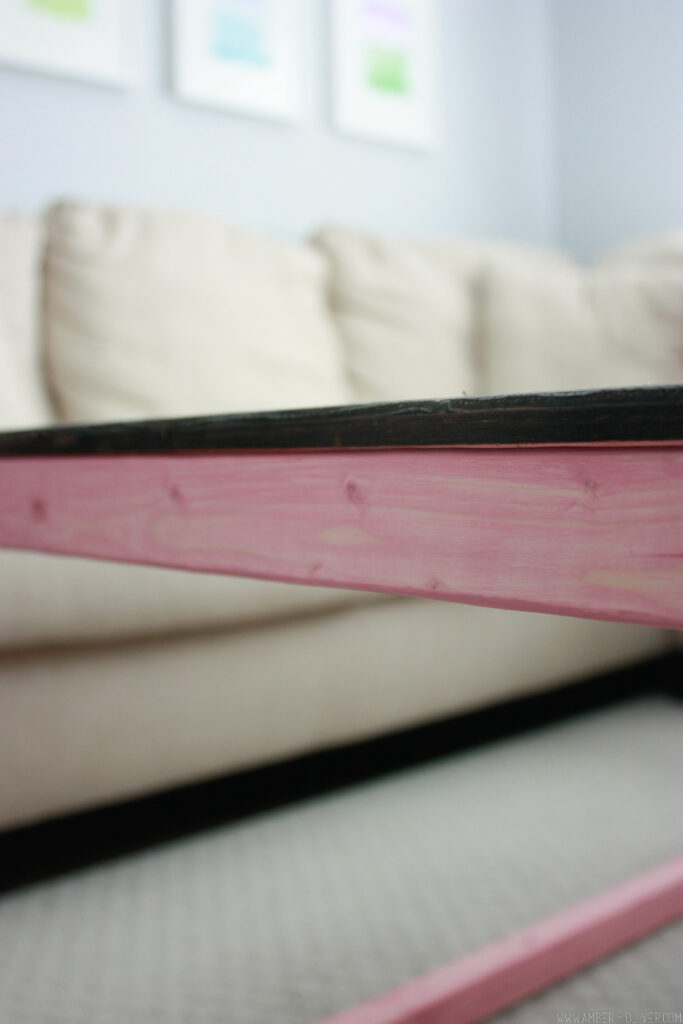
I wanted to use a bright pink on the bottom of the table, but my husband wasn’t loving it. We compromised with this vintage effect wash, that colors the wood but allows the grain to show through.
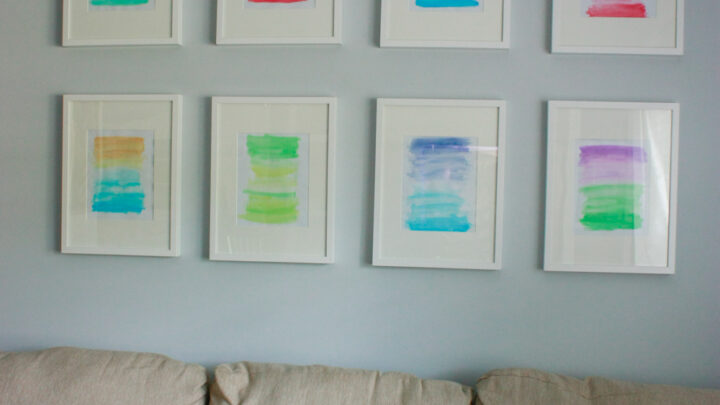
Week 3: Watercolor Gallery Wall
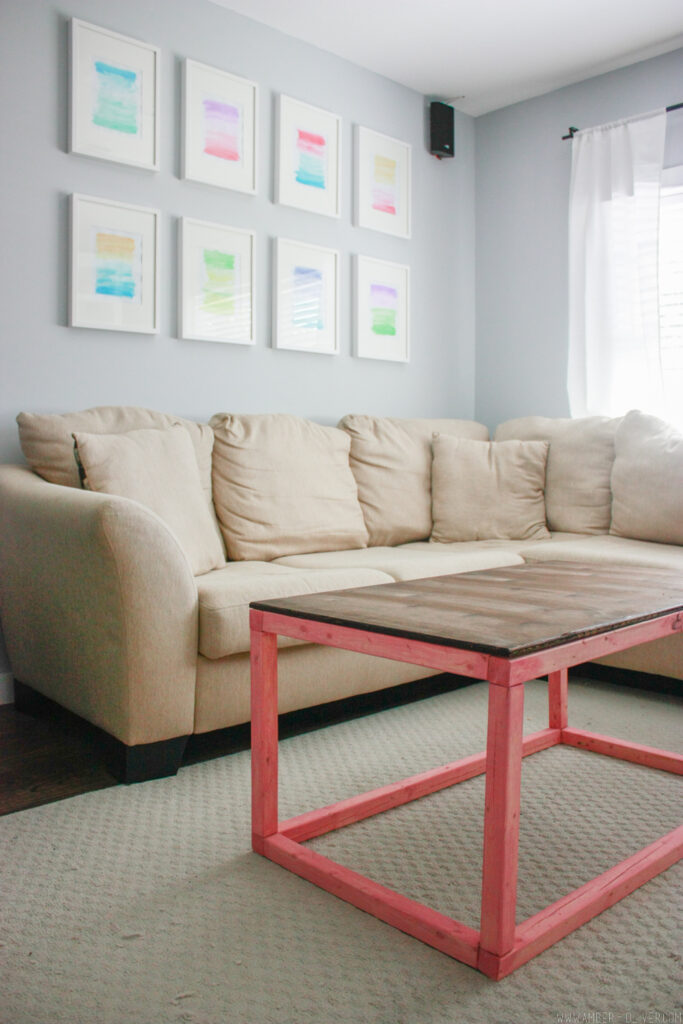
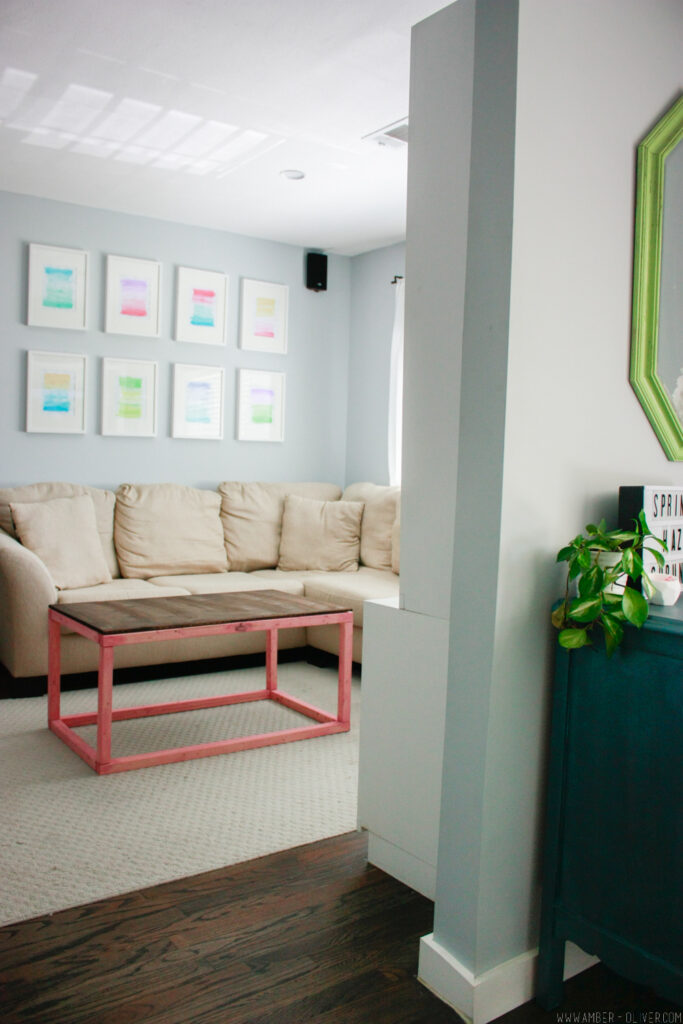
We are going to try to salvage this project by reinforcing the legs and if that doesn’t work, we will re-cut the wood with better wood. Check out the reveal posts to see how this project ends up!



Leave a Reply