Last updated April 12th, 2024 at 12:34 pm
Welcome to week 2 of the One Room Challenge – this week’s post is our DIY entertainment center! This time around we decided to make over our living room! I shared an introduction last week with before photos, a to-do list, and inspiration photos! You can read our plans: One Room Challenge Living Room Makeover Plans.
Most of our to-dos were minor or cosmetic, but we had two major DIYs on our list. This week I’m talking all about our DIY entertainment center! I wanted a large, white, entertainment center but when we priced them they were way expensive! So instead of buying, we decided to make our own DIY entertainment center.
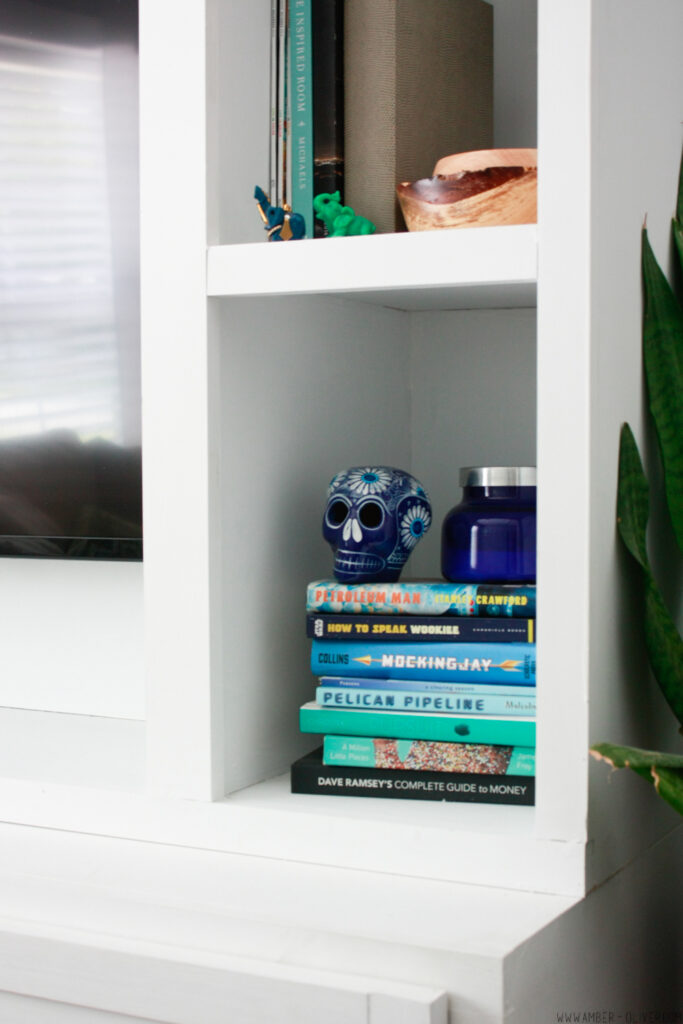
DIY Entertainment Center
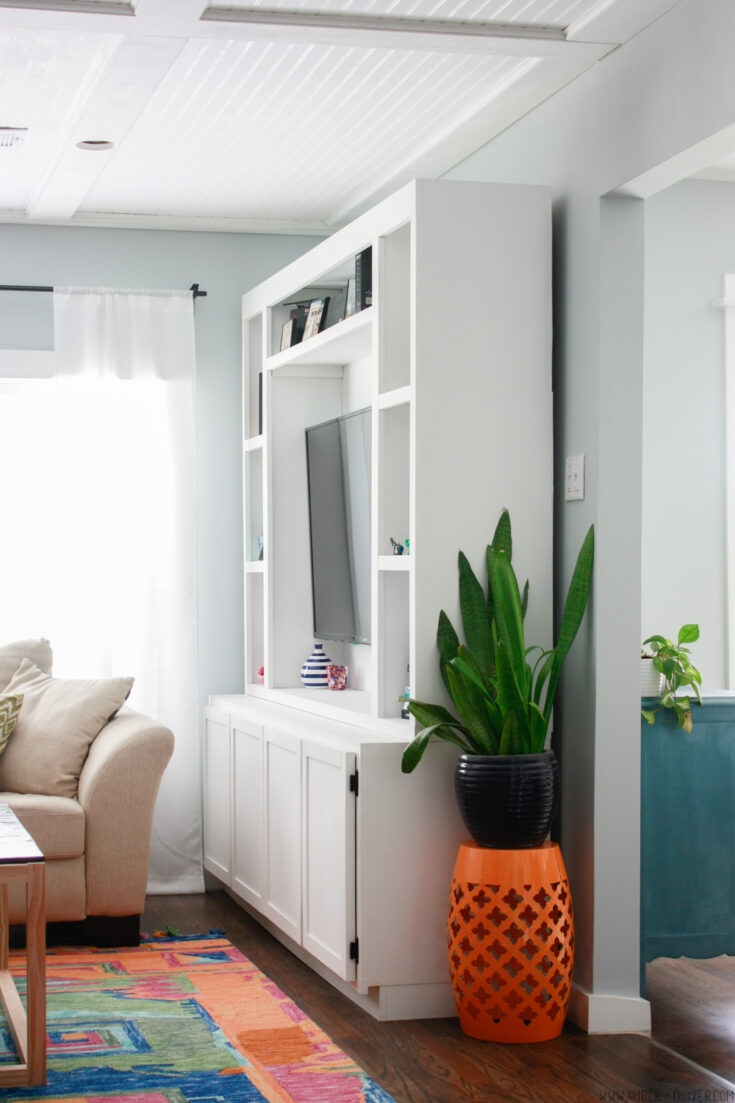
I wanted a large, white, entertainment center but when we priced them they were expensive! Instead of buying, we made our own DIY entertainment center.
Materials
- Ten – 1/2 inch Sheet of MDF or Plywood
- Three – 1/4″ Dry Erase Board (white) or MDF for backing
- Four – 2x4s
- Eight – 1/2″ Trim board
- Six – 1/4″ Trim boards
- 1-1/4″ 18 gauge brad nails
- Four 5/8″ bolts, washers, and nuts
- Eight door hinges
- Door pull hardware (optional)
- Wood Glue
- Paint and Primer
- Wood Filler
Tools
Instructions
Download the free plans via the opt-in below
Notes
We aren't professionals! We are amateur woodworkers and these plans aren't perfect. If you have questions please feel free drop a comment below or send me an email via our contact page. A special thanks to Jeff McCabe for his help on this project and for drawing up these plans!
DIY Entertainment Center
There are 4 major components of this DIY entertainment center: the base, the bottom section, the top section, and the doors. These are all built independently then assembled together.
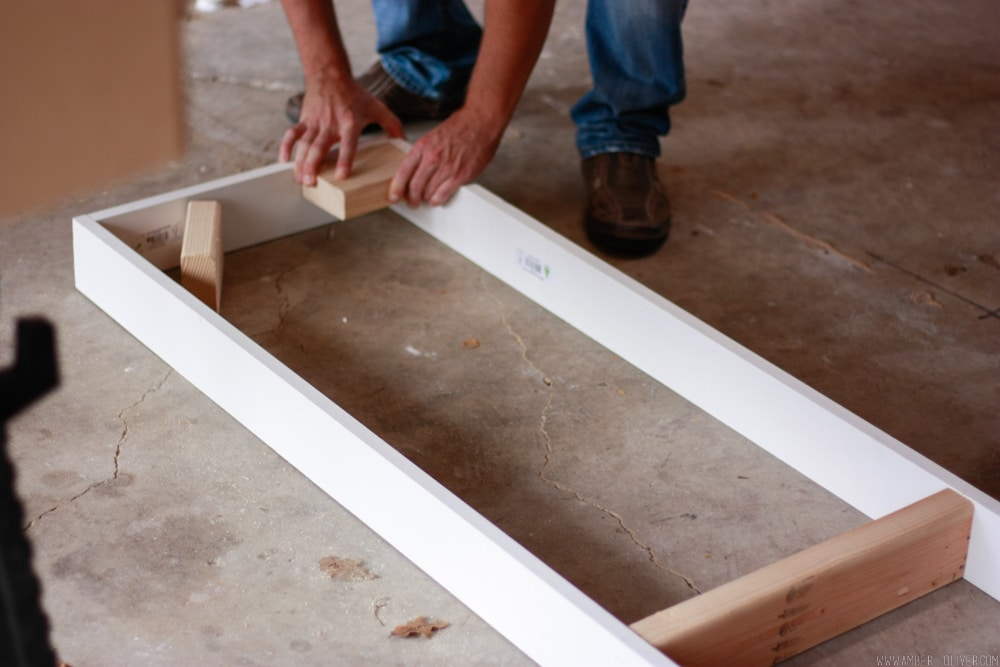
The first thing we built was the base of the unit. It’s built with 1x4s. You can use a block of scrap wood to help square up the corners like in the photo below.
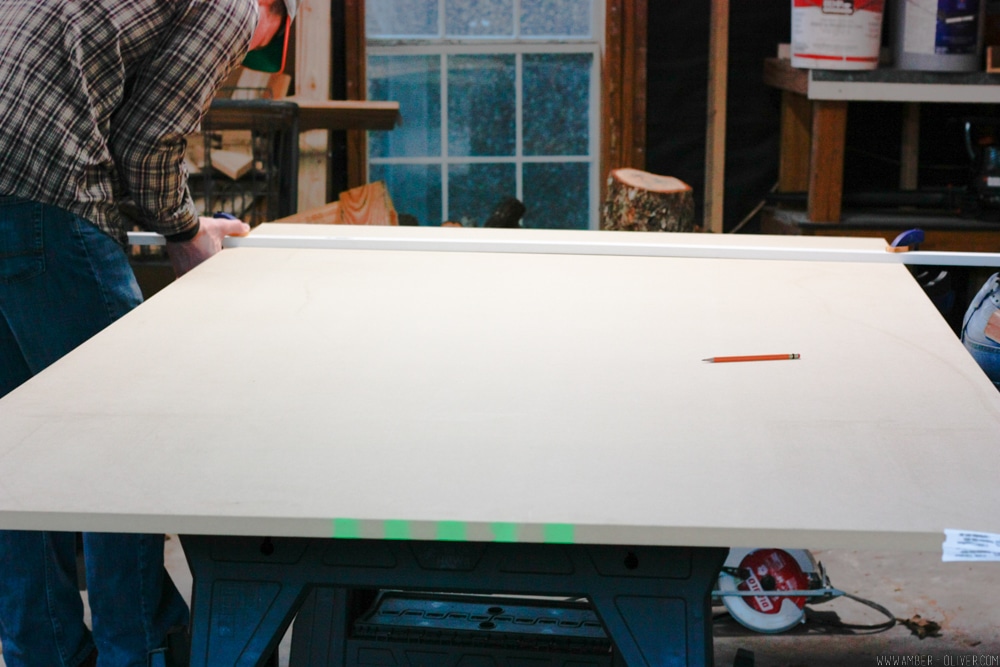
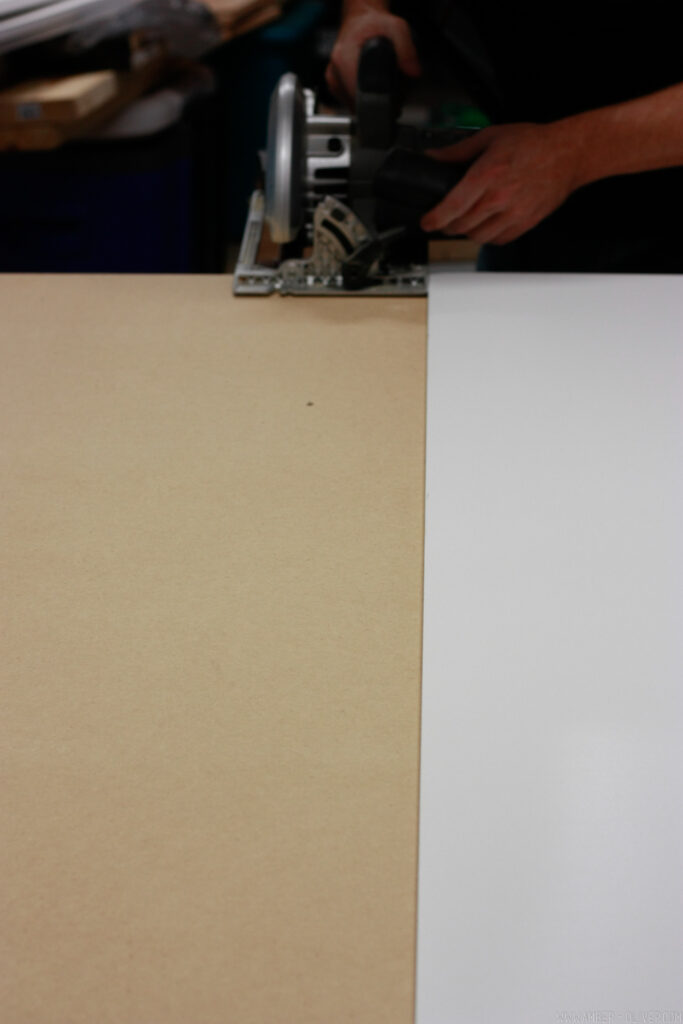
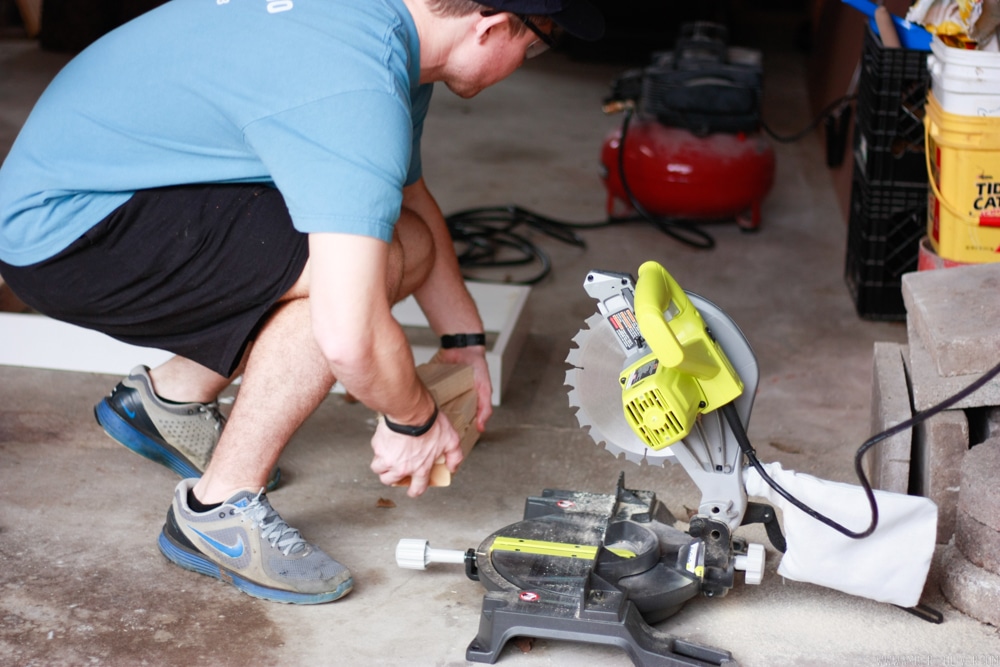
On the rest of the unit we use a lot of MDF. If you don’t have a table saw, you can use a circular saw and a guide board like in the images below. This makes the process much slower but if a table saw isn’t in the budget, it makes the project possible. I’ve since got the Kreg Rip Cut and it’s a game changer!
Since we are going from the bottom up, the next section to build is the bottom section that goes on top of the base. Ultimately we will have 4 doors on the bottom, so you have two side sections that are each 1/4 of the unit and the middle that is 50%. You could also divide it evenly and have four 25% sections but I wanted a wide shelf for electronics. Most of the structure is built from MDF, and then completed with trim board. Note: Large sections of MDF will flex and bend, so be patient and careful when building the larger parts.
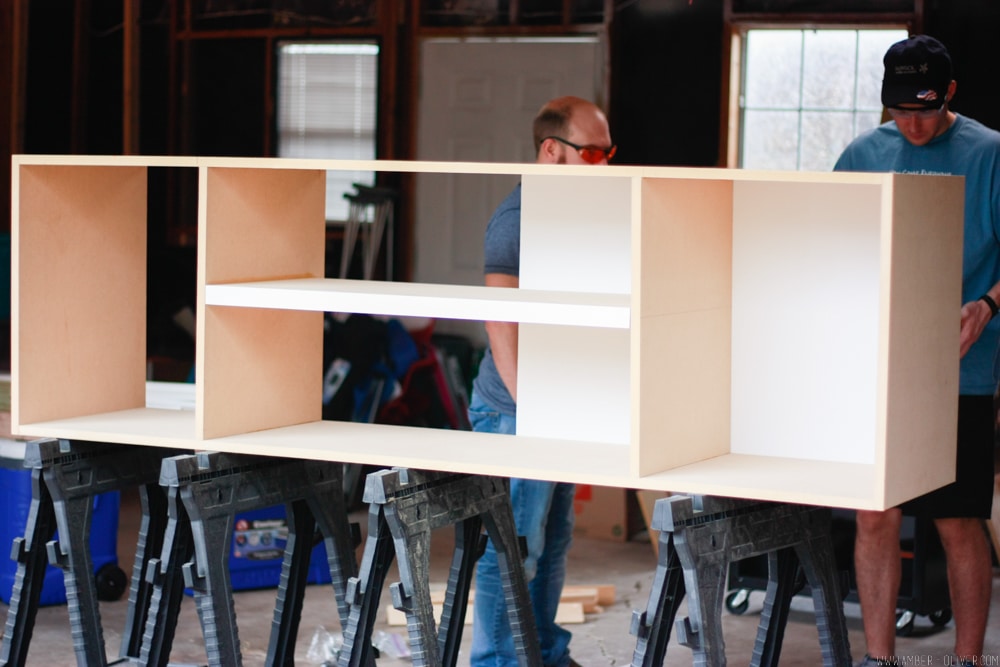
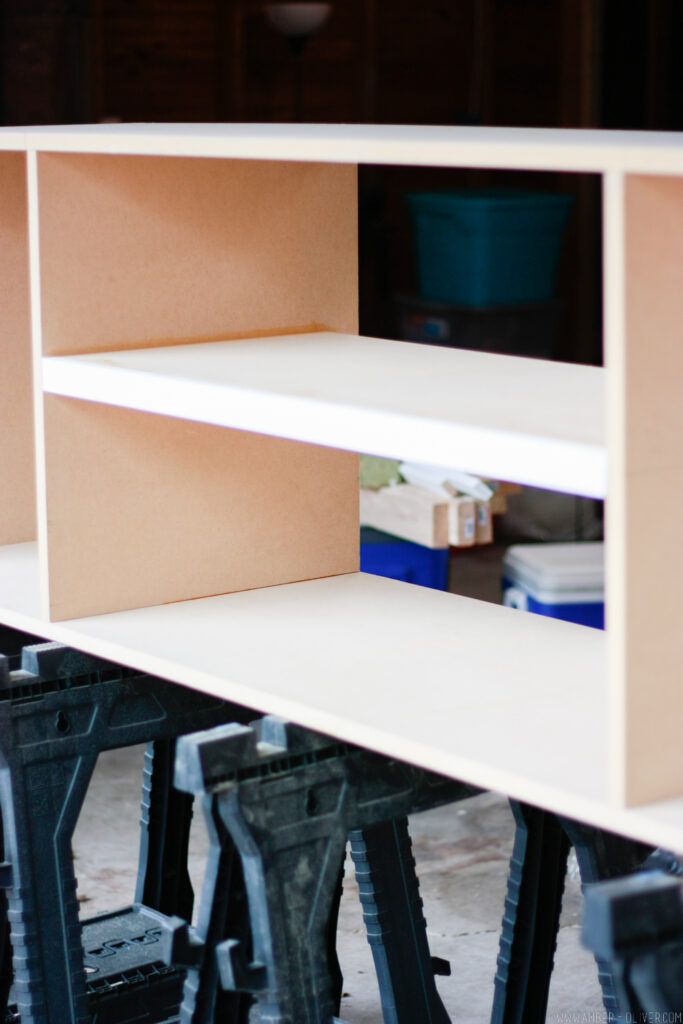
We used 1/4″ dry erase board for the back since it’s already white, but you could use regular 1/4″ plywood.
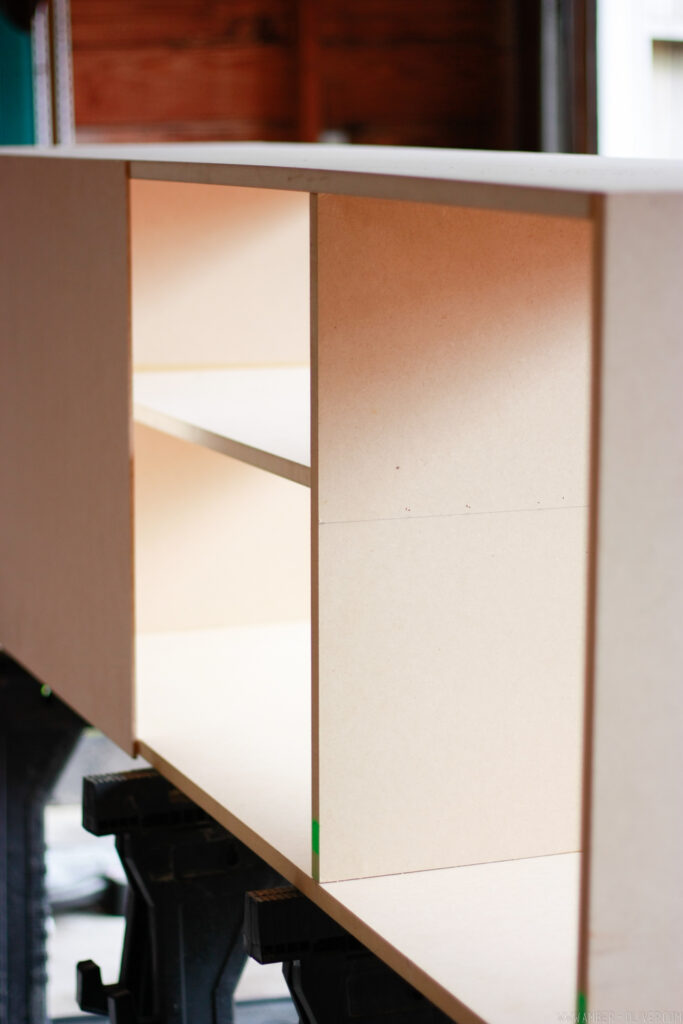
Next up is the top section. While the bottom is pretty simple since it’s essentially a box, the top is a bit more complicated. We needed something to mount our TV to, so this section includes a frame of 2x4s in addition to the MDF “box”. The shelves and sides are MDF with the trim added all around for a finished look. Trim board is nailed in brad nails from a nail gun, and further driven in with a hammer. Then the resulting divots are filled with wood filler, and sanded before painting.
Here’s the top and bottom pieces put together! You may notice the middle sections of the top portion are not as deep as the side “cubbies”. That is because directly behind this backing sits the 2×4 frame on which the TV is mounted. After lifting the top and placing it on the bottom, we used bolts to secure the two together. Pro Tip: If you are constructing in the garage, move the top and bottom into the house before bolting them together ; )
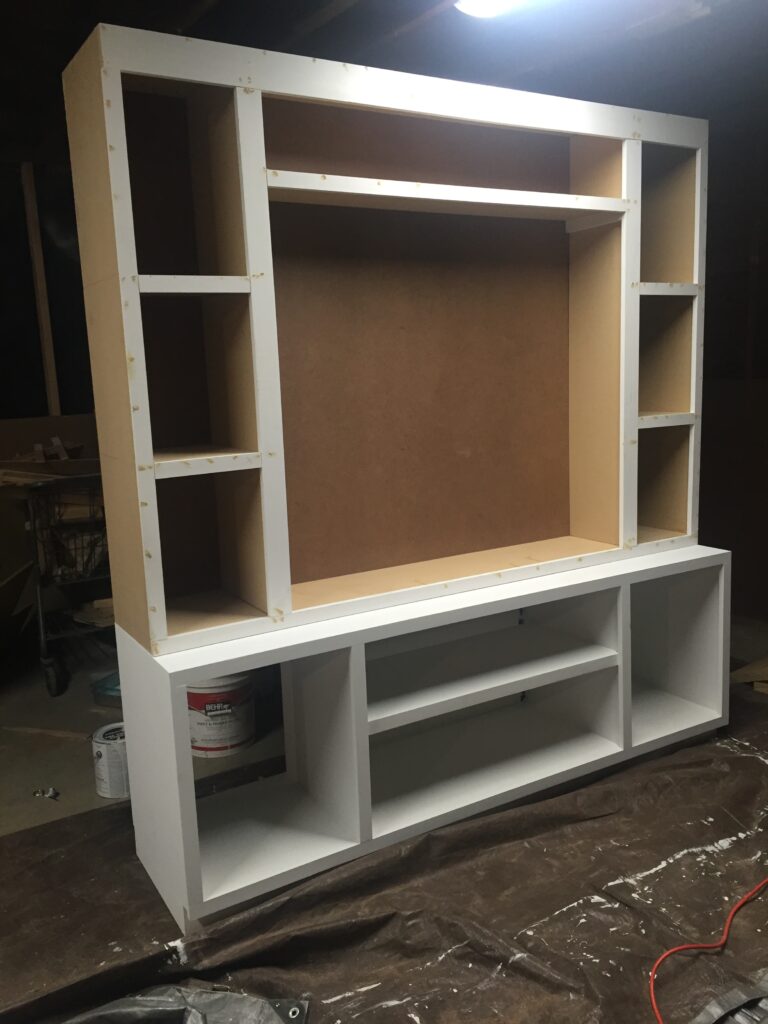
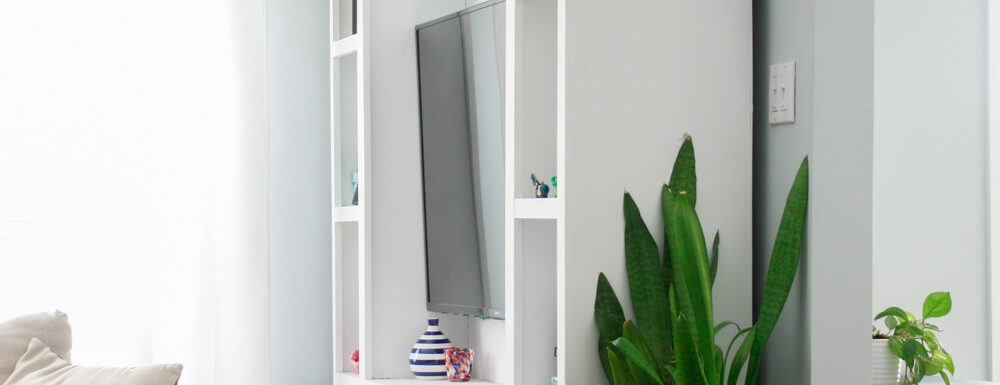
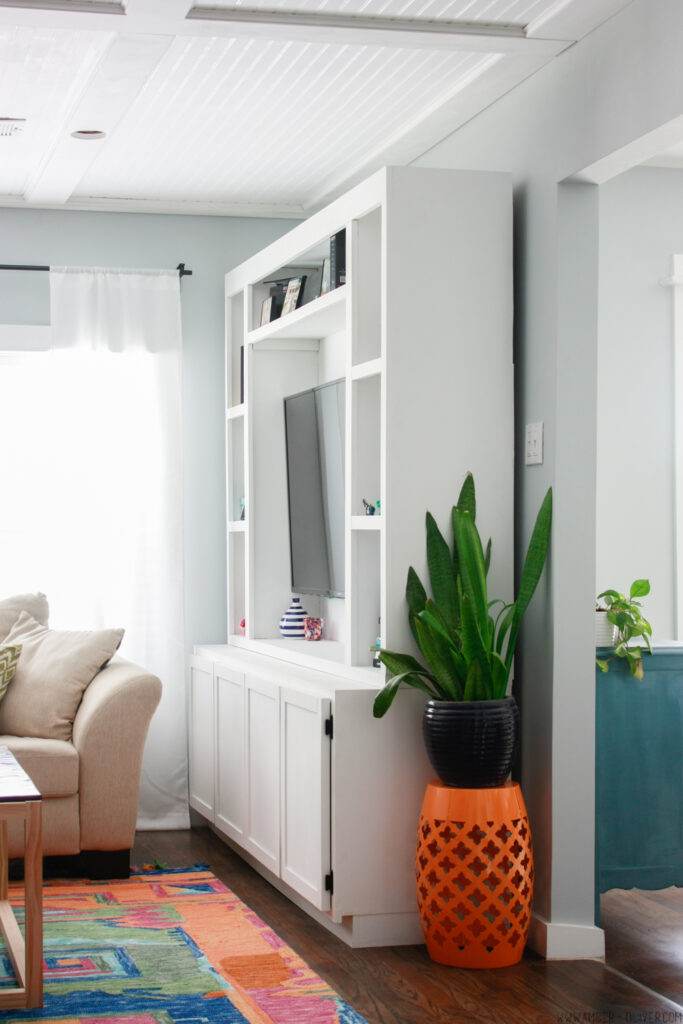
“But Amber: No backing was used in the bottom left section, why is that?” We wanted to put a sub-woofer in that area, and with the door closed no one has to see it, they just hear it! The final steps are to sand and paint the entirety then add the doors. Check out more pictures of the finished DIY entertainment center in the ORC Living Room Makeover Reveal Post!

Leave a Reply