Last updated May 25th, 2022 at 10:36 pm
Our standard 8 foot ceilings wouldn’t allow enough space for wood beams or a coffered ceilings so we came up a different idea for a DIY ceiling makeover! This bead board ceiling is a great alternative for those who don’t want to or know how to remove popcorn ceilings!
Week 5 of the One Room Challenge was by far the hardest yet! Have you ever gotten in over your head? Smack dab in the middle of a project though WHAT WAS I THINKING!? I have to admit, this was me over the weekend.
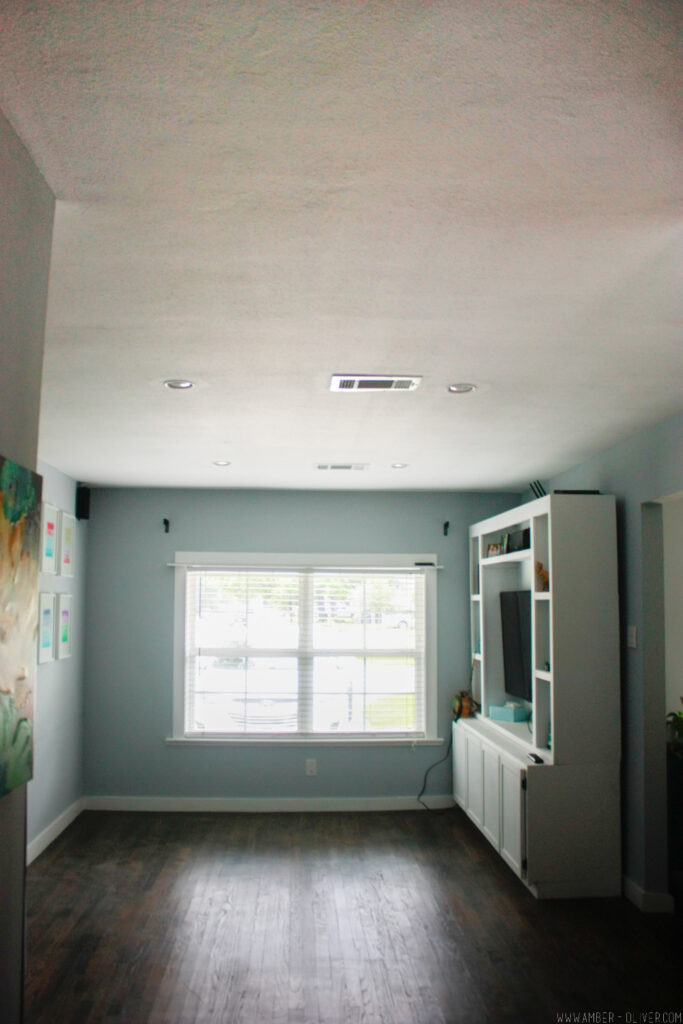
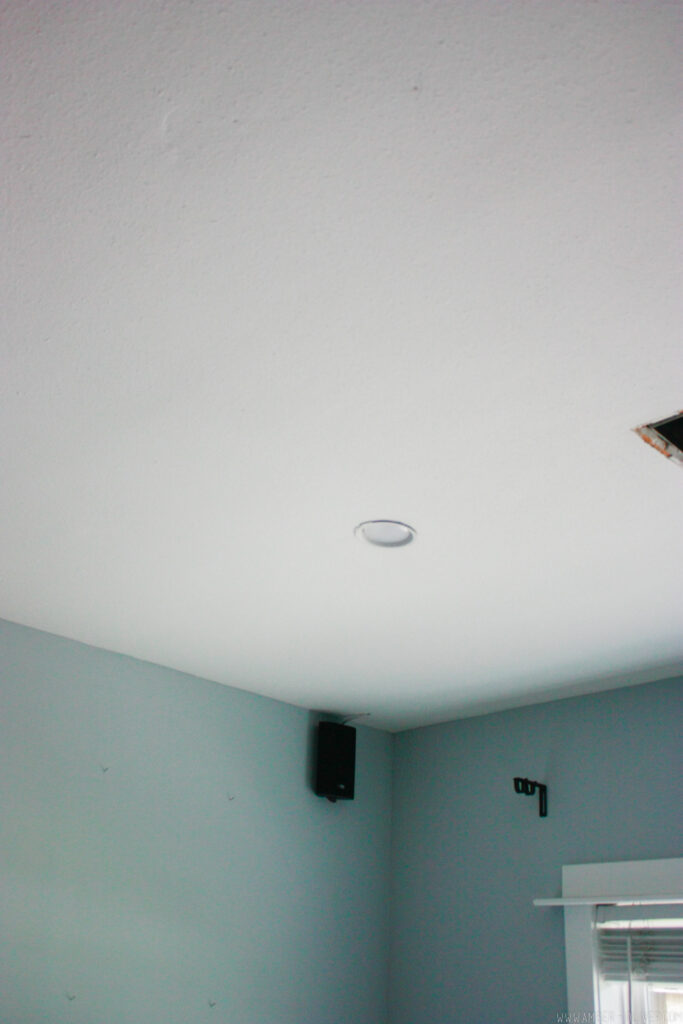
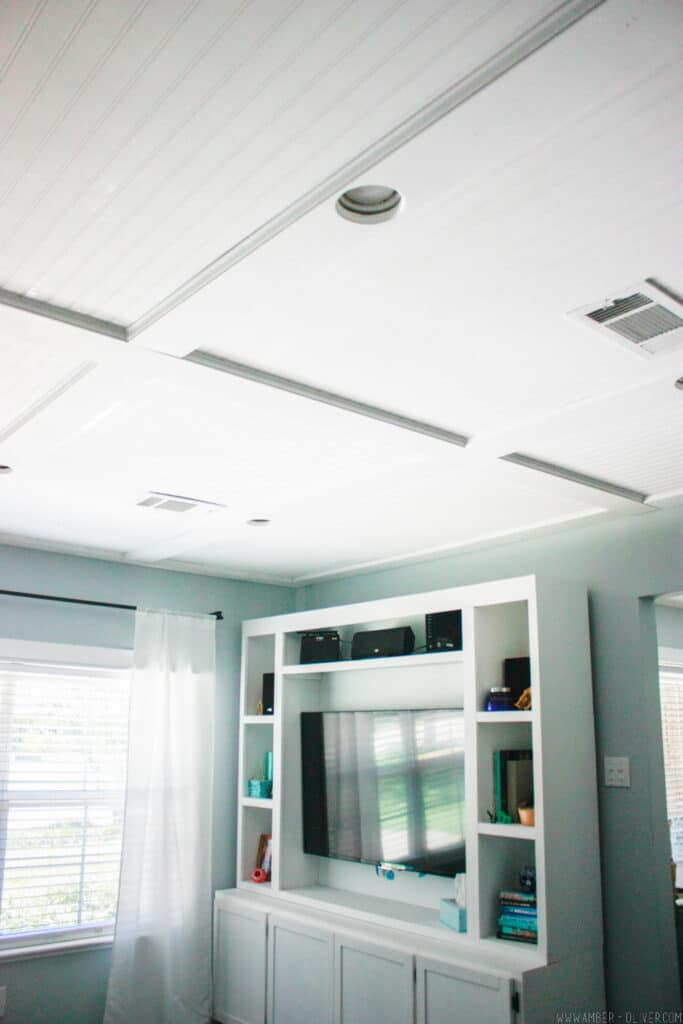
When I told Eric I wanted to team up with The Home Depot to do a DIY ceiling makeover, he was thrilled. We’d talked about how much we loved wood beams and coffered ceilings. I knew the standard 8 foot ceilings in our converted garage living room wouldn’t allow for too much on the ceiling. So we came up with an alternative: a bead board ceiling with faux beams! This is a great project if you don’t want to or know how to remove popcorn ceilings!
BEFORE
We worked with The Home Depot to bring this amazing DIY ceiling makeover to life! The bead board ceiling was by far one of the hardest projects we’ve done; mostly because it’s all overhead which is incredibly hard on your neck and arms. But the finished product was SO WORTH IT!
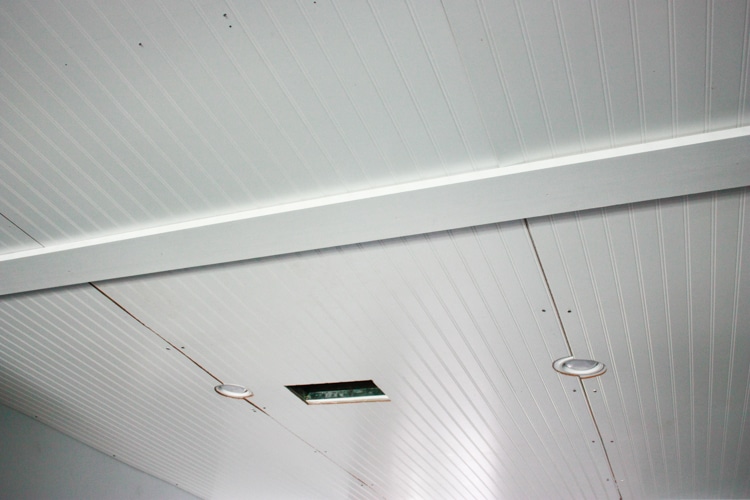
During
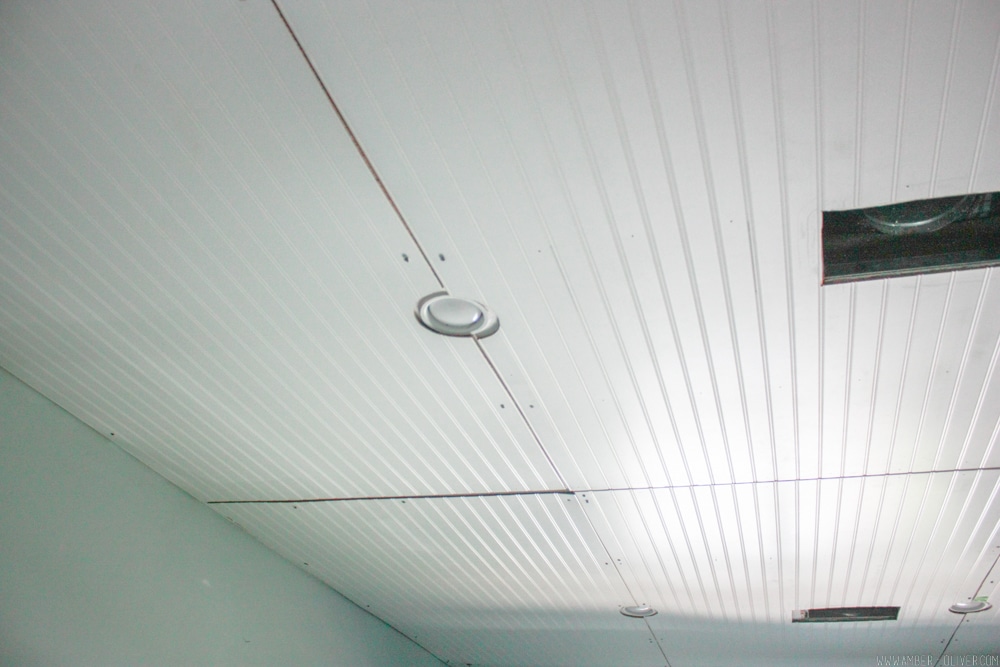
The bead board ceiling panels were all Eric’s idea, and admittedly I was cursing him while the two of us were trying to hold them in place AND screw them up! But they really are the best part!
It took us two full days to get this project done, but the process could go even faster if you have help! So if you have a ceiling that’s seen better days; maybe it has water damage or you just hate that popcorn ceiling – head over to the Home Depot blog for my full tutorial on doing your own DIY ceiling makeover!
DIY Bead Board Ceiling
This DIY ceiling makeover uses beadboard and moulding pieces to create a faux coffered ceiling. It’s a simple way to add a little extra architectural interest in an otherwise drab ceiling.
Materials
- Beadboard Panels
- Primed 1 x 6’s
- Cove Moulding
- Screws (we used 2 inch)
- Finish nails (we used 1-inch for moulding and 2-inch to attach panels)
- Wood filler
- Paint and brushes
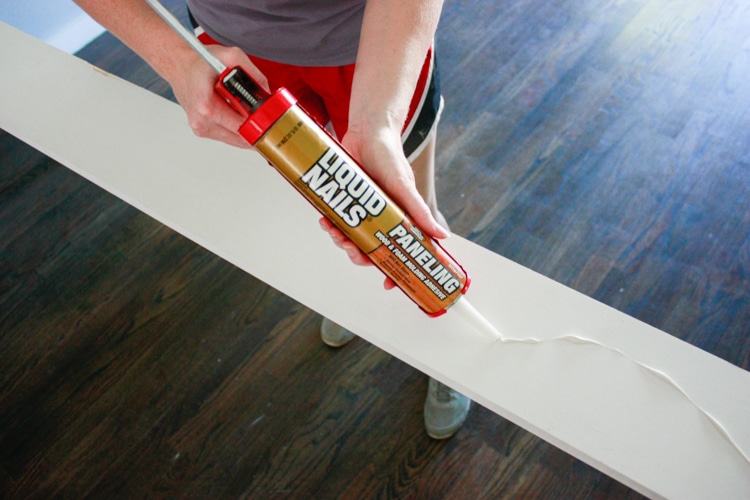
- Liquid Nails
Instructions
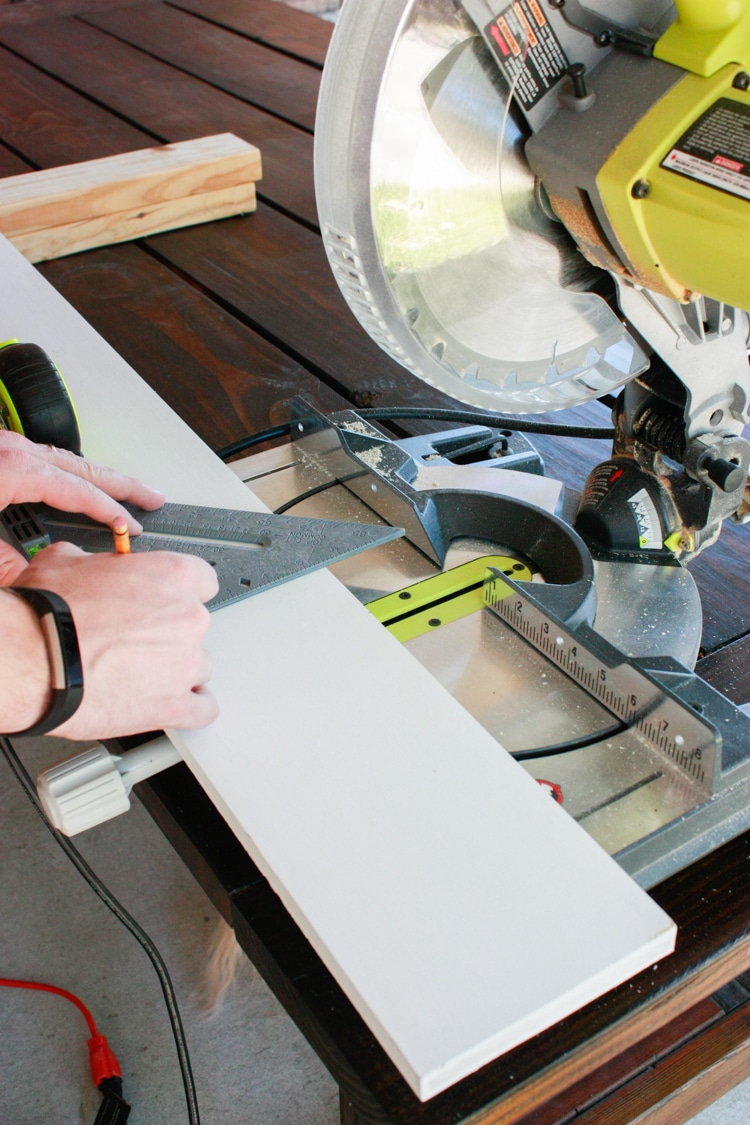
- Cut the beadboard panels. We cut the panels so they were all the same dimensions and would fill the ceiling evenly. This will make everything symmetrical when it’s time to add the 1 x 6’s.
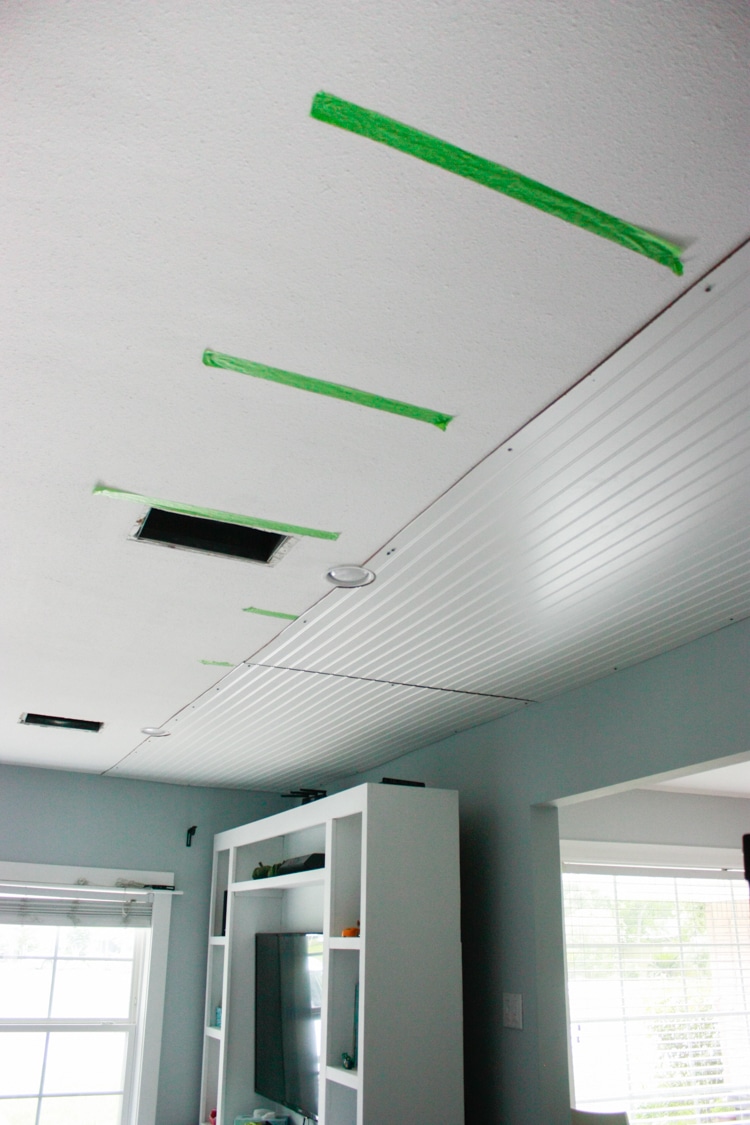
- Locate and mark the ceiling joists. We decided to attach the panels into the ceiling joists so we were sure they were up securely. You can locate ceiling joists with a stud finder, or go into the attic and have a look for yourself. We used painter’s tape to indicate where the joists were.

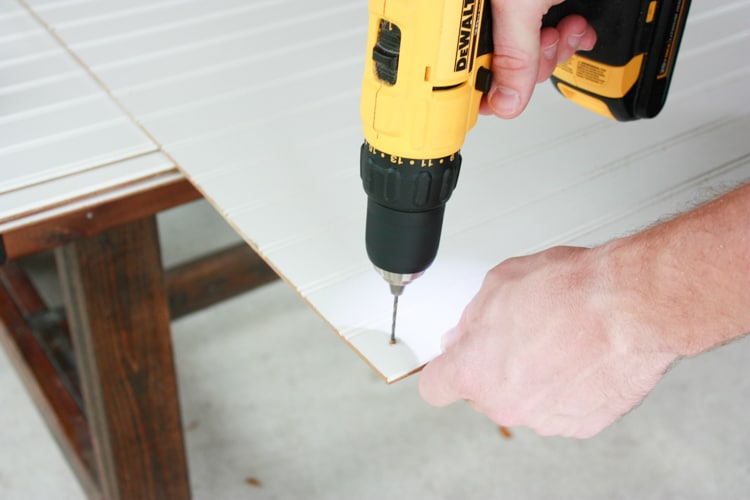
- Drill pilot holes into the panels based on your measurements for the ceiling joists. This will make it so much easier to get the screws in quickly when you are holding it up to the ceiling!
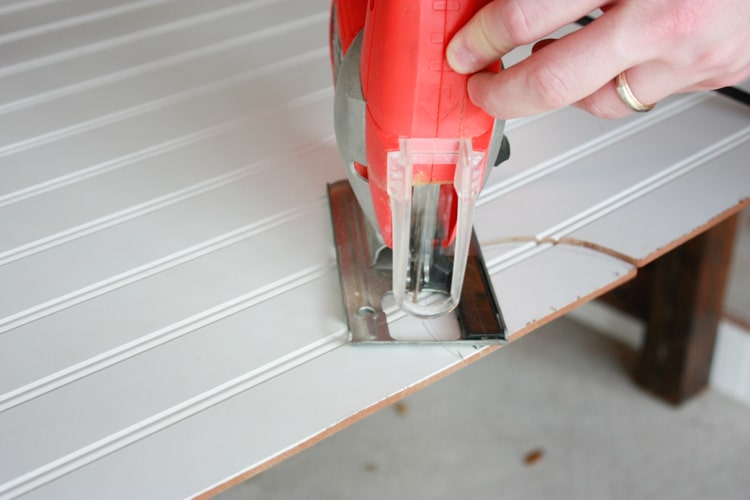
- Measure and cut out any holes for light fixtures and vents with a jig saw.
Be sure to measure twice and cut once. We used a recessed light hole saw to get the perfect circles around the lights.
Optional: Use a router to make the edges look nice and finished. - Attach the panels one at a time to the ceiling by screwing into the ceiling joists. We did this with two people, but if you have an extra set of hands you will be grateful!

You’ll notice that your room is probably not perfectly square, and you may have some gaps. This is okay because you will be covering all the seams with 1 x 6’s later. - After getting the panel up, go back and tack up with a finish nailer if it is sagging. Try to keep the nail holes in line so it will be easier to cover them later.
- Measure and cut your 1 x 6’s. You’ll want to use boards that will go the full length, so break up the longest sides of the room by covering the shorter seams first.
- Use Liquid Nails and a few finish nails to attach the 1 x 6’s into place.
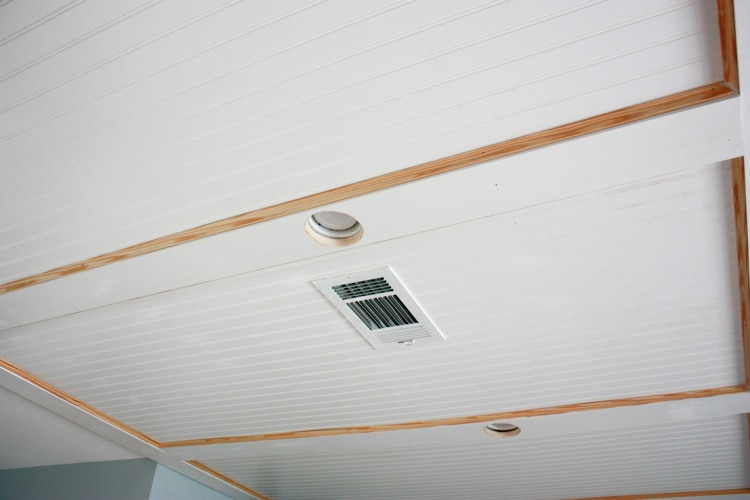
- After you’ve covered all the seams with 1 x 6’s, it’s time to add the moulding.
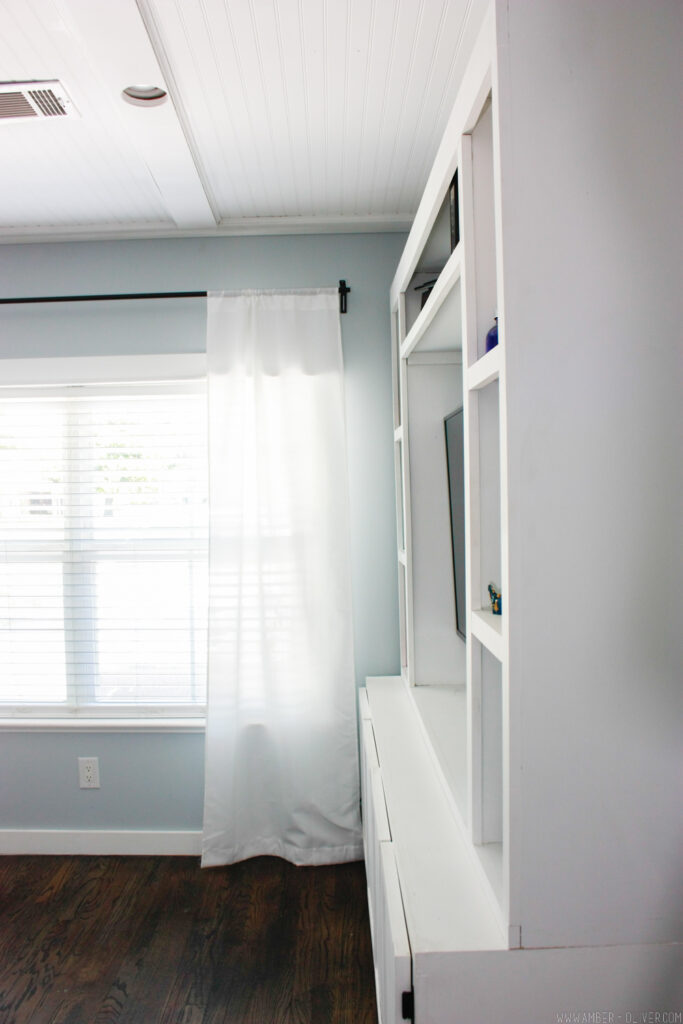
I used Cove moulding, but you can use any shape you’d like. This is an important part because it really gives it a finished look and will cover any spaces or gaps that are showing. The moulding was installed with 1-inch finish nails. - Prep your new faux coffered ceiling for paint by filling in any nail holes or gaps with wood filler, then sand. After the ceiling is prepped, it’s time to paint!

Notes
You will measure your space and decide how you want your ceiling laid out before purchasing materials. This will help you decide how many panels, what length of 1 x 6’s, and how many feet of moulding you need.
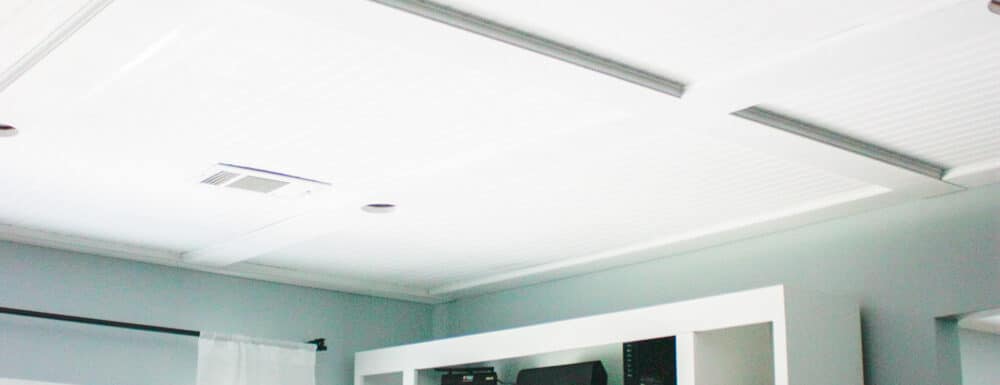
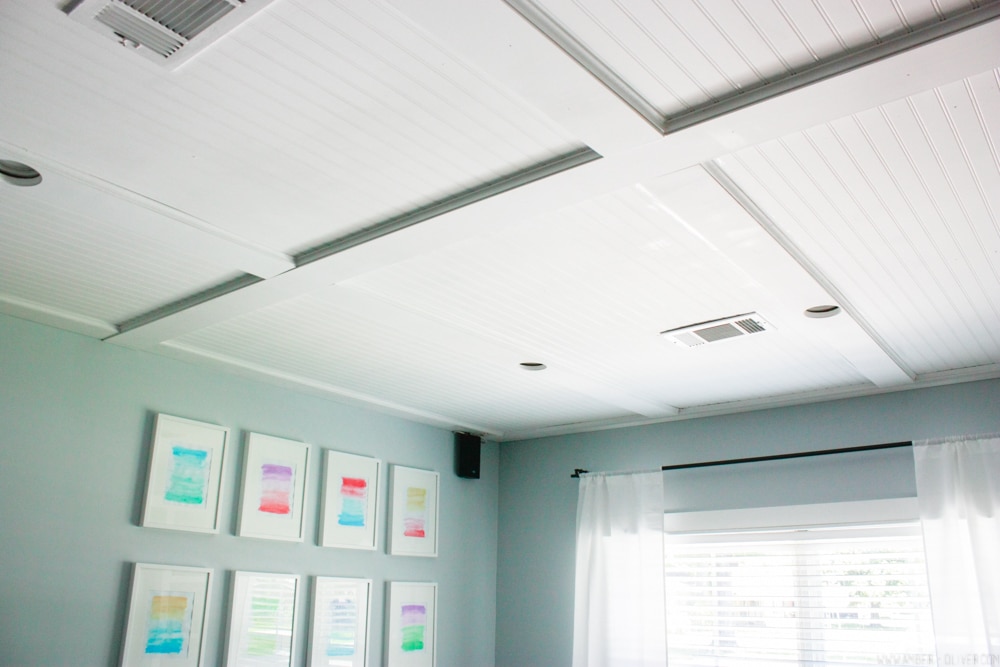
AFTER
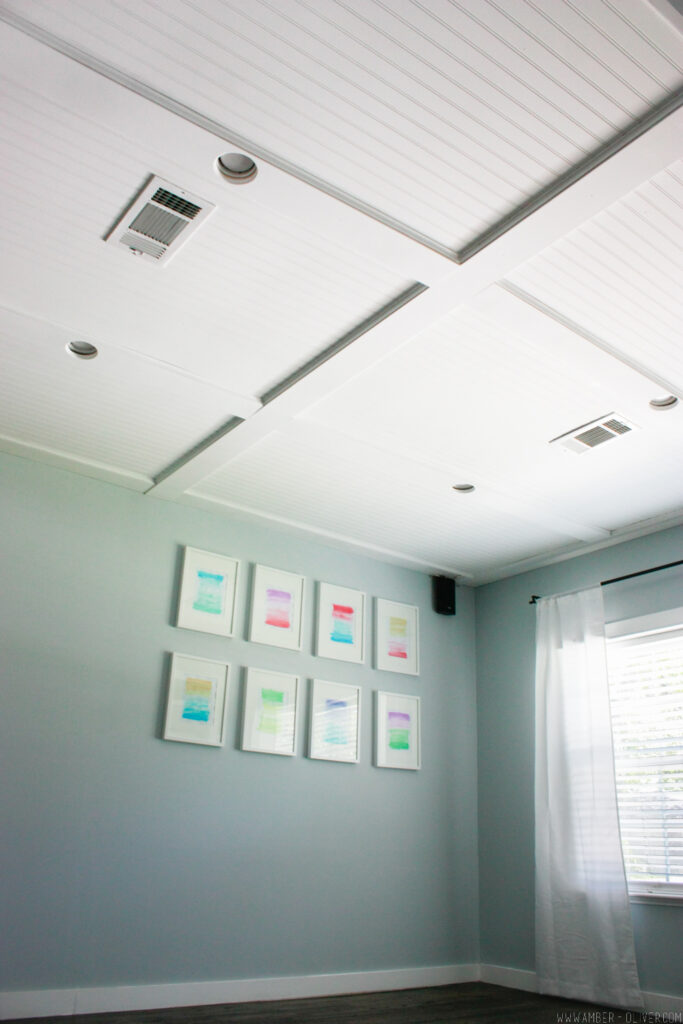
With just a few basic materials you can turn your drab ceiling into a statement ceiling or even cover a popcorn ceiling! This is faux coffered ceiling project is pretty labor intensive, but the finished project is worth it!


Lizzie Ravn says
The ceiling looks great! Love the beadboard – totally worth the workout, I’m sure!
tim@designmaze says
wow … it’s night and day! love how the popcorn ceiling disappears just like that! thanks for the tips and inspiration!
Tina Bousu says
It looks beautiful! We did a weaber lumber ceiling for the ORC project, ours is more rustic looking, yours is so perfectly finished and trimmed. Nicely done!! (And those accursed husbands are right once in a million years, as much as I hate to admit it ; ) I always tell mine to soak it in cause it doesn’t happen often! )
Cassie Bustamante says
the ceiling looks awesome- what a great idea~
Sam | Away She Went says
The ceiling looks amazing! I love how it turned out! I’m sure it was a lot of work, but it was definitely worth it.
lesli devito says
Amber, I have been in over my head more than I have not – it is coming together beautifully – the ceiling is going to be PINNED like crazy because it is GENIUS!!!! Cannot wait to see the REVEAL!
Annie Douglas says
Looks SUPER but hubby is thinking it would sag after a while. I keep telling him this is our answer to a bathroom ceiling that is not so pretty to look at. But fights back with the sagging question.
Amber Oliver says
Just tack in a few brad nails or finish nails in the middle and patch if needed before painting 🙂
Little says
OMG I love this one! I would love to do this in my room some day! Come over and help decorate?
Go Big! 🙂
Amber Oliver says
Thanks, Little! I’d LOVE to help you!! 😉
Kelly Lichtenhan says
Looks great! What is the wall paint color?
Amber Oliver says
It’s SW 6246 North Star!
Lana says
What paint did you use on the ceiling? I have found that bead board is difficult to paint.
Amber Oliver says
Hi Lana, we used ceiling paint. I didn’t have any trouble on the bras board with it.
ADC Fashionista says
We found this post through the home depot site where. We’re in the middle of debating to scrape off the popcorn, or cover and this looks like a good option. We also can’t fully do the typical 4-6″ dropped coffered since it goes up next to stairs making a difficult transition. Thanks for this post.
Amber Oliver says
Glad you liked it! Good luck with your project!
Jackie says
This ceiling turned out amazing!!! I would love to recreate this in our dining room. We are doing some kitchen cabinet paintingnext week, but this might just have to be our next home project. Thanks so much for sharing your beautiful home!
Sharon says
Hi Amber. How beautiful and creative. I am so inspired. Please how tall are your ceilings? Mine are only 8 feet and was wondering if yours were taller? Thank you, Sharon
Amber Oliver says
Hi! Ours our only 8 foot too!