Learn how to apply plywood edge banding to give your plywood projects a finished look.
Have you ever marveled at those professionally finished edges in woodworking projects, wondering how they achieve that flawless, smooth look? In this post we’re diving into the wonderful world of plywood edge banding – the secret to giving your projects that polished, top-notch appearance. Applying plywood edge banding is easier than you might think, and by the end of this guide, you’ll be a edge banding pro!
What’s Plywood Edge Banding?
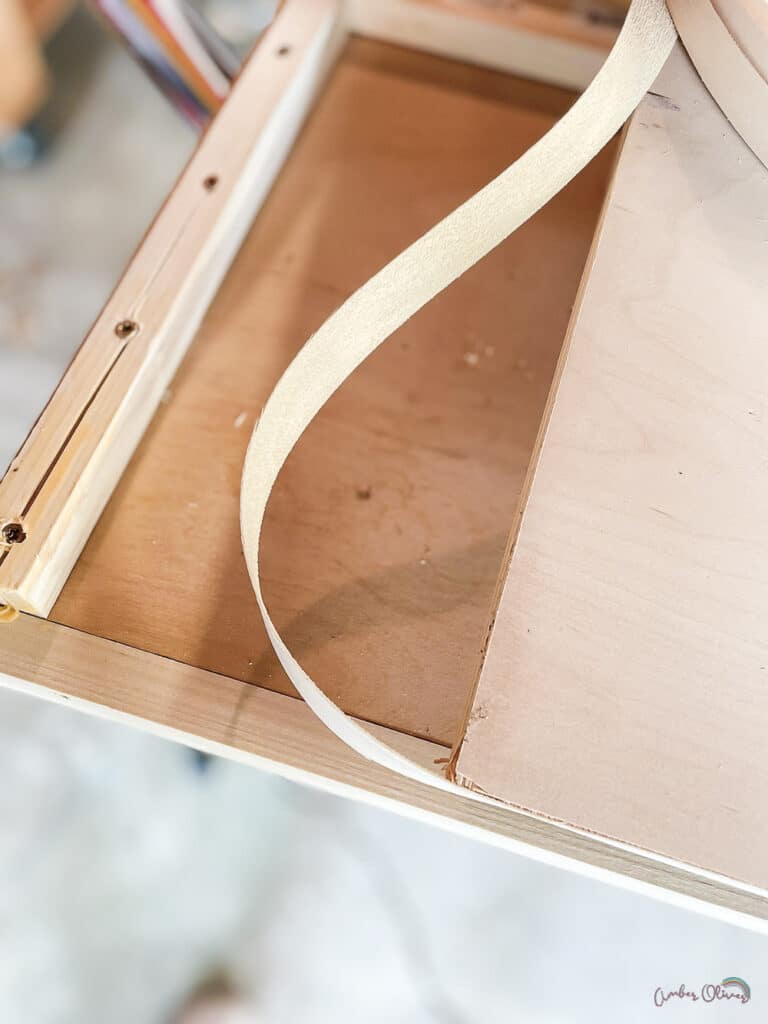
Let’s start with the basics: Plywood is a composite material manufactured from thin layers, or “plies”, of wood veneer that are glued together. Edge banding is also known as edge tape or veneer tape, and is used to give your plywood woodworking project a finished look.
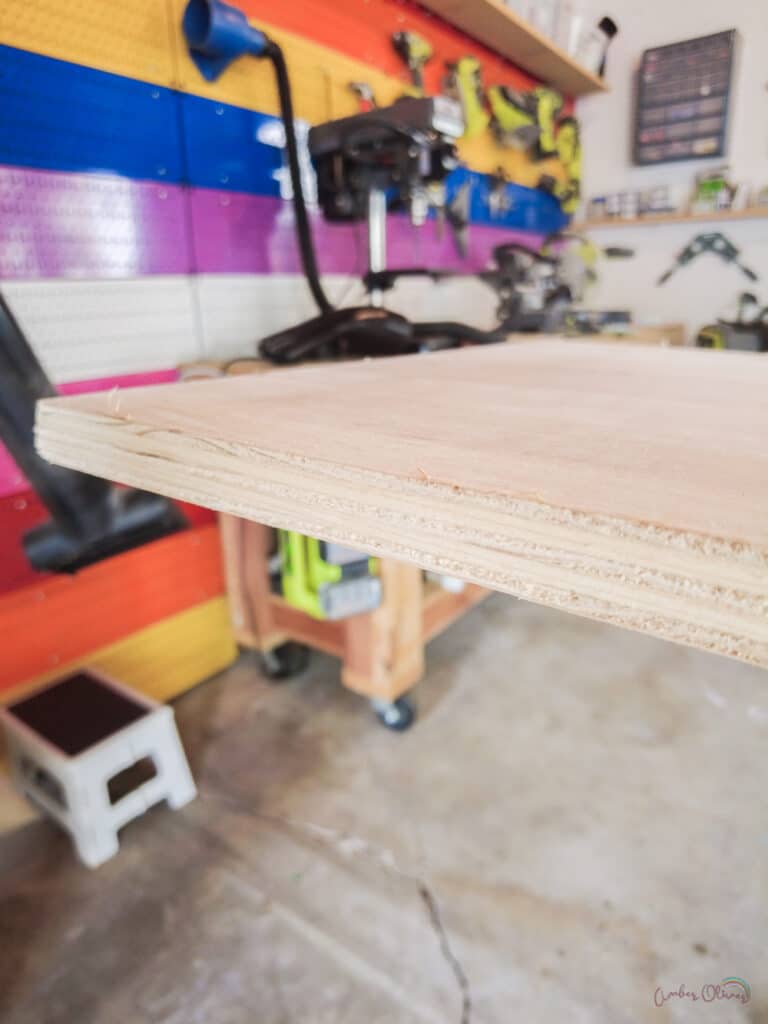
The banding is a thin strip of material – often real wood veneer, PVC, or ABS – that’s designed to cover the exposed edges of plywood, giving them a seamless, finished appearance. It’s like putting a snazzy frame around a beautiful picture – it elevates the overall aesthetic and keeps those raw edges from fraying and looking rough.
Applying Edge Banding: What You’ll Need
Before we get our hands dirty, let’s gather our tools and materials that’ll make this edge banding project a breeze:
- Plywood with Unfinished Edges: Of course, you’ll need the piece you’re working on. Whether it’s a snazzy shelf or a giant murphy bed, make sure the edges are raw and ready for their fancy transformation.
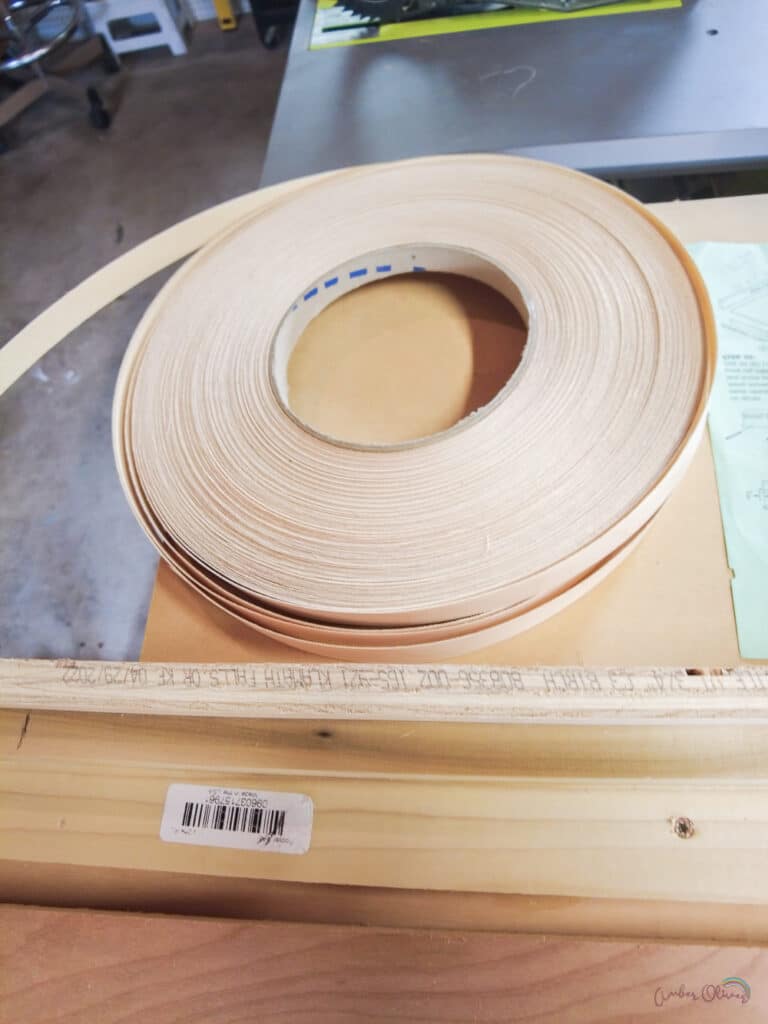
- Edge Banding Tape: This is the star of the show. You can find it in various materials and colors to match your project’s finish.
- Clamps: These are optional but can be helpful! These will help keep your edge banding securely in place while you work your magic.
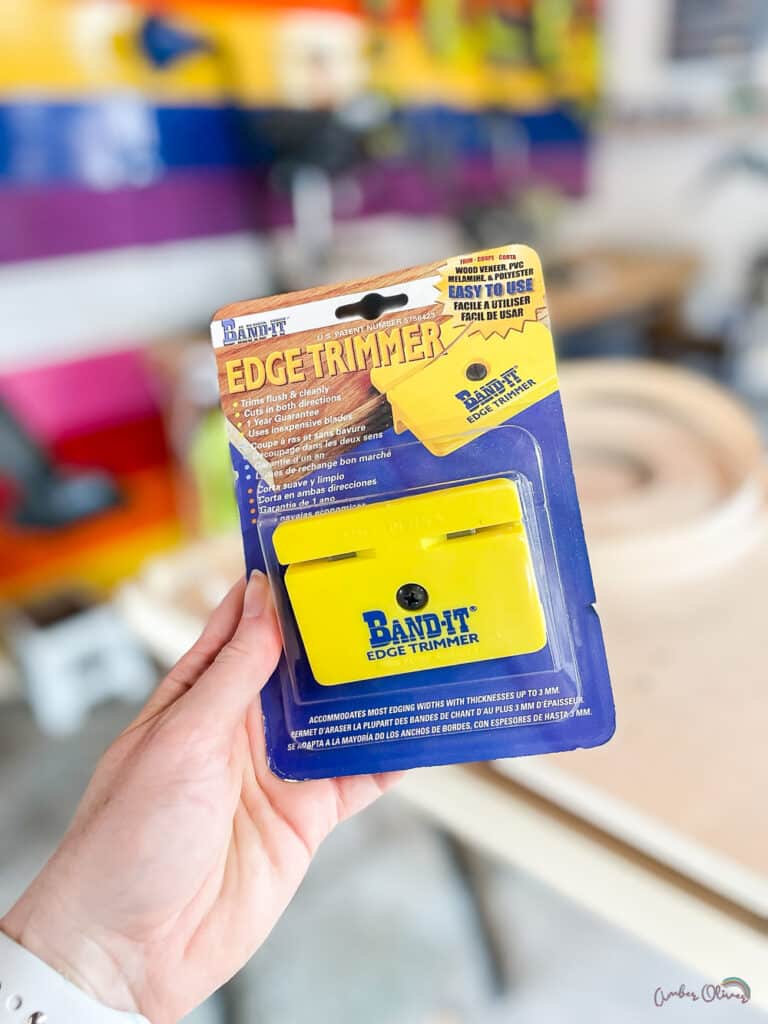
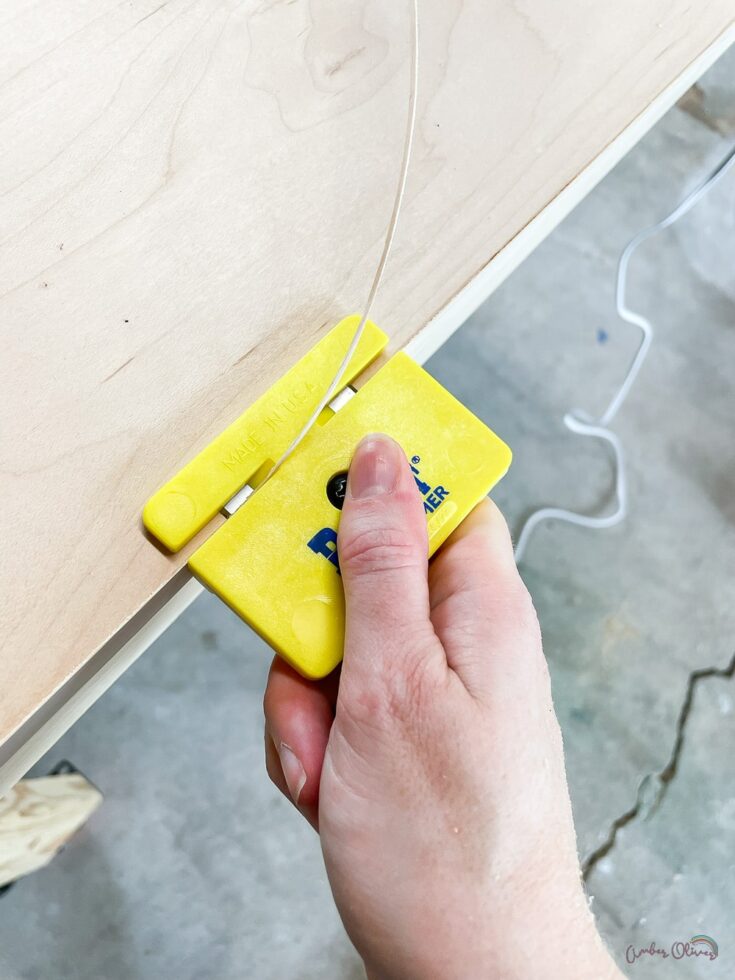
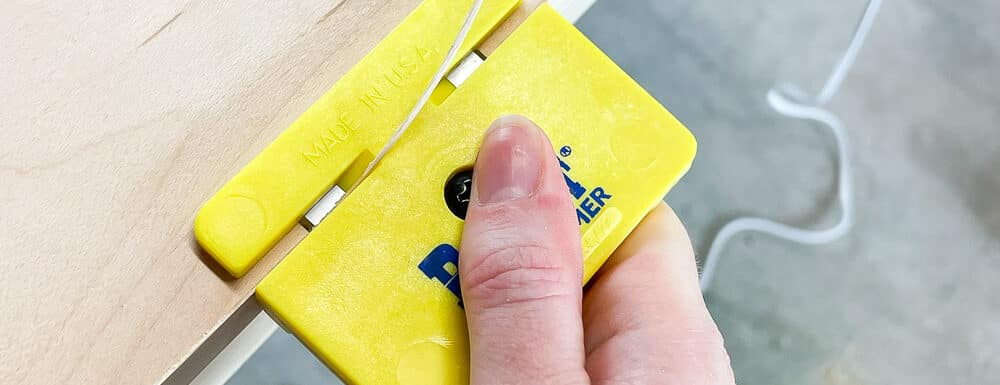
- Utility Knife or Edge Trimmer: Use this to off excess banding and achieve those clean edges. The edge trimmer is the easiest and gets the smoothest cuts!
- Roller: You’ll use this to apply pressure and ensure a snug fit. You could also use a wallpaper smoother! Something with a soft edge keeps you from denting the soft veneer. I raided my craft room and used my Cricut Brayer!
- Sandpaper: Just in case you need to smooth out any rough edges before starting or after finishing.
- Iron: You can totally use a household iron for this! I love my Cricut Easypress mini for small jobs like this though!
Step-by-Step Guide to Applying Plywood Edge Banding
Step 1: Prep
Start by ensuring your plywood edges are smooth and free from any bumps or debris. A quick sanding session can do wonders. Remember, a clean canvas sets the stage for a masterpiece! Make sure you have all your tools ready as well!

Step 2: Measure Twice, Cut Once
It’s the golden rule of woodworking: measure your edge banding tape against the length of the plywood edge, and then measure again. Once you’re sure, go ahead and cut the tape to size using those precision skills. Alternately, you can keep on the roll while you apply and just cut once it’s adhered!
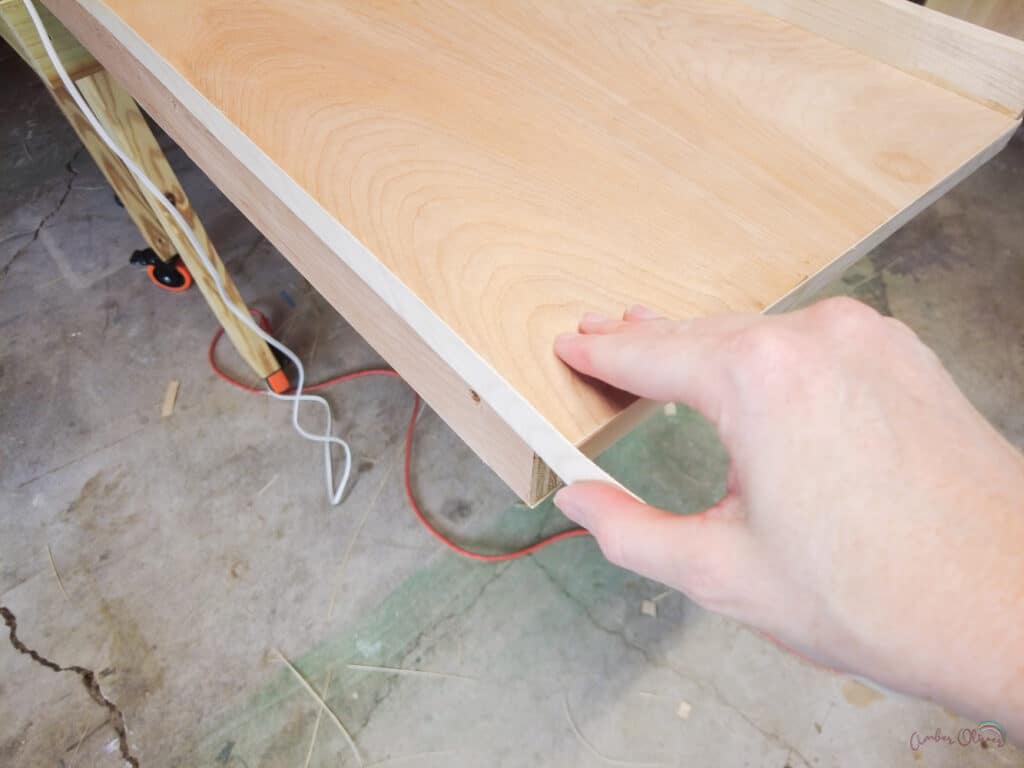
Step 3: Time to Apply
Here’s where the magic happens. Most edge banding tapes come with adhesive backing – talk about convenience! You simply place it where you need it and apply heat to stick!

Carefully place the edge banding tape along the plywood edge, adhesive side down. Ensure it aligns perfectly with the edge; you don’t want wonky edges messing up your groove. If your banding is wider than the tape, align one side so you only have to cut and remove excess from the other side.
Step 4: Smooth it Out
Time to bring out the cloth or roller. Apply pressure along the length of the edge banding tape to make sure it sticks snugly. No bubbles allowed in this project.
Step 5: Trim the Excess
This step is like giving your project a snazzy haircut. If you did not premeasure your material and applied directly from the roll you have to remove it. Use a heavy duty pair of scissors to snip the end of the roll.
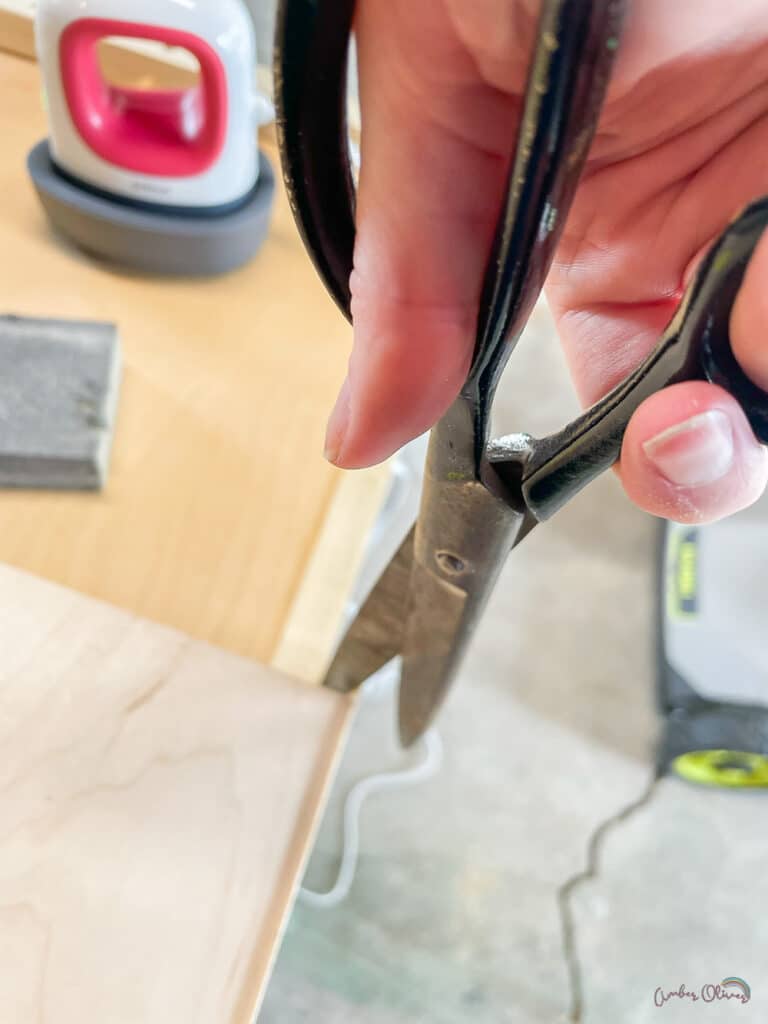
Use a utility knife or edge trimmer to carefully trim off the excess edge banding material. Go slow and steady – precision is key. Also make sure you do not come in at an angle – this will gouge your wood!

Step 6: Sand if Needed
Give your project a once-over, checking for any rough spots or uneven edges. A little sanding here and there can work wonders to make everything silky-smooth.
Step 7: Admire Your Handiwork
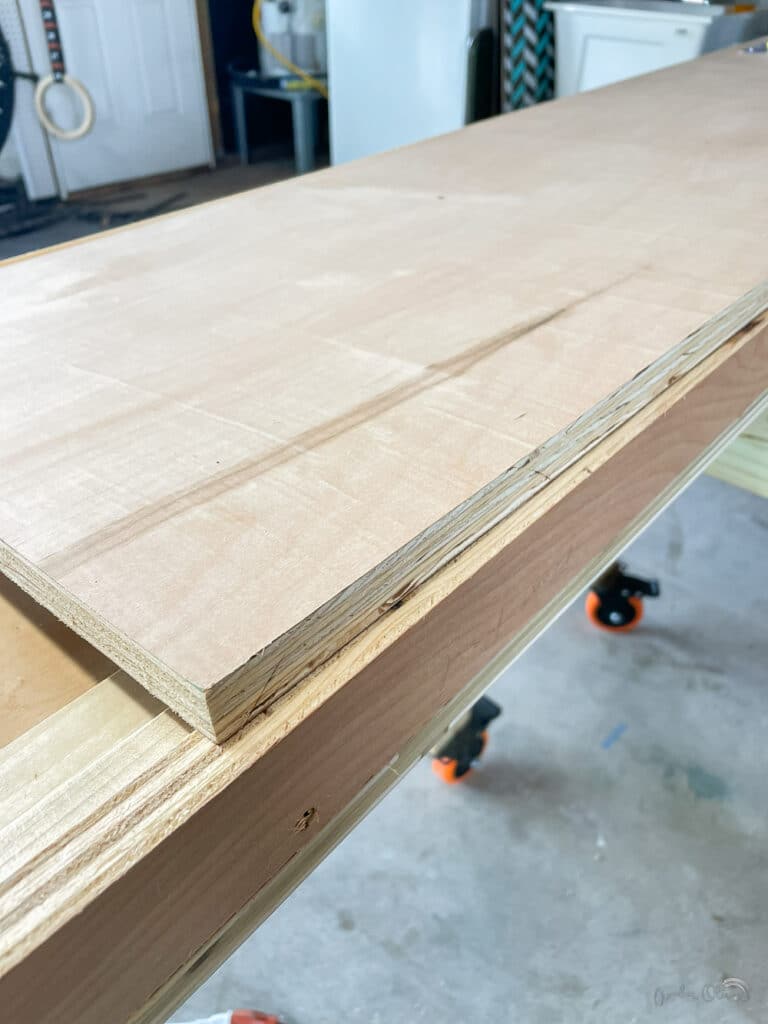
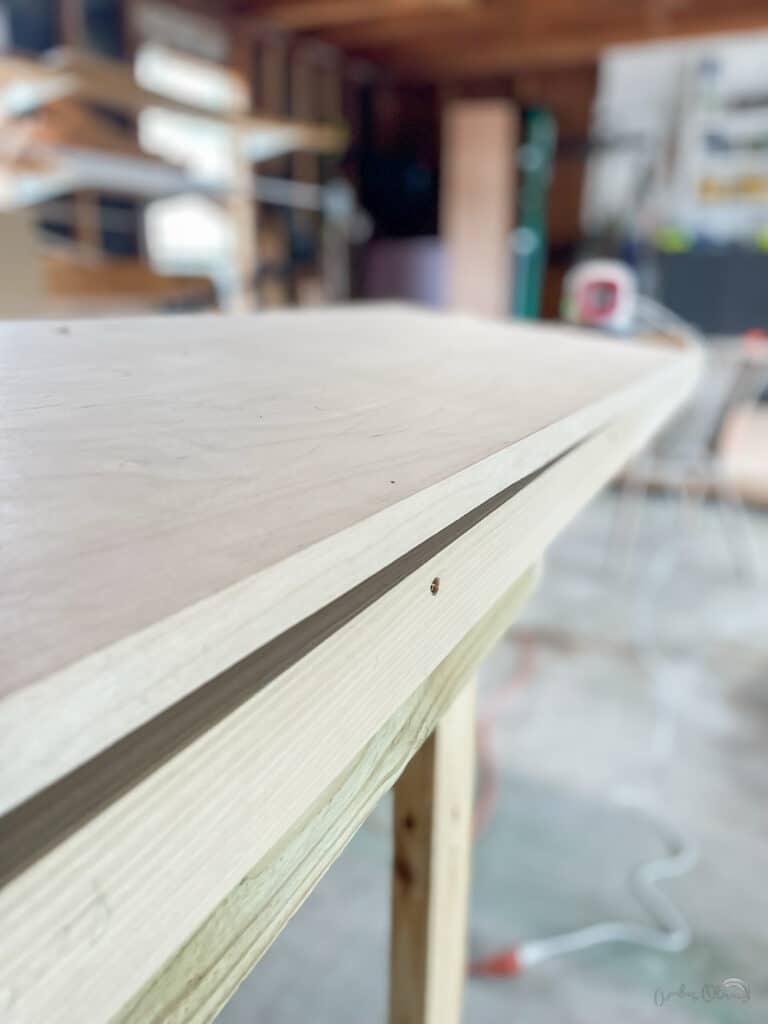
Stand back and admire your masterpiece! Those once-raw edges are now transformed into sleek, polished sides that would make any woodworking pro proud.
Extra Tips for Edge Banding Success
- Color Coordination: Choose edge banding tape that complements the color and grain of your plywood. It’s like matching your shoes to your outfit – attention to detail matters!
- Go with the Grain: When applying the tape, make sure it follows the same direction as the wood grain for a seamless look.
- Practice Makes Perfect: If you’re new to edge banding, practice makes perfect. Practice on scrap pieces before tackling your main project. This will actually keep you from wasting less edge banding or ruining a project!
- Stay Patient: Rome wasn’t built in a day, and neither is a woodworking masterpiece. Take your time, enjoy the process, and relish in the satisfaction of creating something awesome.
Supplies for Applying Edge Banding to Plywood
How To Apply Edge Banding
Tools
- Plywood with Unfinished Edges
- Edge Banding Tape
- Clamps
- Edge Banding Trimmer
- Roller
- Sandpaper
- Iron
Instructions
- Prep the plywood by sanding and cleaning then gather tools.
- Either measure and cut the banding to size or apply directly from the roll.
- Place banding on the edge of the plywood and use heat to adhere.
- Run over the edges to smooth out any bumps and straighten if needed.
- Trim the excess edge banding.
- Sand if needed then stain or paint.
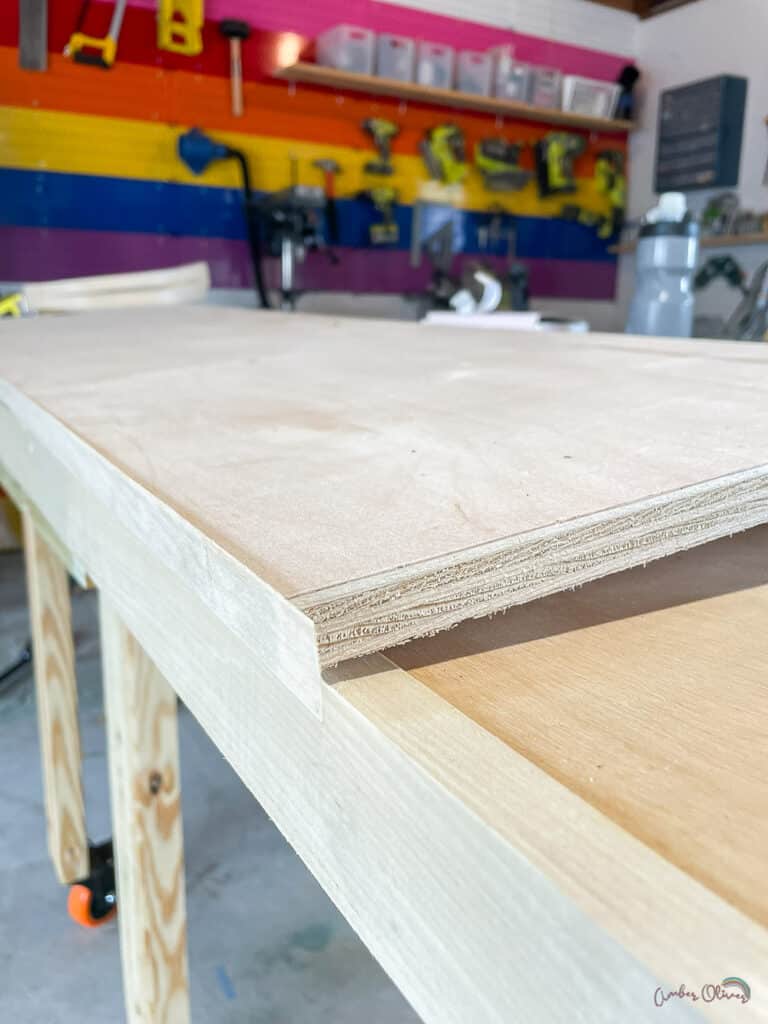
Congratulations, you beautiful new plywood edge project! You’ve unlocked the secret to transforming your woodworking projects from “nice” to “wow” with this simple yet oh-so-effective technique. Remember, it’s all about the details, and edge banding is the detail that ties it all together.
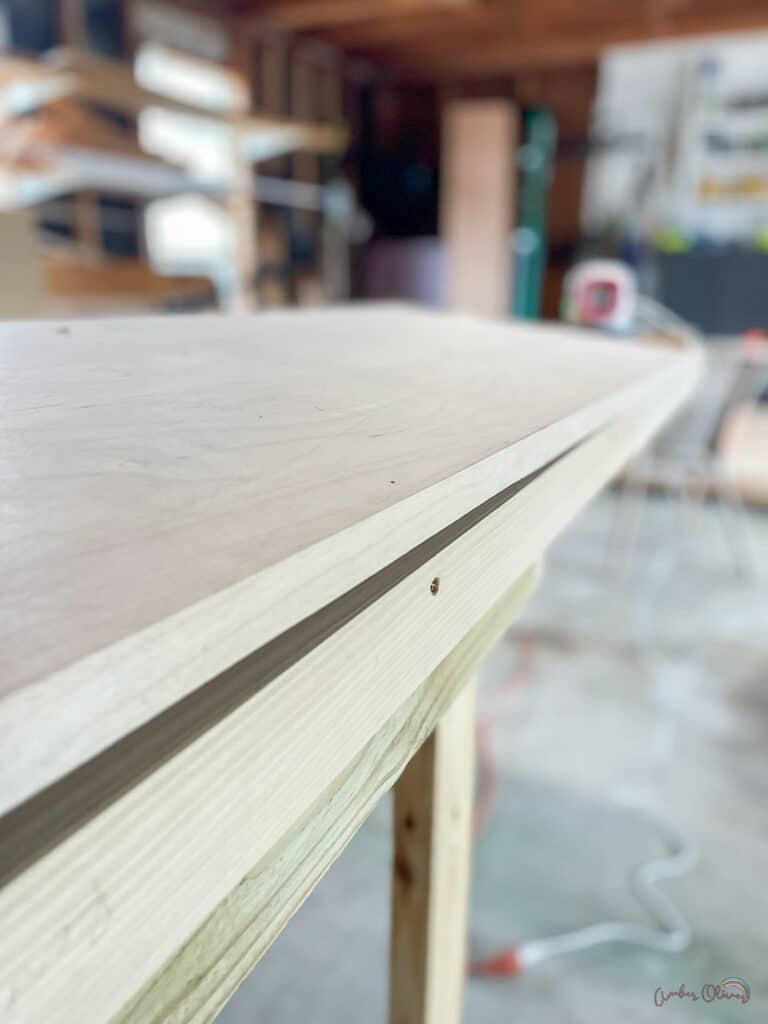
So, the next time you’re eyeing that raw-edged plywood, don’t hesitate. Armed with your newfound edge banding prowess, you’re ready to take on any project with style and flair. Happy woodworking, and may your edges always be beautifully finished!



Leave a Reply