Last updated April 29th, 2025 at 01:26 pm
We used wood filler, fresh paint, and less than $100 in trim to do a complete cabinet door makeover—no replacements needed! Learn how to update routed kitchen cabinets on a budget with this beginner-friendly DIY project.
Last week I revealed our kitchen makeover. One of the biggest transformations? A complete cabinet door makeover that totally updated our old kitchen cabinets—without replacing them. Doing your own DIY shaker-style cabinet doors is a super budget-friendly way to modernize your kitchen.
We would’ve loved a full kitchen reno with brand-new cabinets, but that just wasn’t in the budget. So we got creative! With less than $100 in trim, new cabinet hardware, and a whole lot of wood filler, we completely refreshed our outdated cabinets. Because they were still in good shape structurally, this affordable upgrade made a massive difference.

How to Update Routed Cabinet Doors (Step-by-Step)
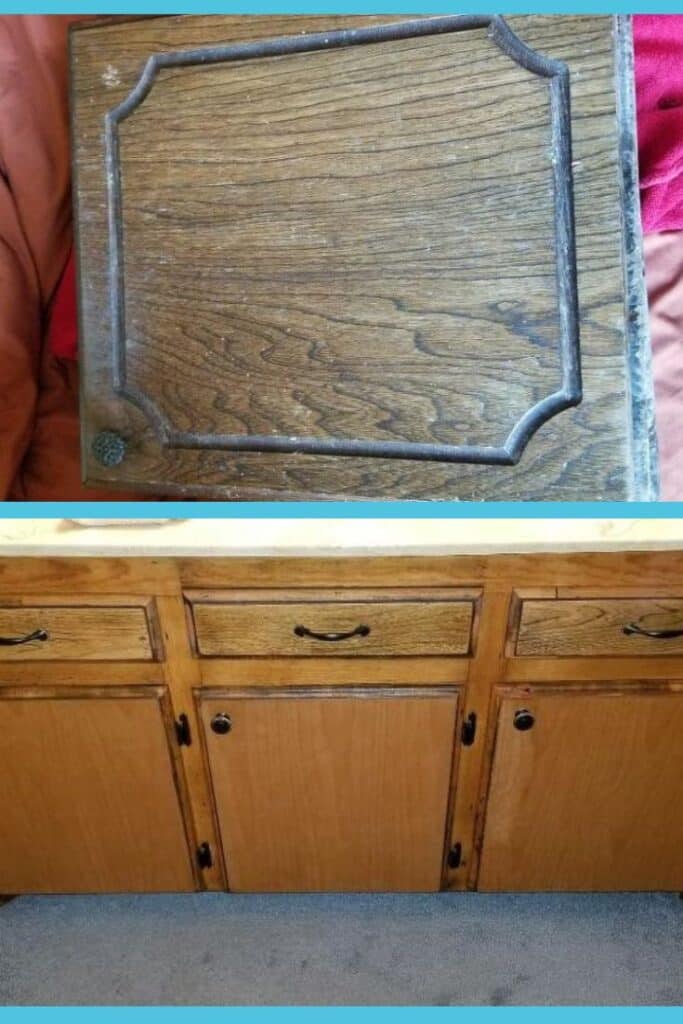
The first thing we did was sand down the cabinet doors and drawer fronts.
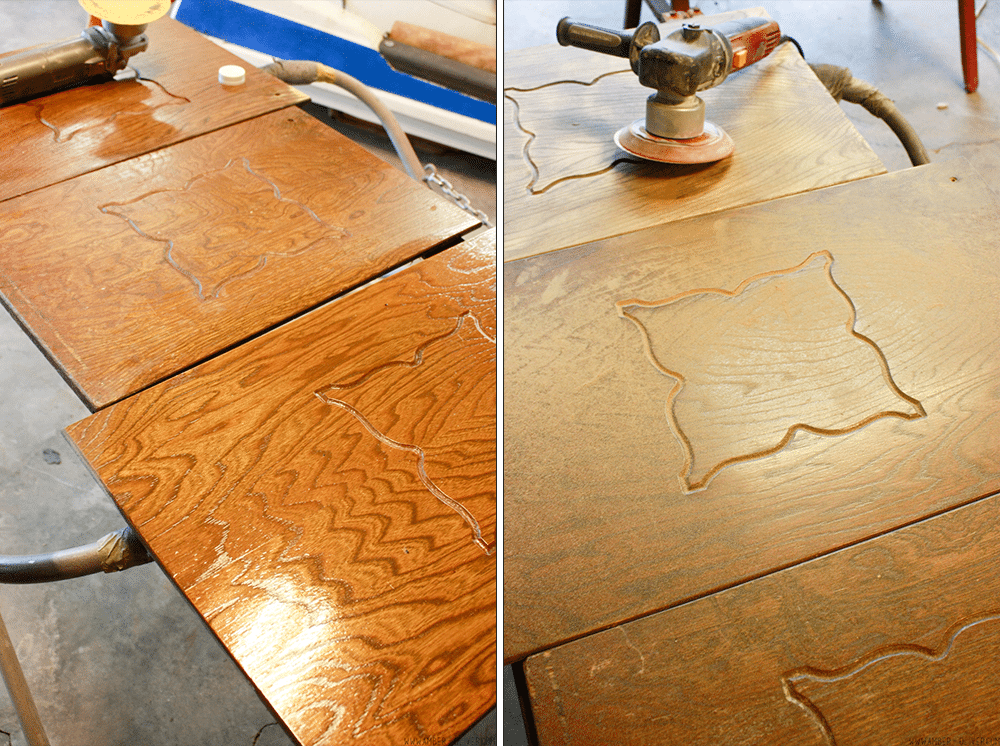
I read a lot about painting kitchen cabinets and there are all kinds of recommendations. Instead of cleaning and using a deglosser , we used an electric buffer with 80 grit sandpaper
 to cut through EVERYTHING. That saved a bit of time, and got us to the bare wood with no problems.
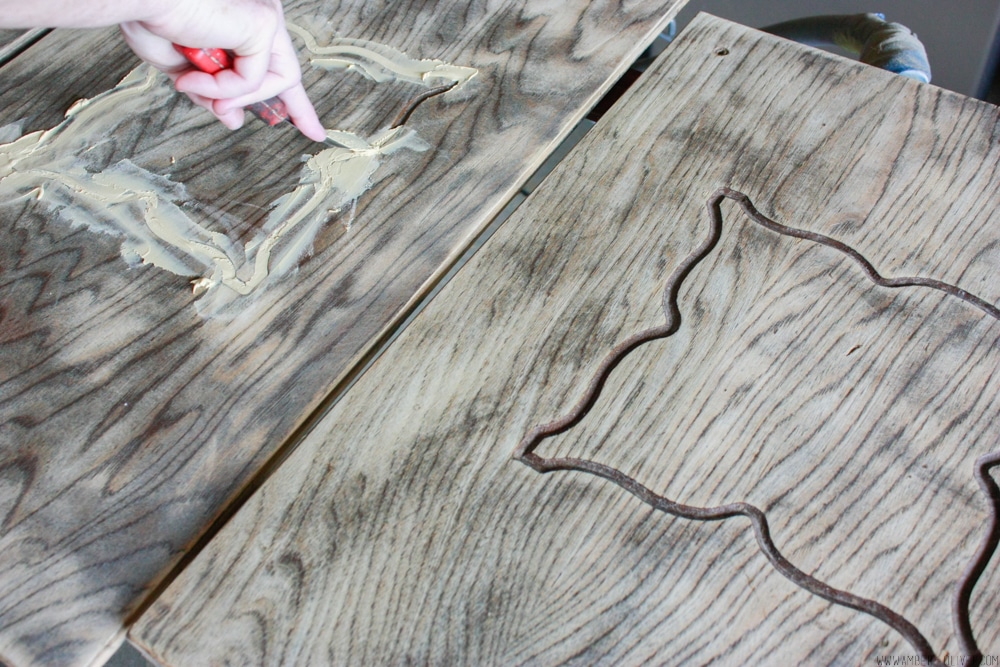
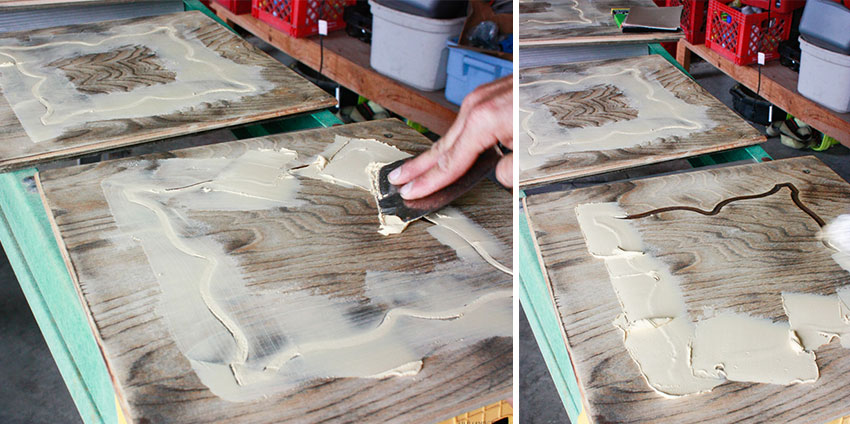
We used wood filler to smooth over the routed 1970s-style grooves on the cabinet fronts. If you’re planning your own cabinet door makeover, this step is key! My brother does auto body work, so he cranked through 10 doors while my mom and I managed… two.
Want more simple home updates like this? How to Paint a Table Without Sanding
This took two rounds. You fill in the design with the putty (thickly) and let dry. Then you sand off the excess and fill in a second time. After the second round is dry, sand again. Be sure you allow it to dry between rounds, otherwise you just move the putty around.
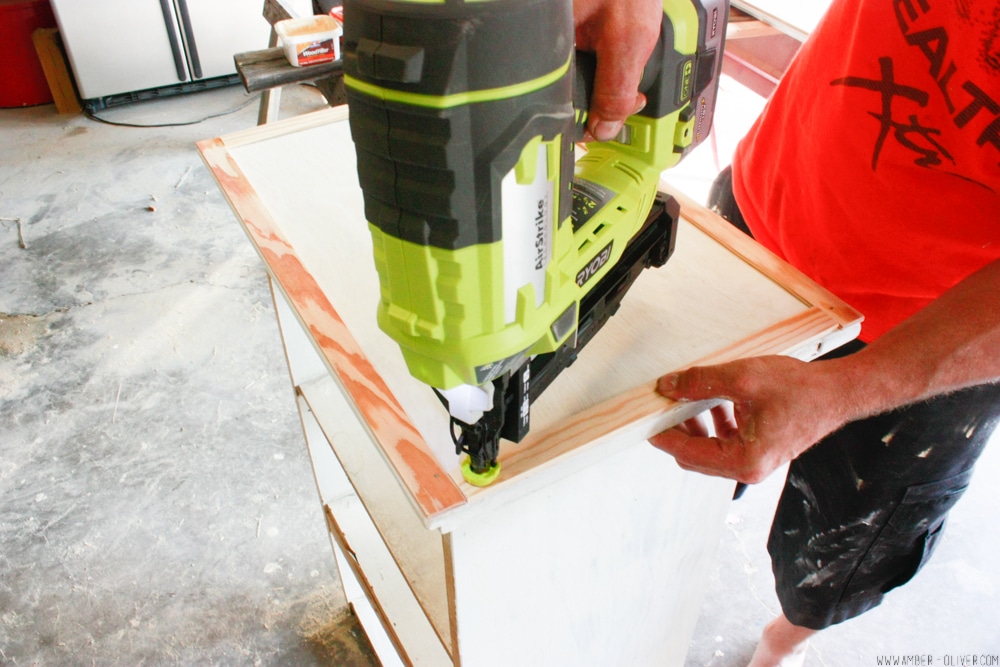
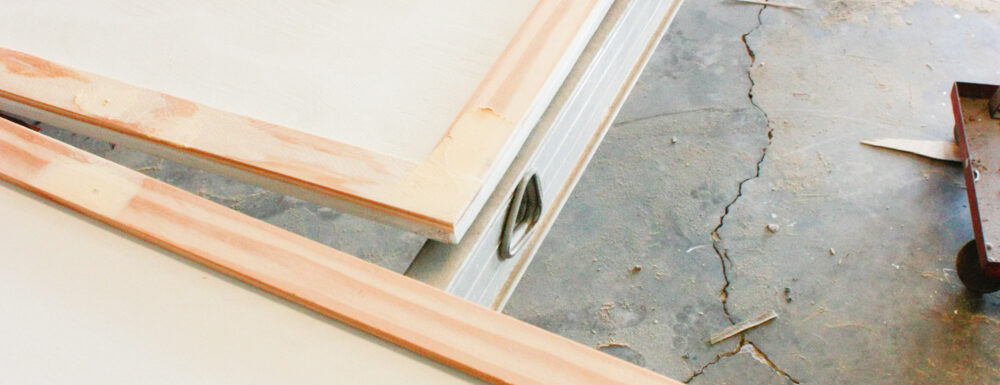
After the last of the wood putty had been sanded, we primed the cabinets and moved on to one last step. We wanted to add something to our now flat/smooth front cabinets so we trimmed them out for a faux shaker style cabinets or a craftsman style cabinet doors. Attach with wood glue and a nail gun.
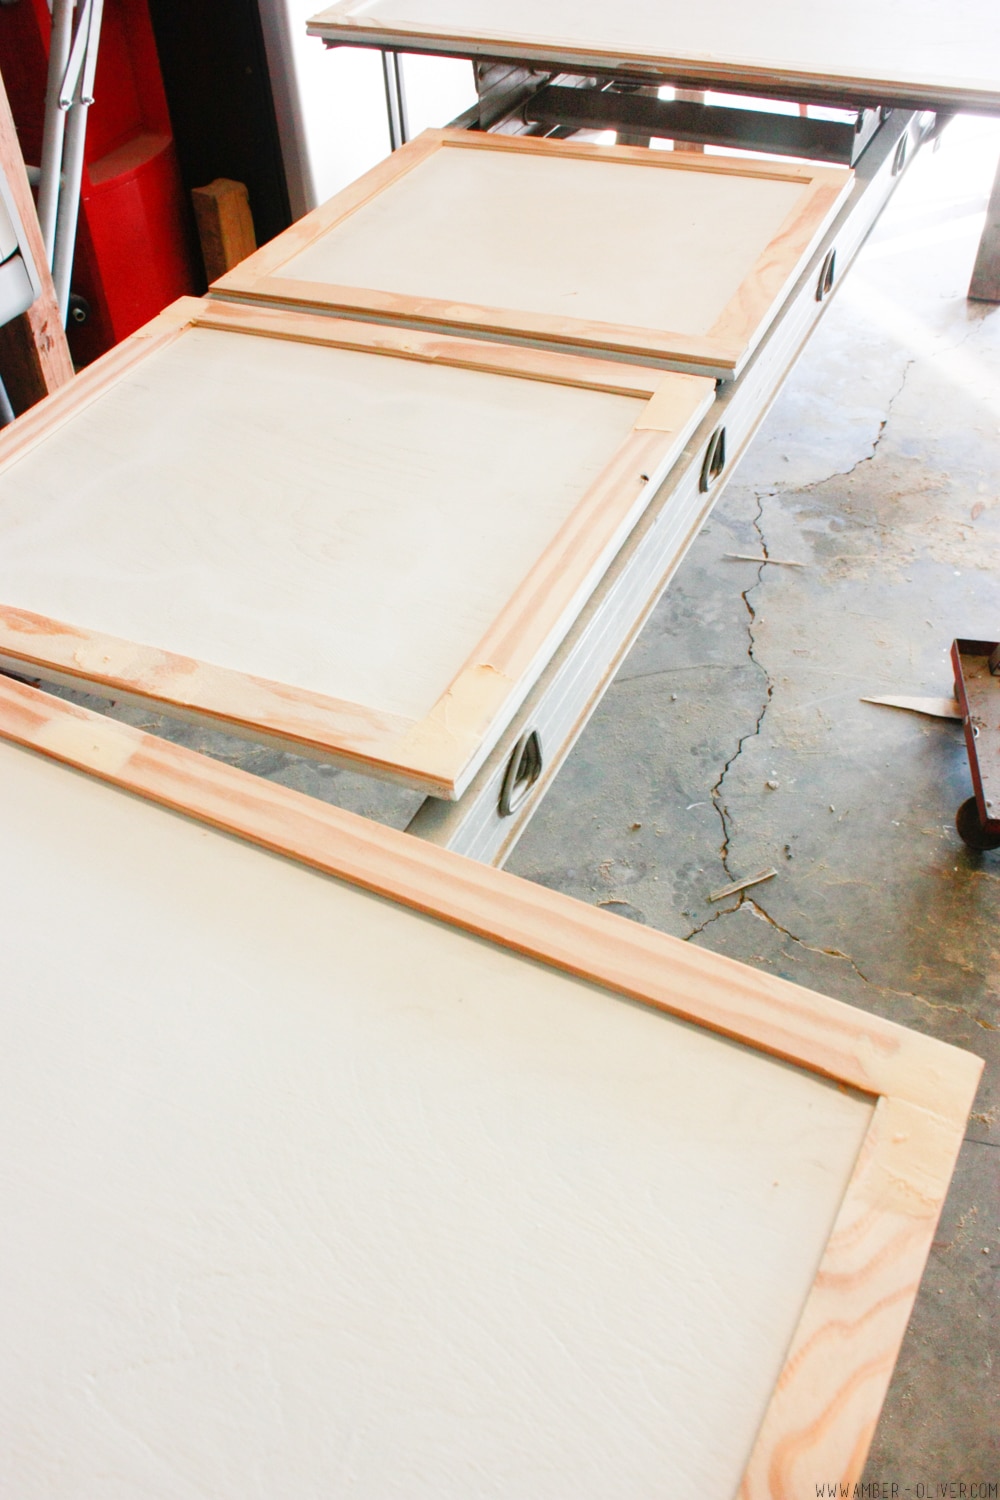
After adding the trim pieces, we used wood filler to fill in the cracks and also the nail holes. We then sanded to make sure sure we got a smooth finish.
Don’t miss our inexpensive wall art project – it uses cheap wood shims to make a giant statement piece! You can also get creative with these super easy, and fun to make, DIY Cricut crafts and home decorating ideas. There are 28 different projects to see!
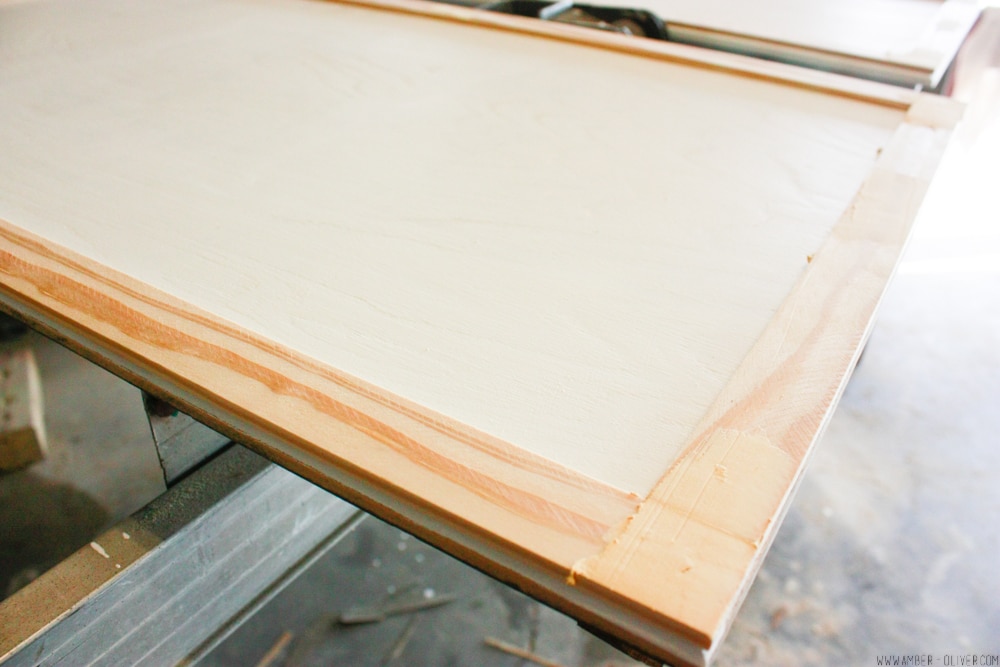
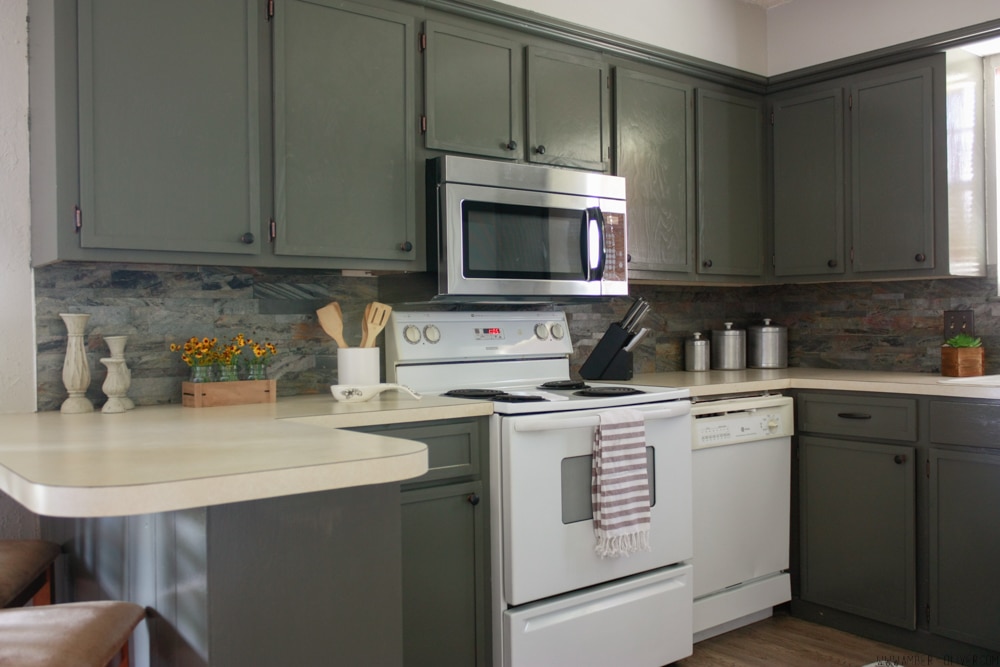
This step right here is what made all the difference! By redoing these cabinet door fronts, we were able to update old kitchen cabinets and completely changed the look of this kitchen! Preparing the doors in this way probably added an extra day to our work load but it was worth it! The trim cost around $100 but compared to the price of brand new cabinets – I think this is a great alternative!
Updating your kitchen? You may also like this countertop makeover: Paint a Bathroom Vanity + Faux Marble Countertop
Frequently Asked Questions
What is the cheapest way to update old kitchen cabinets?
Painting, swapping hardware, and doing a cabinet door makeover with trim and wood filler are affordable ways to modernize cabinets without replacing them.
Can I update routed cabinet doors to look like shaker style?
Yes! By filling in decorative grooves and adding flat trim, you can easily DIY shaker-style cabinets for a fraction of the cost.
Is wood filler durable enough for cabinet doors?
Yes, if applied and sanded correctly, wood filler can create a smooth, long-lasting surface—even on heavily routed cabinet doors.
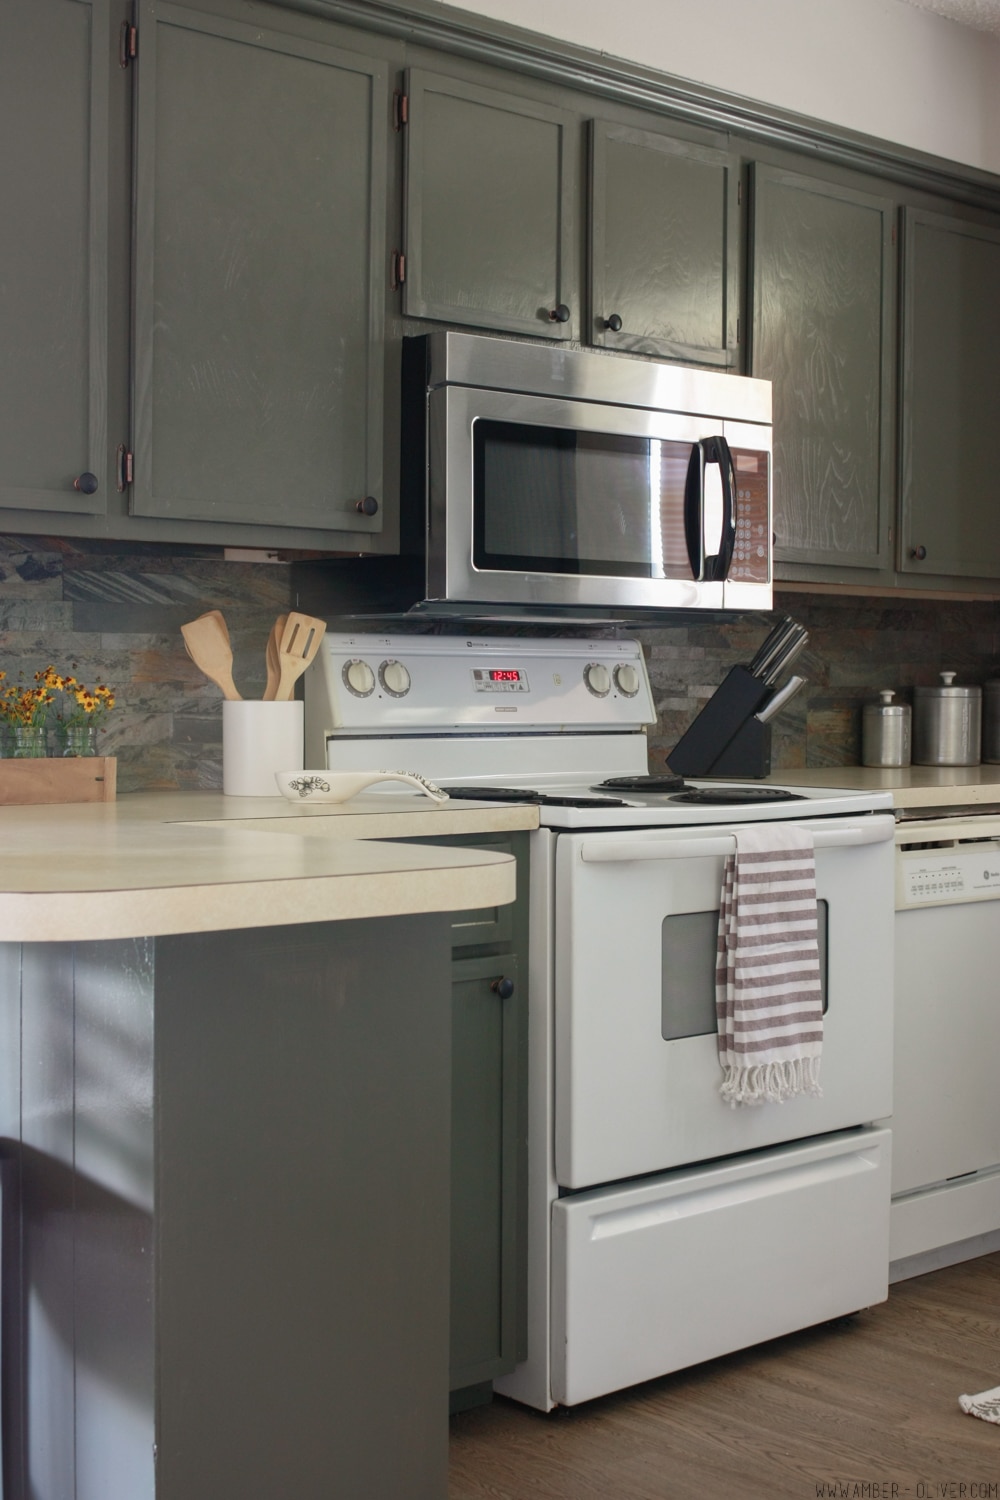
When you update old routed cabinet doors you can bring your kitchen up to date and go from an old or traditional look to a modern look. Instead of a light color, we went with a dark color. Here’s a link to several dark color paint options!
We made this project even easier by using a paint sprayer. I was able to get several coats of paint done and it didn’t take a long time at all. Be sure you paint both the front and back of the door. I also used a small foam roller on the cabinet face frame. This gave our paint a nice, professional look. It’s a good idea to use a paint sprayer if you can. You can get one for about $100 bucks and you’ll thank yourself for investing a little bit here!
Here’s another example of how to update routed cabinet doors. My mom had a few in her bathroom she wanted to change but didn’t want to do the shaker cabinets we’d done in the kitchen. For these, she took the old doors and added a 1/4 inch plywood panels and glued them right on front. She also sanded, re-stained to keep the wood grain look, and added new hardware. This is another simple way to update the cabinet faces.
Wallpaper your kitchen quickly and easily! Apply Peel and Stick Wallpaper
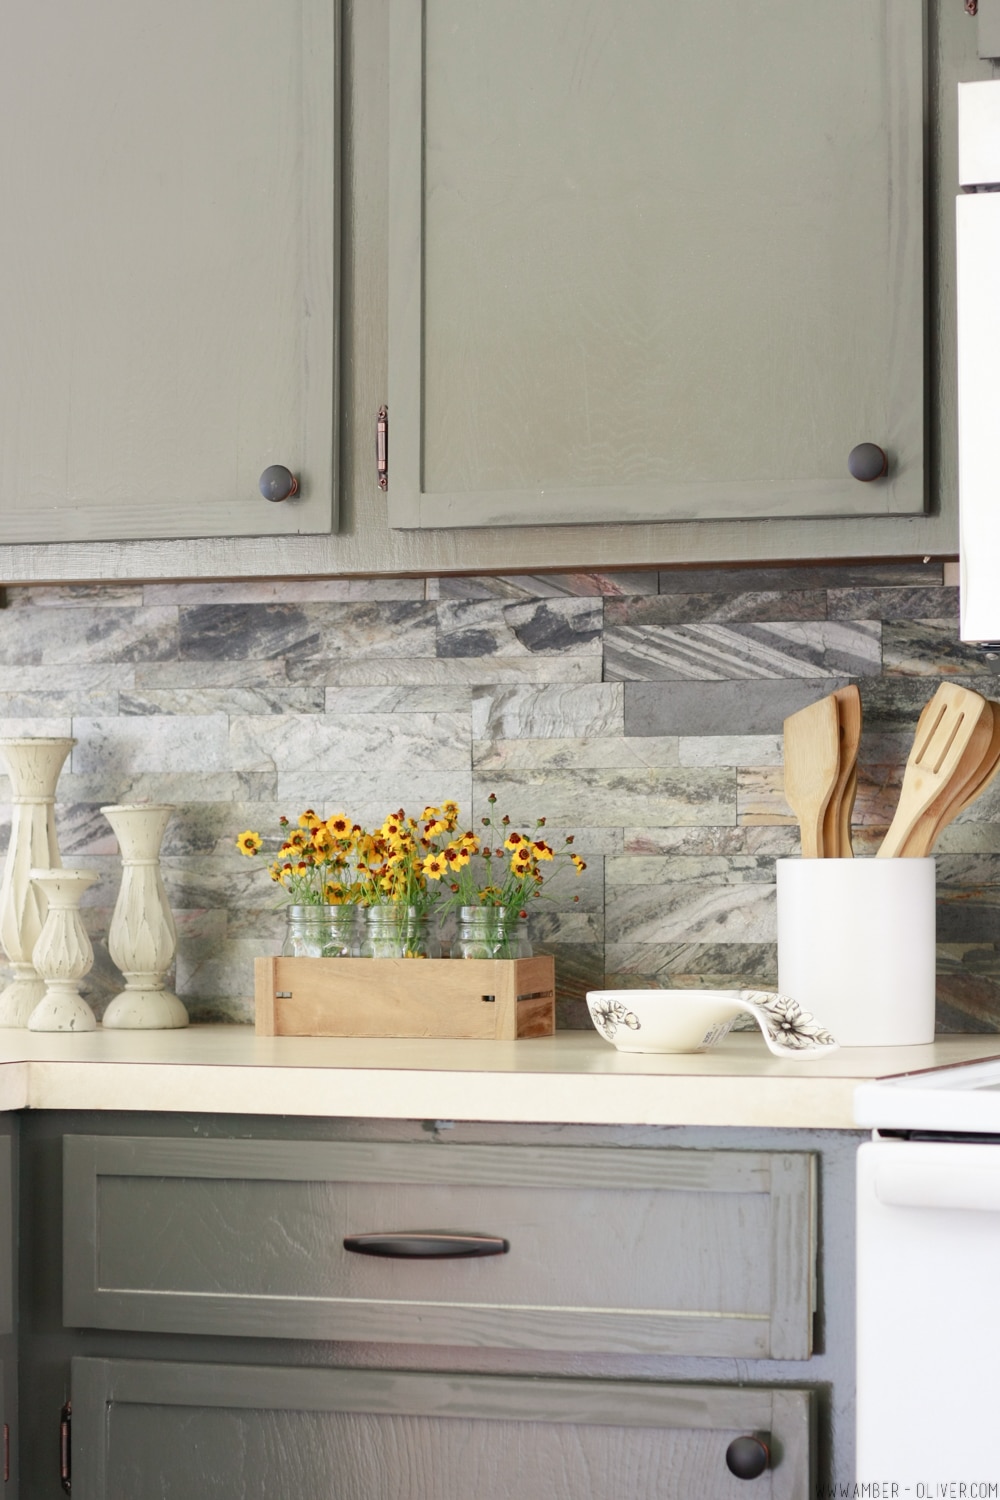
This DIY kitchen update completely changed the look of the room! Transforming old cabinet doors into shaker-style fronts gave us a modern look on a serious budget. We spent just $100 on trim—compared to thousands for new cabinetry. If you’re looking to update your kitchen cabinets on a budget, this is one of the best ways to make a big impact.
Check out the full kitchen makeover reveal!
You may also enjoy this post:
How to Install Peel and Stick Backsplash
Love DIY projects? We have 100s of projects to inspire you!
KITCHEN ARCHIVES
View our collection of kitchen related posts!

Lynn O'Hern says
What primer did you use?
Bonnie says
Fantastic job! And good for you for not tearing them out and getting new ones.
Enjoy your new kitchen!
Love the backsplash too.
Karen Smith says
Great job!!! Thanks for the inspiration—-my cabinets are next on my list!!!!
Christine Keating-Ingelse says
Pure genius! You’ve given new hope for every “distressed” kitchen in the world!
Amber Oliver says
Thank you!! I was pretty proud that my idea worked out, haha! I had to talk my family into it 😉
Pamela Dragoo says
This is exactly what I want to do to my cabinets. What are the dimensions of the wood that you used for the shaker look?
Maria says
It’s beautiful! What color is that ?
Brenda Burns says
Love this ,very conservative
Tonya says
What is the trim piece dimension?
Amber Oliver says
Hi! I believe they were 2 inch pieces 🙂
Patricia Vinson says
This amazing! Definitely will be trying this idea. We just recently purchased an house built in the 1800’s and have enough renovations just to make it comfortable for our family. We’ve also built an addition, we the new kitchen will be relocated. The cabinets that came with house are from the 70’s and really clash for the style are going for. And with a tight budget this is really going to help us out. Thank you. 😊
Amber Oliver says
Amazing! Good luck with your project!
Mt777 says
Great tips! I never considered painting my cabinet doors instead of replacing them. Excited to try some of these ideas to refresh my kitchen on a budget!
91 club says
Great tips! I never thought about using paint instead of replacing the cabinet doors entirely. I’m excited to try out the sanding technique you mentioned for a smooth finish. Thanks for the inspiration!
Mod App says
This post was super helpful! I never thought updating my kitchen cabinet doors could be so easy. The step-by-step instructions really gave me the confidence to try it myself. Can’t wait to share my before and after photos! Thanks for the inspiration!
S9 says
I loved this post! Updating kitchen cabinet doors seems like an achievable DIY project now. The step-by-step instructions are super helpful, and I can’t wait to try out some of the painting techniques mentioned. Thanks for the inspiration!
Lucky 33 says
I love the ideas shared in this post! Updating my kitchen cabinet doors has been on my to-do list, and your tips are so helpful. The step-by-step approach makes it seem manageable, even for someone like me who’s not super handy. Can’t wait to give it a try!
TIRANGA says
This post was super helpful! I never realized how easy it could be to update my old cabinet doors. The tips on choosing the right paint and hardware made a big difference. Can’t wait to try this in my kitchen!
CLUSTER says
Great tips! I never realized how much a simple paint job could transform my kitchen. I can’t wait to try out the idea of using new hardware for an updated look. Thanks for sharing!
101 lotte says
Thank you for the detailed guide! I’ve been wanting to update my kitchen without a complete remodel, and this post has given me the confidence to tackle my cabinet doors. I appreciate the tips on choosing paint and hardware. Can’t wait to get started!
sm605 says
This post is super helpful! I never thought about simply updating the cabinet doors instead of a full remodel. The tips on choosing the right finish and hardware were especially useful. Can’t wait to get started on my kitchen!
Y89 says
Great tips! I never thought about using paint to refresh my cabinet doors, and your step-by-step guide makes it seem so doable. Can’t wait to try this out in my kitchen! Thanks for sharing!