Last updated February 28th, 2022 at 06:09 pm
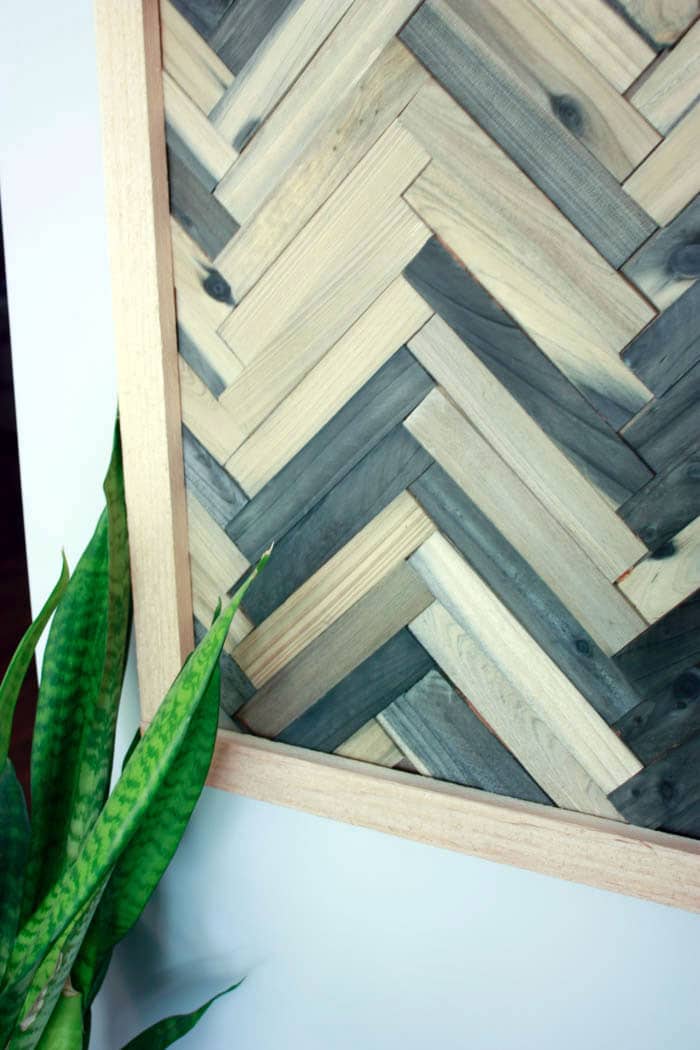
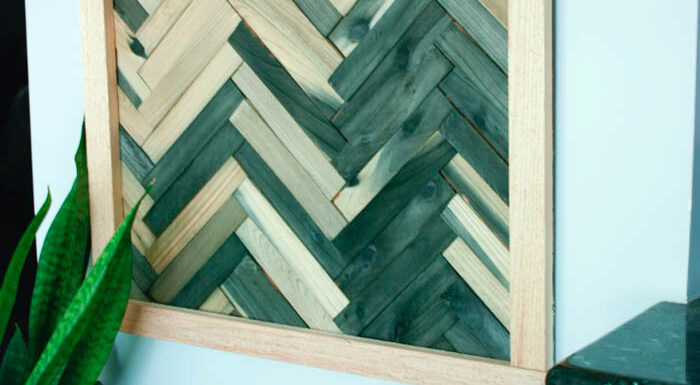
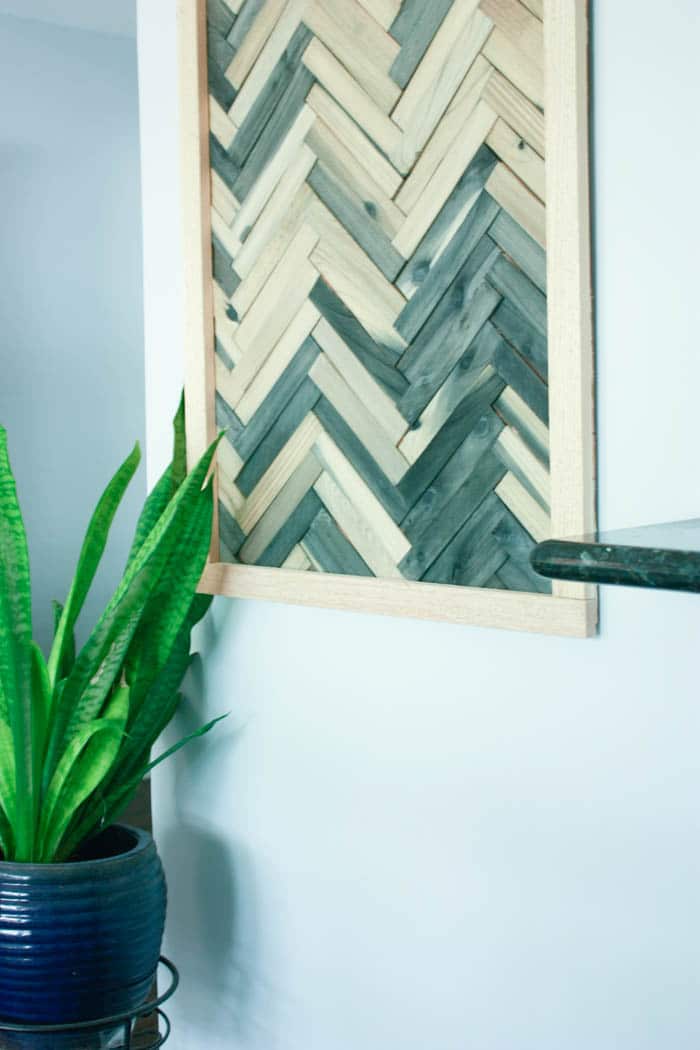
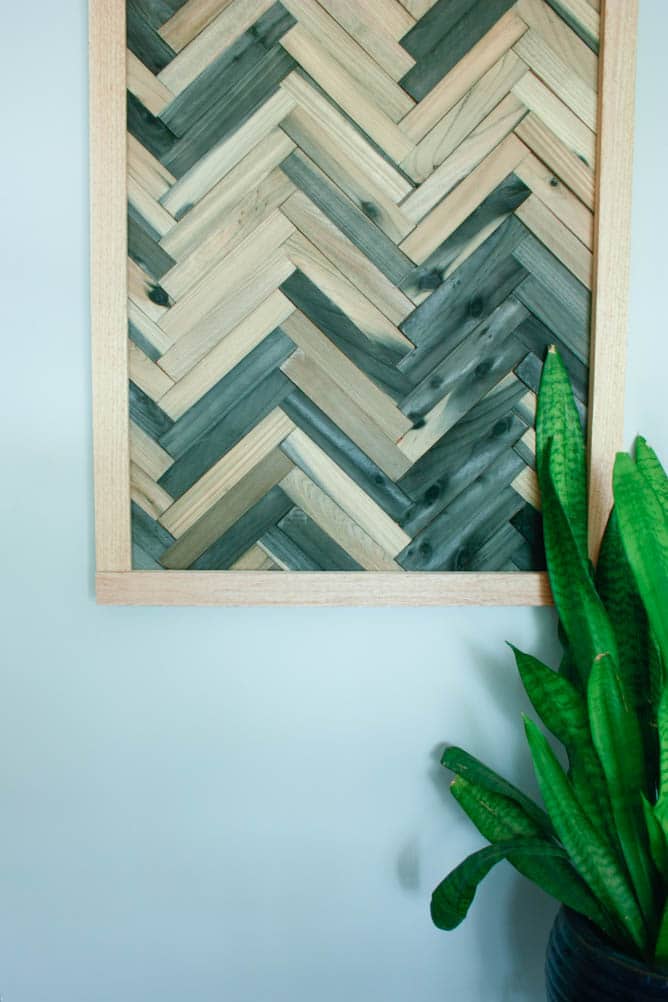
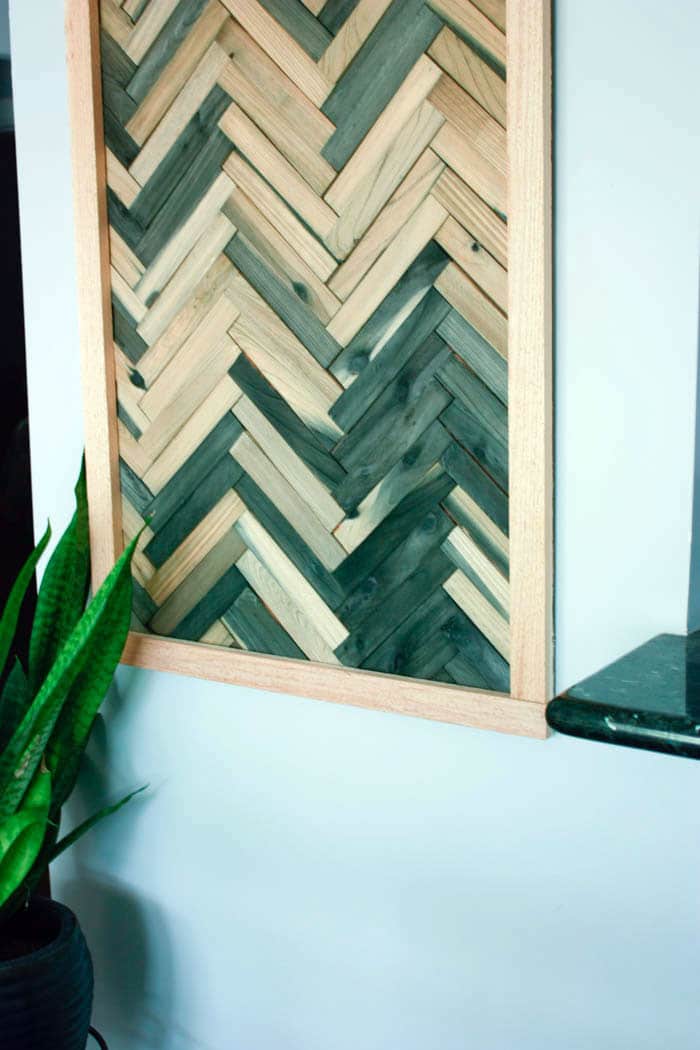
I used wood shims to make a quick and easy DIY wood wall art. I didn’t waste time staining each piece – check out what product makes this project even easier!
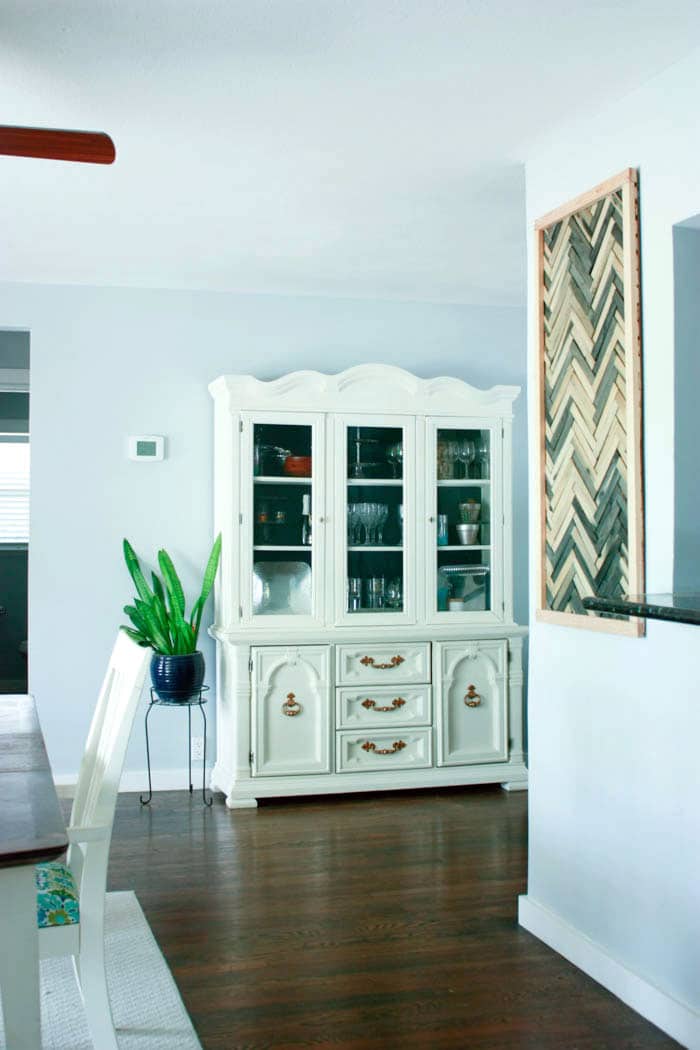
I have the most awkward wall in my dining room. In fact, it was so awkward that we weren’t able to make that room the living room and resigned it to be the dining room.
It’s actually worked out really well having the dining room the first room when you come in our home, but there was a big. blank. wall. that greeted you. With a big ‘ol hole in the middle. Which made it really difficult to decorate. Besides, if i’m completely honest, I kinda hate decorating anyway. So I put it off.
Now we’ve been in our home for over a year and decided it was time to do something – enter my DIY wood wall art. While the materials used in the project are pretty genius (umm hello – less than $20!!) the paint/stain was the BEST part.
But it actually wasn’t paint or stain. I used Better With Age Vintage Wood Mercantile Salvaged Timber by Amy Howard – whew quite a name but it’s seriously amazing! I wanted the look of different color woods for my DIY wall art, but did NOT want to spend the time staining each of the pieces individually. This stuff made the process SO SIMPLE.
DIY Wall Art - Cheap and Easy Wall Art Using Wood Shims
DIY Wood Shim Art a cheap and easy wall art idea!
Materials
Tools
Instructions
- I used a hardboard tempered panel for 2 reasons: 1. I already had it and 2. It’s thinner and more lightweight than plywood. We cut ours to 2’x4′. Home Depot will cut this down for you in the store!
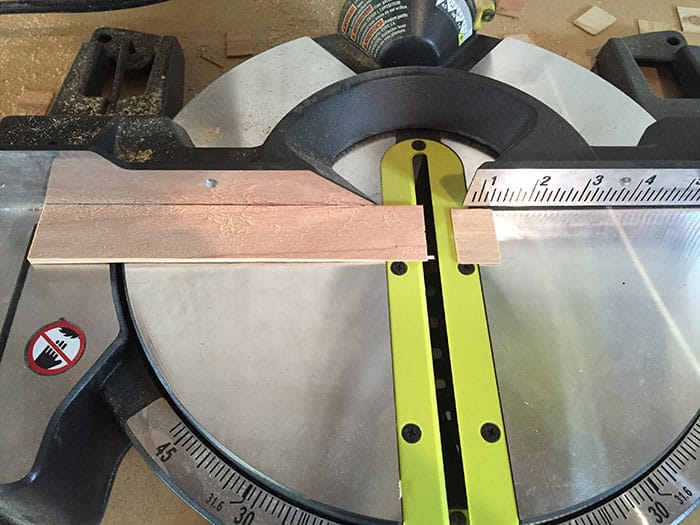
- You are about to make a LOT of miter cuts. Crank up the radio so you can hear it through your earplugs and get to cutting. The miter saw used to scare me a bit (I had a little accident with one last year and shed a little blood) but after about 150 cuts I was feeling pretty ok with this tool!
I used the ruler on the miter saw to cut my wood shims in half. I had to make 2 cuts to make sure they were even. I simply lined it up with the groove on the left, made a cut, moved the piece on the right over, and made a second cut, then hoarded for an undetermined future project discarded the tiny left over piece. - I had Eric line it up so I could take a photo, but I made all the cuts 😉
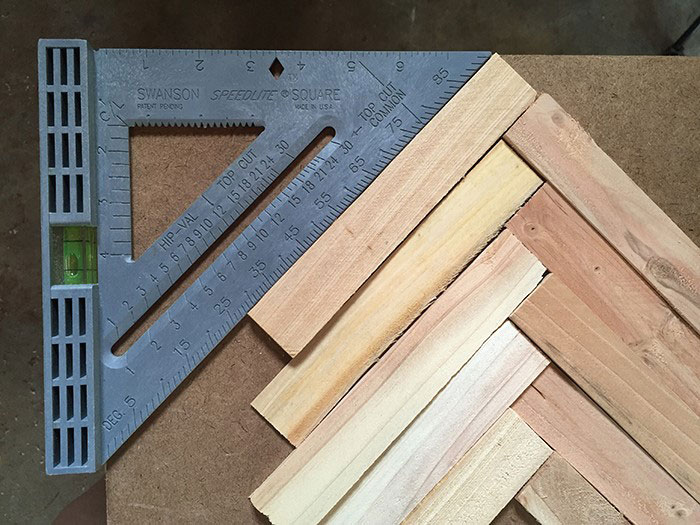
After you’ve made all your cuts, it’s time to lay out your design. We used a speed square so we had a 45 degree angle to line up the first board.
After the 1st board is lined up, the rest fall into place. Lay the 2nd piece at the end of the 1st, pointed down, to make an arrow up. Then put the 3rd piece under the 1st and repeat the process. - We laid our design out and then started gluing. Your pieces will overhang the edges, but you’ll trim those off later. Make sure you give the wood glue plenty of time to dry.
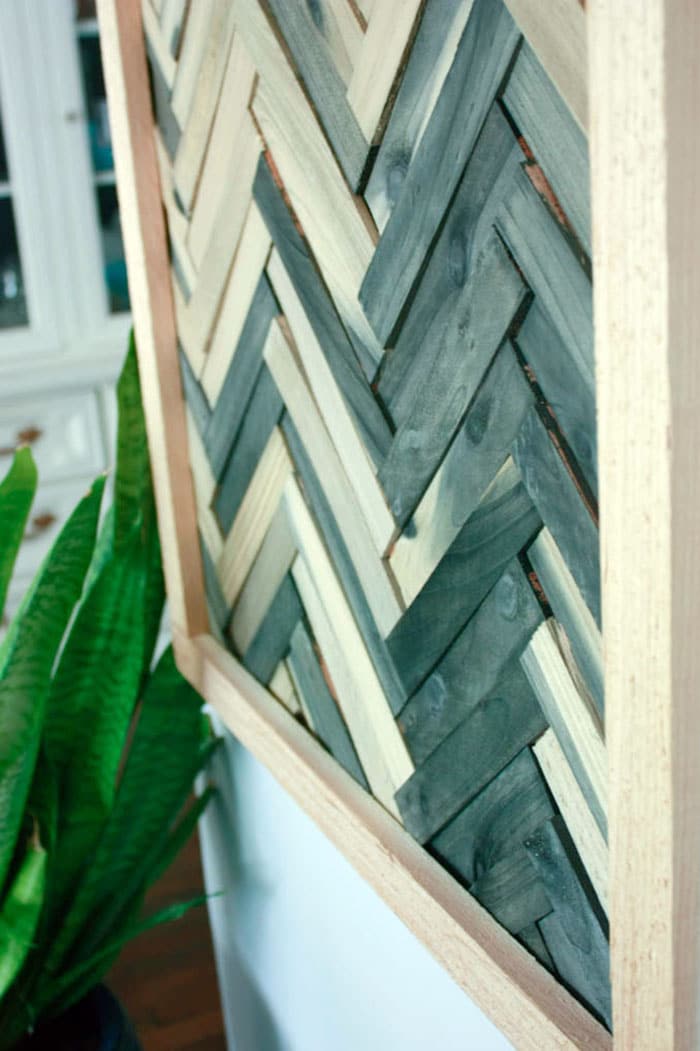
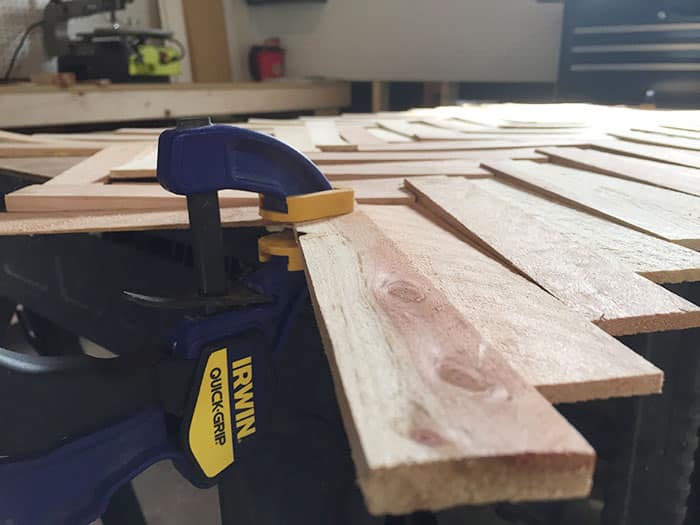
We didn’t use clamp or anything heavy on the pieces, simply applied glue the pressed them into place gently. Be very careful not to push your design around, you want all your pieces to line up so you’ll get the cool herringbone look. - Once you get to the edges, you’ll need the wood clamps to hold some of the pieces in place. Don’t worry if there are tiny holes, we are going to cover that with trim pieces. Note: the wood shims are angled so one end is thinner than the other. We alternated the thin and thick pieces so it really gives this piece of DIY wall art some dimension.
- The last building step is to attach the “furring strip boards” to make a frame. We cut the top and bottom at 2 feet and adjusted the sides to a little less than 4 foot so they all fit around. After you are done building it’s time for the paint/stain!
THIS STUFF IS AMAZING! Simply brush it on and watch as the magic happens! It reacts with the tannins in the wood so some pieces turn out darker. It gives the piece an amazing look! Just what I was going for, but I didn’t have to paint or stain each piece individually! I even shared a quick video on Instagram!
After you get it stained, let it sit for a day or so to make sure it’s dry and to let it air out a bit. Then hang your DIY wall art with these d-ring picture hangers.
Follow me! INSTAGRAM | TWITTER | FACEBOOK | BLOGLOVIN
Don’t forget to PIN for later!
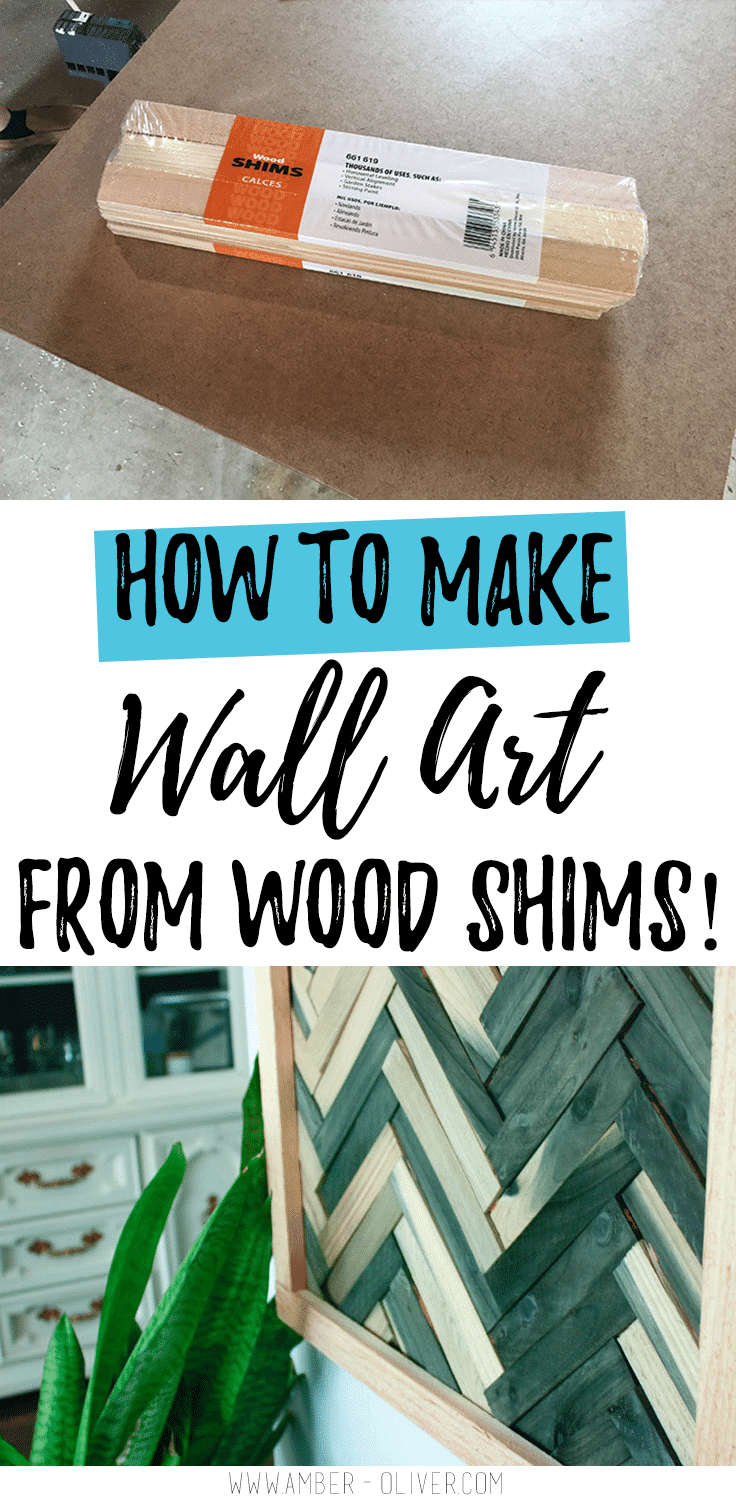
Shop this project:






donna says
I love this piece! Did you get the colors, from the very light wood to the dark teal shade, all from brushing on this Better With Age product?
Amber Oliver says
Hi Donna! All I used here was the Better With Age! All the pieces turned out differently with it.
Beth Hanson says
I really like the way this turned out. I’m glad to know about the Better With Age finish.
Nicki Parrish says
This is awesome! Great job, it looks great on your wall.
kandice kullmann says
this is such a cool project!looks great on your wall!
Melanie says
So cool! What colour is the wood after the treatment? It looks a little blue/tealish? Or is it grey?
Amber Oliver says
It depends on the type of wood, what color it turns out! That’s why I call this stuff magic! I recommend testing it first 😉
creaconstruyereciclarestaura says
Maravilloso trabajo, me quedo de seguidora en su blog creo comparto las mismas aficiones y puedo aprender mucho. Un saludo
Amber Oliver says
¡muchas gracias!
Jamie Mitchell says
You didn’t mentioned how or when you trimmed off the edges?
Amber Oliver says
Hi Jamie! I see I just mentioned trimming the edges but didn’t tell ya to use a circular saw or jig saw – sorry about that! I will edit to add that!
Jan Braddy says
Why do you need to cut the shins at both ends, or at all?
Amber Oliver says
I wanted more to fit across so it had more of a design 🙂