Last updated September 16th, 2019 at 05:35 pm
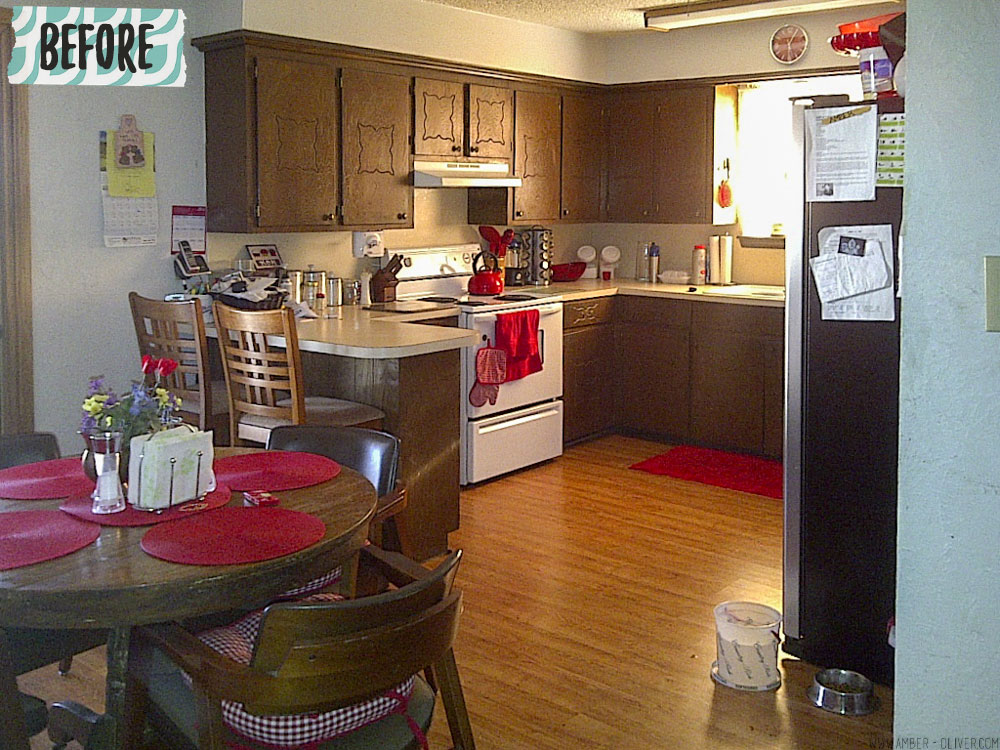
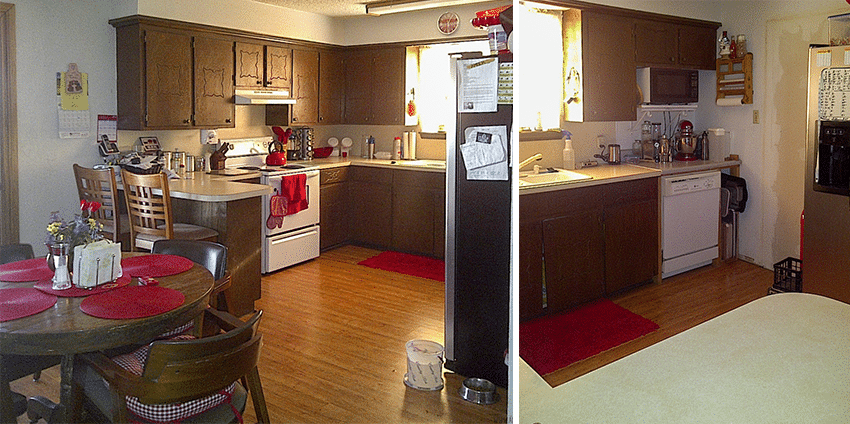
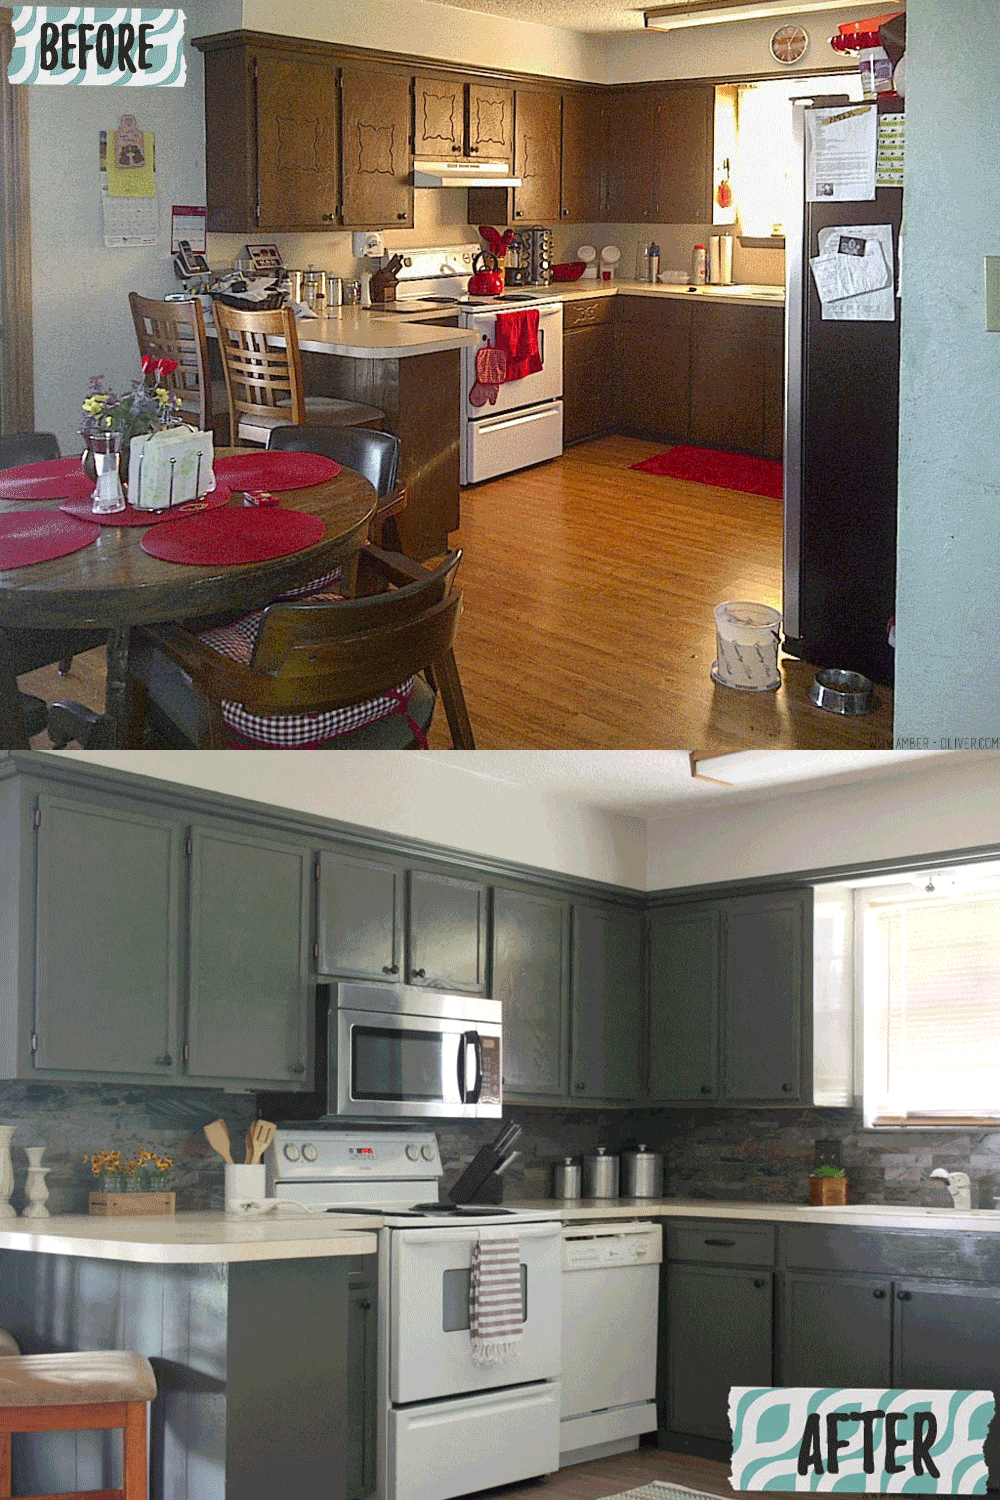
If you follow on Instagram and Facebook, you’ve seen some sneak peeks of what we spent the last week working on! I spent a week back in Oklahoma doing a kitchen remodel in my mom’s house. The before photos show we had a bit of work to do:
We had a few things to change:
The cabinets were dated. They were in okay shape, but the design on the front screamed 1970.
Nothing wrong with the counter tops and backsplash – just a little boring. Same with the cabinet color.
The dishwasher was added in the corner where the refrigerator originally went and was never fully finished. There was a “cabinet” added to the right of it but no door or finishing.
The counter over the dishwasher didn’t match.
The door to the laundry room was filled in, but the wall was never finished.
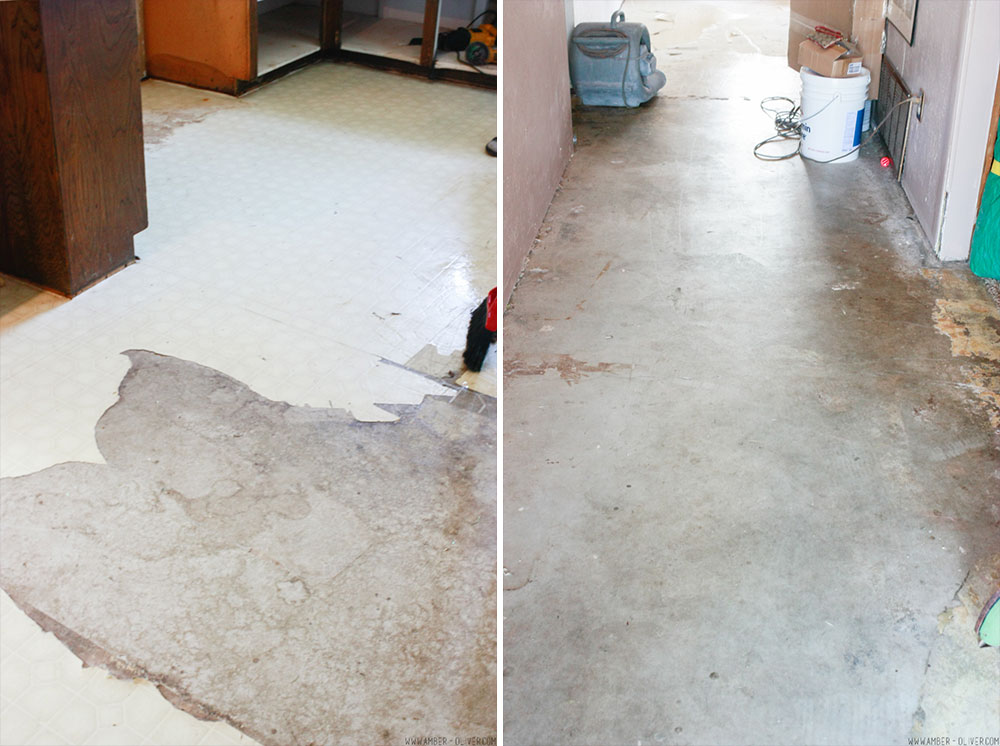
The flooring…. This is what it looked like when we started the remodel:
The water heater malfunctioned and flooded the house. All the laminate flooring had to be pulled up as well as the baseboards and the sheetrock had to be repaired. It was a mess. Since my brother was living in the house and had a newborn baby, I jumped in to help.
The floors were the top priority, but after talking to my mom who owns the house, we decided this would be a good chance to go ahead and make some updates to the kitchen with a full kitchen remodel!
The first thing we did was remove all the cabinet doors and take off all the hardware.
I read a lot about painting kitchen cabinets and there are all kinds of recommendations. Instead of cleaning and using a deglosser, we used an electric buffer with 80 grit sandpaper to cut through through EVERYTHING. That saved a bit of time, and got us to the bare wood with no problems. This worked way better than the orbital and palm sanders we tried.
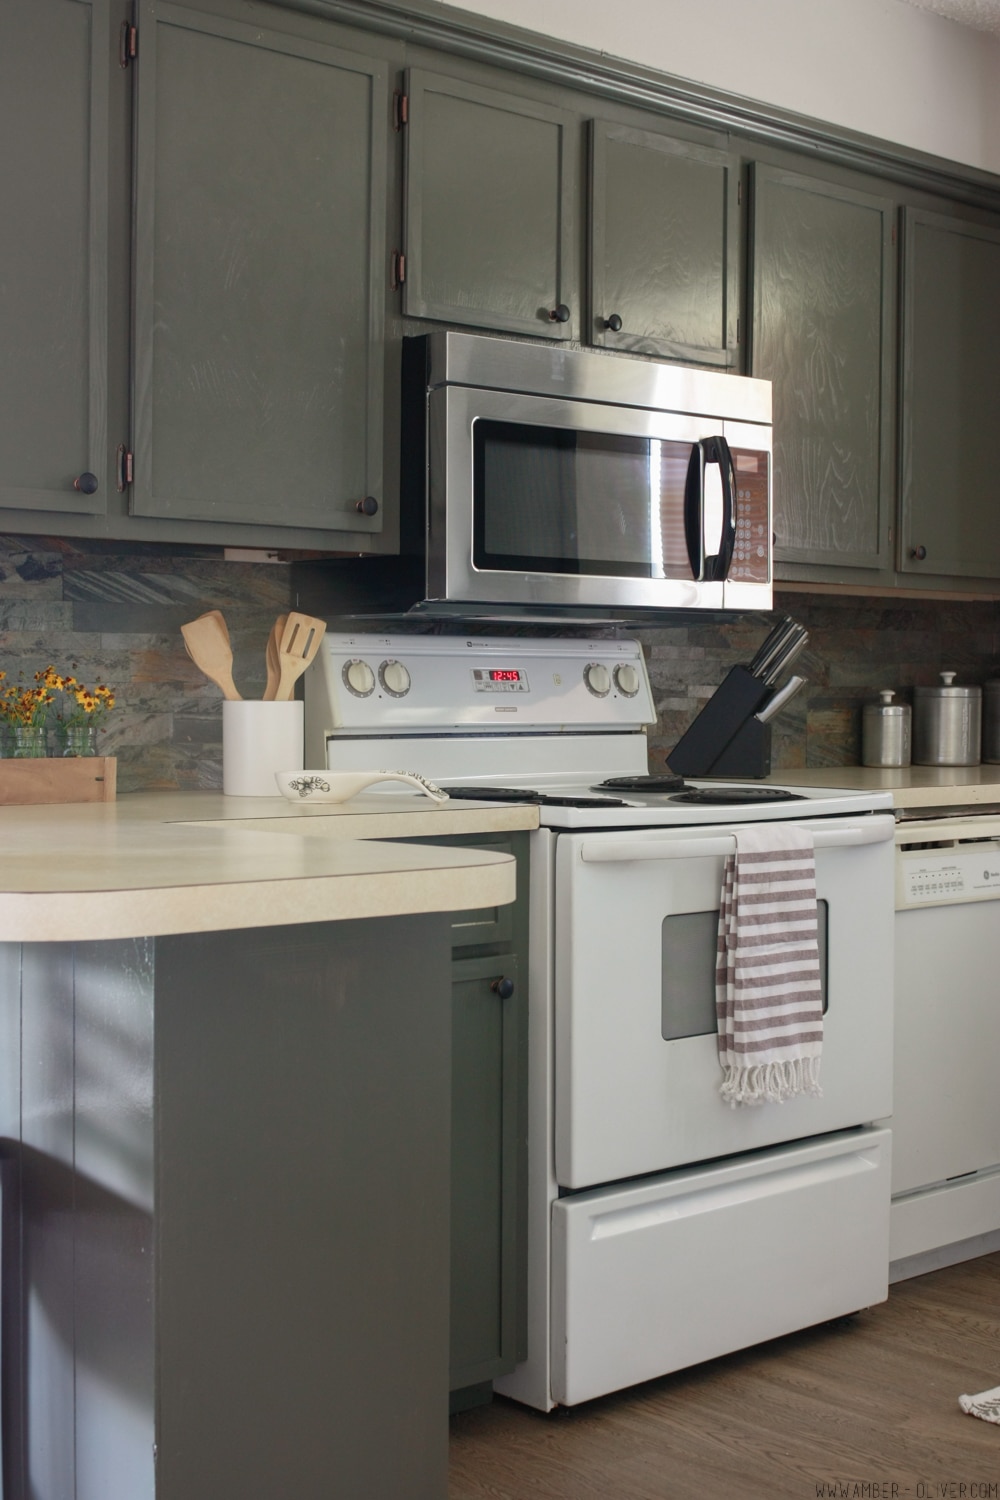
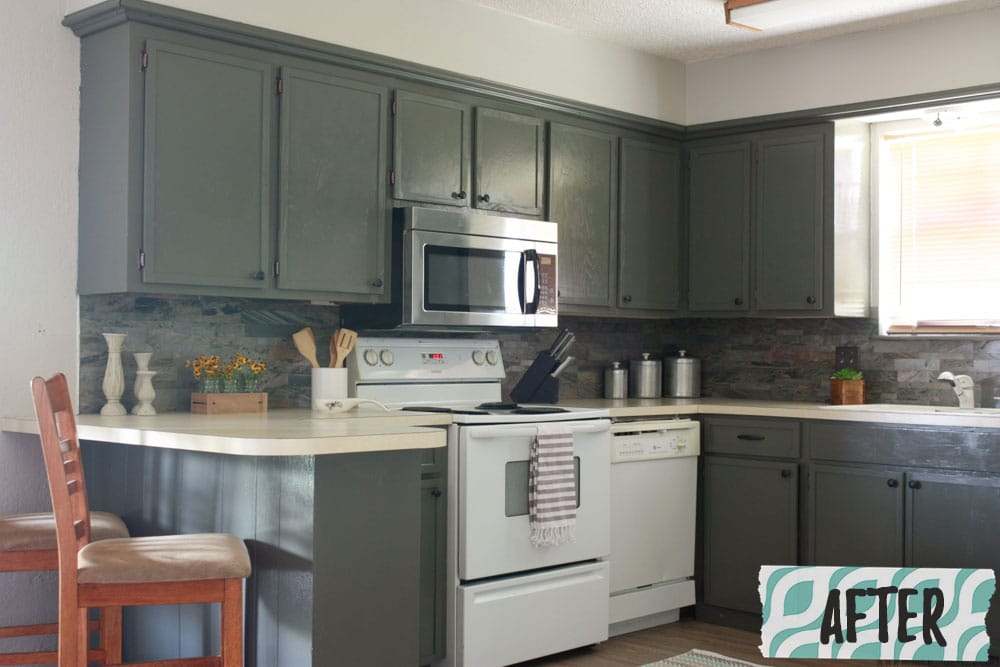
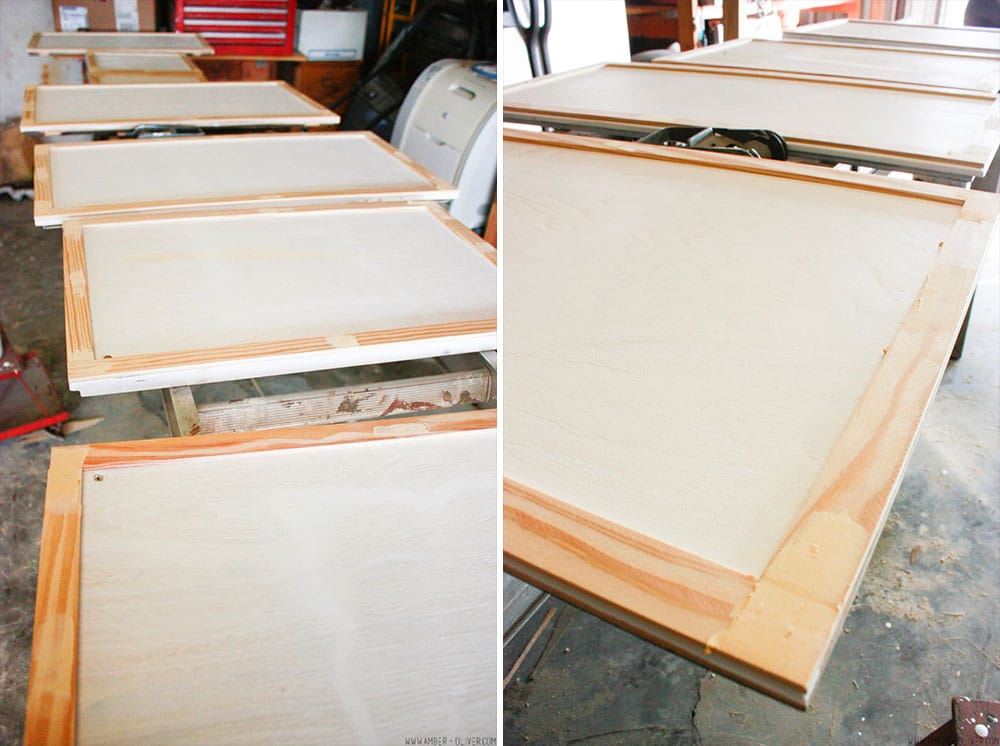
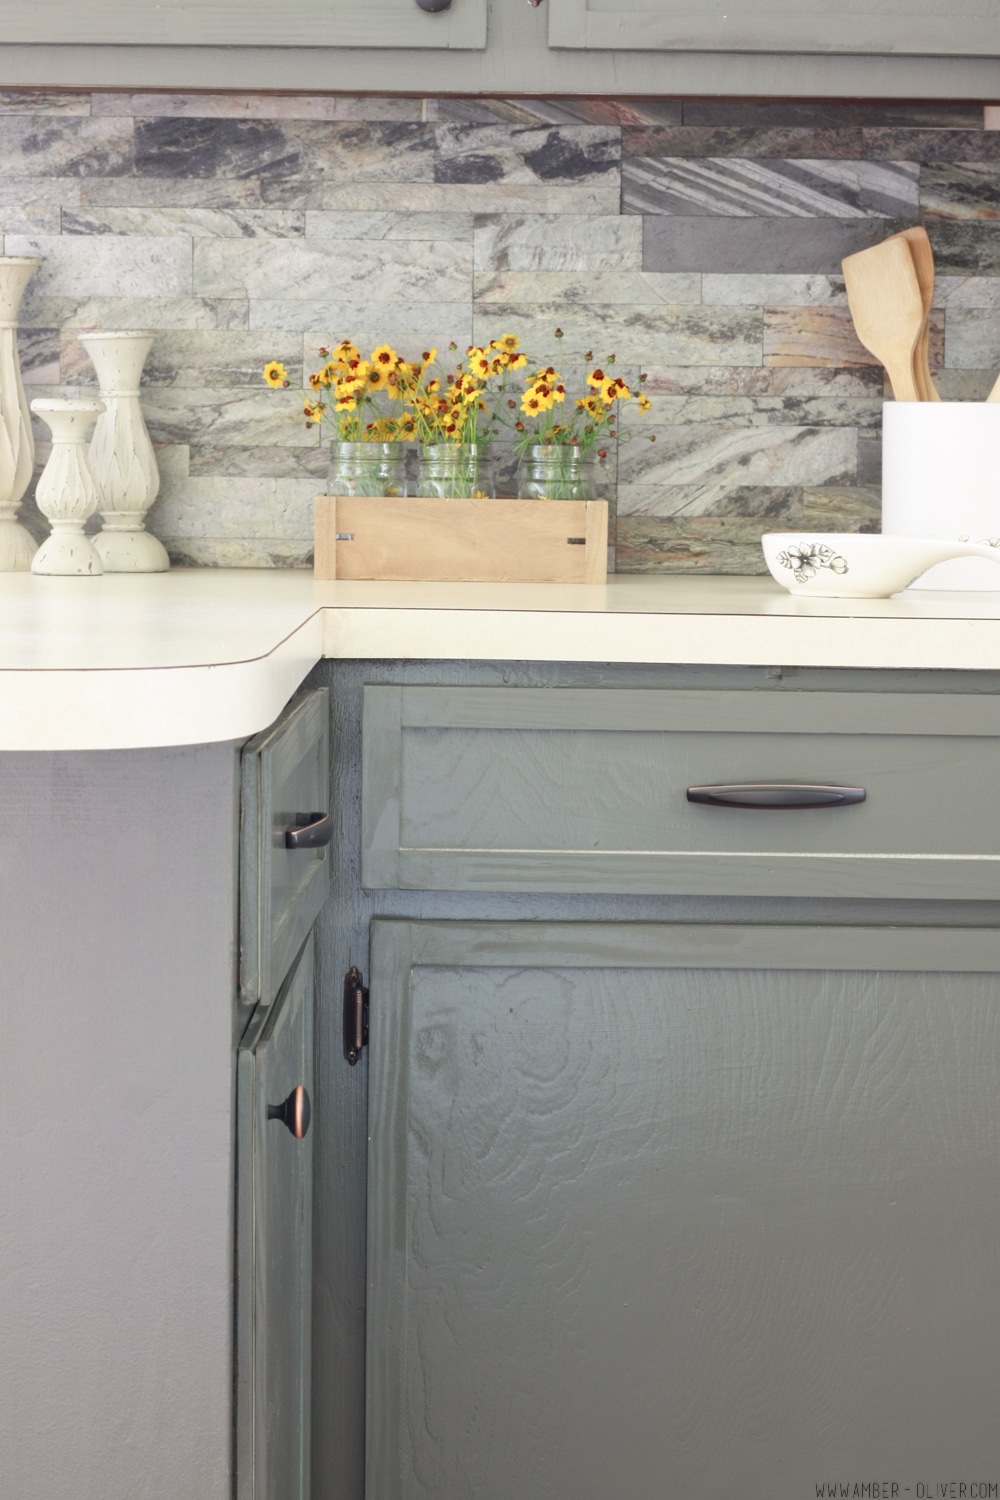
We did quite a makeover on the cabinet doors. Since brand new cabinets were WAY out of budget, we had to “doctor” ours up a bit. We filled in the 70s designs on the cabinet fronts and added new trim to give the cabinets a completely different look. Check out the full tutorial to see all the details on updating these dated kitchen cabinets.
Back inside, we were finally ready for paint! We had our paint we picked out from Benjamin Moore, and were dying to get started. The cabinets had all been sanded and primed so we started painting! I’d read that we could skip the priming, but after all the work we’d put in, we didn’t want to take a chance. We used these paint edgers in the kitchen and they were perfect for getting into corners and also quick and easy to run along the thin vertical pieces between the cabinet doors.
Outside with the cabinet doors, we used the Home Right Finish Max Paint Sprayer and HOLY MOLY THIS THING ROCKS. It seriously took less than 10 minutes to paint ALL THE DOORS. We sprayed a coat before quitting for the evening, then added a second coat the next day. After letting it dry for several days, they were perfect when it was time to mount the hardware and put the kitchen back together! Not only was it super fast, there were NO BRUSH STROKES!
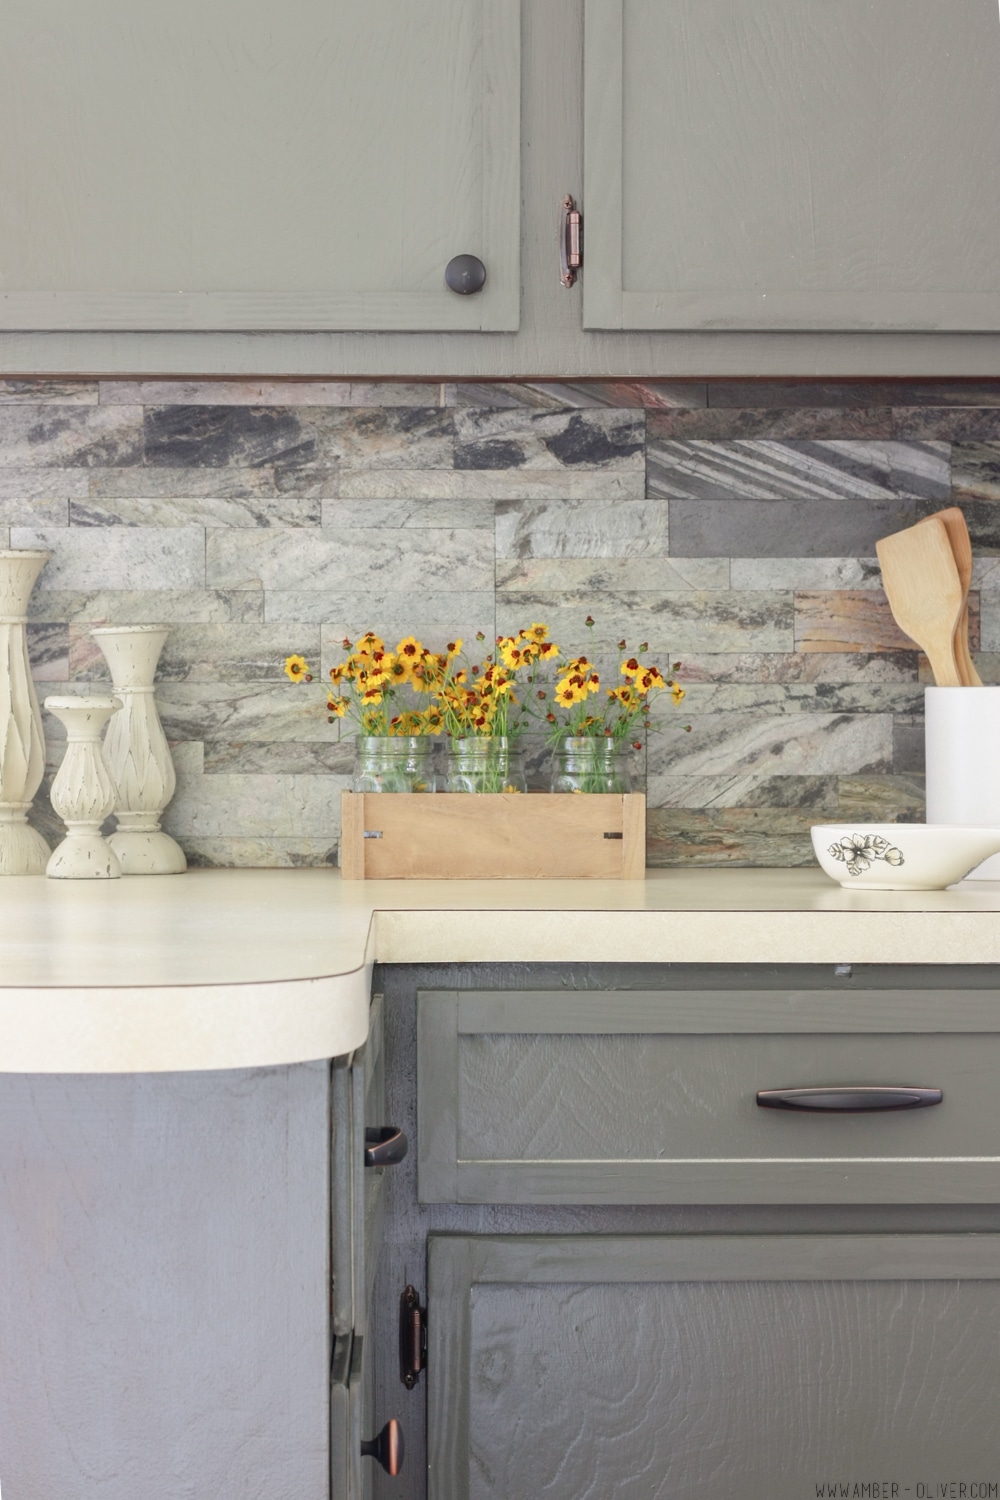
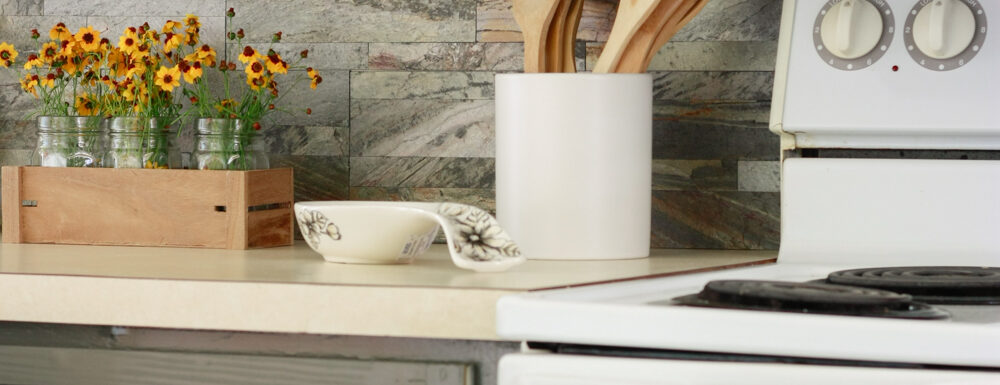
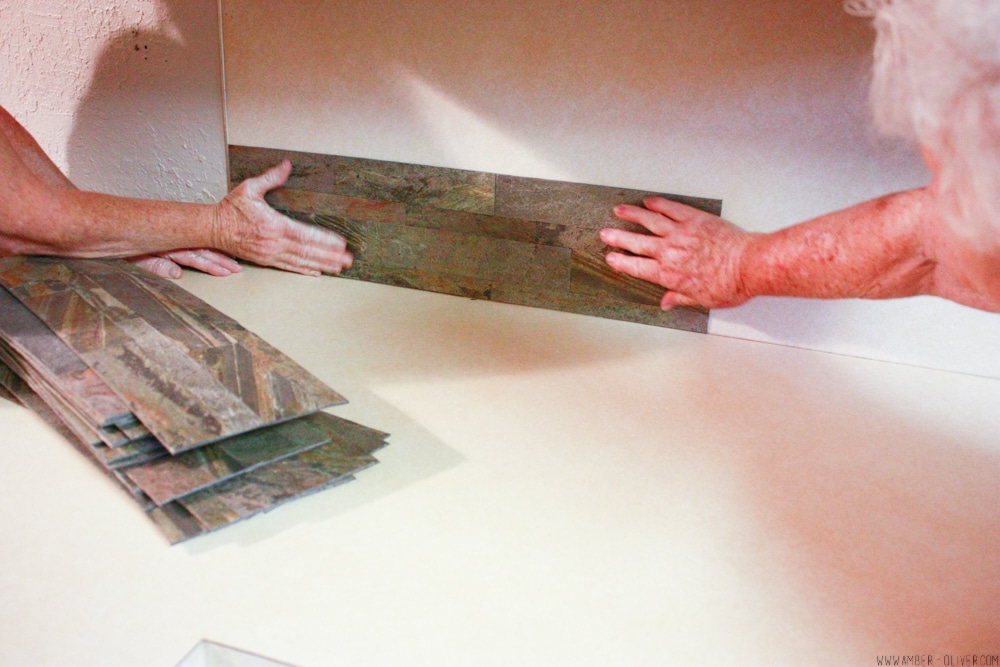
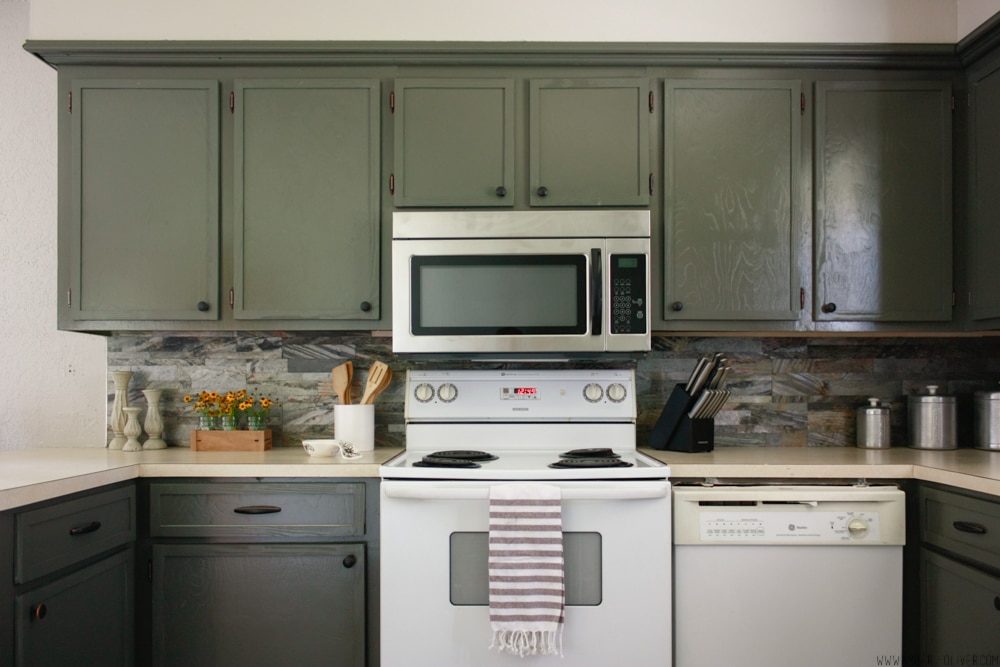
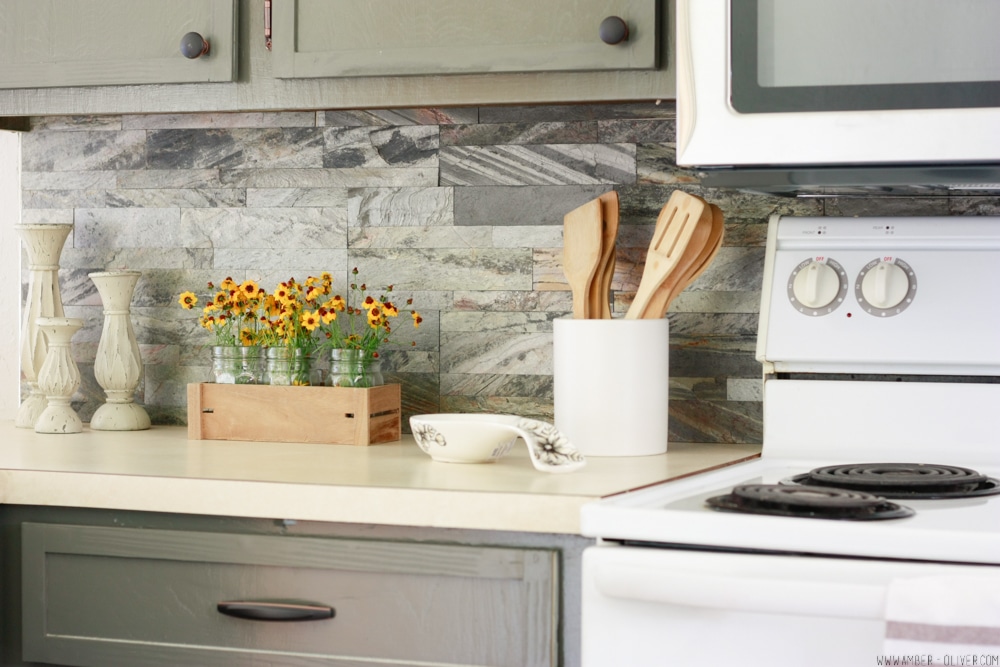
The backsplash was the finishing touch, and this was the easiest thing we did for the entire project. We went with peel and stick tile from Aspect Tile and they were super simple to install! No grouting or tiling experience necessary. You literally peel the back off and stick them into place and you’re left with a beautiful backsplash. They were well worth it for the ease of installation and they look amazing! My mom and grandma got these put up in about 30 minutes. I shared a tutorial for how to install peel and stick backsplash – it’s almost too simple for the post though!
After the backsplash was done, we laid the new flooring and installed new baseboards. Then this room was ready for the big debut!
What do you think of this kitchen remodel?
 [/one-half-first][one-half]
 [/one-half]
[one-half-first]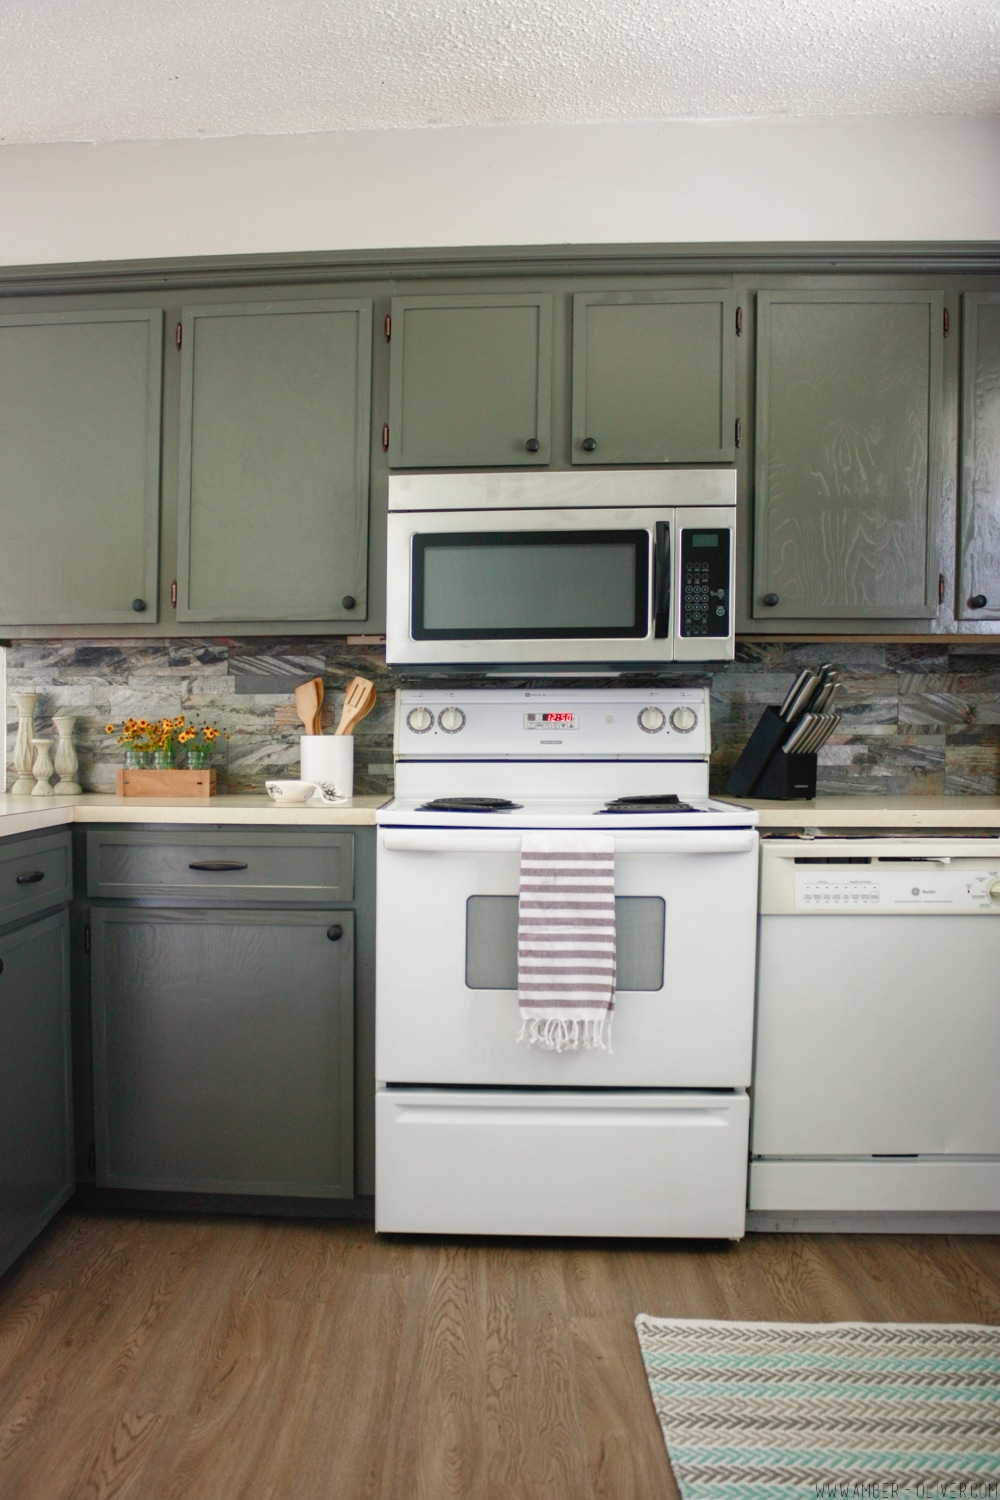
Project Summary:
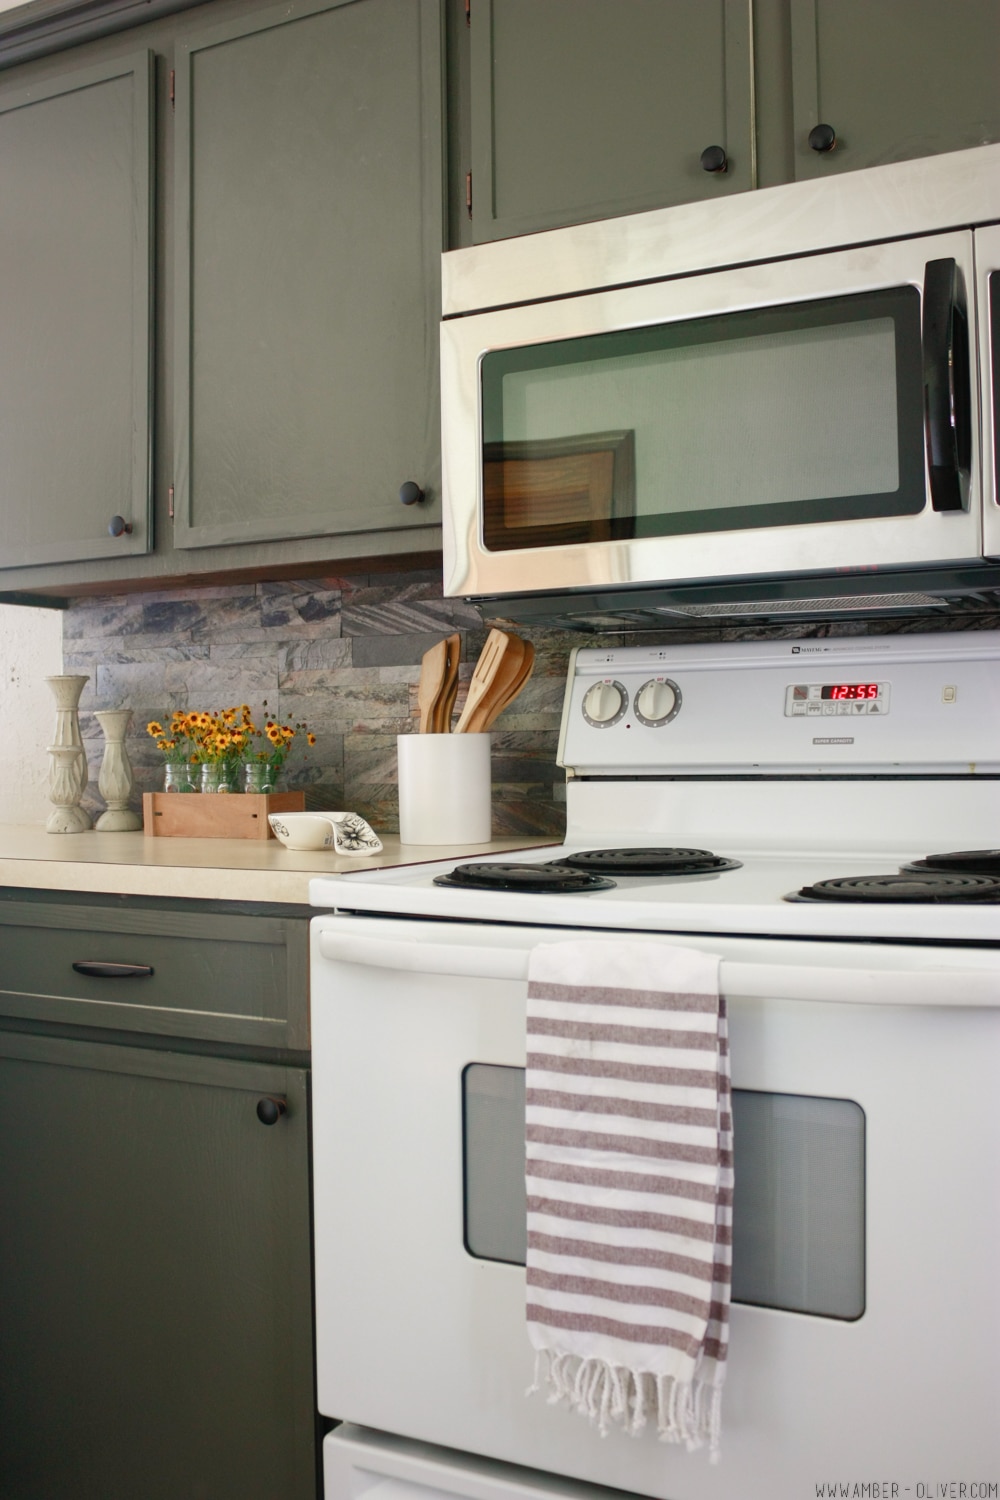
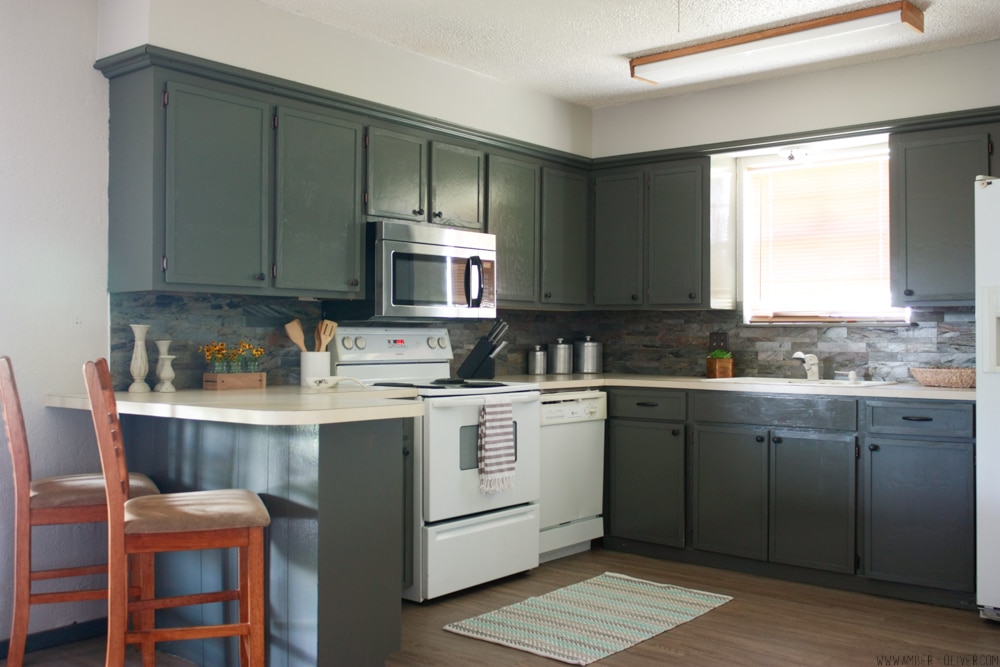
Painted the kitchen cabinets in Mohegan Sage c/o Benjamin Moore
Repainted the walls in Revere Pewter c/o Benjamin Moore
Put down new flooring (Dovetail Oak by Mohawk)
Installed new backsplash– Weather Quartz c/o Aspect Tile
Added new Liberty Hardware cabinet pulls and knobs c/o D.Lawless Hardware
Moved the refrigerator and dishwasher
Install new Micro-Hood
Replaced the flooring under the sink because of a water leak
Installed new baseboards and trim
 [/one-half-first][one-half]
 [/one-half]

Anna Fitz says
Holy cow Amber!! You should be flipping houses or something – this is amazing!
Amber Oliver says
Thank you so much Anna!
Cristina says
Oh my goodness you did an awesome job bringing this kitchen back to life! That backsplash is adorable, well , the entire kitchen is! ❤
Belinda Hoffman says
All I can say is WOW. ????????????
Lisa says
Great job. I look forward to following you on Instagram also can’t wait to see what’s next.????
Vickie Soto says
Beautiful work!
Amber I so hope you and your loved ones are safe during the Hurricane! Thinking about all of you!
Tanya says
All I can say is WOW!!! Beautiful job.
Debbie says
Absolutely speechless about this renovation! Beautiful! Wonderful! Breathtaking! Okay, we all get the idea of what I think! Thank you for sharing this and outlining the steps.
Heather says
Wow, your remodel made a really big difference! I absolutely love the cabinet’s grey finish and it really complements the backsplash, very nice!
Mary Lou Gilliland says
Hello! Love your kitchen—- what color did you use for your backsplash? My cabinets are gray too. I wonder if it would stick to painted paneling? Thanks –/ have a great day!!
Amber Oliver says
Hi Mary Lou! We used “weathered quartz”.
C. leafe says
Looks like a new kitchen. Really makes the white appliances pop. Maybe upgrade the ceiling light when you have time and money.
Amber Oliver says
That’s the plan! Along with a new faucet and light over the sink!
TheMete says
You’ve inspired me to re-do my kitchen flooring as well. It had a long time, hideous linoleum flooring.
Amber Oliver says
Awesome!! Good luck 🙂