Last updated March 11th, 2022 at 06:38 pm
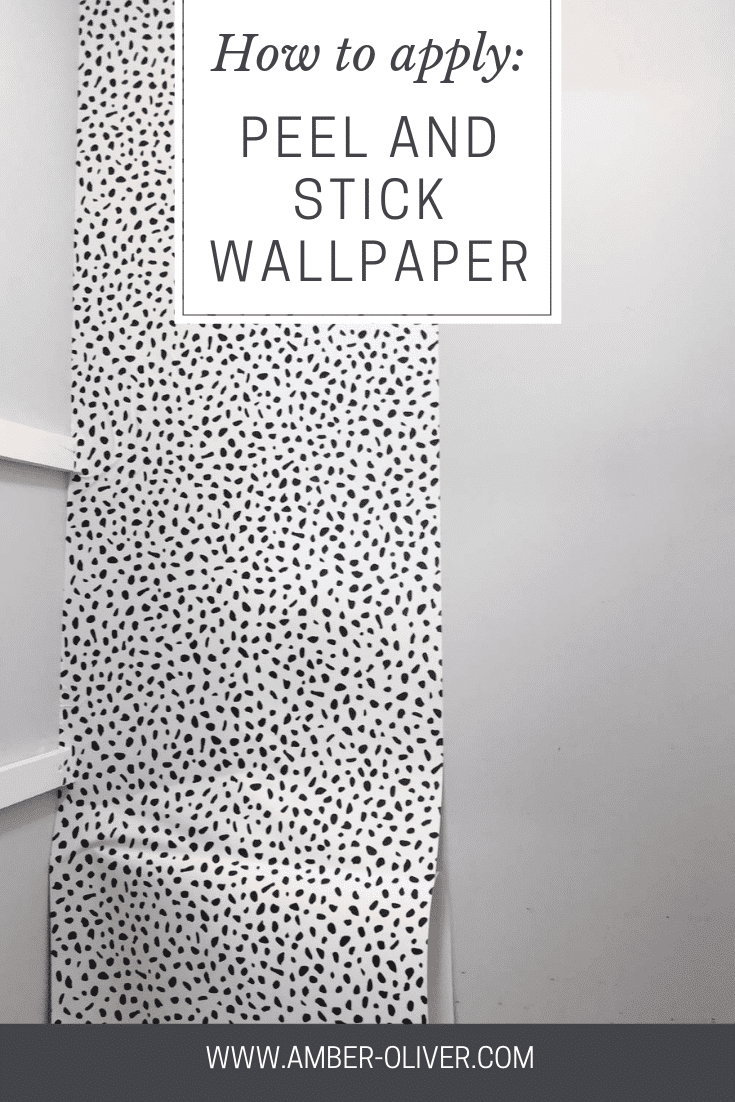
Learn how to apply peel and stick wallpaper quickly and easily! See how we transformed our pantry for around 30 bucks!
We recently did a complete overhaul of our pantry. After making over my baking cabinet last summer, I was inspired to do the same thing to our pantry.
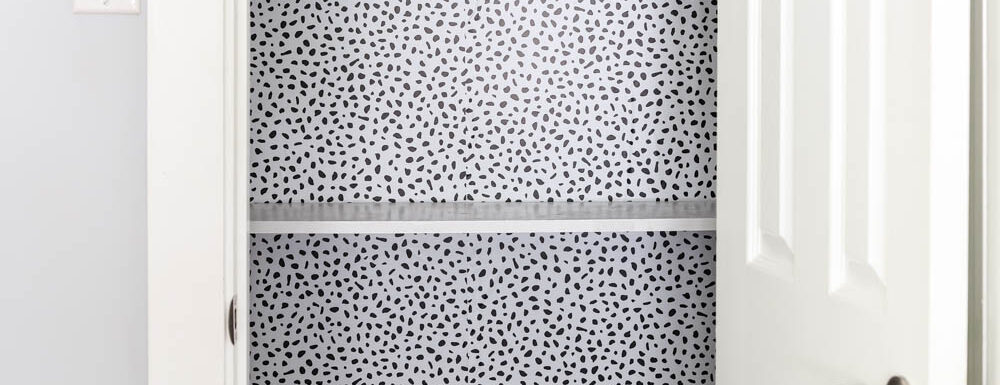
We transformed this space with a single roll of peel and stick wallpaper! The best part? It only cost thirty bucks! In other words – this is a small project with big impact!
I didn’t know how to apply peel and stick wallpaper before tackling this project, but after seeing how quick and easy it is I can confidently share this amazing secret with you! You will want to put up peel and stick wallpaper EVERYWHERE in your house after this!
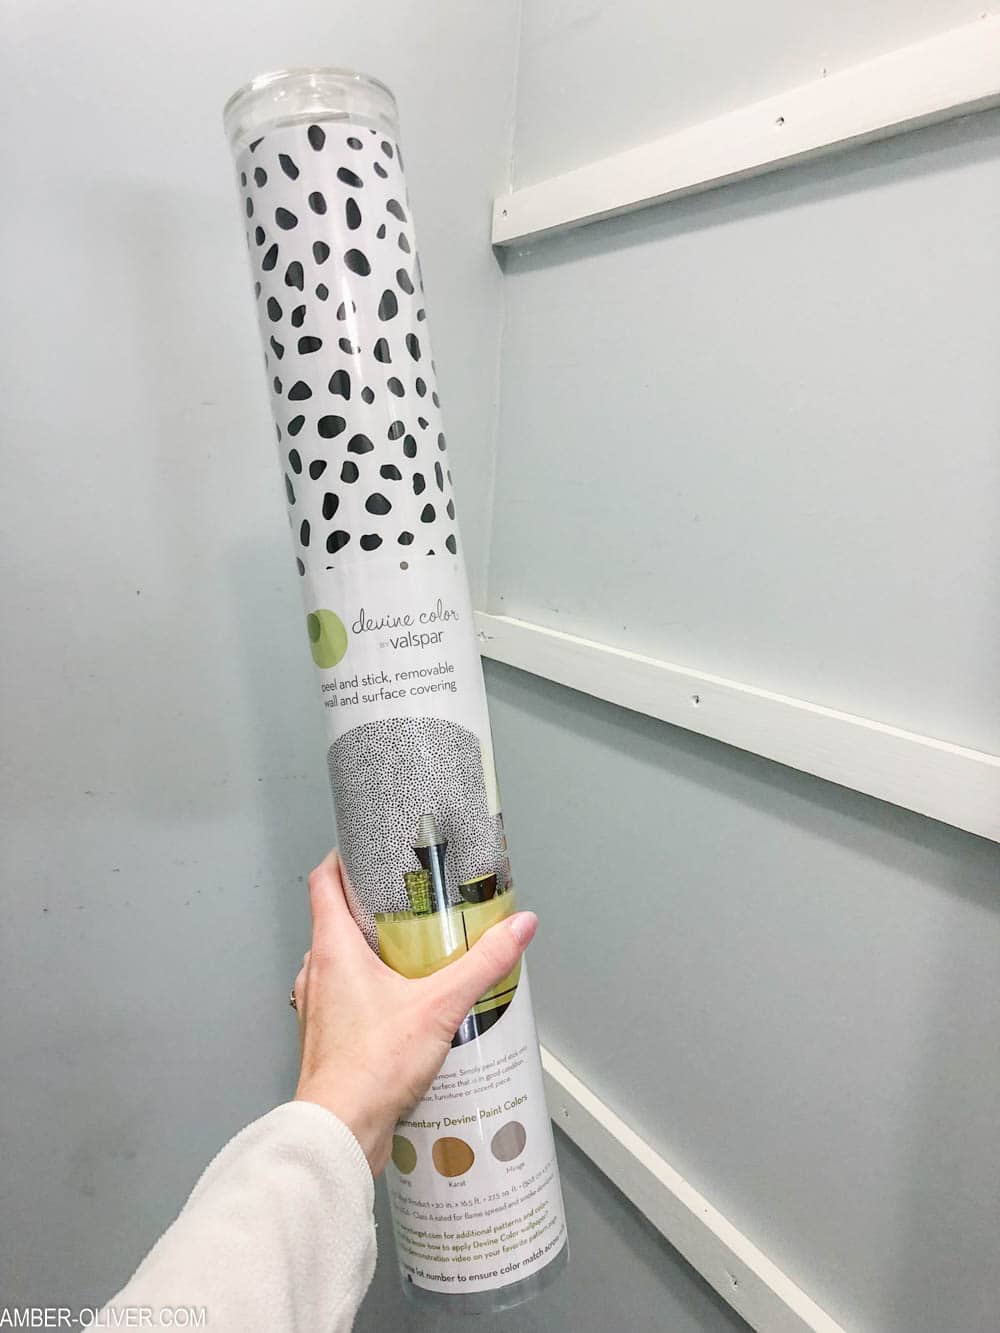
How To Apply Peel and Stick Wallpaper
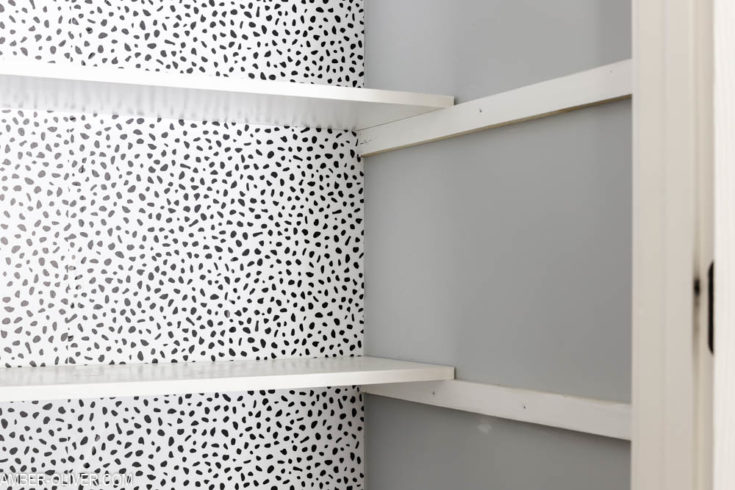
Learn how to apply peel and stick wallpaper quickly and easy! See how we transformed our pantry for around 30 bucks!
Materials
Tools
Instructions
- Start by measuring your space. Once you know how much peel and stick wallpaper you need, you can order online! I ordered mine from Target and picked up in store the same day!
- Next, clear the space. In our case it was the pantry so I removed all the items from the pantry and took down the shelves temporarily.
- Start at the top and in a corner. Peel about 6 inches down on your peel and stick wallpaper and place on the wall. I like to use the wall instead of the ceiling to see if i'm straight. If you need to overlap onto the ceiling a bit, do it. You can cut away the excess later.
- Once you've got the first 6 inches or so in place, continue peeling down the back then press into place. You may have to remove and re-place on the wall but that's the beauty of this removable wallpaper - it's super simple to adjust.
- Continue down the wall, working in small sections. I was able to use my hand to smooth out any bumps, but you could also use a credit card.
- Once you get to the bottom, you can either remove and re-add your baseboard or simply use the x-acto knife to slice.
- Now it's time for the next column. Since my pantry was only about 3 inches wider than two rolls, I opted to just overlap so I didn't have to cut. If you are doing more than 2 rows - go ahead and line up the next row as close as you can and begin working down the wall the same way you did the first column.
- When you reach an outlet or light switch, put the peel and stick wallpaper in place then carefully cut out the hole with an xacto knife. Don't cut way too much though!
- Once you're done, you'll have completely transformed your space!
How To Apply Peel and Stick Wallpaper
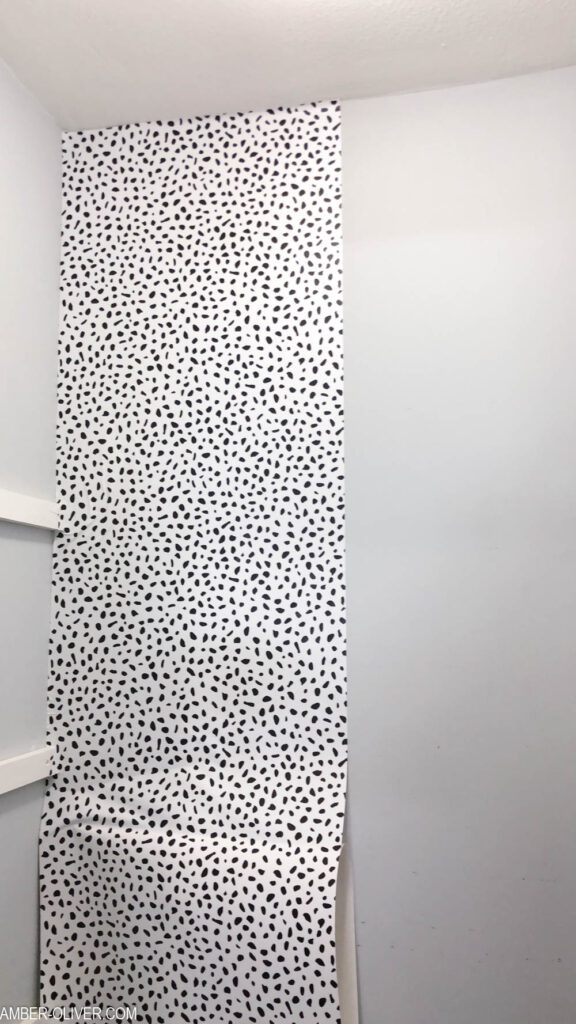
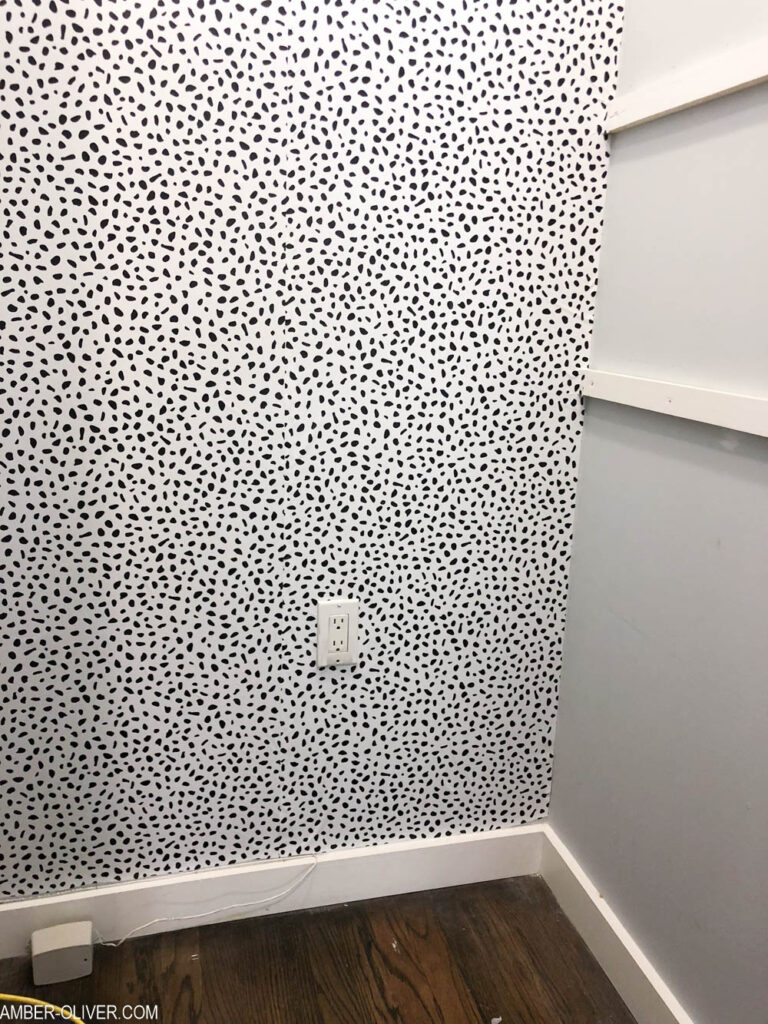
I can’t stress enough how EASY this project is! I knocked this out by myself in under and hour! Just look at these before and afters photos to see what a difference a little peel and stick wallpaper makes!
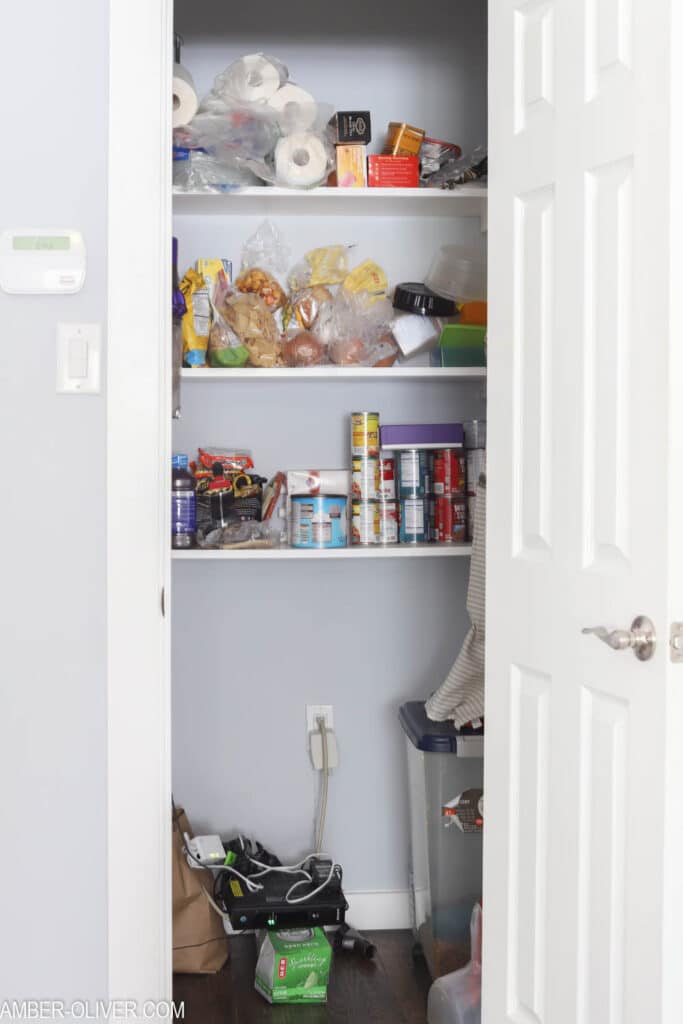
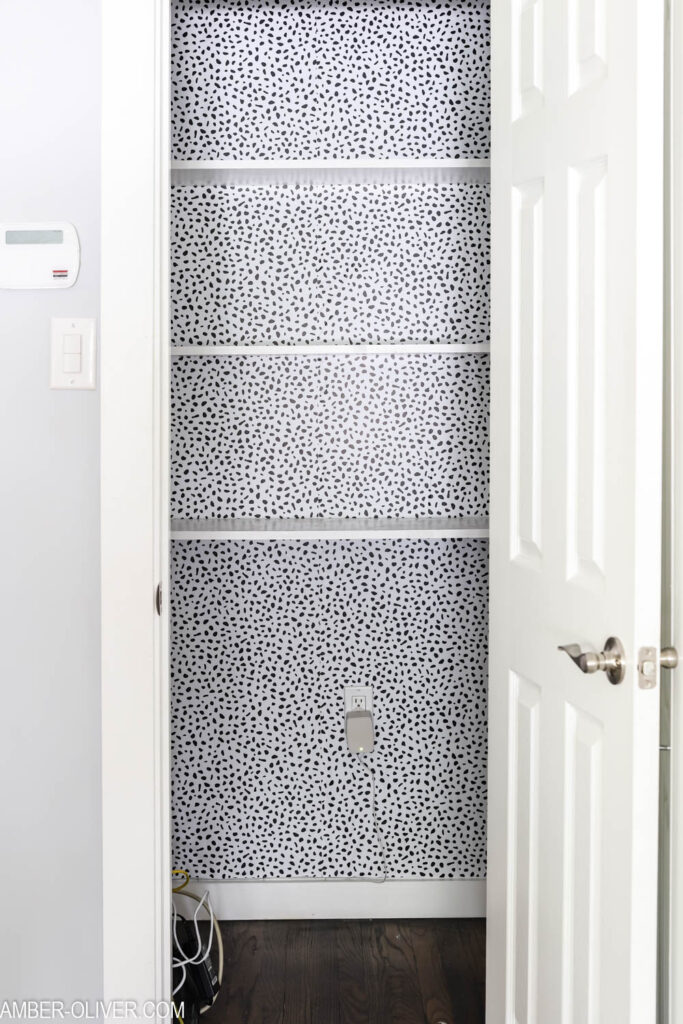
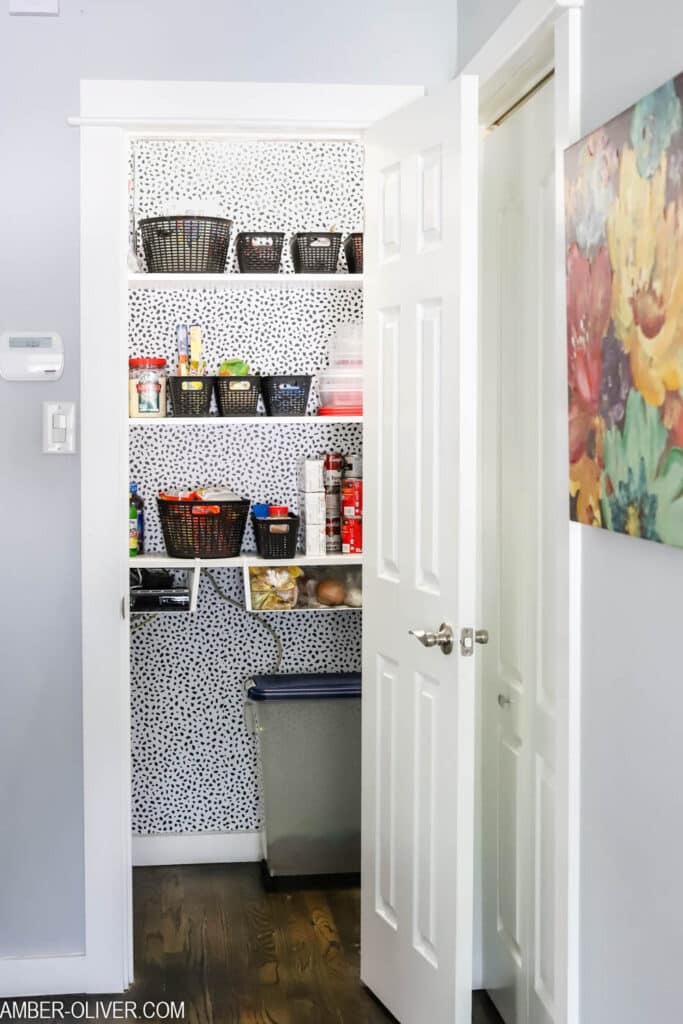
I was able to wrangle a lot of the mess in our pantry with these black baskets. They were all $1 at the Dollar Tree! Organization doesn’t have to be expensive. These baskets are sturdy and helped do away with most of the visual clutter we had in here before and it’s a lot easier to keep like items together.
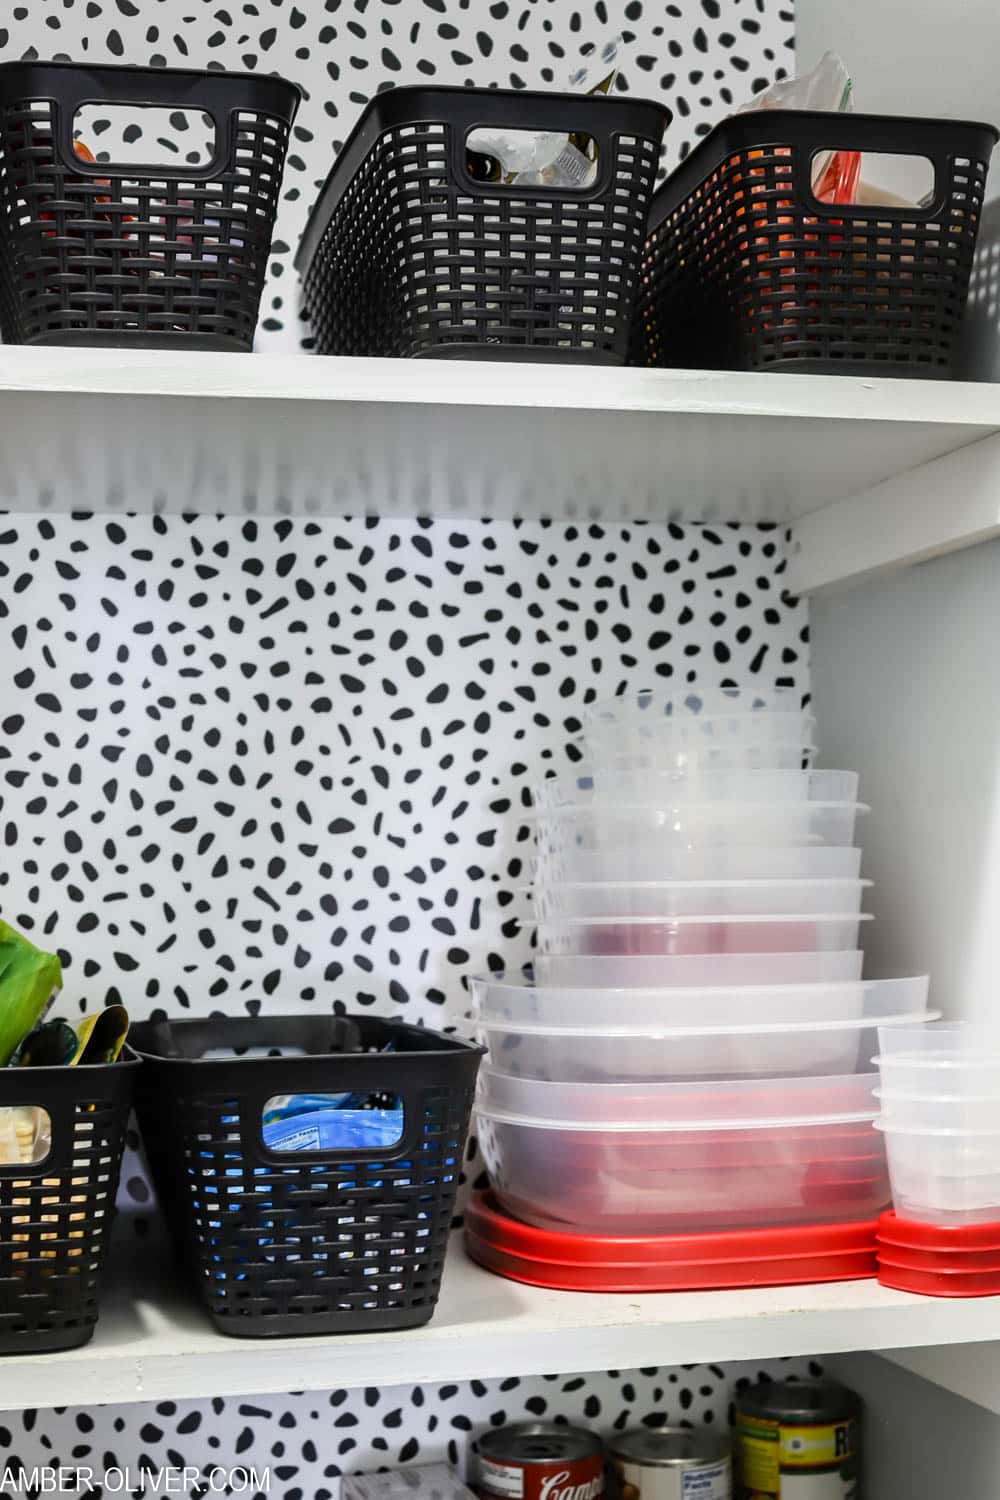
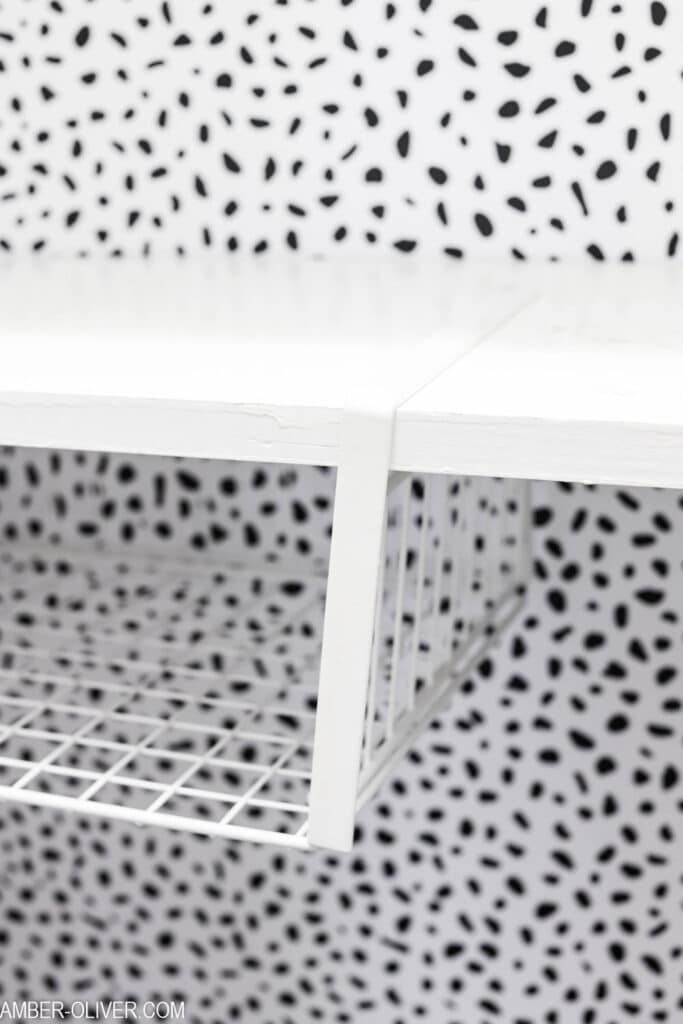
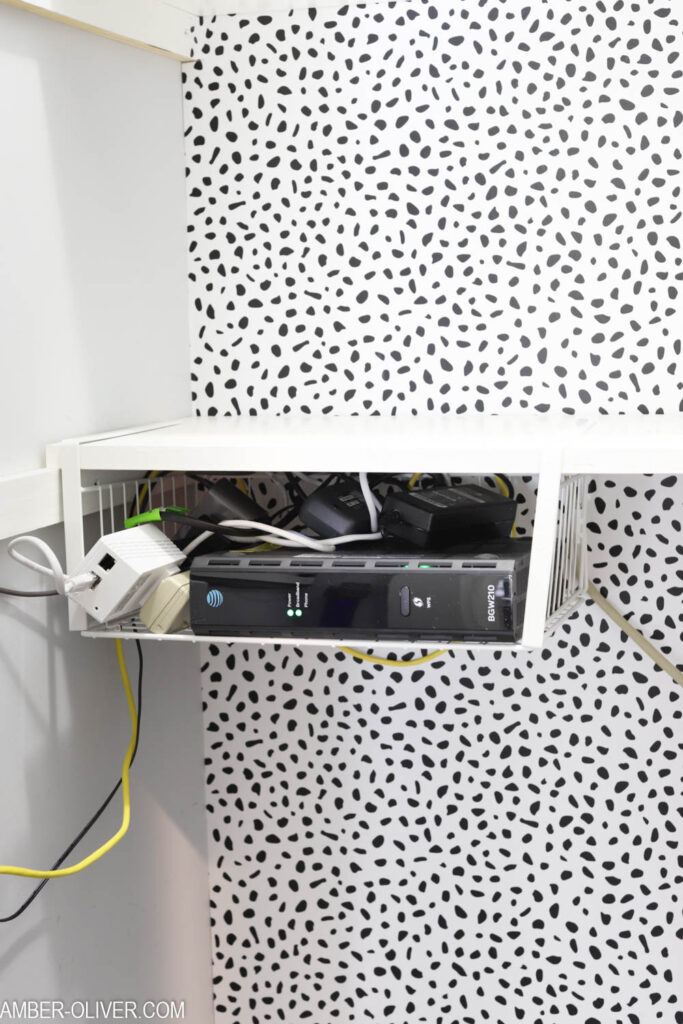
These under cabinet baskets added extra space and solved one major problem: what do do with our router! It was previously laying in the floor which isn’t good, but I didn’t want it taking up room on the shelves or getting too hot. Therefore, these wire under shelf baskets are perfect!
I hope this project inspires you to add peel and stick wallpaper in your home! Looking for more organizing inspiration? Check out my archives!
Don’t forget to PIN for later!
In addition, once you’ve learned how to apply peel and stick wallpaper you may want to try the paste the wall type! Check out my bathroom wallpaper post for the “how to”!

Leave a Reply