Last updated April 27th, 2022 at 04:42 pm
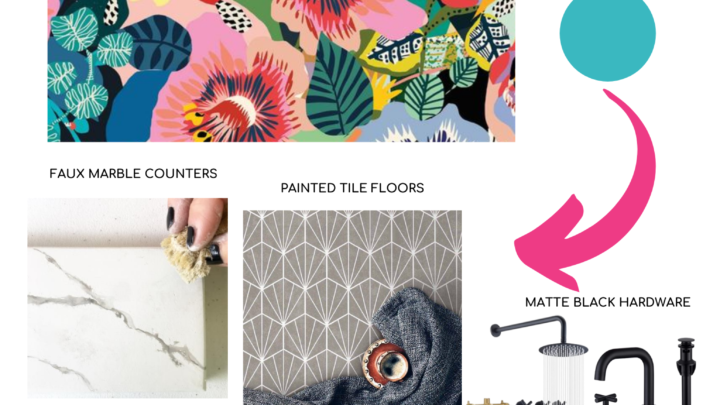
Learn how to paint floor tile to transform a room and what floor tile paint works best! I’ll also show you how to use an oversized stencil for stenciling on tile.
Subscribe to our newsletter so you dont miss the big reveal!
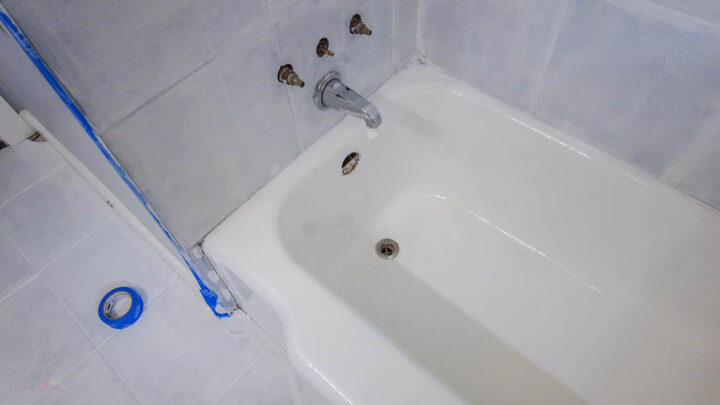
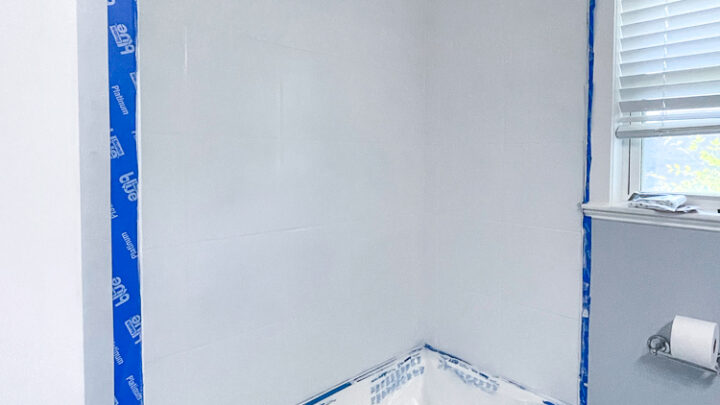
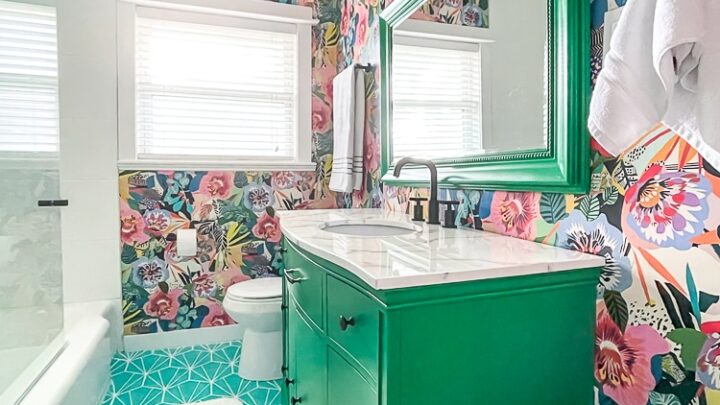
We’re making over our guest bathroom with paint and have already made major improvements to the space by painting the old, dark shower and refinishing the tub. That side of the bathroom is SO MUCH BRIGHTER! Because the shower walls and the bathroom floor were the same tile, we used the exact same primer.
How to Paint Floor Tile
The best primer I’ve ever used is called STIX. This stuff is amazing! It’s made specifically for “sticking” to hard to adhere to surfaces – like your floor tile! After priming, we could already see what a difference this paint job was going to make.
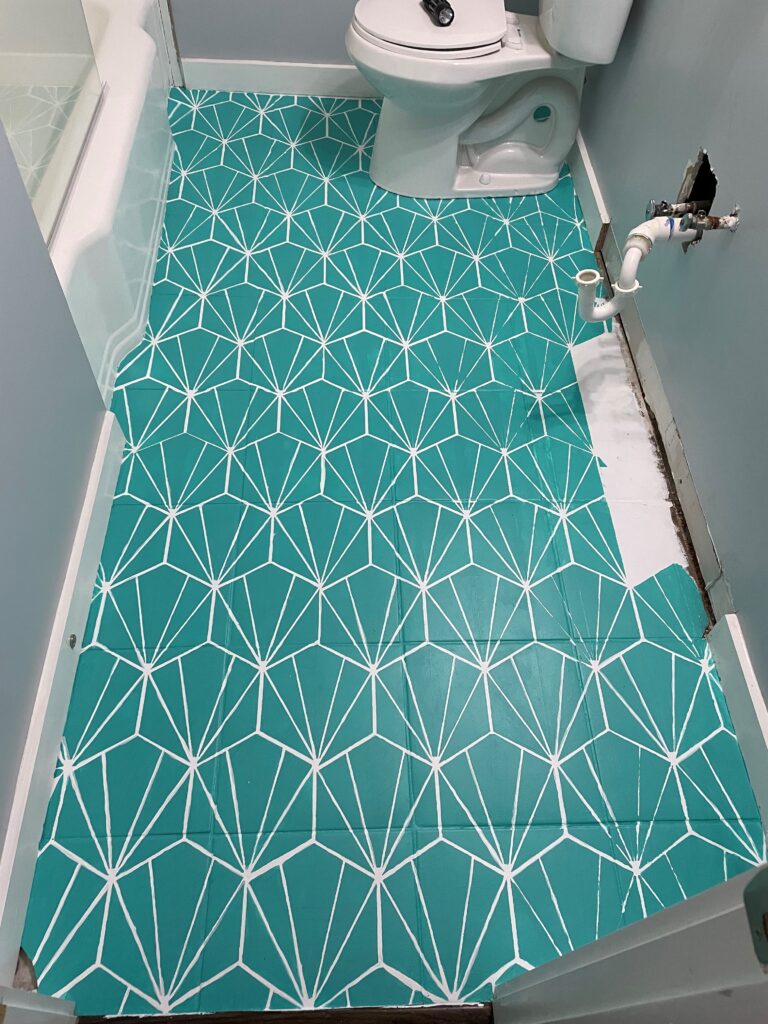
When it was time to paint, we started with the base coat of white. Ultimately we wanted the stenciled “tiles” to be turquoise with the white showing like the grout lines. It also made sense to put the lighter color down first! Thankfully the primer did such a great job covering that we only needed one coat of the white paint!
After the white base coat was down, we waited a few days before moving onto the stenciling. This was mostly because we were busy with other things but also wanted to make sure it was fully dry before we tried to walk on it. We also did a quick sweep/vacuum to get any extra dirt or dust before stenciling.
To prepare the stencil, I applied a coat of spray glue to get it nice and sticky. The first section I stenciled, I also taped down the stencil. I ended up skipping this step the rest of the time. To start stenciling, I went as close as I could to the tub and flush to the wall so I could start with a full section of the stencil.
When rolling paint for the stencil, aside from making sure the stencil stays down, the most important part is make sure you don’t have too much paint on the roller. I used a paper towel on a paper plate and after loading the roller. I’d get the excess off on the paper towel. Then when I started rolling over the stencil, I’d go over several times instead of trying to get full coverage on the first pass. This takes a bit more time, but it helps ensure your lines don’t bleed!
The biggest problem that I ran into was the stencil I was using was much larger than the floor tiles. The stencil didn’t fit perfectly within the grout lines, because the new “faux” tiles I was painting, I wanted to be smaller than the 12×12 tiles that were on the floor. This meant that some holes were left where the roller didn’t get down in the grooves between the tiles. On the first stenciled section, I tried to fill these in with a paint brush with the stencil still in place. After that I figured out it was much better to try to fill in these gaps after I’d removed the stencil.
This was the most time consuming and frustrating part! But I think taking the time to go back in fill in each of the gaps and also to touch up the white paint in places made a HUGE difference! Here’s what it looked like before touch ups:
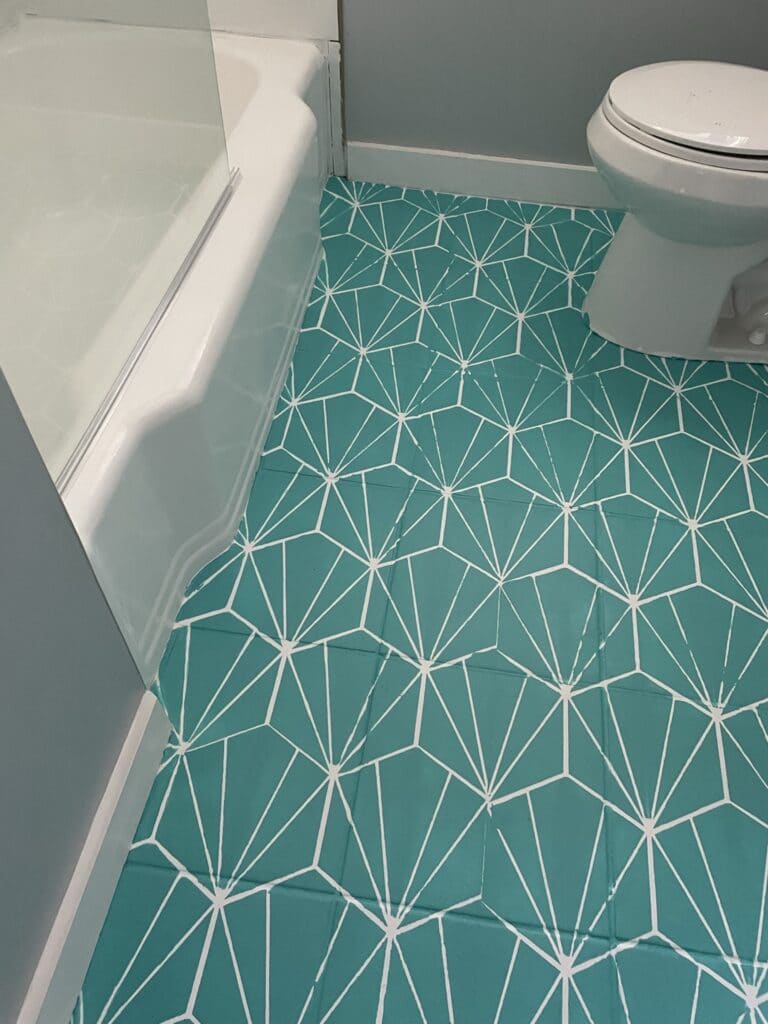
Stenciling around the tub and toilet proved to also be frustrating. My stencil did come with a smaller one that I could use in some places. I mostly had to press the stencil in place and hold it down as much as I could and at least get a bit of paint on the edges. This way I could see where the lines were supposed to go. After that, I actually free-handed a lot of the the design around the edges! I also didn’t bother to paint under where the vanity was going! 😉
One Room Challenge: Guest Bathroom

I hope this project inspires you to paint floor tile in your home! Up next is installing a new light over the vanity and WALLPAPER!!

Leave a Reply