Last updated June 22nd, 2022 at 03:01 pm
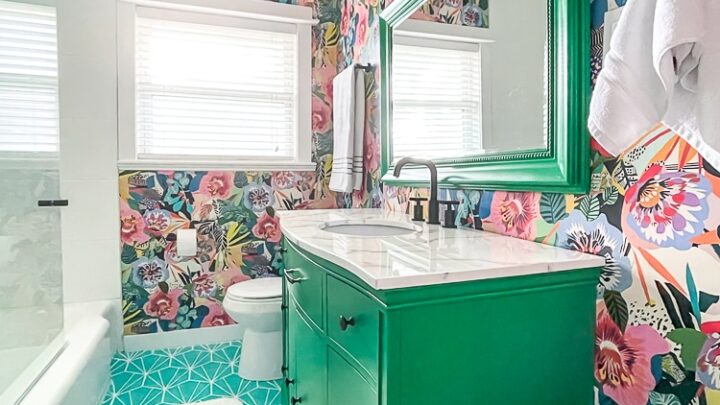
The final project in our guest bathroom makeover was the bathroom wallpaper! I’ll take you through all the steps from measuring and cutting to hanging wallpaper. This project is sponsored by Milton and King.
Ok, so first thing you want to do is remove everything from the walls. If you want to add bathroom wallpaper you also want to make sure they are 100% smooth, so sand over those nail holes and fill in where needed! Also make plans to lighting once you remove the fixture! We forgot about this and subsequently are missing a piece of filming as it was too dark!
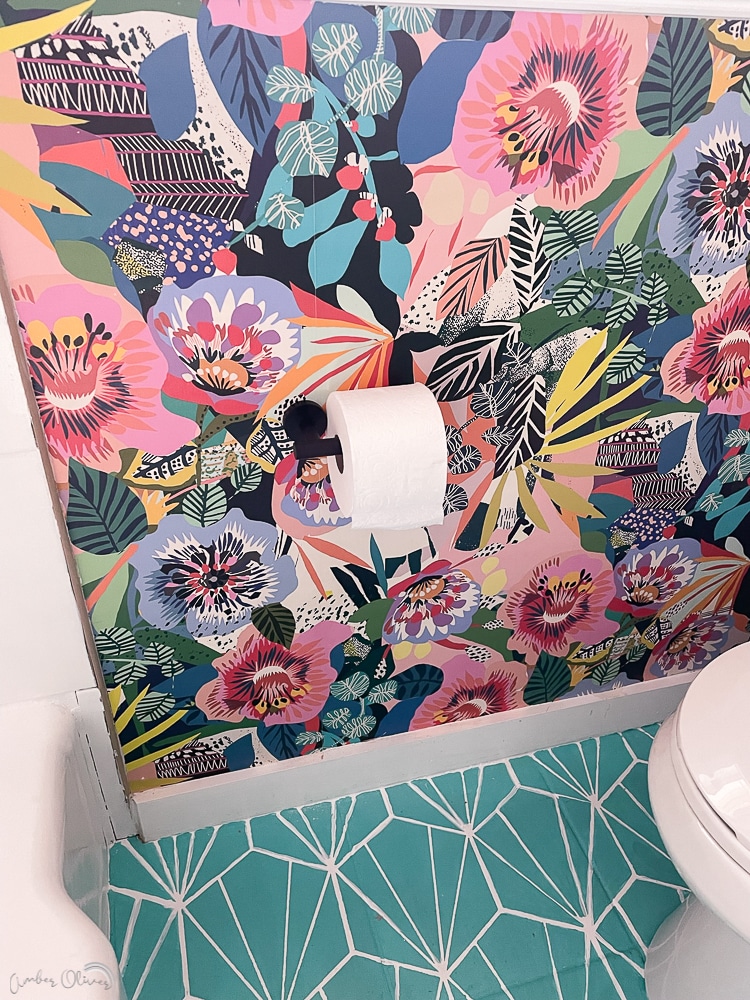
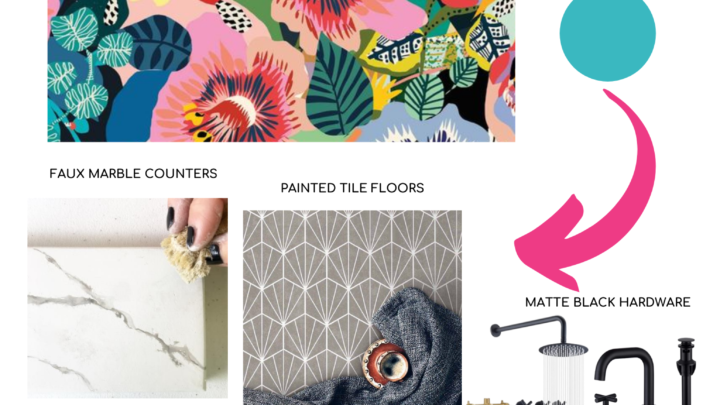
After selecting our bold floral wallpaper we needed to calculate how much wallpaper we would need. In order to do this we needed to calculate the total square footage we wanted to wallpaper. We chose Summer Garden by Milton and King for our bathroom wallpaper.
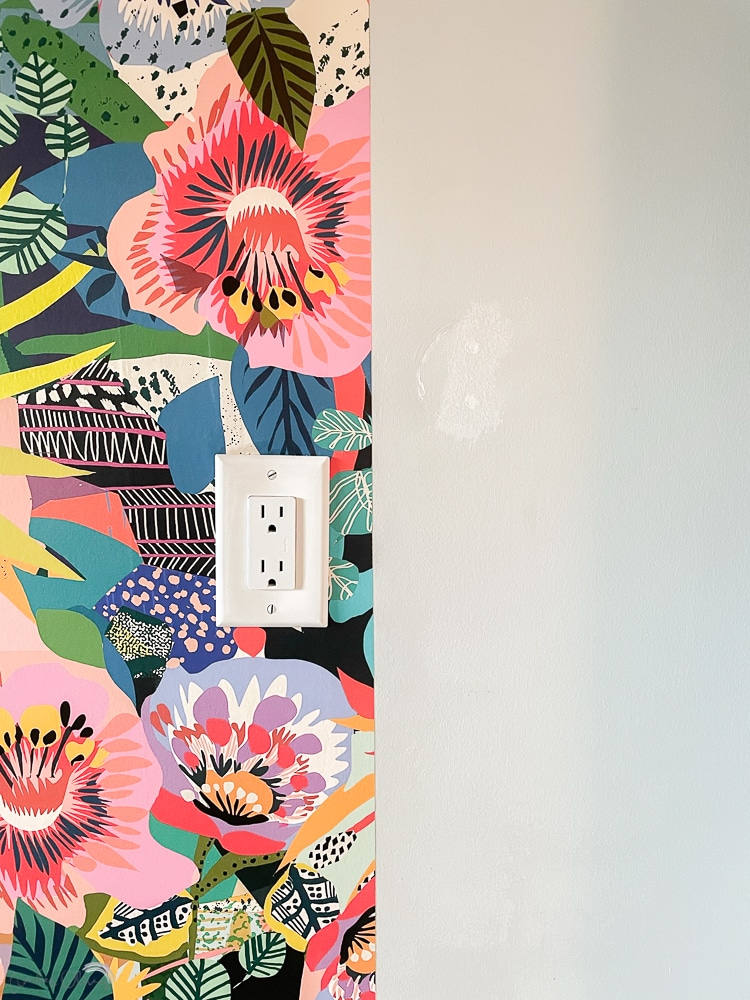
How to measure for wallpaper
You will need to know the height and width of each wall. You then add all the heights together and all the widths and multiply those two numbers together to get your total square footage of the wall space you are wanting to cover!
After our colorful floral wallpaper was delivered it was time to get started! I’ve provided a video tutorial to take you through our process of installing bathroom wallpaper and recommend you give it a view! Some things are much easier to understand if you see them rather than reading how to do it!
DIY Wallpaper Installation How To Video!
How to Hang Wallpaper?
The most important part of hanging wallpaper is that very first piece! You HAVE TO get it completely straight or everything else is going to be off! Also make sure you’re using the right terminology: Level” refers to straightness side to side (horizontal), whereas plumb measures straightness up and down (vertical)! You learn something new every day 😉

How to cut wallpaper
You can start anywhere with your first strip. So lay out the wallpaper on the floor and measure out more than you need. Make sure you account for labels on the start of the roll. I gave myself several inches over so I wouldn’t end up too short. I used a a safety cutter and it is way better than scissors – it slides along and cuts a straight line quickly and easily.
Where do you start when wallpapering?
We didn’t have a plumb bob, so we used a large level to ensure our start line was straight up and down. A plumb bob is a weight suspended from a string and is used as a vertical reference line. You want to start on a wall with a natural break that’s uninterrupted. For us it was to the right of the vanity light and went floor to ceiling. It was actually the only uninterrupted strip in this room!
To hang the first strip, start by brushing glue on the wall and ensure it’s covered VERY well! You then slide the first strip of wallpaper onto the wall and line up the edge to the line you drew. I promise it’s super easy!
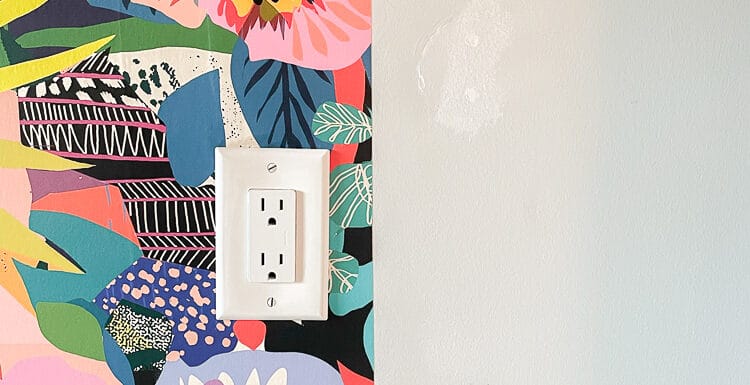
I’m using an A and B set of wallpaper, so I used the other for the second strip. Before cutting your next strip, unroll and find where to start by lining up the prints and get a rough idea. Then lay out the roll on the floor and cut – making allowance for the top and bottom to overhang! We didn’t go all the way down on our next section as it’d be behind the vanity and we had to glue carefully around the electrical box for the vanity light. After this strip was lined up and in place, I used an xacto knife to carefully reveal the electrical for the light.
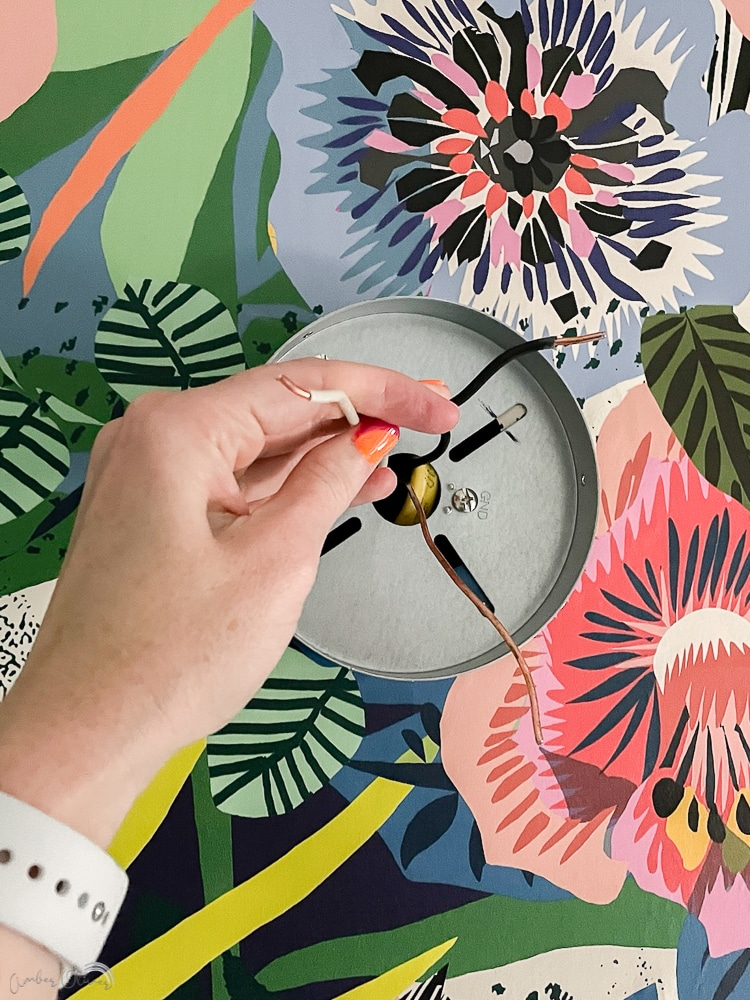
We were then able to hook up our new light fixture and were excited to have light again plus I was so excited to see the new pool blue light fixture!
Hanging Wallpaper in a corner
Now it’s time for hanging wallpaper in a corner! We first double checked that we were still straight, and made note of the distance to the corner. Line up your next strip and see where you need to cut, then lay out and cut. I then added glue to the wall, making sure to get it really well into the corner and onto the next wall. We want it to wrap seamlessly. Before picking up the strip, I measured over the distance from the edge of the wallpaper to where the corner will be and cut put a small vertical cut in the wallpaper.
I then put it on the wall like normal, make sure to line up the design on the left. That strip I cut allowed me to bend into the corner easily! I then creased it down and pushed it with the smoother so it made a nice tight line! It also really helps to cut away the excess as you go, especially in the corner as it gets really crowded really quickly!
Making Adjustments to Wallpaper
I was surprised how forgiving wallpaper is. I honestly find it way easier than peel and stick. I love that I can push and slide it where I need. you can little adjustments super easily this way
Here’s a mistake: I accidently cut a section too short but was able to fix it easily. Just search your unused roll and find the missing piece. You then cut it out, line it up, and glue it into place! It really is that easy!! I do advise waiting for the glue to dry before trying to trim the excess though! This goes for all the sections – cutting can sometimes pull the wallpaper up if it’s not glued in place yet.
Wallpapering Tools
Here’s a link to the set of wallpaper tools we used. Use a wallpaper brush to really goop on the glue to make sure your bathroom wallpaper is completely covered. To get it completely smooth on the wall, you use the smoothing tool to remove the excess glue. Put good pressure on it, and slide it across toward the seam. Wipe up the excess glue and you can then add it back into your bucket or wipe on a towel. This part is oddly relaxing and super satisfying. I love to see the perfect seams line up on the designs!

I was obsessed with this beautiful design from Milton and King as soon as I saw it and quickly realized the busy print is also really forgiving! The places you can see the seems are where the print is solid – but even there it’s barely noticeable!
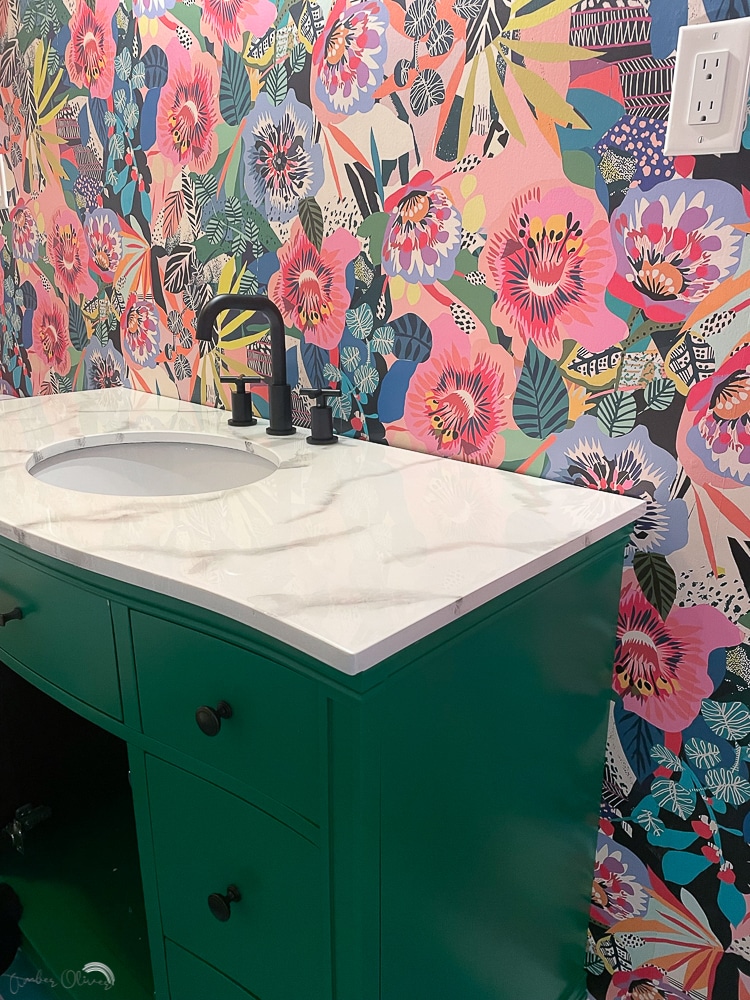
Wallpapering Around Obstacles
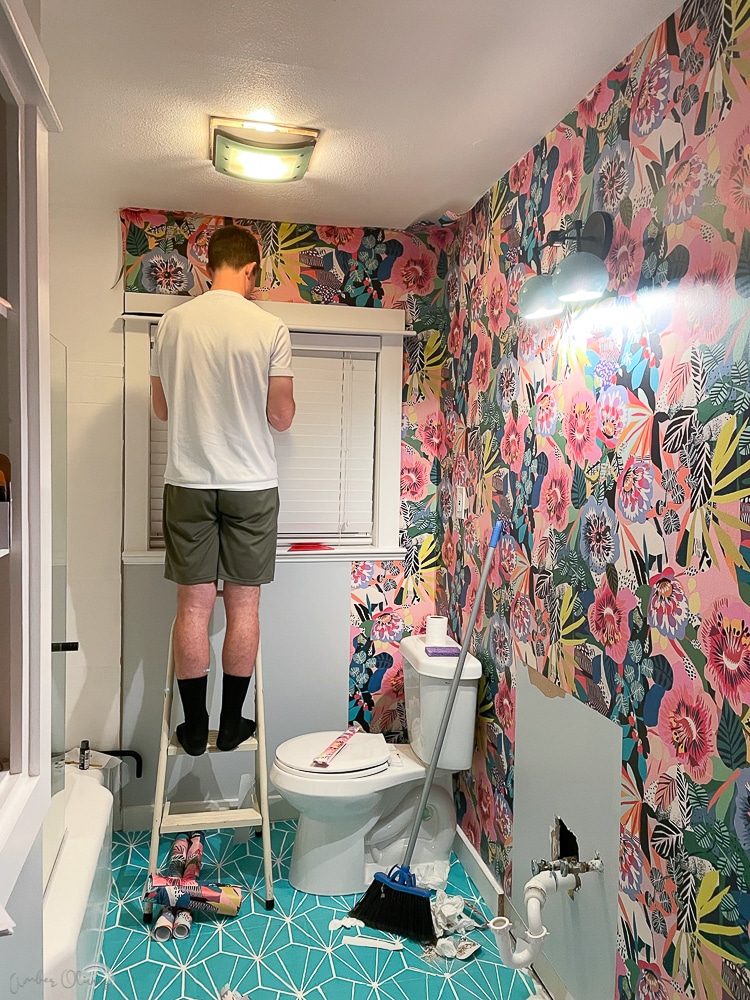
We continued hanging wallpaper on around the room with the biggest obstacle last: the toilet. Several friend recommended removing it but that seemed like even more work! If you can I say go ahead and do it, but we left it in place. Thankfully ours isn’t flush against the wall so we were able to just slide it down behind. I’ll note, wallpapering is much easier with two people. Especially in places like this, I was able to hold the excess while Eric worked on getting the top lined up and in place. It can be kind of annyong to try to do all that yourself!
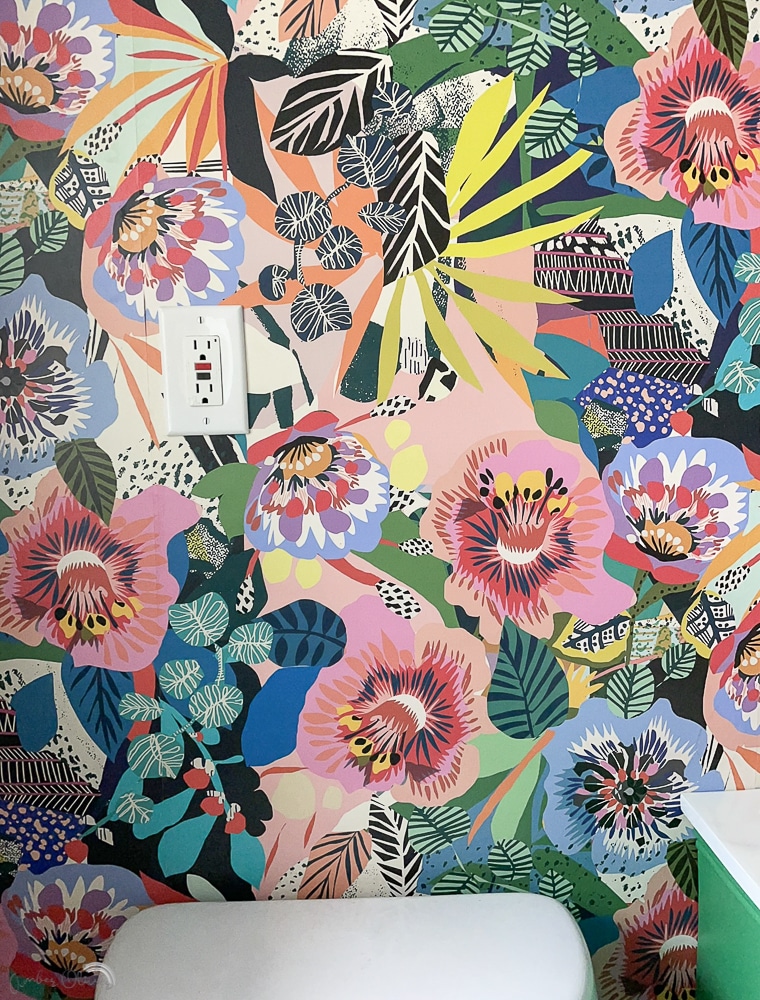
Work your way down and once you get to the obstacle, ours was the toilet, just slide it in place and smooth as best you can! If you need to cut around an obstacle, let the wallpaper paste dry before cutting. You want to make sure you have it in place before you start cutting it out. Covers are forgiving as they usually go way past what you’ve cut!
How to Clean Wallpaper
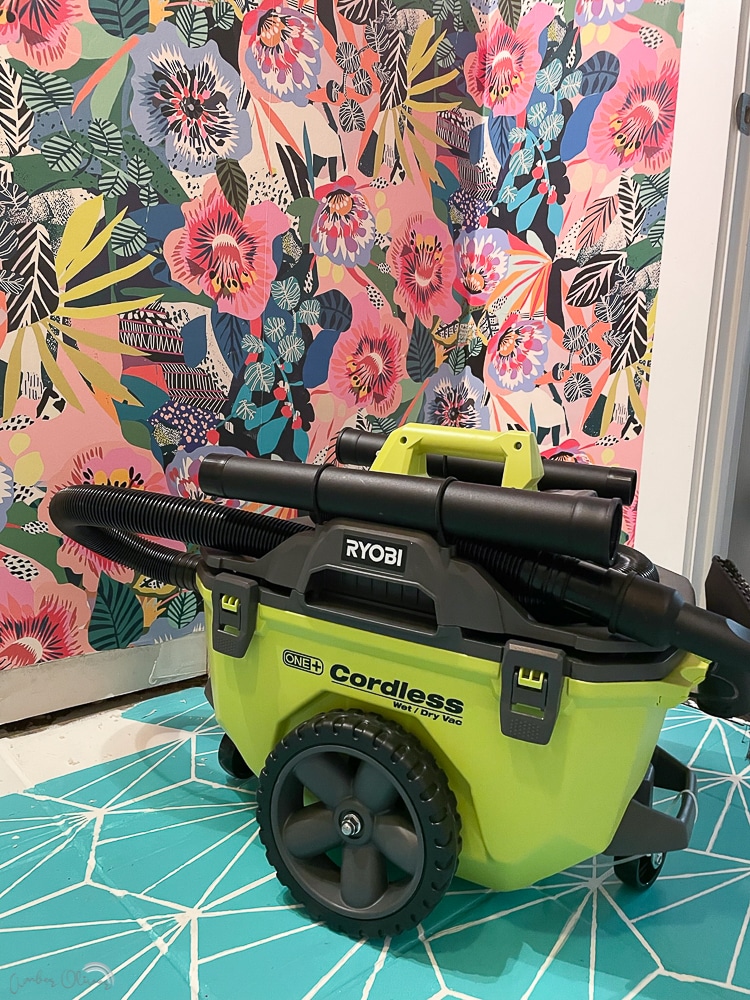
After finishing up all the sections, we went back and trimmed the tops and bottoms with an exacto knife – paying special attention to any areas that needed a little estra glue to stay down. We also decided to clean the bathroom wallpaper since the glue was everywhere! I used a wet rag to wipe up any excess glue we might have missed as we went along.
Where to buy bathroom wallpaper?
I can only speak on what I’ve actually tried and I can 100% recommend Milton and King! I’ve also tried various Peel and Stick Wallpapers and showed you how to apply peel and stick wallpaper here. I think peel and stick wallpaper is a nice, inexpensive, temporary option but if you’re wanting something that lasts, you should invest in a high quality wallpaper in modern designs you will love for years!
How much wallpaper do I need?
Milton & King provide a wallpaper calculator on every product page! Simply enter your dimensions (height & width) and their calculator will provide you with the quantity of rolls you will need to order for your project. Each of their designs come in double rolls which means that each double roll is 30 feet long (a single roll is 15 feet long). If your project requires two double rolls, for example, just order two of our rolls. If you need two single rolls, order just one of their rolls.
What supplies do you need for Wallpapering?
- Wallpaper (Ours is Summer Garden by Milton and King)
- Wallpaper Paste
- Wallpaper Tools
- Paste Brush
- Cutting Guide
- Step Ladder
I hope this project inspires you to try wallpaper in your home!


Leave a Reply