Last updated May 4th, 2022 at 02:49 pm
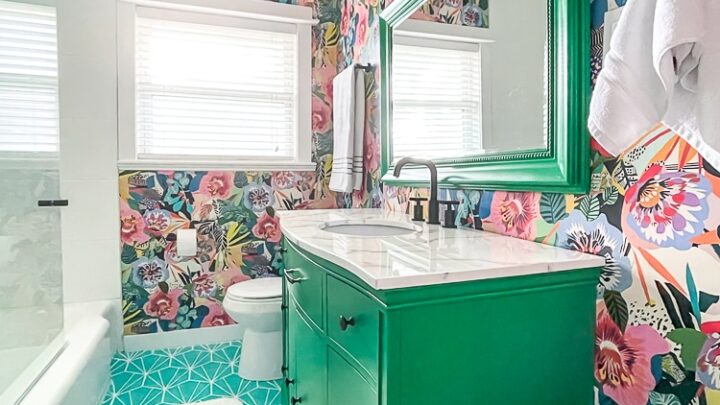
As part of our guest bathroom makeover with PAINT we refinished our bathtub! The process was very specific but not as scary as it seems; let me show you how to paint a tub!
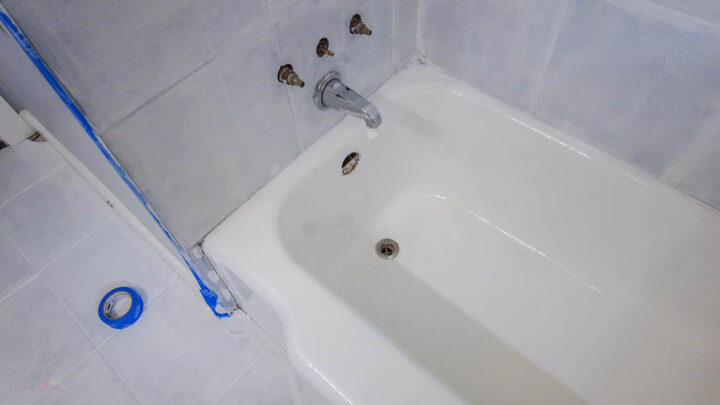
The tub in our guest bathroom had seen better days. I’m pretty sure this is the original tub – from 1955! It was originally GREEN! The tub had been refinished previously but over time had been chipped so you could see that green peeking through.
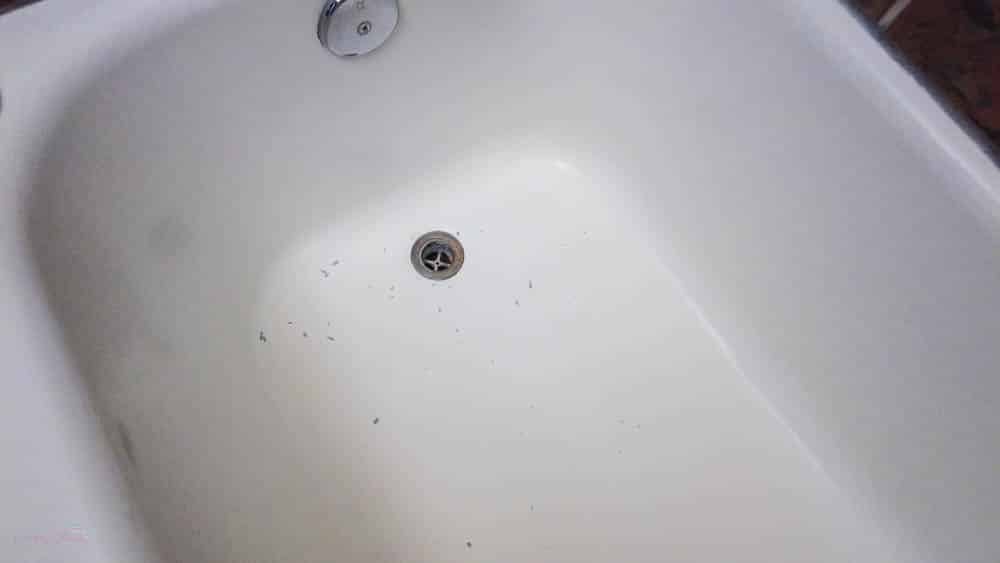
The hardware in here was also begging for an update! We’d actually had trouble with the knobs since we’d moved in. I didn’t bother taping off the drain since it was going to be replaced.
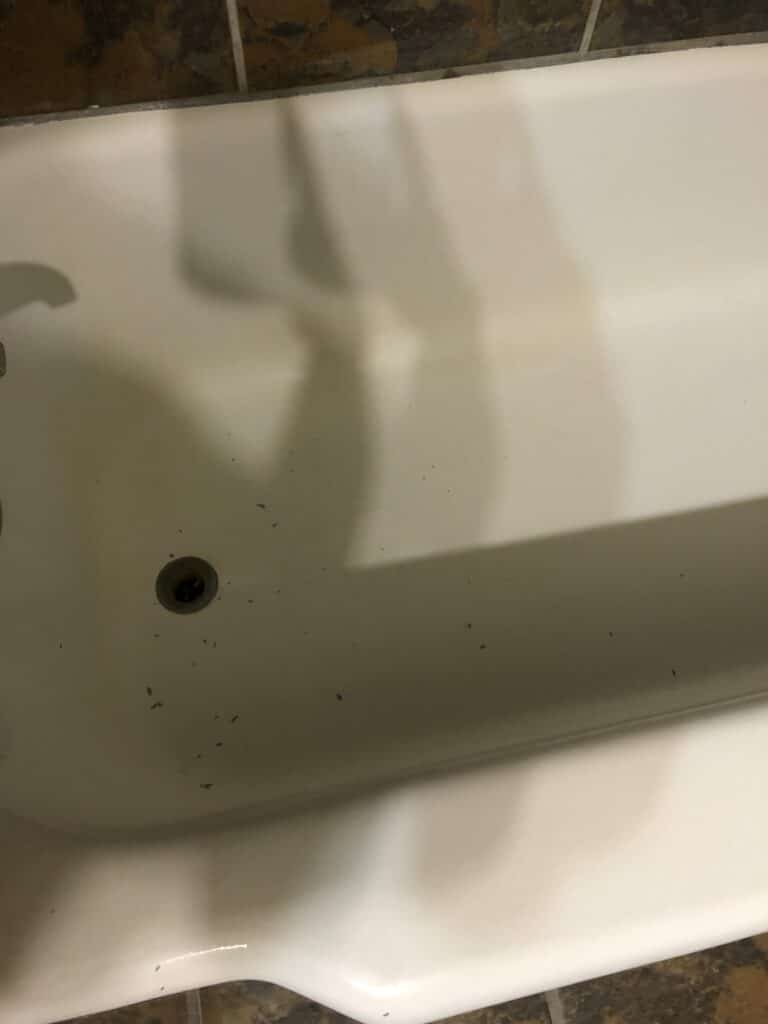
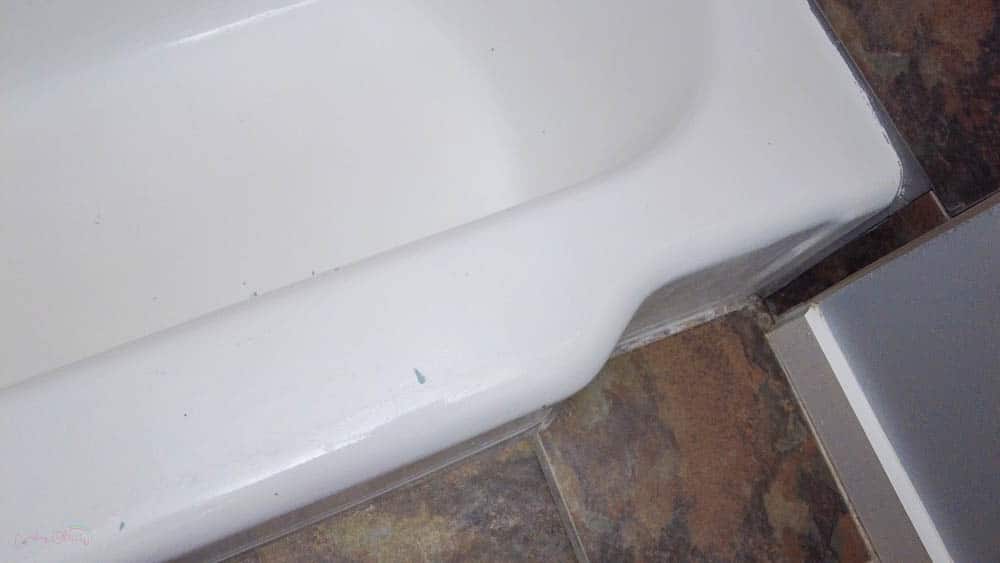
How to Repair Bathtub Chips
We decided we need to repair the chips in the bathtub before painting so I ordered this J-B Weld “WaterWeld”. In hindsight, the paint was thick enough that we probably could have skipped this step! None of our bathtub chips were very large or deep.
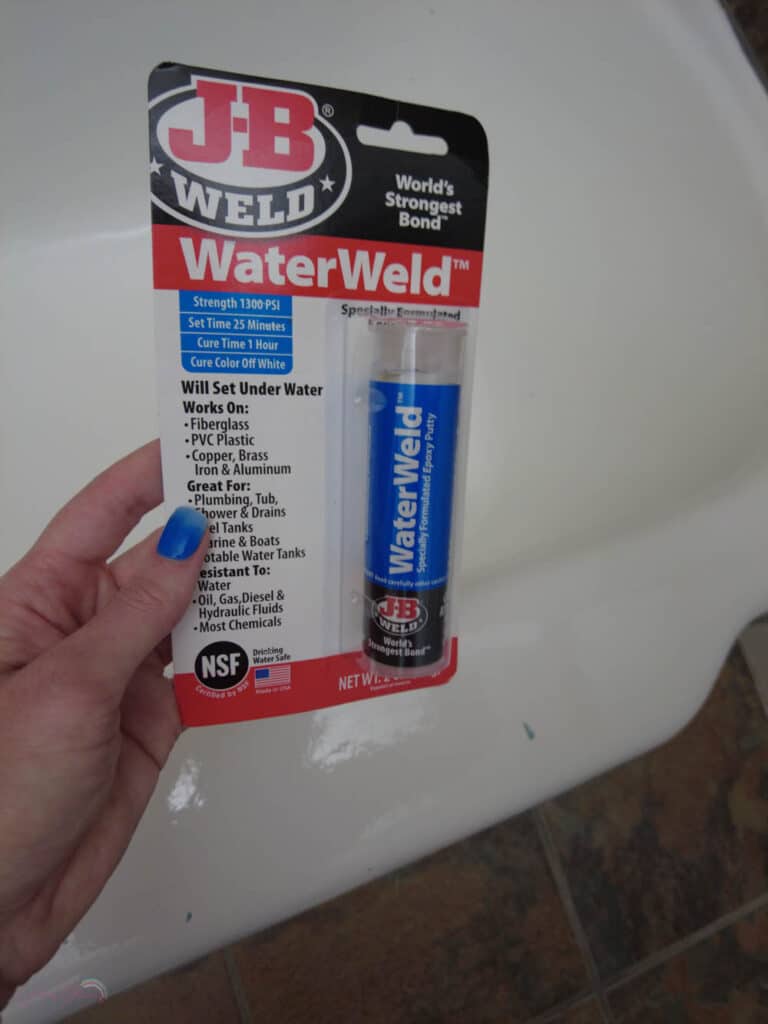
The WaterWeld is an epoxy putty that’s made specifically for repairing bathtub chips (in addition to fuel pumps, pools, boats and can even set underwater!) It was easy enough to use but OMG it smells SO BAD! I also recommend wearing gloves as it gets super sticky!
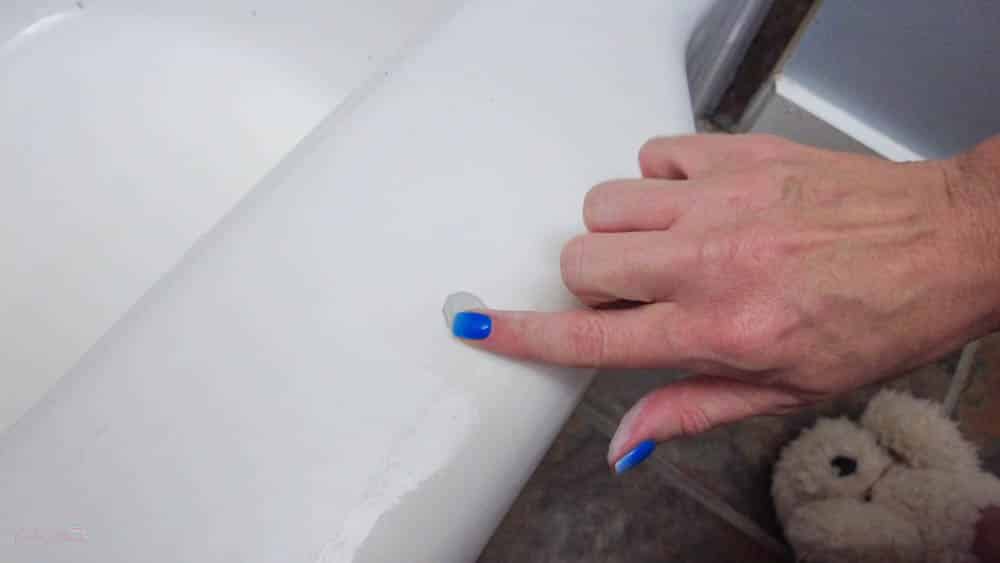
How to Use JB Water Weld to Repair Bathtub Chips
You can get your bathtub ready for paint in 3 easy steps:
- Cut or pull out the amount you will need for your hole or chip
- Kneed the putty until it’s all one color (you only have about 15 minutes work time!)
- Press it into the chip or whole and try to wipe away the excess. It sets in 1 hour!
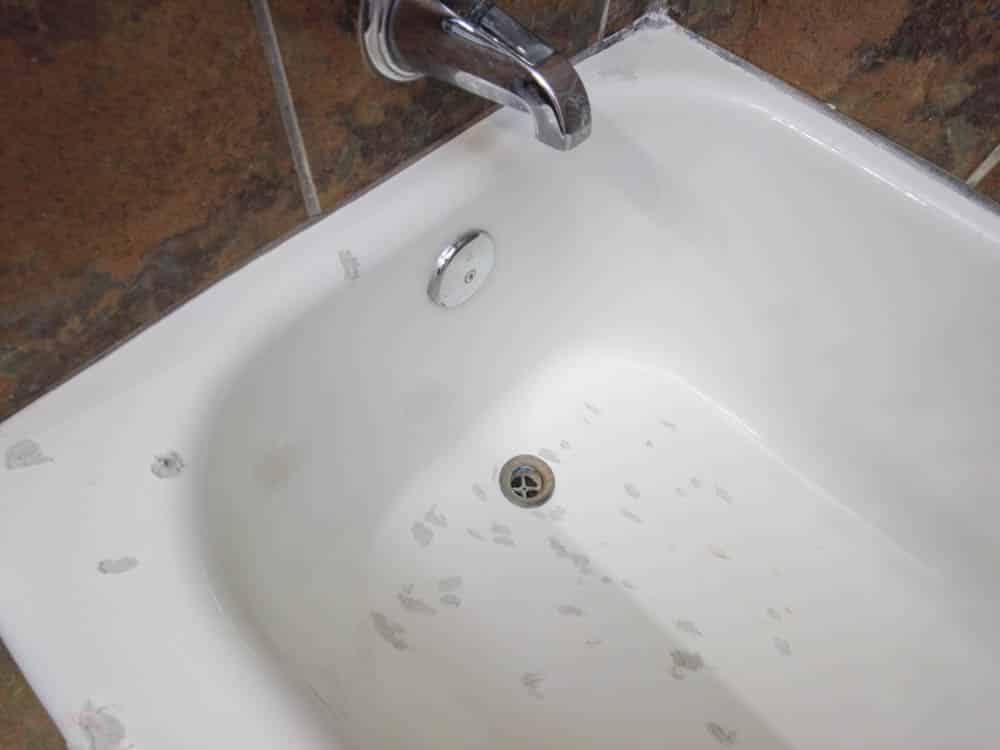
After an hour the epoxy should set and you are ready to paint, sand, etc!
What to use to paint a tub?
There are several options out there you can use to paint you tub. I’ve personally used both Homax Tough as Tile and Rust-Oleum Tub and Tile . The first I used when helping a friend paint her shower tile and the second I used for this tub refinishing project; so a little hard to compare. But if I had to pick one to recommend I think I’d go with the Rust-Oleum Tub and Tile I used for this project.
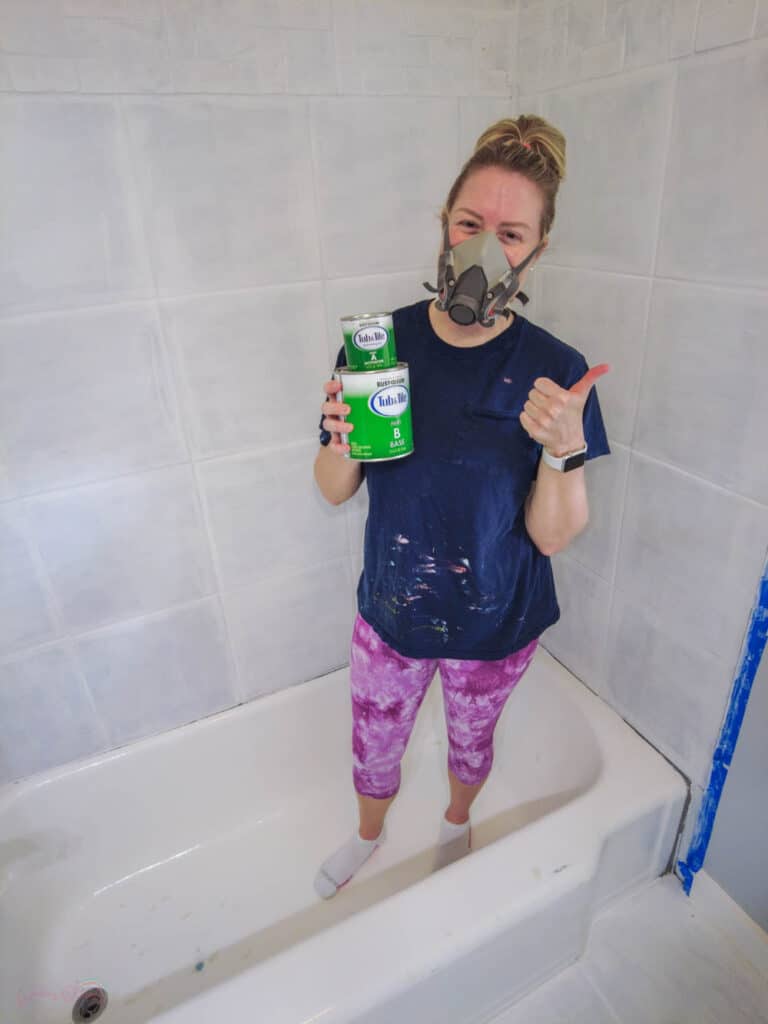
I felt like the Rust-Oleum Tub and Tile got really great coverage and because of that I only had to do two coats. Of course it did help I was painting over an already white (although I didn’t realize how OFF WHITE it had become!) tub.
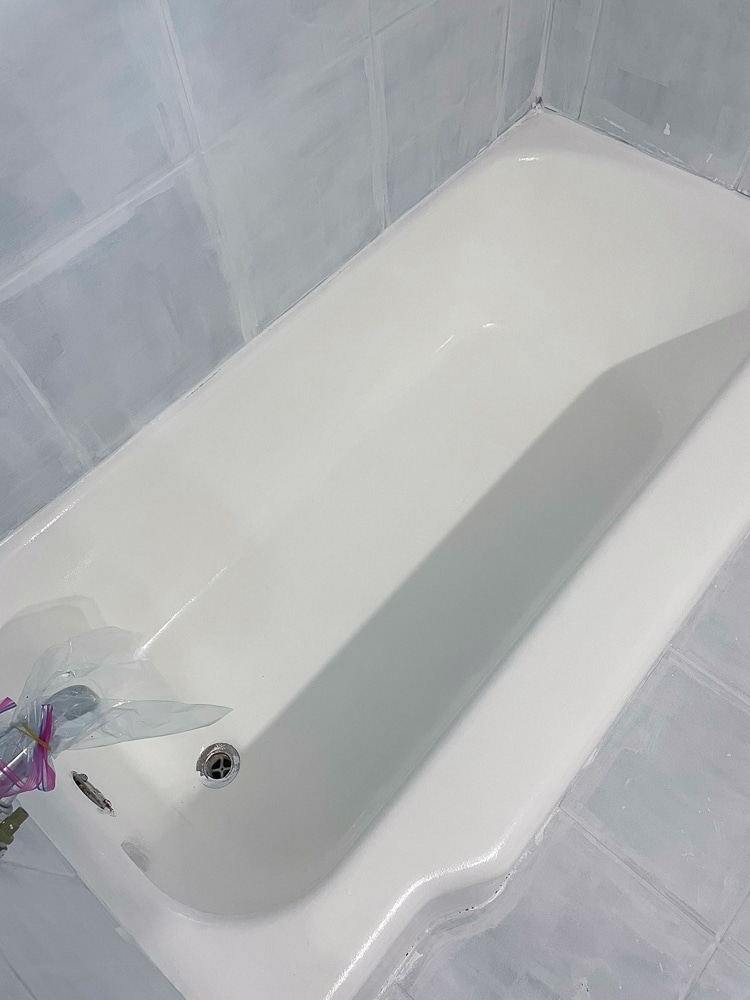
How to Paint a Tub
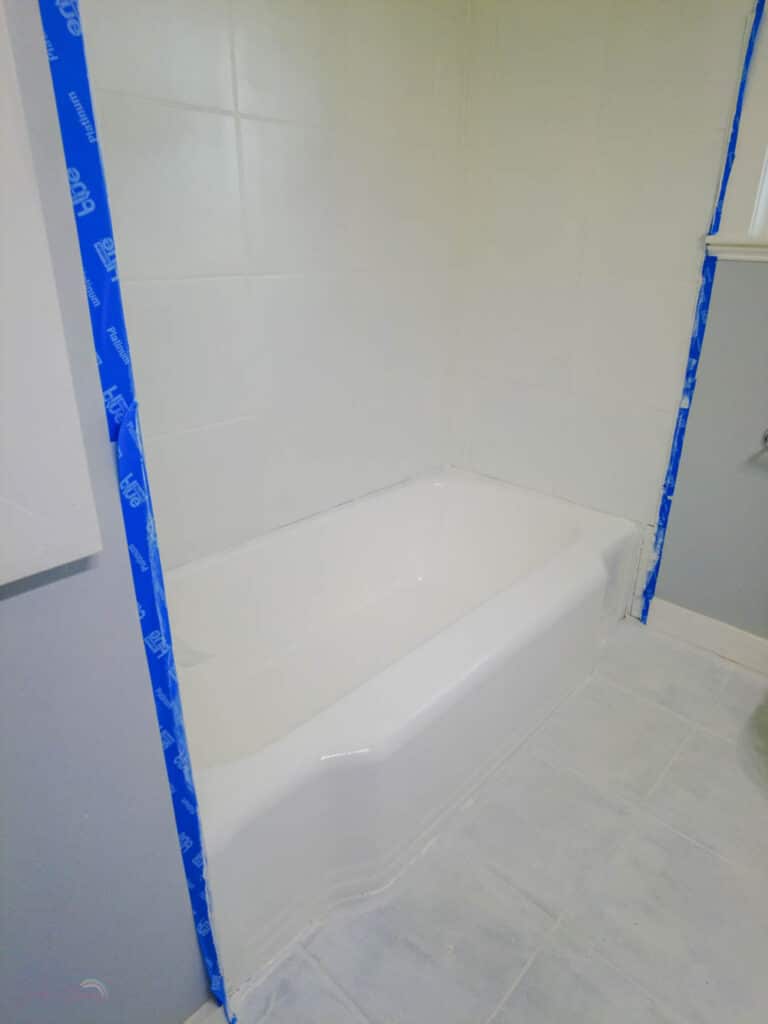
Here are the steps we took to paint our old bathtub after repairing the chips!
Surface Prep: Remove the caulk if your tub has it! We started by cleaning the entire tub with bleach. Since we’d just moved *back* into our house and had the place deep cleaned we didn’t have to work too hard here. But you want to make sure your tub is as clean as possible! You can also use an heavier cleaner like Comet or Lime-a-Way if needed.
Rinse the tub and let dry (if you have time) or use a towel if you don’t! Now it’s time to sand the tub. I used a 220 grit paper (I’d already used a higher grit to get off the excess where we’d patched the tub). The idea here is to rough the surface up so the paint can stick! After this you’ll want to rinse and dry again. Make sure your surface is COMPLETELY dry before you start painting.
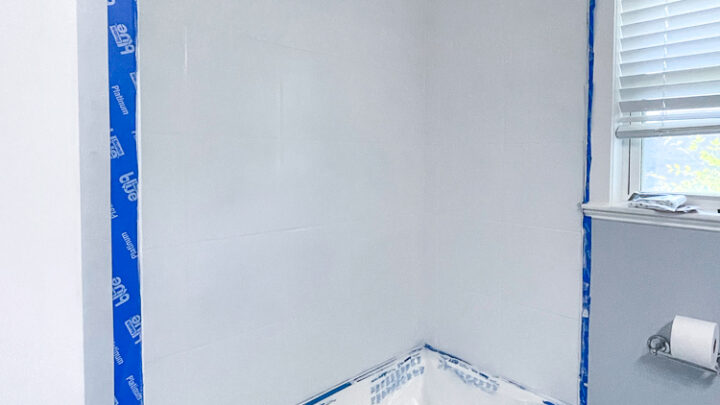
Remove all the hardware or cover with painters tape if you aren’t replacing them!
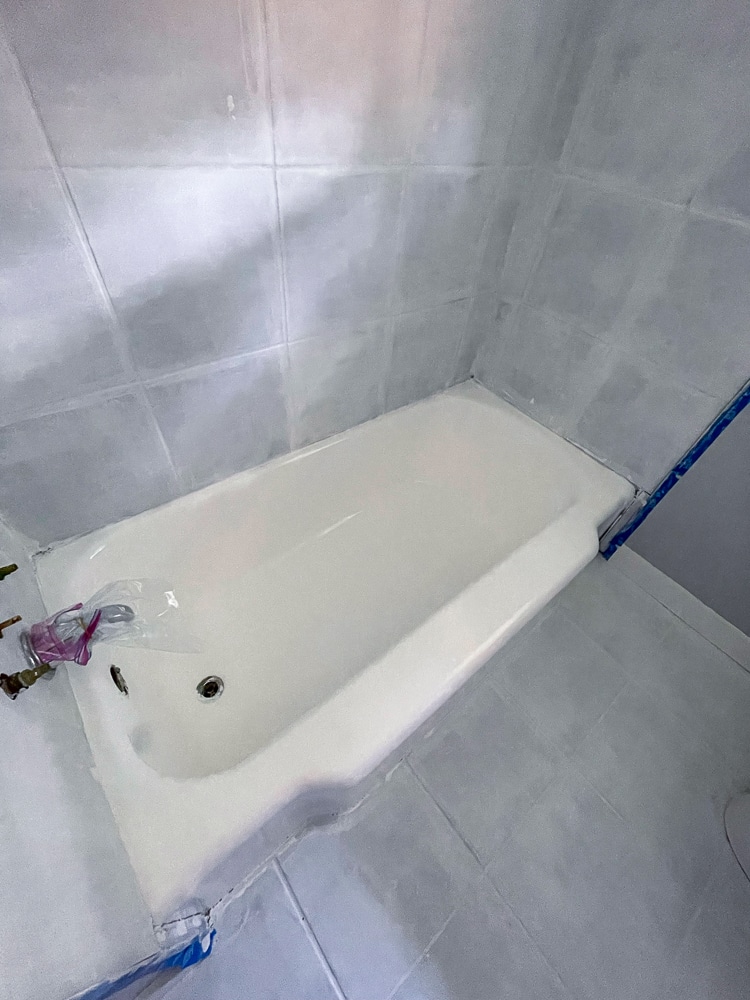
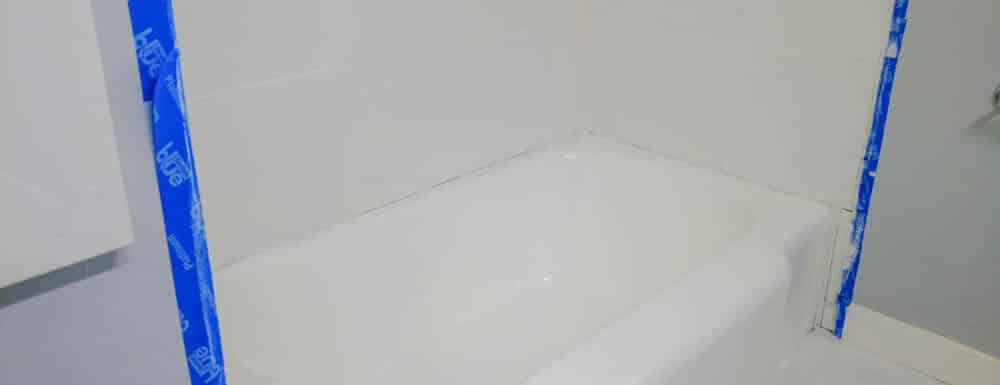
Application: The good news is – the hard part is done! In my opinion the cleaning was harder than the painting! To start, simply mix the cans of part A and part B then stir for 2 minutes. I do a lot of resin crafting so I was very familiar with this mixing process! Once your mixture is ready, use a 1/4 in nap roller (mine was a 4 inch) to roll onto the large, wide, flat areas of the tub. If you have help, they can get started with a brush around the edges and in the corners. I found it best to roll over those areas as close as you can after they’ve been brushed to help even out some of the lines.
At this point your tub will look at hot mess. Just wait. Let the first, splotchy coat dry for AT LEAST 1 HOUR then come back and add the second coat! Don’t try to recoat to quickly because it gets VERY STICKY and you will mess up the first coat! JUST WAIT AND TRUST THE PROCESS!!
You can then roll on the 2nd coat and let set. You only have 6 hours of work time with the epoxy so make sure you get it done within that time frame!
Tips for Painting A Bathtub
- This stuff is STINKY! And super bad for ya so make sure you wear a respirator, open a window, turn on a fan, or all of the above! You want the bathroom super ventilated!
- We live in hot and humid Houston so had wait for the right weather to do this (since you need to open the window for ventilation!) Paint your tub when the temp is between 50-90F and the humidity is below 85%.
- You’ll need to wait at least 3 days before using the tub. Try to time the application before going on vacation if you can 🙂
- Supposedly you can clean your brushes, but with epoxy and oil based paints I never bother! LOL. Use isopropyl alcohol or lacquer thinner if you want to try.
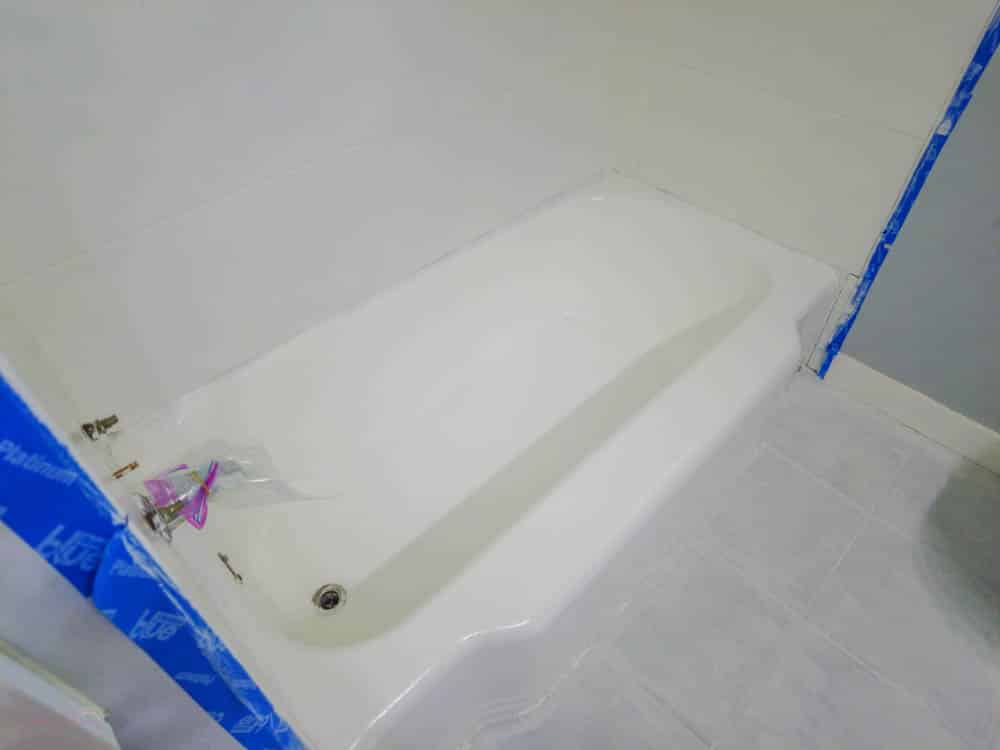
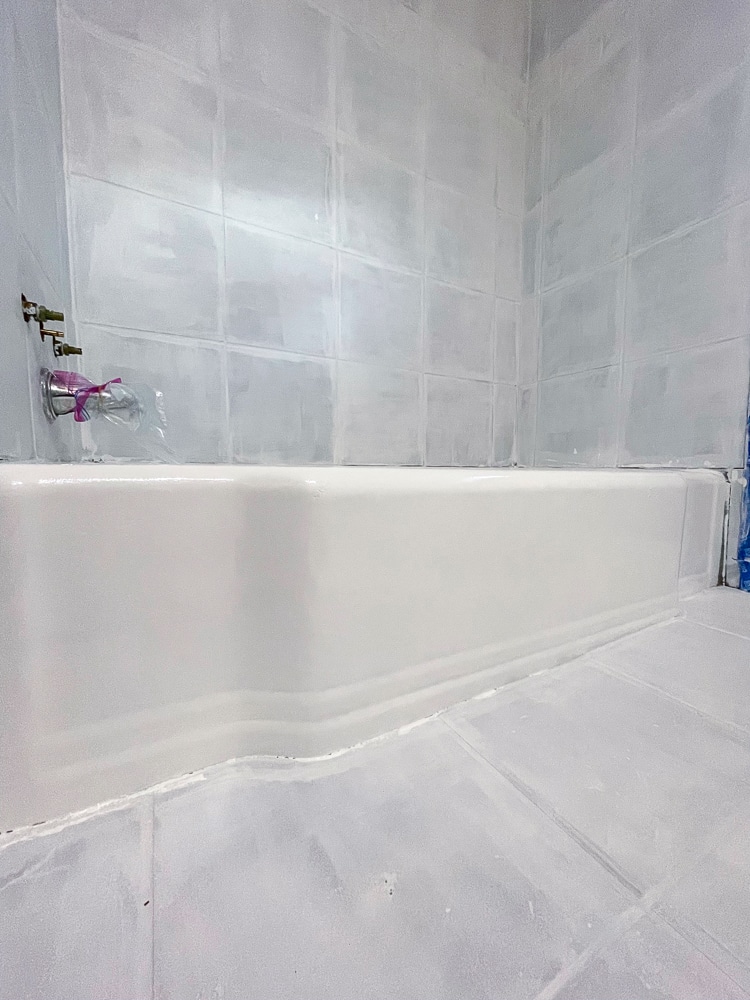
- DO NOT AIM A FAN AT YOUR TUB TO DRY. I found out the hard way that it will cause your paint to bubble. Basically the air was hitting the side of the tub all night and it pushed the paint and caused it to bubble. I will have to update this post once I figure out of the fix it but thankfully it’s not that noticeable!





Leave a Reply