Last updated September 27th, 2022 at 06:05 pm
Maximize the space in your home by building a DIY bookshelf with built in cabinets. This DIY bookshelf wall is made from stock cabinets with a DIY bookcase on top!
When the nightmare of the last few years finally ended and we were back in our home, it was time to really make it our own. We were in the process of moving abroad when the pandemic hit and left our family stuck on two different continents thanks to immigration restrictions. Since we don’t get a chance to live together abroad at this point in life, we decided to make our house a place we LOVE instead of just a place we have to live. Next project on that list: building a DIY bookshelf with built in cabinets for our dining room.
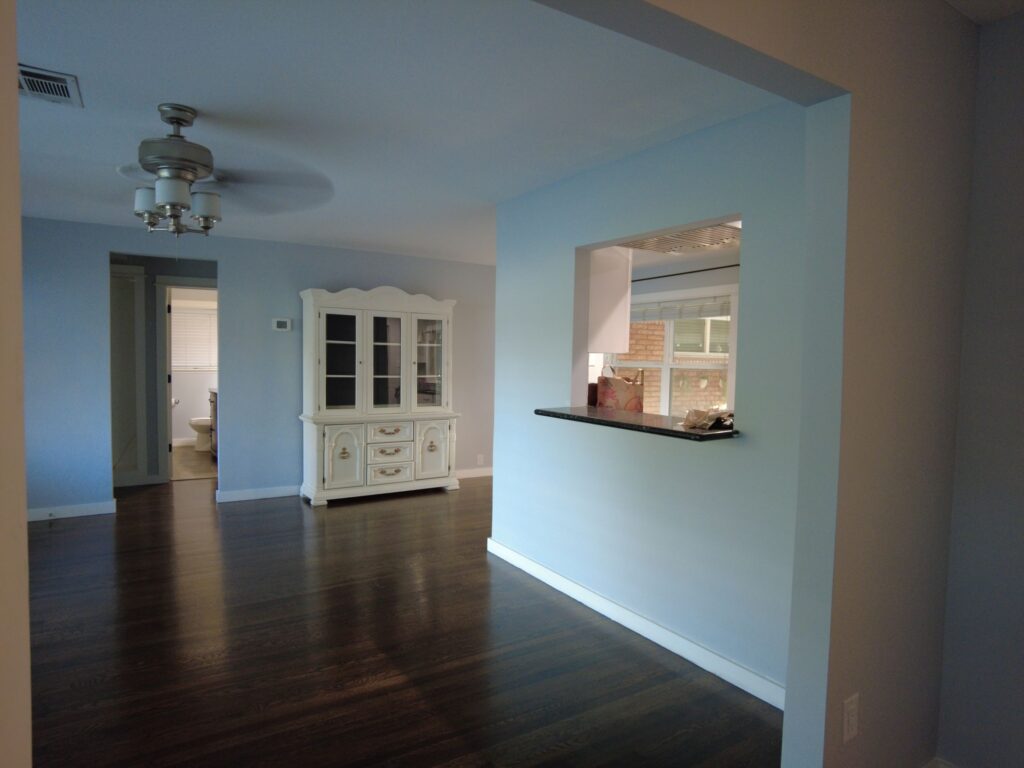
The dining room in our house used to be the living room. After a remodel, the living room moved to the converted garage and we were left with a large, but oddly shaped dining room. We had a china cabinet on the wall and I hated how much wasted space there was here. There was also virtually no storage space. We were able to solve this with our new DIY bookshelf with SIX built in cabinets!
How to Build DIY Bookshelf with Built in Cabinets
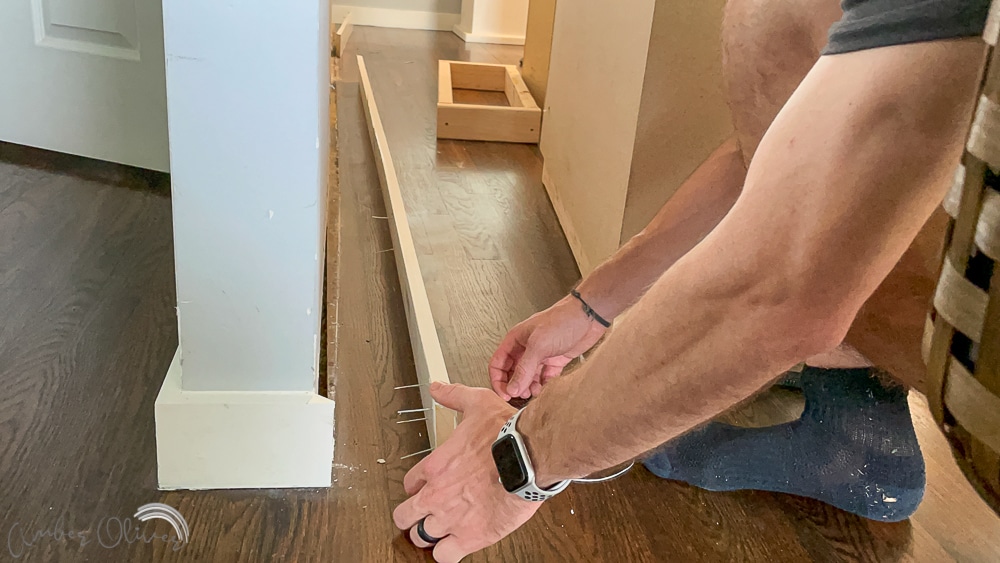
Remove baseboards
Start by removing your baseboards. You’ll want to do this carefully so you can try to reuse them! We used a crowbar and hammer to remove ours and got a little carried away and made a hole in the drywall. Try not to make more work for yourself by taking your time!
Build the built in cabinets base
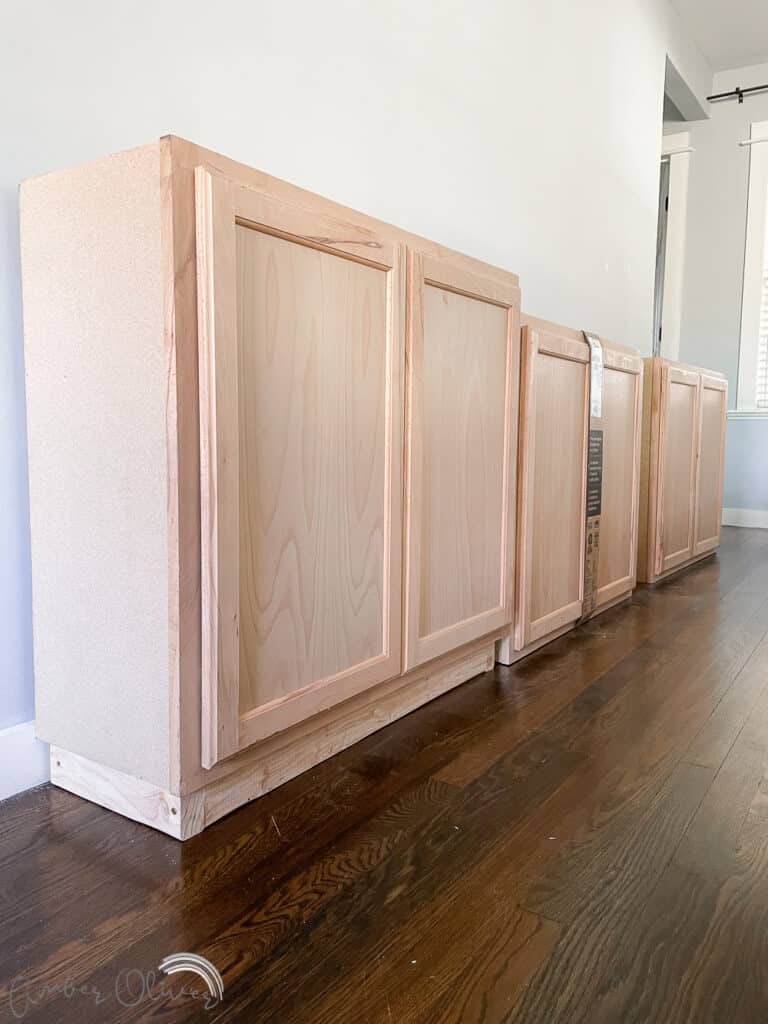
Since I went with UPPER cabinets they do not have a “toe kick” we had to add one. The upper cabinets are quite a bit more narrow. They’re usually about half as deep as the lower cabinets. These are perfect for our DIY bookshelf wall! I started by measuring the bottom of the stock cabinets we were using. Then built a 2×4″ frame for them to sit on. After installed, we’ll add trim to finish out these built in cabinets.
Put cabinets in place
Now that you have your bases built it’s time to install them. Put them in place where you are building your DIY bookcase. Stack the cabinets on top of them. I didn’t bother attaching them as there was NO way the built in cabinets were going to move!
Install cabinets for bookshelves
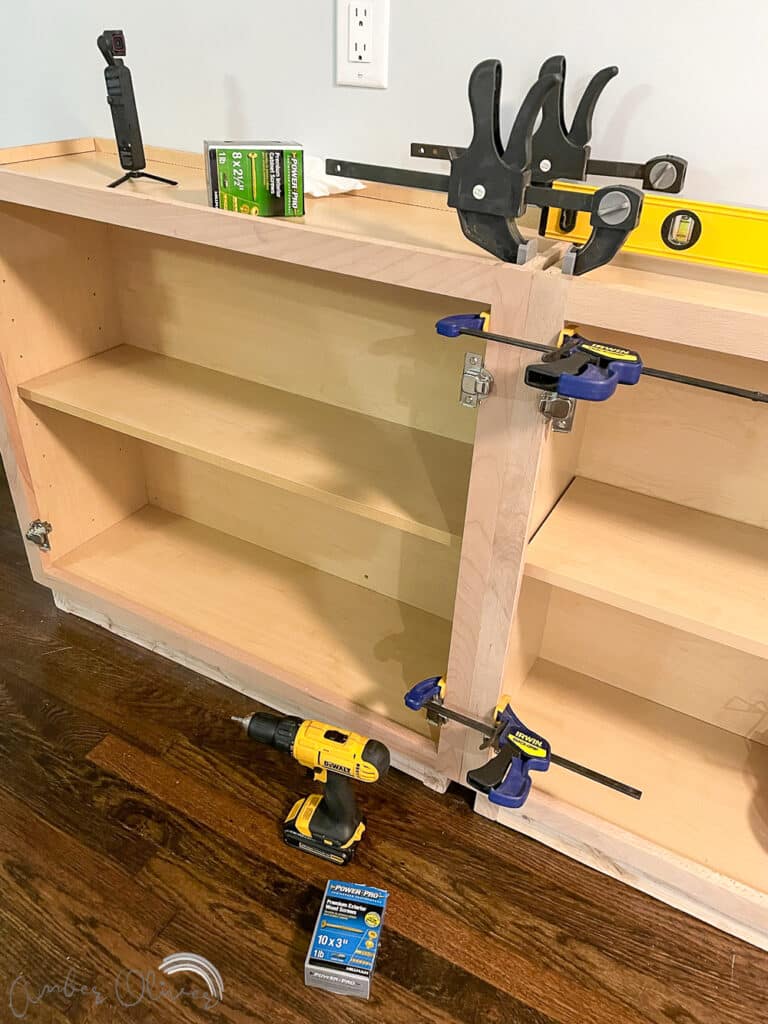
To attach these to the wall, align the first cabinet to a stud. Using #10 x 3″ screws, drill to attach into the stud. Now align the second cabinet to the first one and attach them together. Push them together and use a clamp to hold them flush together and to the wall. Drill a 1/8 inch pilot hole in the face frame on the cabinet. Use #8 x 2 1/2″ countersink screws to attach the two cabinets together. Continue on attaching into the wall and together. We did 3 cabinets, but you may be doing more!
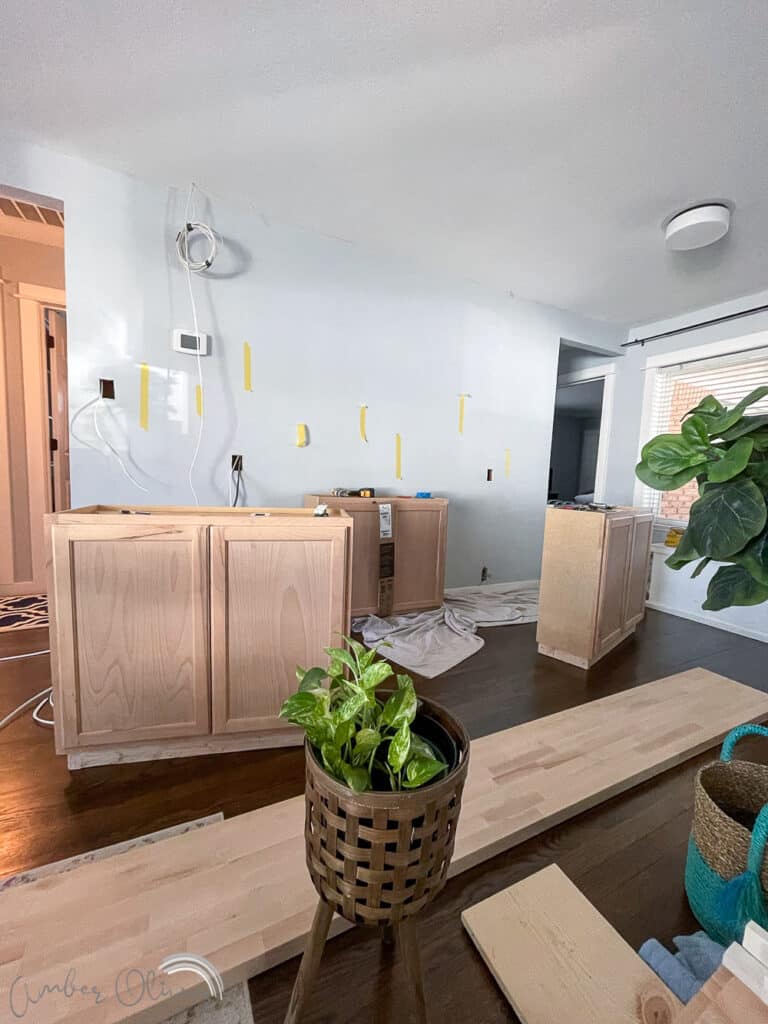
Prepare and install the countertop for the built in cabinets
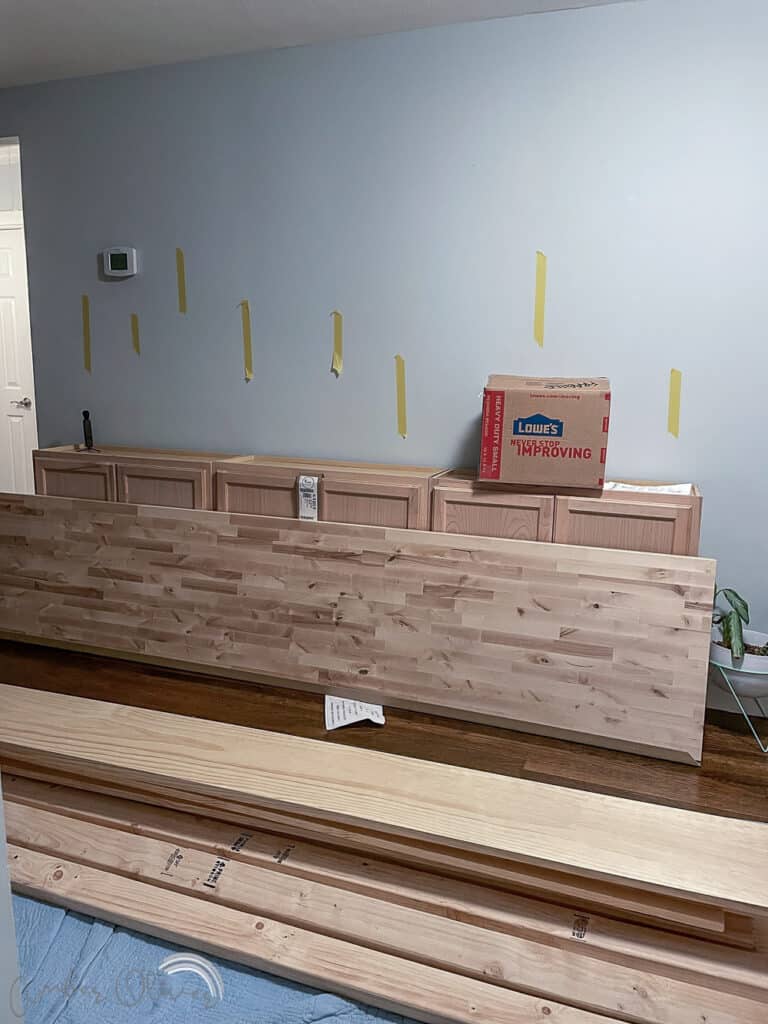
We found a beautiful butcher block countertop for our DIY bookshelf wall. (It was $400 when we bought in February of 2022). For a cheaper option, you could also use plywood with band edging. With your cabinet bases installed in place, measure how long and deep you need your countertop. We allowed ours to overhang about 2 inches. Once you have your measurements, cut down the countertop. This is a great time to go ahead and precondition, stain, and apply polyacrylic to your countertop. Once ready, glue the countertop in place.
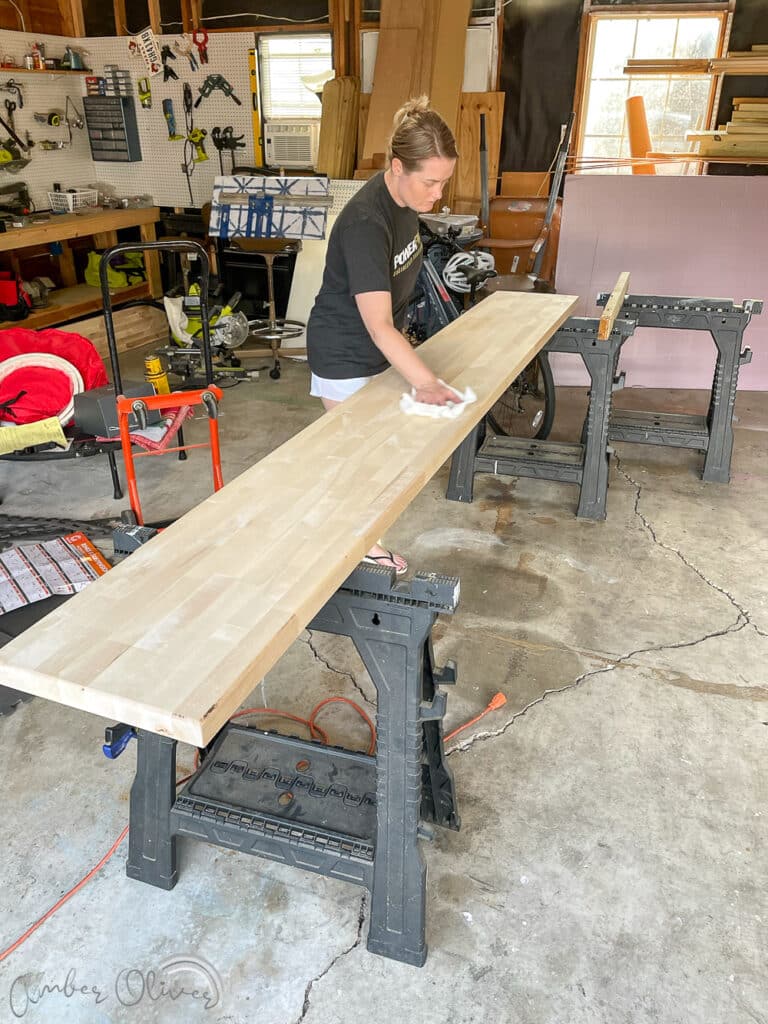
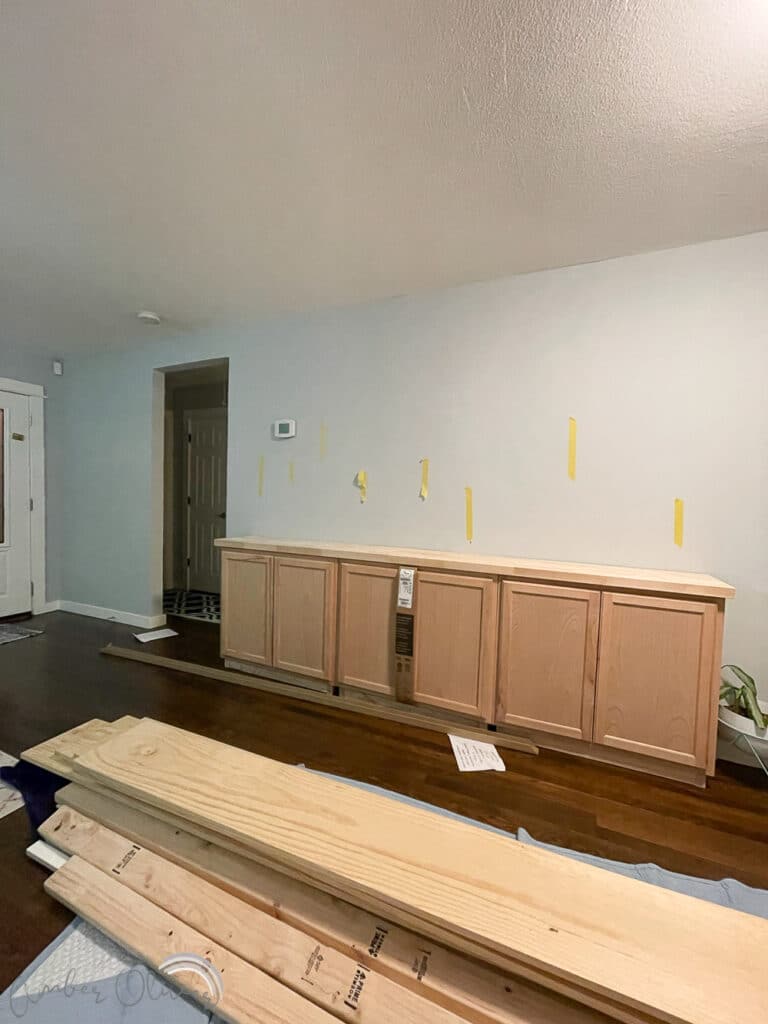
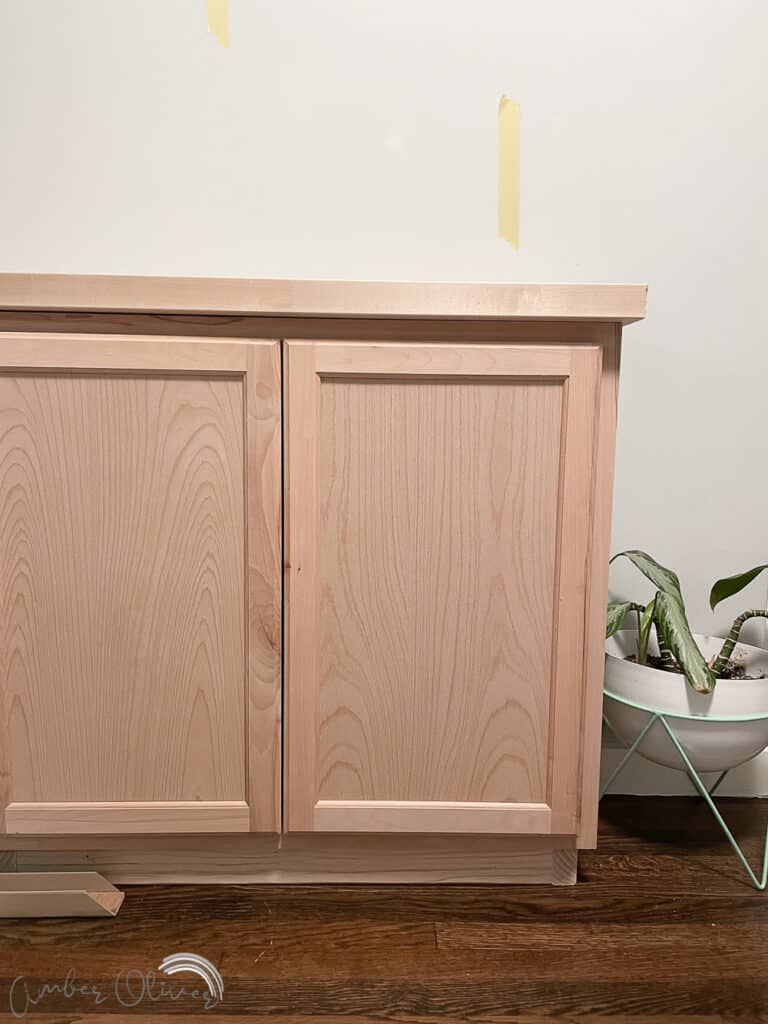
Build the bookshelf vertical frame
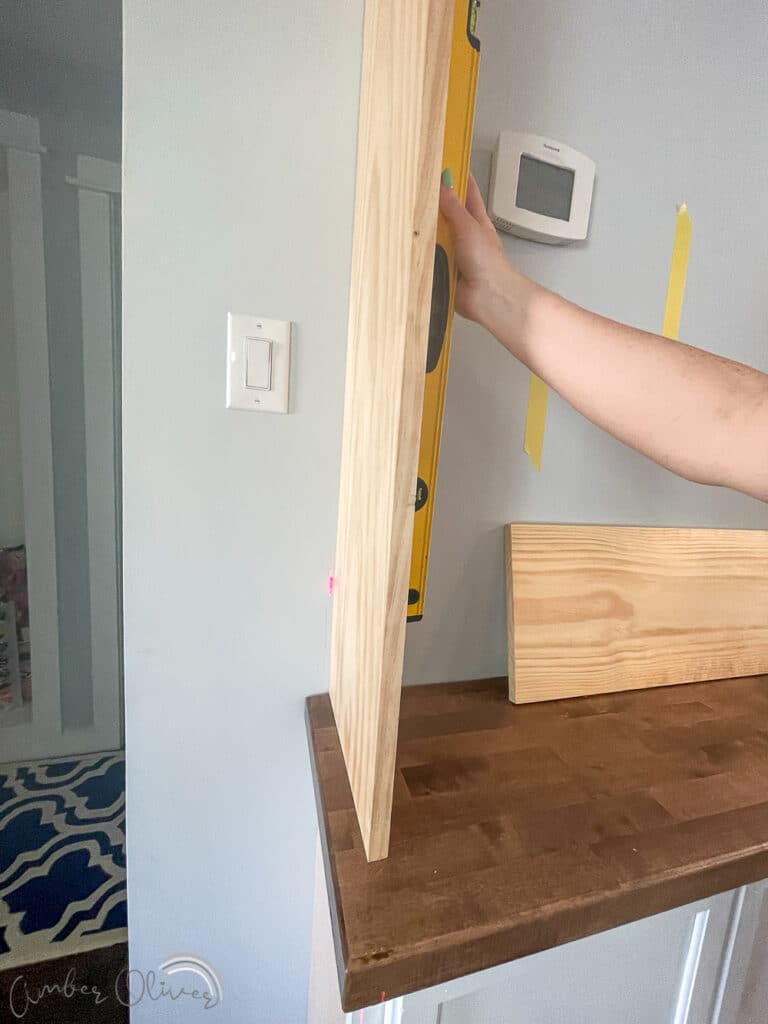
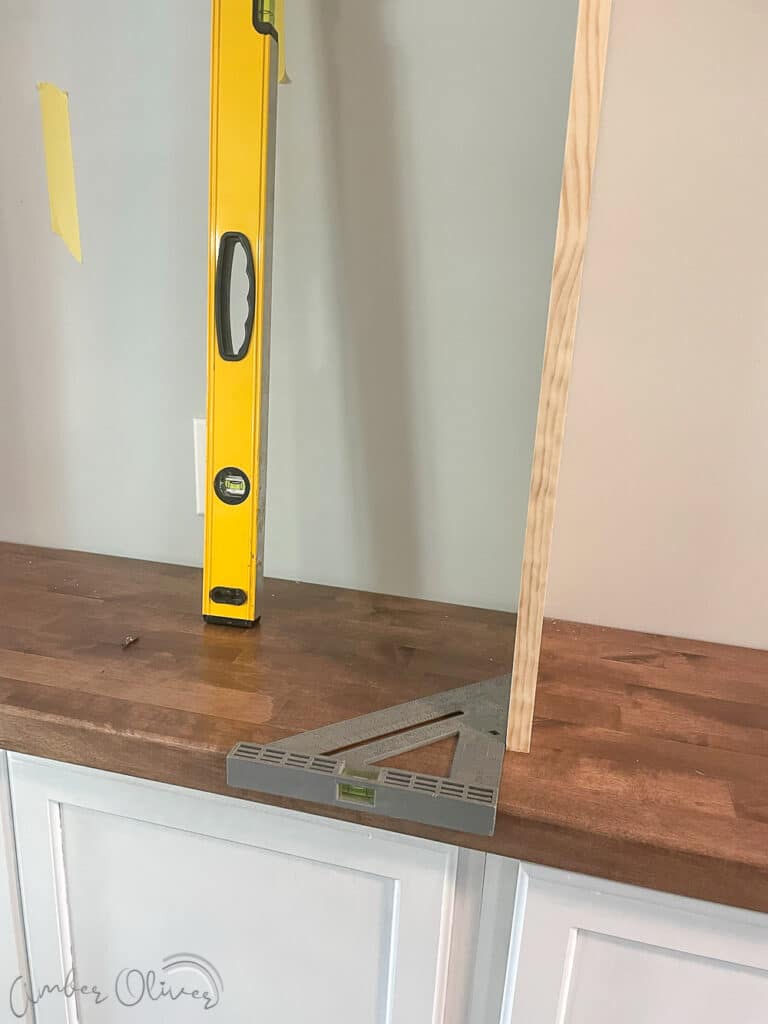
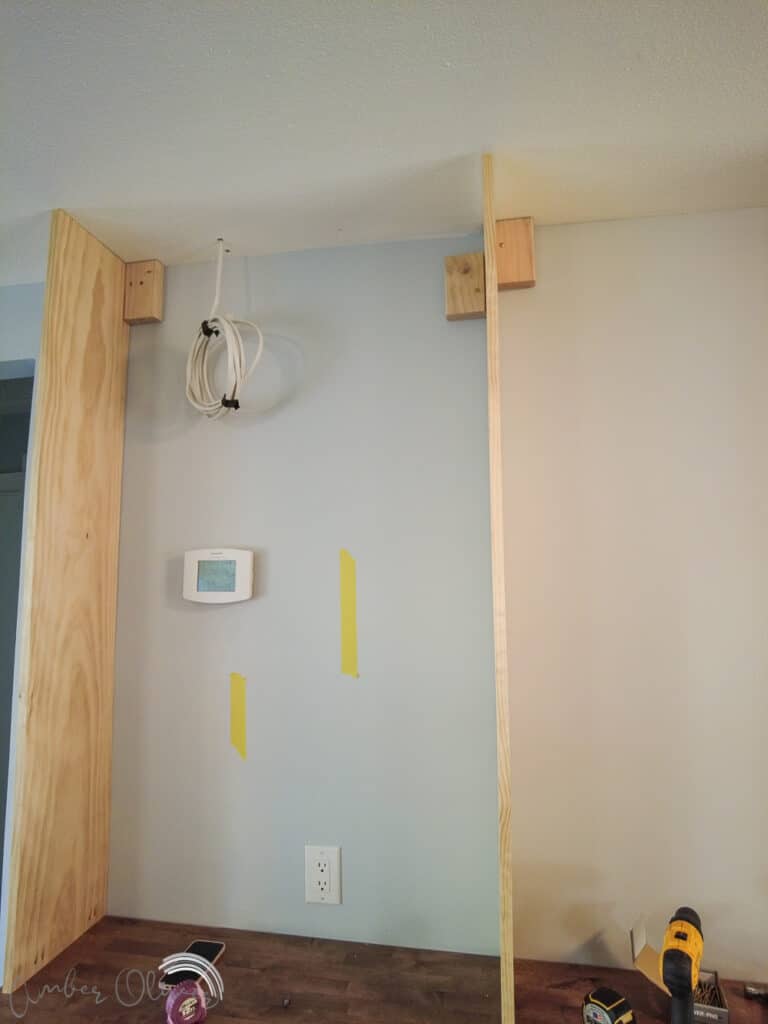
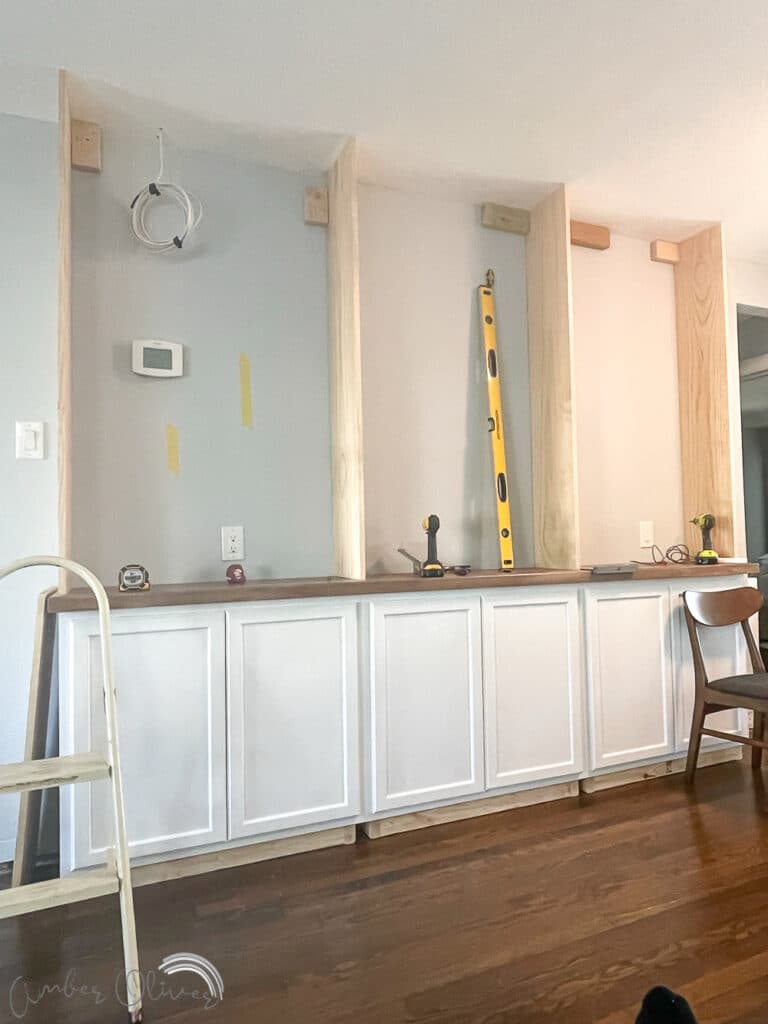
Now it’s time to build out the top part: the shelves! If you haven’t already, measure and mark where your wall studs are. Now, measure where each of the 4 vertical boards will go. There will be one on each side to create the sides of your DIY bookshelf wall and two in the middle lining up with each of the cabinets below. (more if you have more cabinets of course!) The two sides will go all the way to the ceiling whereas the middle vertical boards will not if you are adding electrical! This makes it easier to run the wires for lights.
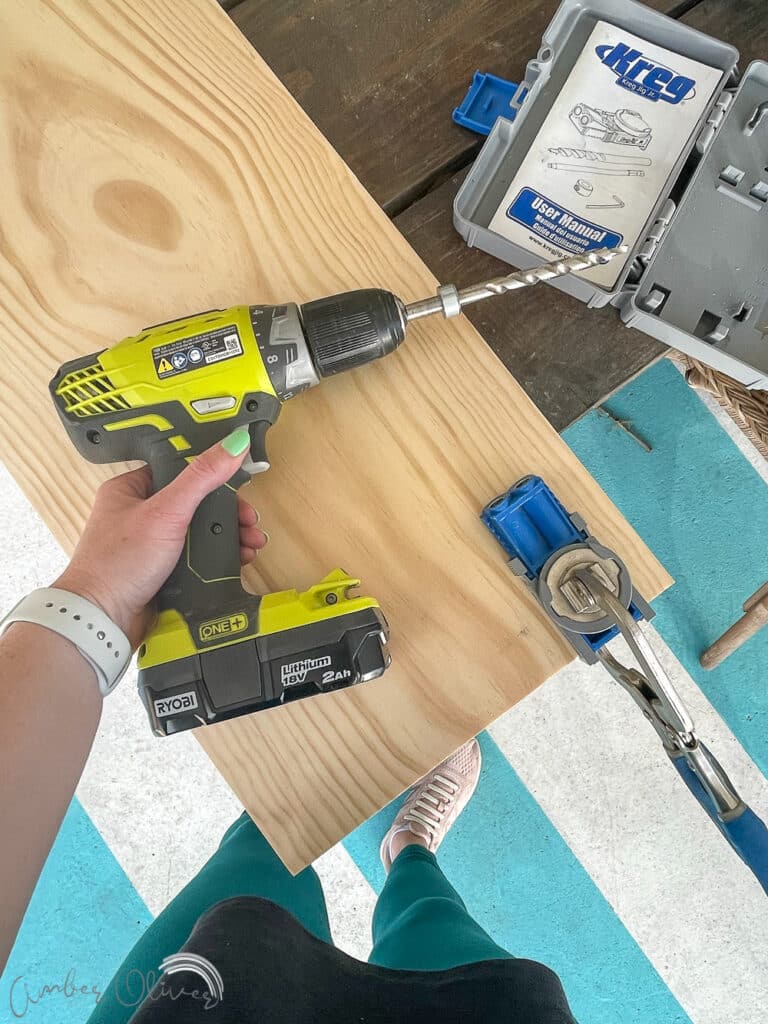
Cut the 1×12″s and double check they fit. Drill pocket holes into one side of each of the boards. This side will attach into the butcher block countertop.
Now find where to attach the braces for each of the vertical boards (where you marked the studs earlier!). The side boards will have one brace and the center ones will have one on either side. We used scrap 2x4s for this and made sure they were long enough to attach into a stud in at least one place. You then attach the vertical boards directly into the braces and into the countertop via the pocket holes.
Add shelf pin holes
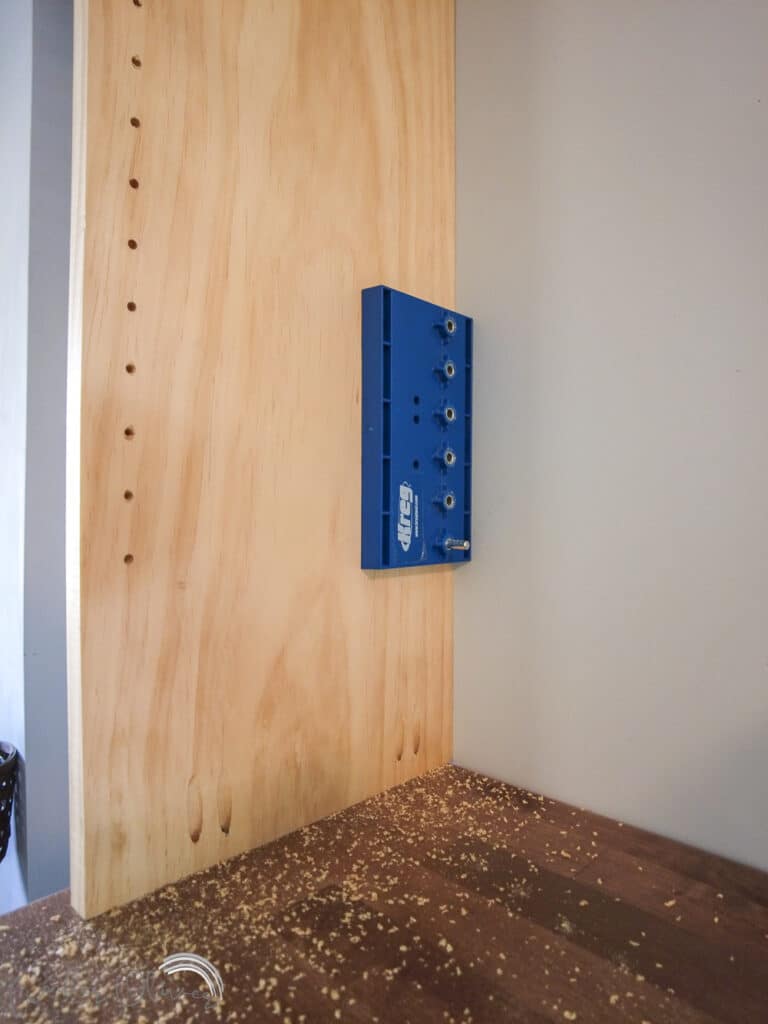
There are probably many ways to do this but the absolute easiest is using the Kreg Shelf Pin Jig! The jig is setup to evenly space your holes quickly and easily. The kit comes with the drill bit that fits perfectly in the jig and makes the holes. It also has a pin that helps you line up when it’s time to move up to the next set of holes. I started drilling all the holes but quickly realized I wasn’t going to be moving the shelf that much (if at all) so I only added a few at the heights I might want my shelves. I used these shelf supports to hold my shelves.
Measure and cut shelves
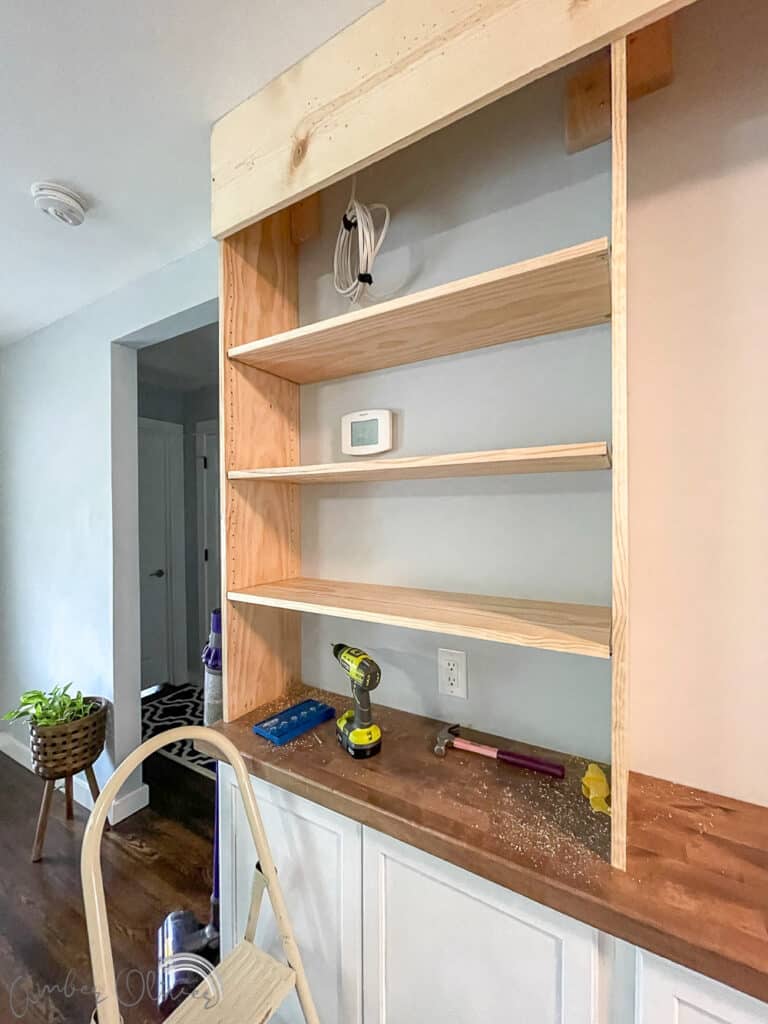
Now it’s time to move on to the shelves! This part was tricky for me because when we started I didn’t have new my table saw setup. So I measured and cut the boards for the shelves but used my miter saw that wasn’t quite big enough. This meant I had to cut halfway through the board then flip and cut the other side. This definitely slowed things down. I also ended up with wonky shelves that didn’t quite fit! We then went back with the table saw and trimmed these down to fit.
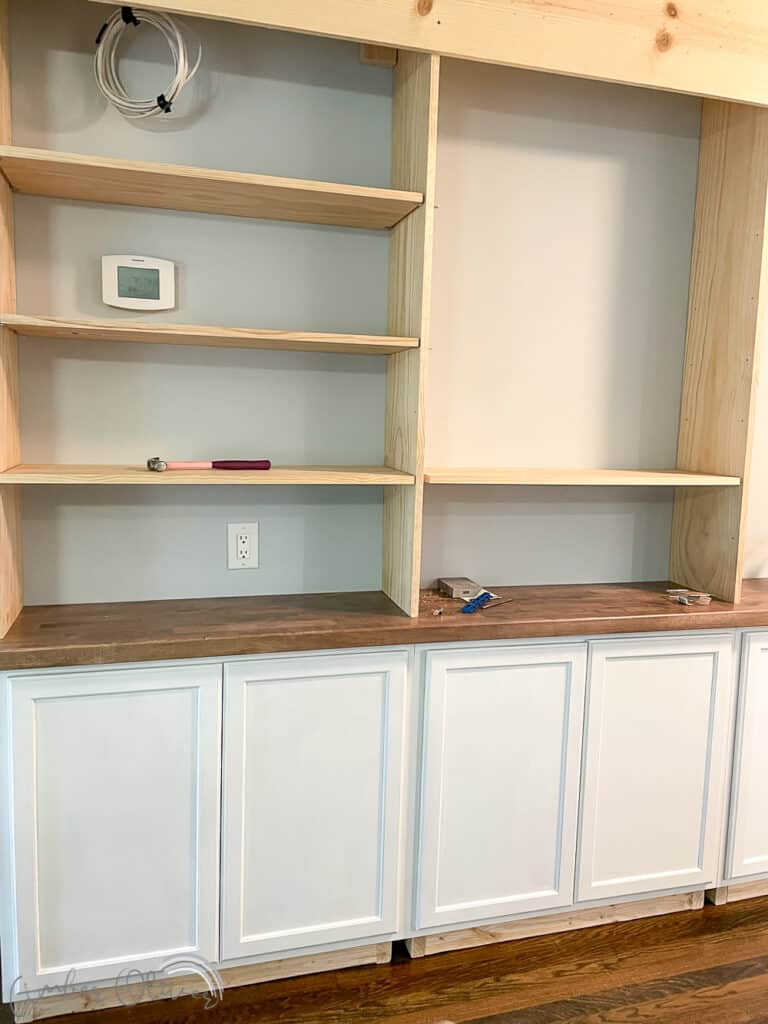
Add the top of the bookshelf and lights
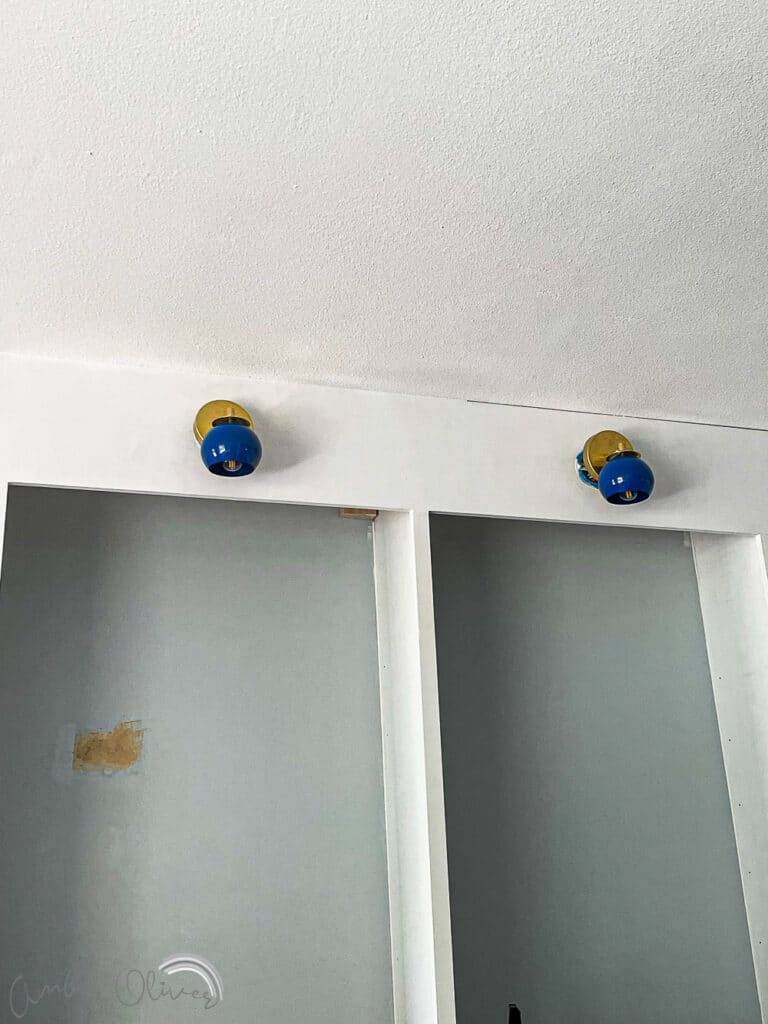
Now we are going to finish out the front of the DIY bookcase. Starting at the top, measure across and cut the 1×12″ to fit all the way across the top of the shelves. Use countersink screws (and and two extra sets of hands!) to screw this in place. Your ceiling is most likely not completely level – don’t worry we’ll hid that with paint and caulk! This is also a great time to add lighting if you’d like! We hired an electrician to run 3 tops for new sconces and also had him move the electrical plus up the wall before we installed the cabinets.
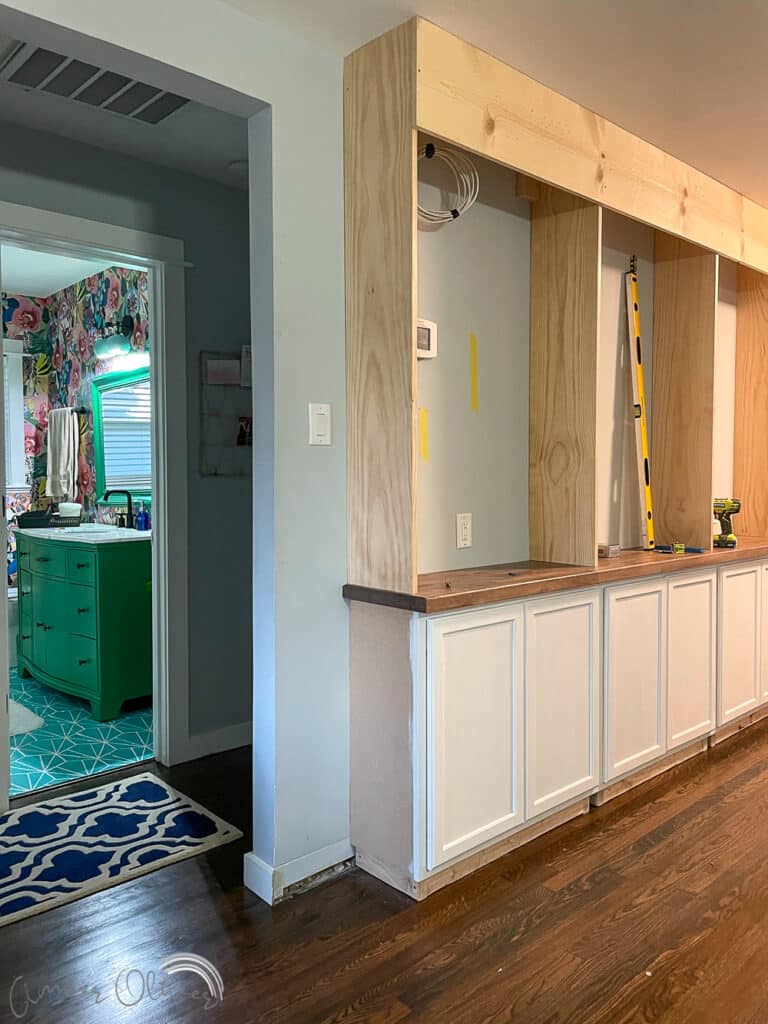
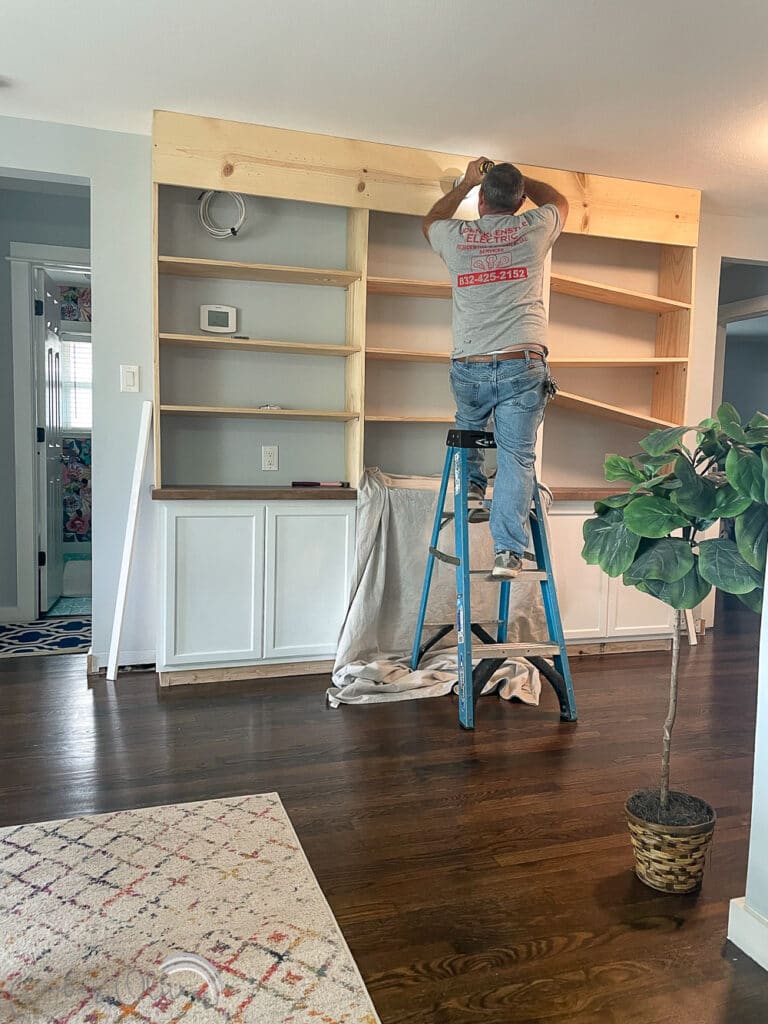
Cover the pocket holes
Normally you’d wait to the end of the project, right before painting to fill in all the holes and imperfections. Because the trim will be in the way where the pocket holes are, it’s easier to go ahead and take care of those now. I started by plugging the pocket holes with pocket hole plugs and sawing flat with a flush cut saw. This was TERRIBLE! I tried everything and couldn’t keep from gouging the wood. So going forward I simply filled with wood filler and sanded flat – so much easier!
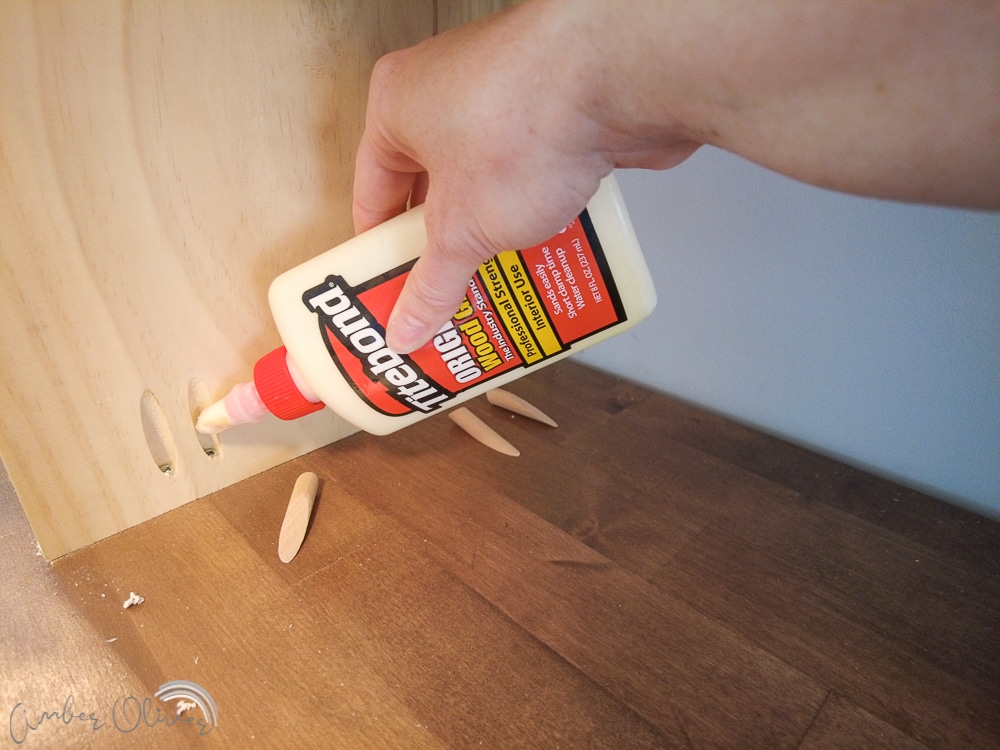
Adding trim
One of the final pieces is the trim boards. You want to go in this order to things are in place and easier to measure! With the shelf boards in place, you can now measure, cut, and install the vertical trim. These will center on the two center vertical boards and go flush to the sides of the vertical boards on either side of your DIY bookshelf wall. Use a finish nailer to attach these. I had one little bugger that didn’t go all the way in, so we used a nail setter to get it in!
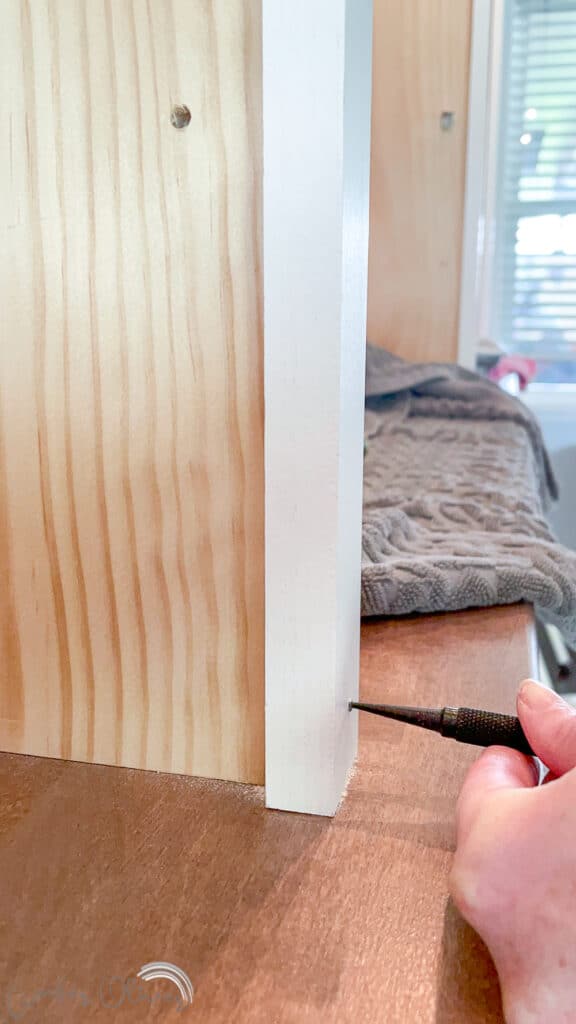
Then continue on to the horizontal trim. This will finish out the fronts of the shelves. By cutting the trim in this way, your shelves will be adjustable!
Reattach baseboards
Hopefully you can re-use your baseboards but we weren’t able to. Our hardwood floors were refinished last year and they got dark wood stain all over our white baseboards. So we replaced them! I mitered the corners of the trim that went back on the all on either side of the DIY bookshelf wall but didn’t bother on the front and sides of the DIY bookcase.
Fill in all holes
We’ve already filled in our pocket holes, but you’ll have plenty of nail holes to fill in. Allow the filler to dry then go back and sand. I also had to buy 1/4 inch plywood panel to add on the sides of the cabinets because mine weren’t finished! So I cut and glued these on the sides before we started painting the DIY bookcase.
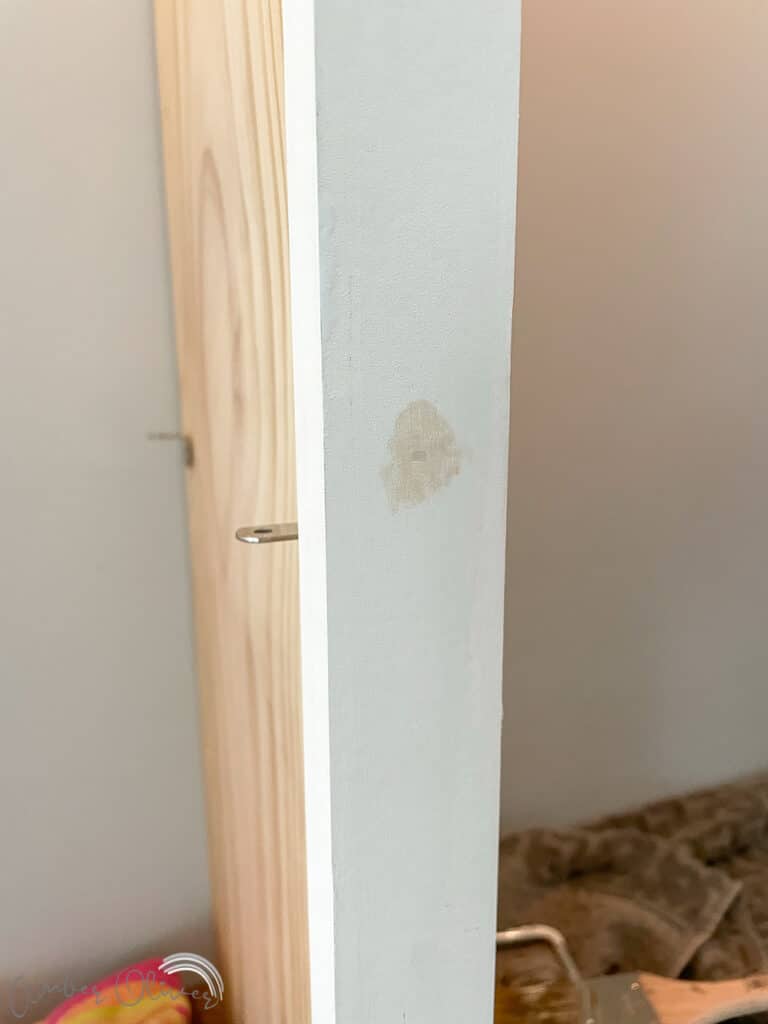
Time to prime
For some reason I didn’t prime the base cabinets? I think I got a little ahead of myself! But the raw wood on the top definitely needed priming. I used Zinsser BIN Primer because this stuff is awesome! It’s especially good at covering wood knots and dark spots in the wood that can sometimes bleed through your paint.
Apply Caulking
Don’t skip this step! This is what is going to give your DIY built in bookshelves a beautiful, professional finished look. With the shelves removed, caulk all the way up and down anywhere your DIY bookcase meets the walls and ceiling. I also caulked around where the vertical boards meet the butcher block countertop. Lastly, caulk around the newly re-installed baseboards. This made a HUGE difference and looked AMAZING!
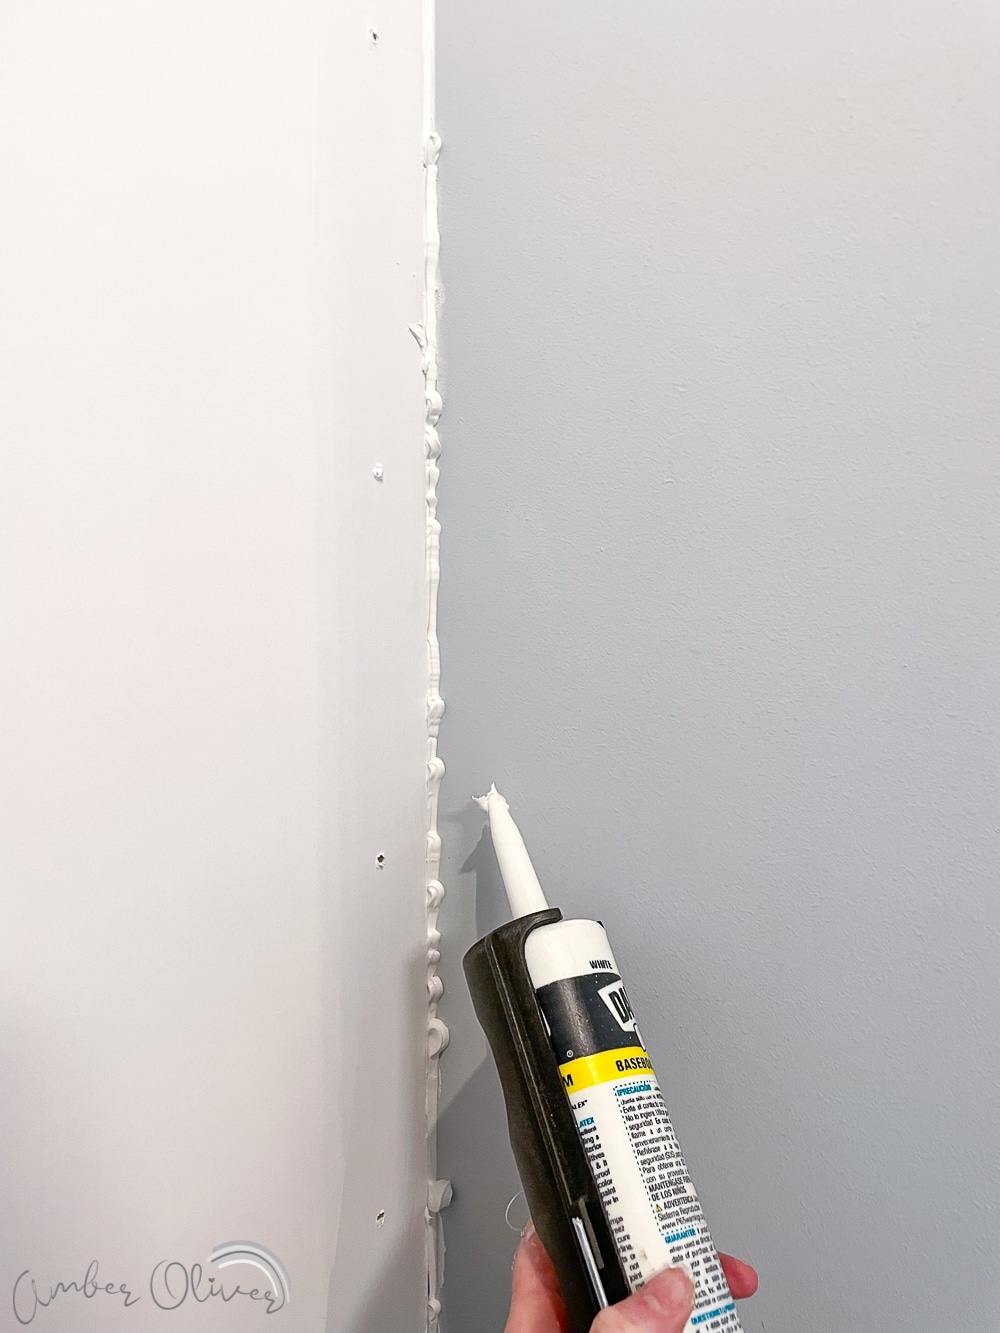
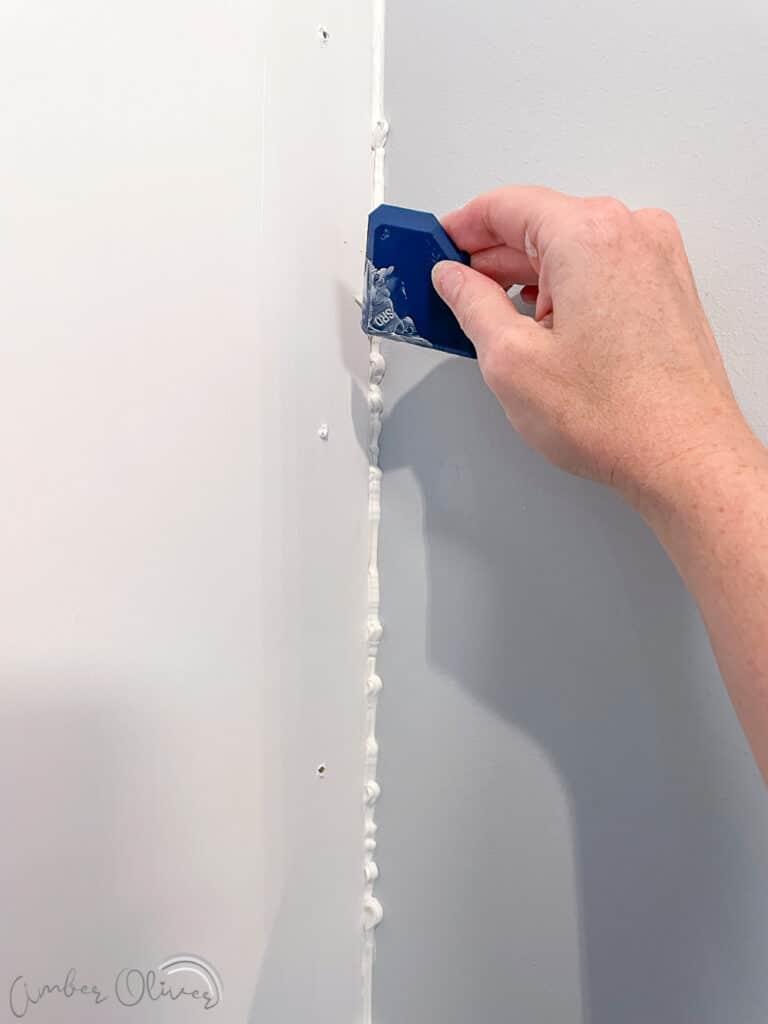
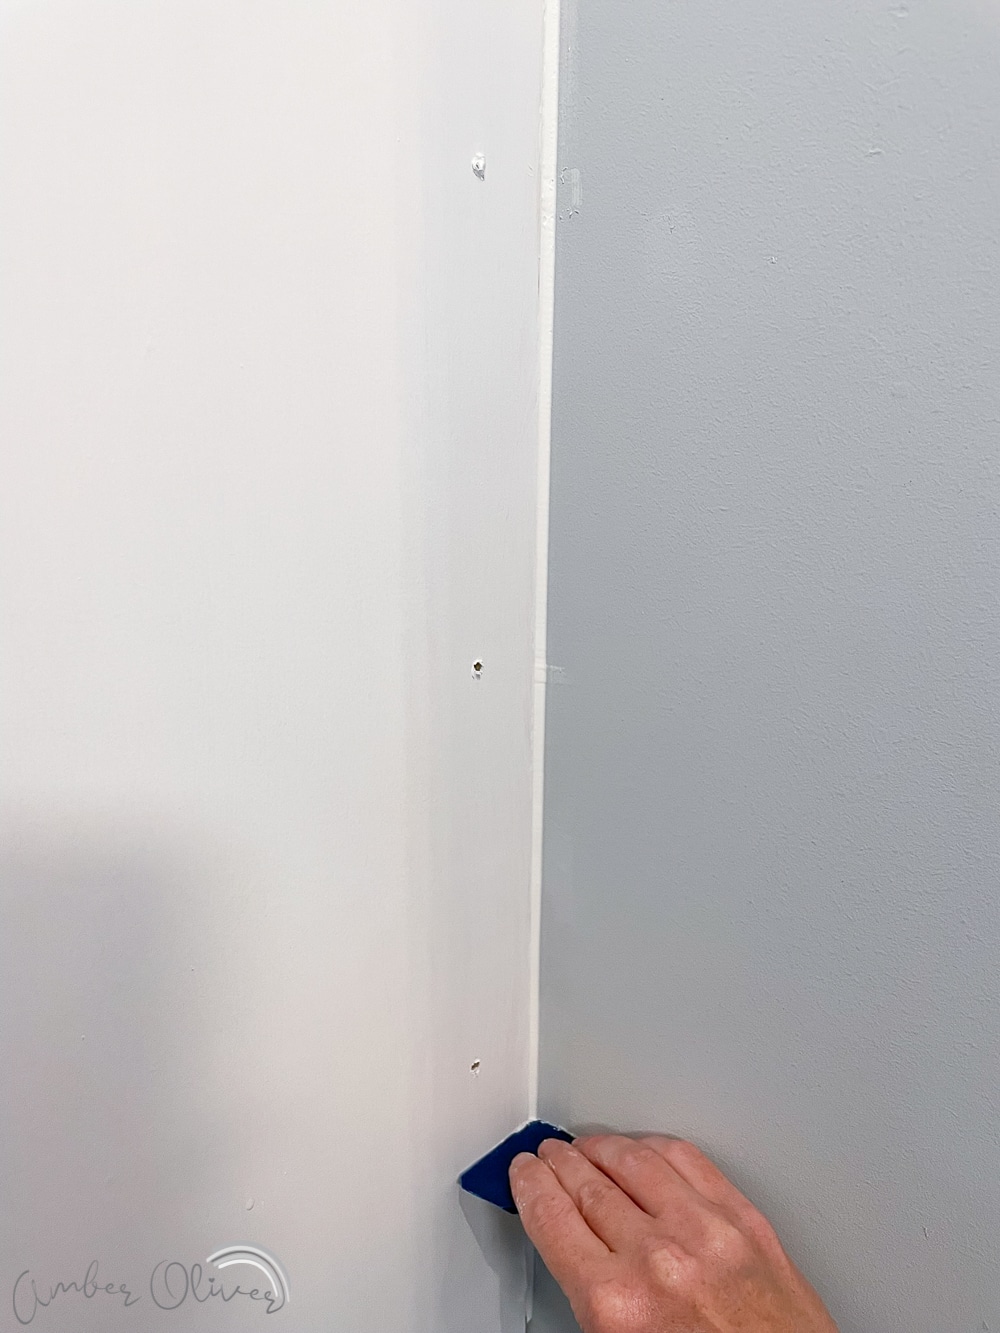
Here’s an example of what a great difference caulk makes! The left has caulk and the right does not. Goodbye gap!
Paint your DIY Built in Bookshelves
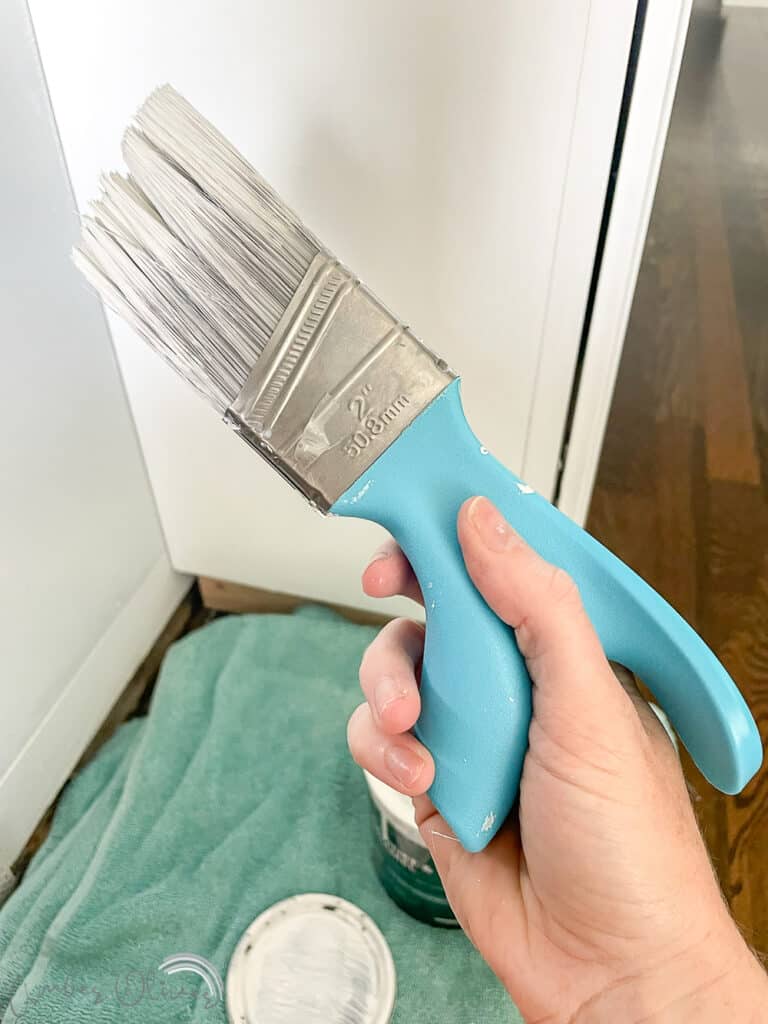
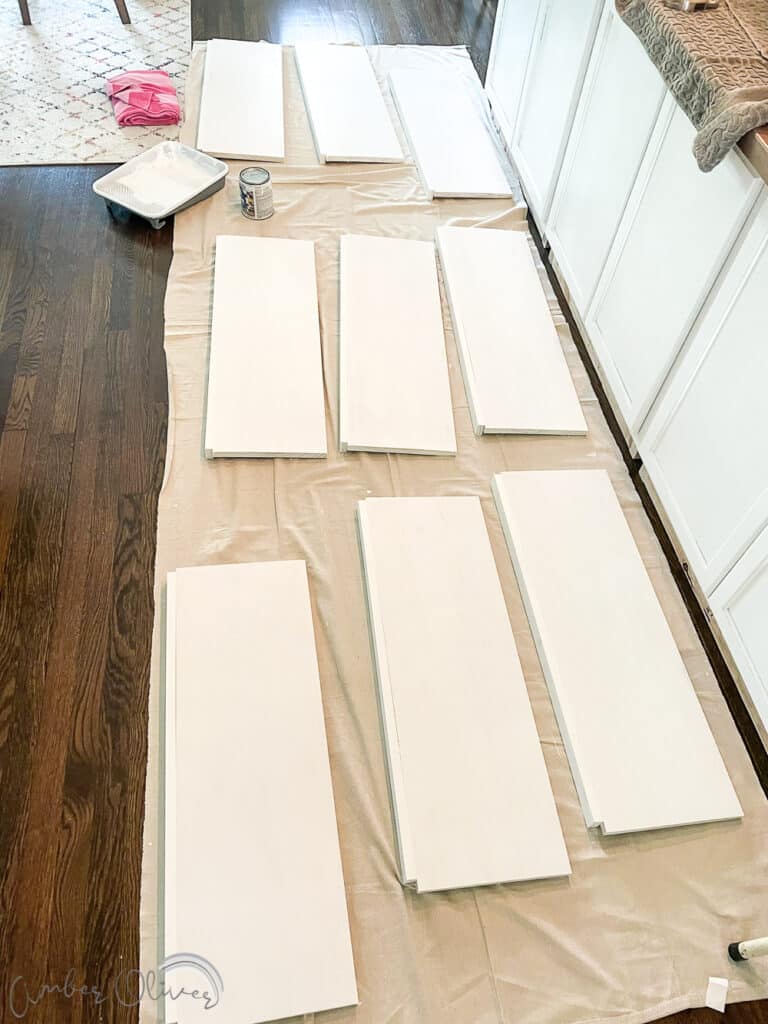
If you have a paint sprayer, you can remove the doors and take them out and spray the paint onto them. If not, a roller will do just fine. Either way take your doors off so you can cover them completely and get the entire face of the cabinets painted. Roll the paint where you can on the cabinet faces and on the shelves an other large places, and use a brush to cut in where you can’t.
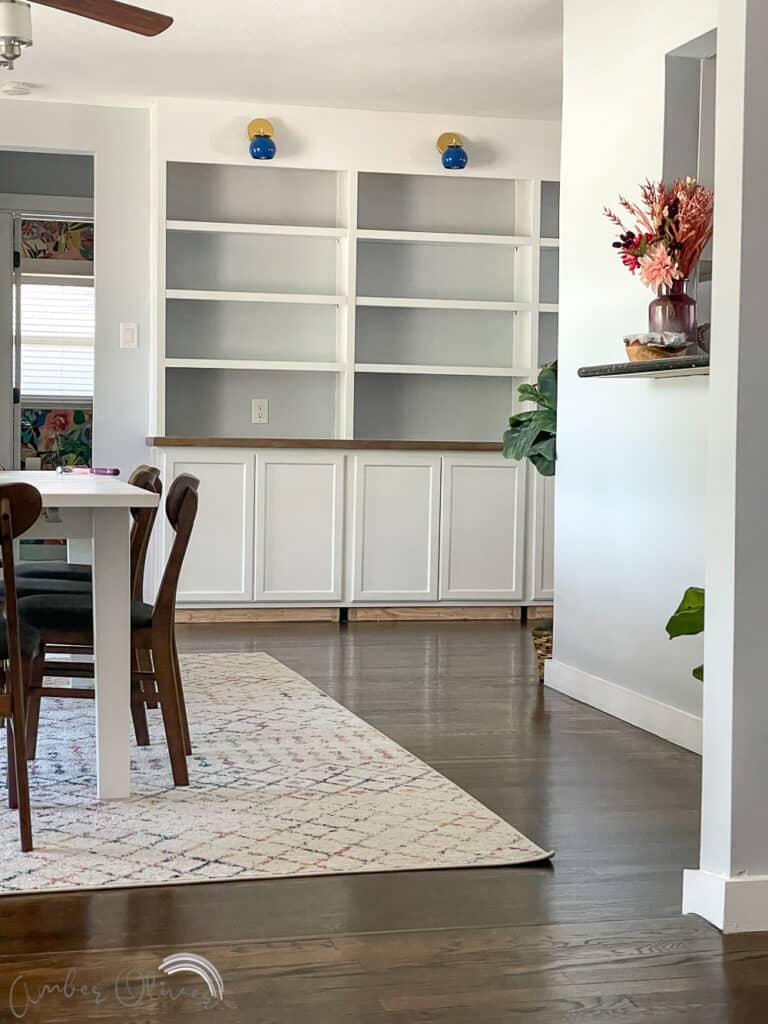
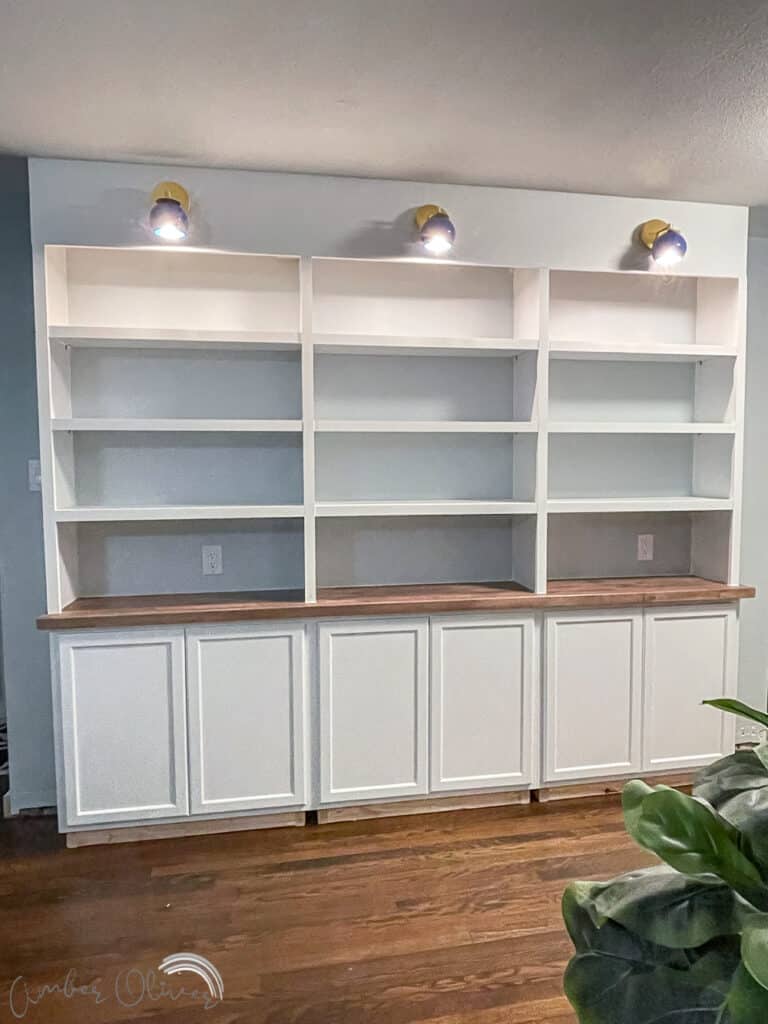
DIY Bookshelf
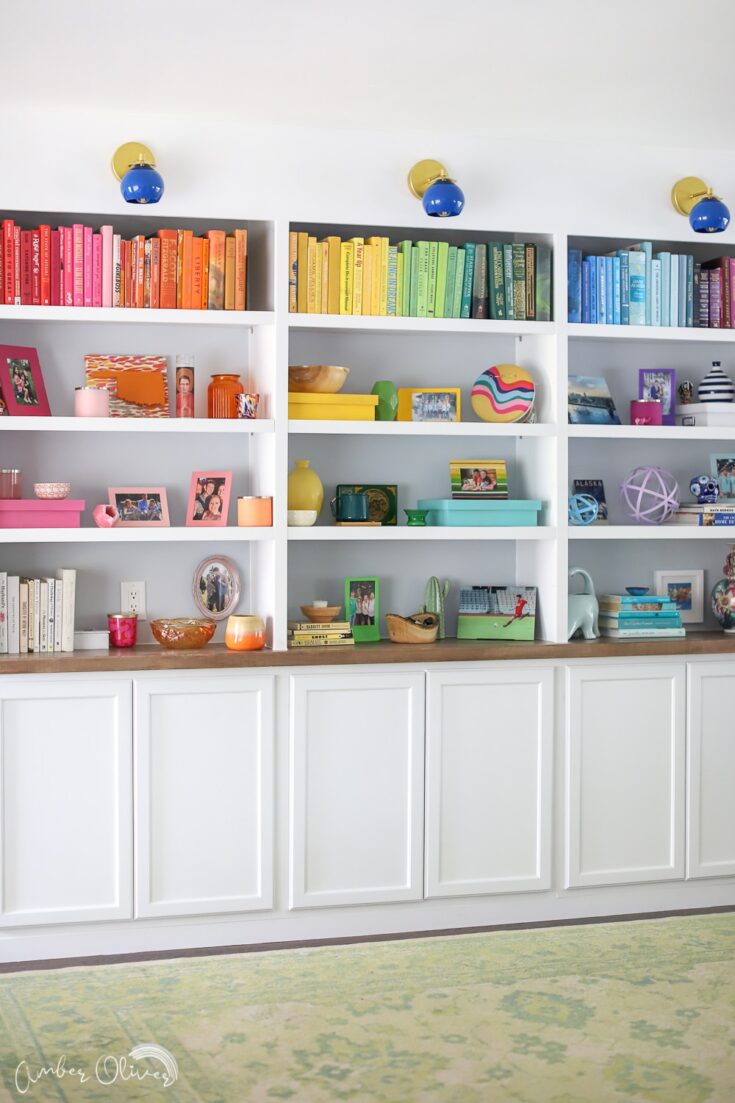
Maximize the space in your home by building a DIY bookshelf with built in cabinets. This DIY bookshelf wall is made from stock cabinets with a DIY bookcase on top!
Materials
- Stock Cabinets
- 2x4
- 1x12x8
- 1x12x10
- 1x2x8 Trim Boards
- Countertop
- Stain Pre-Conditioner
- Wood Stain
- #10 x 3" screws
- 1/8" drill bit
- Staining Pads
- #8 x 2 1/2" screws
- Construction Adhesive
- Wood Filler
- Sanding Block
- Primer
- Cabinet Paint
- Paint Brush
- Shelf Pins
- Caulk
- Caulk Gun
Tools
Instructions
- Remove baseboards
- Build the built in cabinet base
- Put cabinets in place
- Install cabinets for bookshelves
- Prepare and install the countertop for the built in cabinets
- Build the bookshelf vertical frame
- Add shelf pin holes
- Measure and cut shelves
- Add the top of the bookshelf and lights
- Cover the pocket holes
- Add trim
- Reattach baseboards
- Fill in all holes
- Prime the bookcase
- Apply caulk
- Paint the DIY bookshelf!
Notes
We ordered online and had the cabinets and boards delivered! Much easier than loading and unloading yourself!
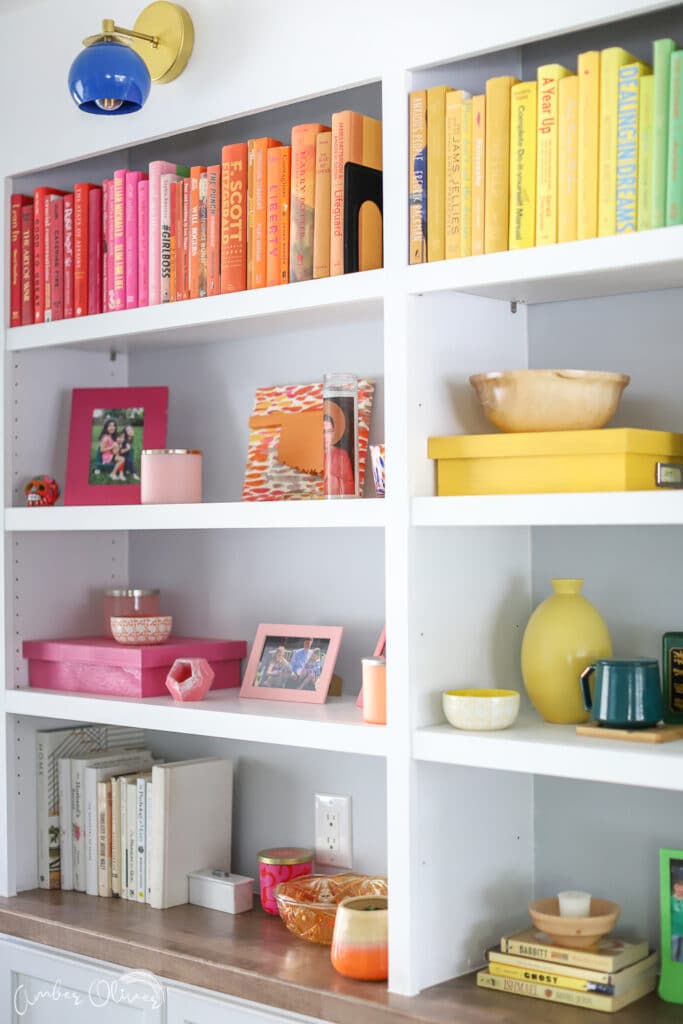
I was so happy to finally tackle this project for our home. While it seems like a lot of work, if you break it down most of it is actually very simple. There aren’t any complicated cuts and there’s a lot of room for errors. This could also be very easily customized! The shelves are super easy to build but you could use premade shelves in addition to the cabinets if you wanted.
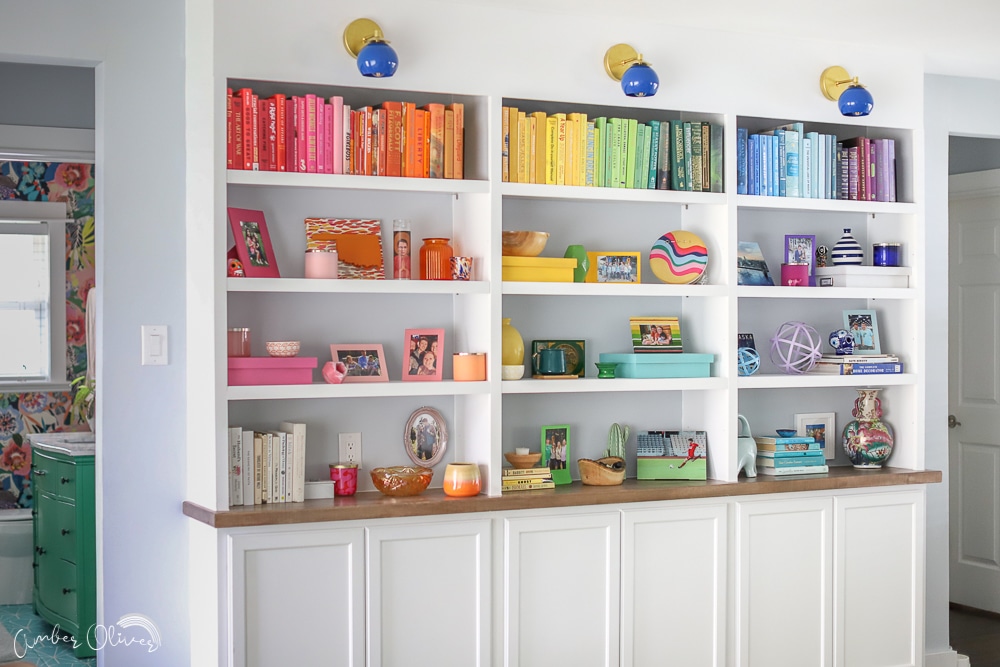
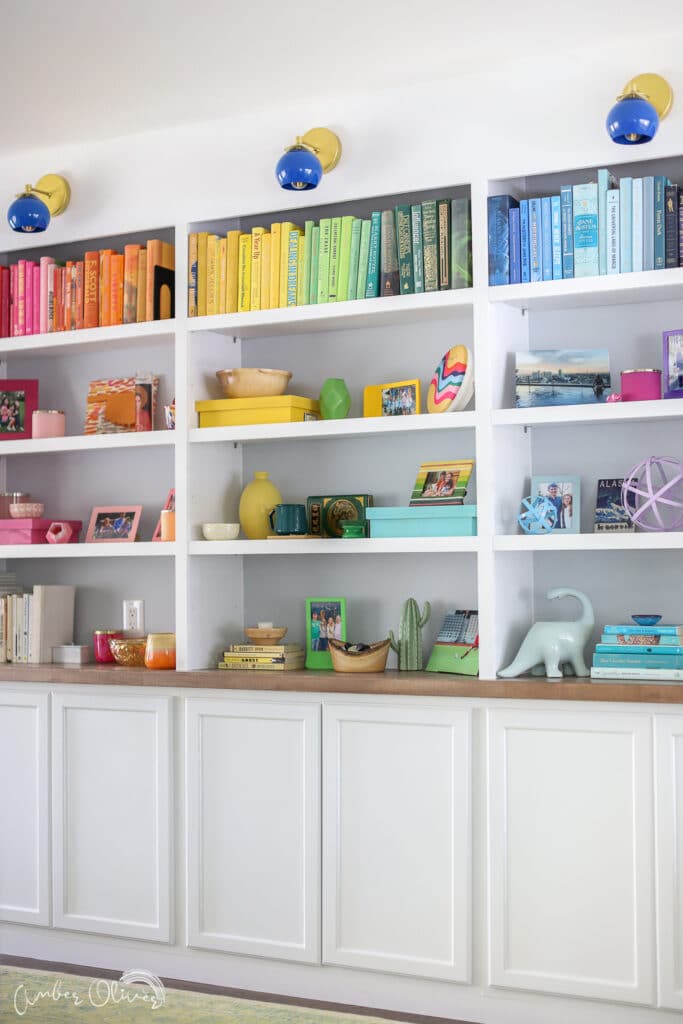
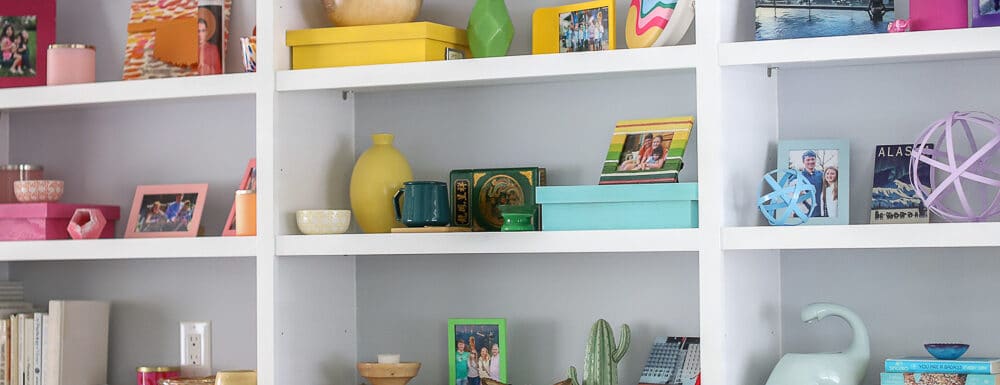
The best part was getting to decorate! I’ve been collecting rainbow books for the past few years and finally got to display my collection! We had about 60% of these already and to get the rest of the colors I checked every time I went to a thrift store or to the Dollar Tree! I found several hardbacks with solid, bright covers for only a buck!
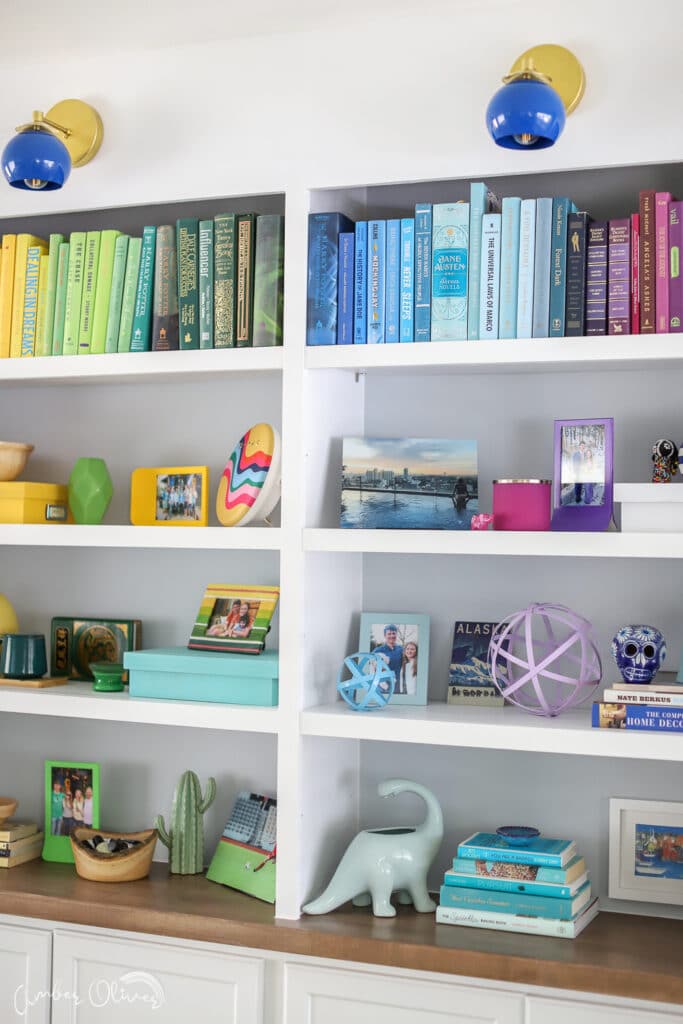
The rest of the decorations were sourced from all over the house! Those colorful boxes are a DIY memory box project I did for JOANN a few years ago – I’ll like it for you. Many of the items are things we picked up on vacations and travels around the world.
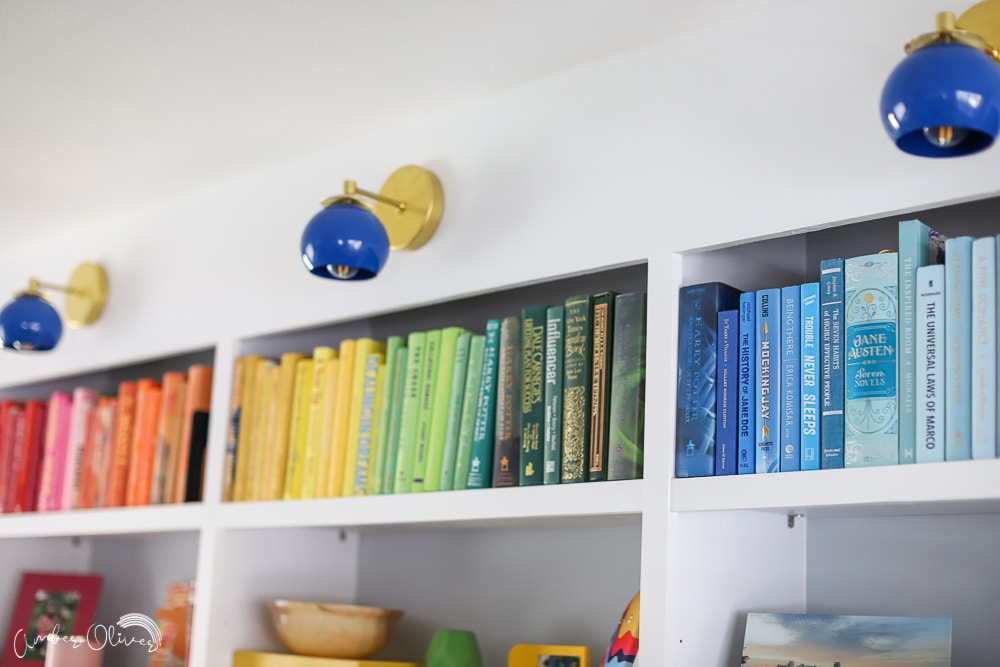
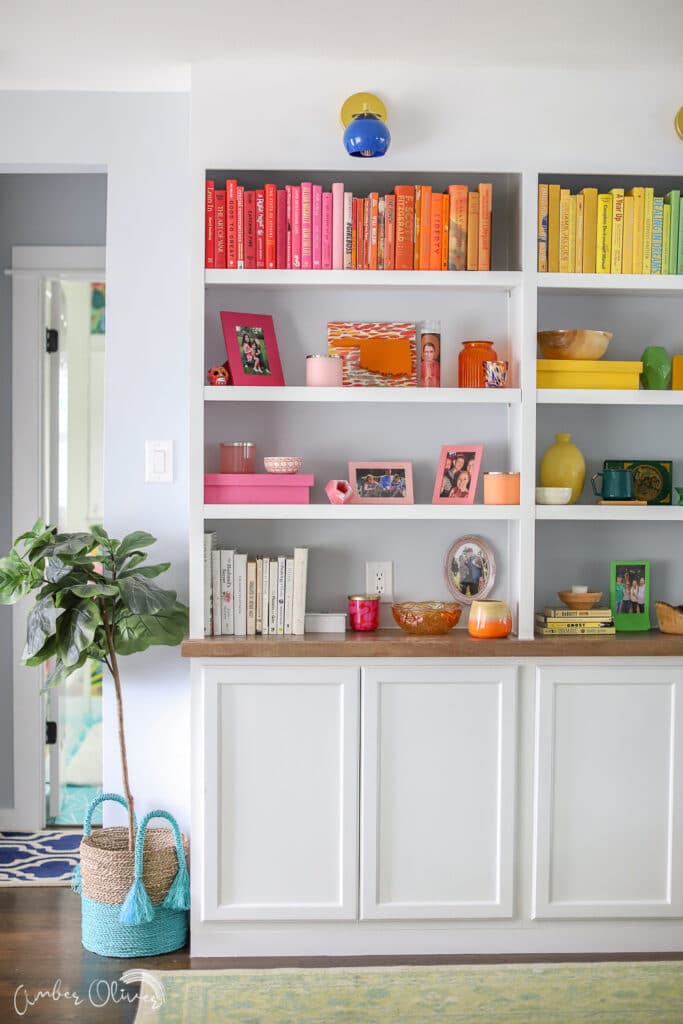
I hope this project inspires you to build your own DIY bookcase with built in cabinets! If you have questions, drop me a comment below.

ScribdDownloader official says
I absolutely love this rainbow DIY bookshelf! The built-in cabinets are such a great touch for storage while adding a pop of color to any room. Your step-by-step instructions make it feel doable, and I can’t wait to try this out in my own space. Thanks for the inspiration, Amber!
y89 says
I absolutely love this Rainbow DIY Bookshelf idea! The combination of colors and built-in cabinets is so creative and adds such a cheerful vibe to any space. Can’t wait to try this project out in my own home! Thanks for the inspiration, Amber!
365 says
I absolutely love this Rainbow DIY Bookshelf idea! The vibrant colors and built-in cabinets really bring such a fun and playful vibe to any room. It’s a perfect blend of functionality and creativity. Thank you for sharing such an inspiring project, Amber! I can’t wait to try this at home! 🌈📚
Daman says
I absolutely love the concept of the rainbow DIY bookshelf! The built-in cabinets are such a clever touch for both functionality and aesthetics. The color scheme is so cheerful and really brightens up the space. I can’t wait to try this out in my own home—thank you for the inspiration, Amber!