
Last updated September 2nd, 2024 at 08:48 am
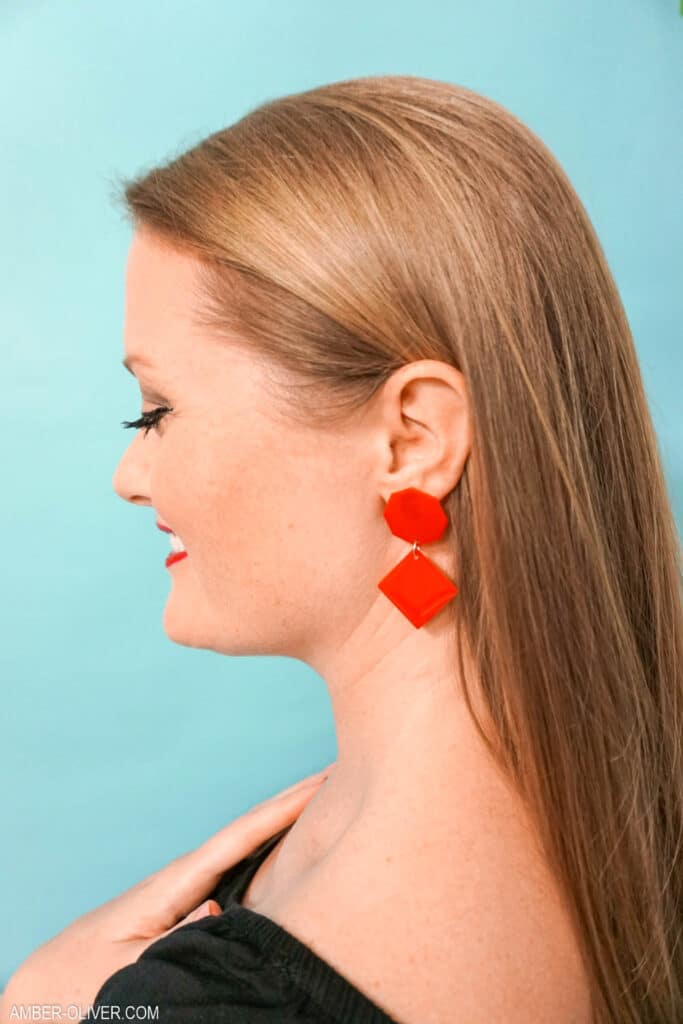
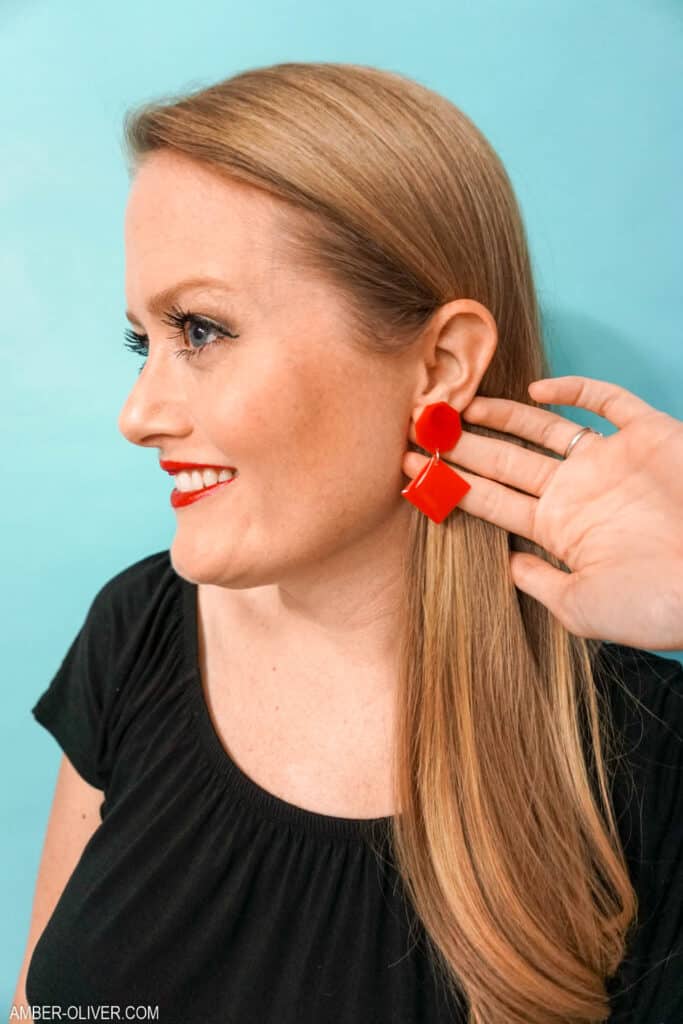
Learn how to make your own DIY earrings from Resin! These resin statement earrings are so simple to make and easy to customize!
Hey there! Are you looking for a fun and creative way to make your own unique earrings? Look no further than resin! Resin is a versatile chemical compound that can be used to create all sorts of beautiful art and unique decorative items.
Whether you’re new to resin-making or a seasoned pro, this resin craft is a great way to express your creativity. In this blog post, I’ll walk you through how to make your own DIY resin earrings, a type of jewelry that is not only stylish but also super easy and affordable to create. Let’s get started!
Note: There are several different ways to make DIY epoxy resin jewelry. My favorite and the type of resin we will use in this tutorial is ETI Clear Casting two-part Epoxy Resin. Other resin craft creators love UV resin and make really beautiful pieces and resin crafts. With this type, you also need a UV lamp or UV light.
Materials Needed for DIY Earrings made with Resin
- Jewelry Hardware (earring hooks, posts, or small jump rings)
- Resin (I recommend using a two-part epoxy resin – my favorite type of resin)
- Measuring cup (2) and stir sticks
- Silicone molds (available in a huge range of resin jewelry molds – find your favorite things)
- Gloves
- Optional: Mica Powder Pigments, glitters, or other embellishments to add to your resin (small stones, flowers, etc.)

how to make resin earrings
Step 1: Prepare Your Workspace
Before you get started with the resin-making process, make sure you have a clean and organized workspace. Lay down some wax paper or plastic to protect your surface, and have all your materials within reach. Gloves are essential to protect your skin from the liquid resin during the process.
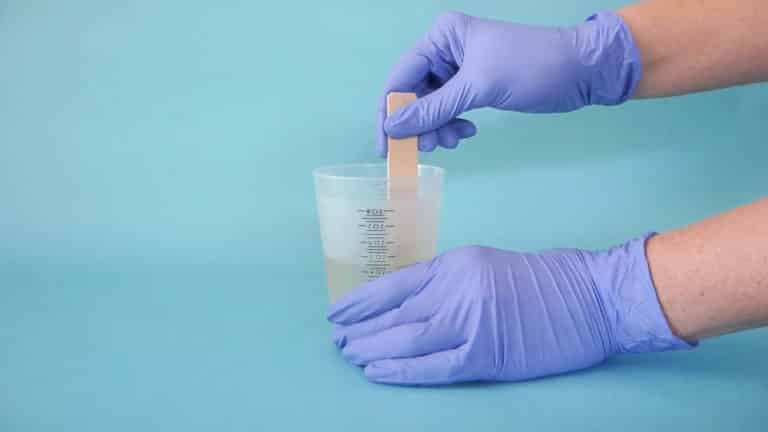
Step 2: Mix Your Resin
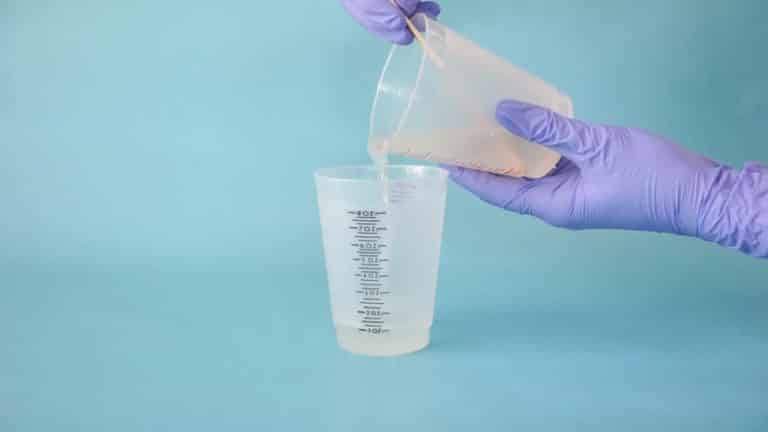
Mixing your resin is pretty straightforward, but it’s crucial to follow the instructions on your particular brand carefully. Most two-part epoxy resins come in two containers – one with the resin and one with the hardener. Use measuring cups to measure out equal liquid parts of each, and mix them thoroughly with a stir stick. Be sure to scrape the sides and bottom of the container to ensure a thorough mix.
For those using polyester resin, it’s important to note that this type often has a stronger smell and requires good ventilation. Whether you’re working with casting resin or liquid resin, the basics remain the same, but you may find that different types of resin have unique properties and endless possibilities.
Step 3: Add Embellishments (Optional)
Once your resin is mixed, it’s time to get creative! This is where you can add mica powder pigments, glitters, small stones, or even flowers to your resin. The resin mix will serve as the base for your wearable art. Flower earrings are particularly popular and are a great way to make your earrings stand out. Just remember, a little goes a long way – you want the clear resin to remain crystal clear and not overly opaque.
Step 4: Pour the Resin into the Molds
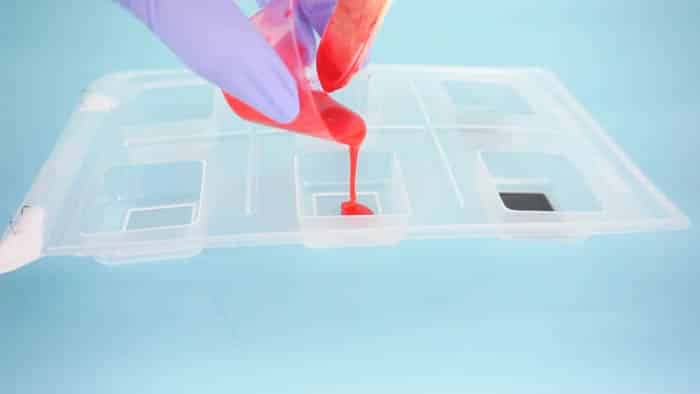
Pour a thin layer of clear resin into the molds, filling them about 2/3 to 3/4 of the way full. Silicone molds come in various shapes, and using a custom silicone mold can really elevate your design. The resin will expand slightly as it cures, so avoid overfilling. Use a stir stick to carefully spread the resin mix to the edges of the mold.
Step 5: Pop Any Bubbles
As your resin starts to set, you may notice some air bubbles forming. Don’t worry – this is normal! Simply use a toothpick or heat gun to pop any bubbles you see. Popping the bubbles ensures that the finished products will have a smooth surface.
Step 6: Let the Resin Cure
The curing time for resin varies depending on the specific brand and type of resin you’re using. Most resins will take at least 24 hours to fully cure, but always check your resin’s instructions for the exact curing time. Casting resin and polyester resin might have different requirements, so make sure you’re familiar with your particular brand. The temperature in your workspace can also affect the curing time, so it’s worth keeping an eye on that as well.
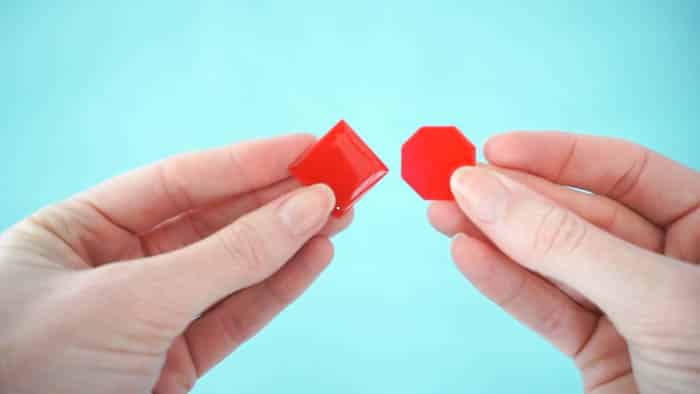
Step 7: Remove the Earrings from the Molds
Once your resin is fully cured, it’s time to remove your earrings from the molds. Gently flex the mold to loosen the edges of the resin, and then carefully pop them out. If you’re having trouble, try placing the mold in the freezer for a few minutes to help loosen the resin. This technique works wonders, especially with resin flower earrings and other delicate designs.
Step 8: Attach the Earring Hardware
Now that your resin pieces are free, it’s time to turn them into earrings! For hook earrings, use pliers to open the loop at the bottom of the hook, then slide your resin piece onto it. For post earrings, apply a small amount of epoxy glue to the flat back of the resin piece and press the earring post onto it. If your design involves multiple pieces, connect them using small jump rings. This step can take a bit of time, but it’s worth it for a well-made piece of jewelry.
Step 9: Enjoy Your New Earrings!
Congratulations – you’ve just made your very own DIY resin earrings! Now it’s time to show them off. You can wear them, give them as gifts, or even sell them online. Resin hoop earrings, flower earrings, and other jewelry items you create can be marketed as wearable art with a unique, handmade touch. Plus, you might just earn a small commission if you use affiliate links on your blog or social media.
Shop Resin Molds for DIY Earrings
Looking for the best resin jewelry molds? There’s a huge range of options available online. From resin hoop earrings to custom silicone molds, you’ll find everything you need to bring your jewelry ideas to life.

Tips for Success
A few tips to keep in mind:
- As always, wear gloves and other safety equipment when working with resin to protect your skin.
- Work in a well-ventilated area to avoid inhaling fumes. Open windows if needed!
- Follow the instructions for your specific resin carefully to ensure the best results.
- Use a toothpick or craft stick to carefully mix your resin and pop any bubbles.
- Don’t rush the curing process – be patient and let your resin fully cure before removing it from the molds.
- Use wax paper, plastic, or silicone mats to protect your workspace, and take your time during each step.
- Resin jewelry making is a fun and rewarding process, but patience is key!
Making DIY resin jewelry is a fun and creative way to explore your artistic side. With just a few materials and some basic techniques, you can create beautiful art in the form of unique jewelry pieces. From resin flower earrings to resin hoop earrings, the possibilities are endless. Whether you’re crafting for fun or starting a small business, resin-making offers endless possibilities.
Remember, practice makes perfect, and experimenting with different techniques can lead to amazing results. So why not give it a try? DIY crafts like these are not only enjoyable but also a great way to make something truly unique. Happy crafting!
DIY Earrings - Resin Statement Earrings
Learn how to make your own DIY earrings from Resin! These resin statement earrings are so simple to make and easy to customize!
Materials
- Jewelry Hardware
- Resin
- Measuring cups and stir sticks
- Silicone molds
- Gloves
- Colorants or mix ins
Instructions
- Start by preparing your EasyCast Clear Casting Epoxy. This is a multi-step process so don’t start mixing until you are ready to do the whole project from beginning to end! Start by mixing EQUAL parts of the Hardener and the Resin.

Stir the mixture for 2 minutes (be sure to scrape the bottoms and sides) then pour from the 1st cup into a 2nd and mix with a new stir stick for an additional minute. - After your mixture is ready, pour it into two smaller cups and stir in your colorants or mix-ins. I used Castin’Craft Opaque Pigment.

- Pour gently into your molds. If you overpour, simply wipe away the excess.
- Demold after you've allowed enough time to cure.
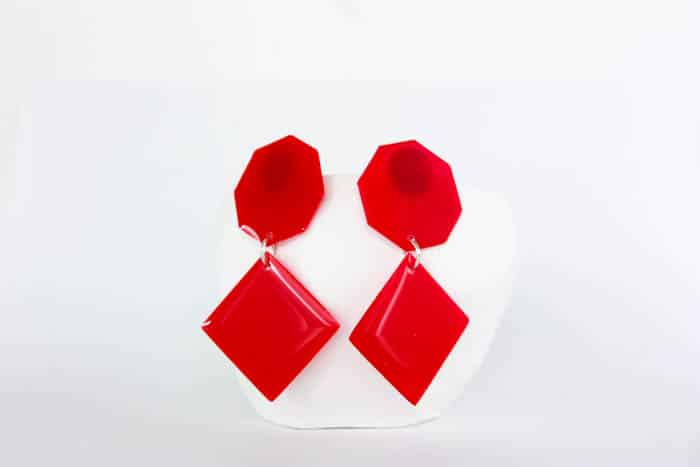
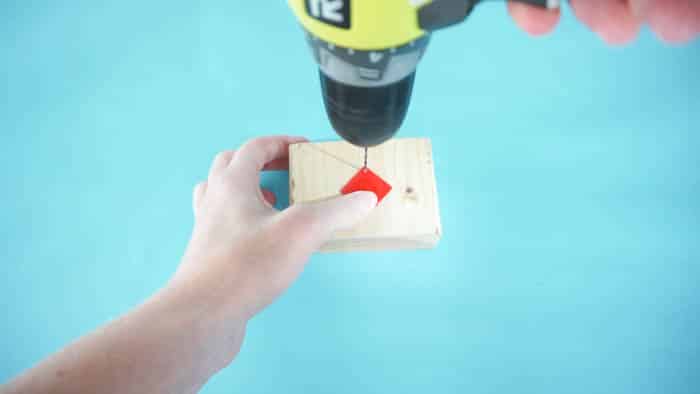
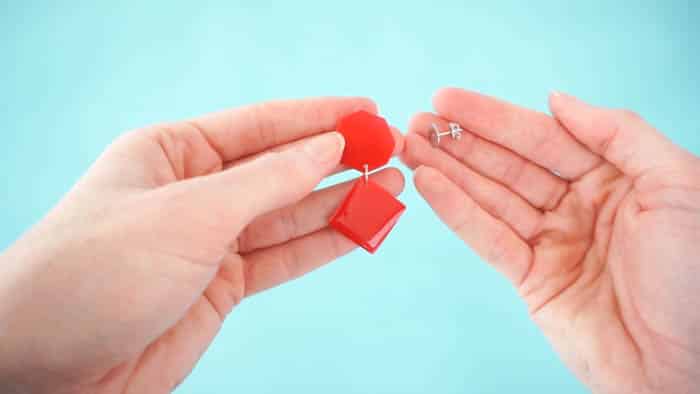
- For these two-piece statement earrings: drill a small hole in the bottom of the top piece and in the top of the bottom piece.
- To connect the pieces, use a small metal loop (these are called jump rings!)
- Lastly, glue earring posts onto the top piece!


In addition to these statement pieces, we have other DIY resin jewlery projects! Our resin crafts archives include beautiful resin hoop earrwith confetti, resin bookmarks, and other fun epoxy resin jewlery ideas!
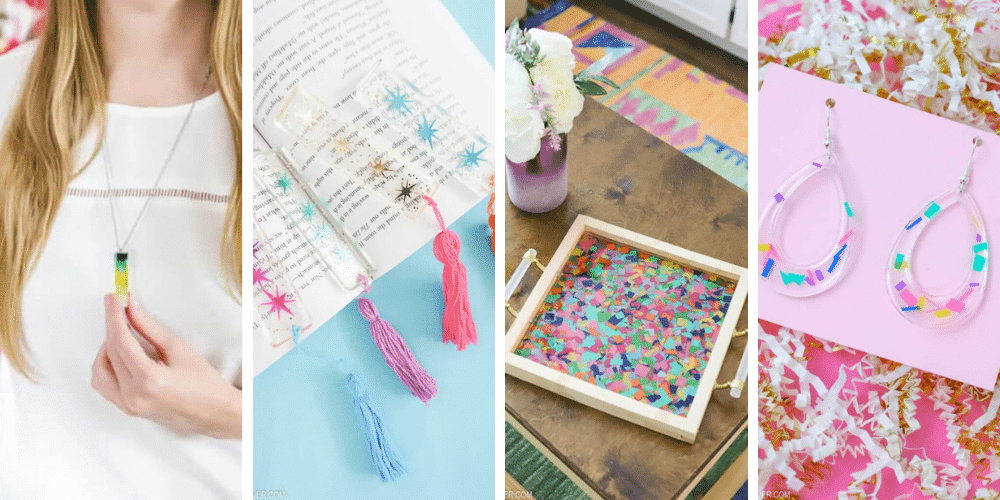
RESIN ARCHIVES
View our collection of Resin projects!

Leave a Reply