Last updated August 8th, 2022 at 02:59 pm
How to make gorgeous DIY bookmarks with resin! These resin bookmarks are easy to customize and make a great gift idea!
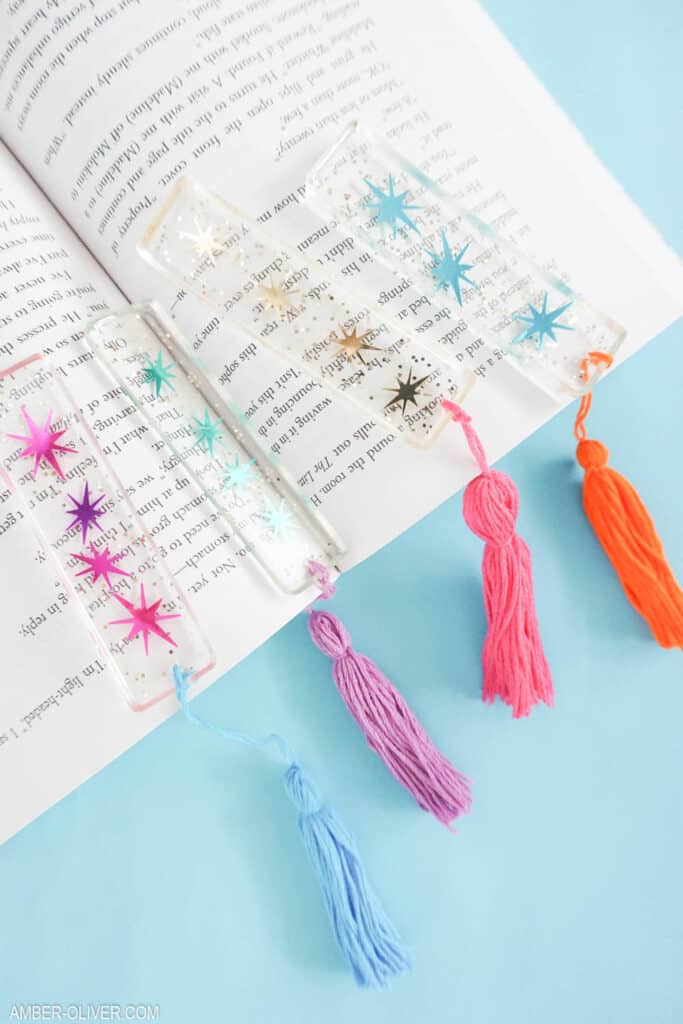
I spent a LOT of time reading in 2020. In fact, I read 40 books last year! I love to DIY practical crafts that are not only cute but also useful. These DIY bookmarks are both!
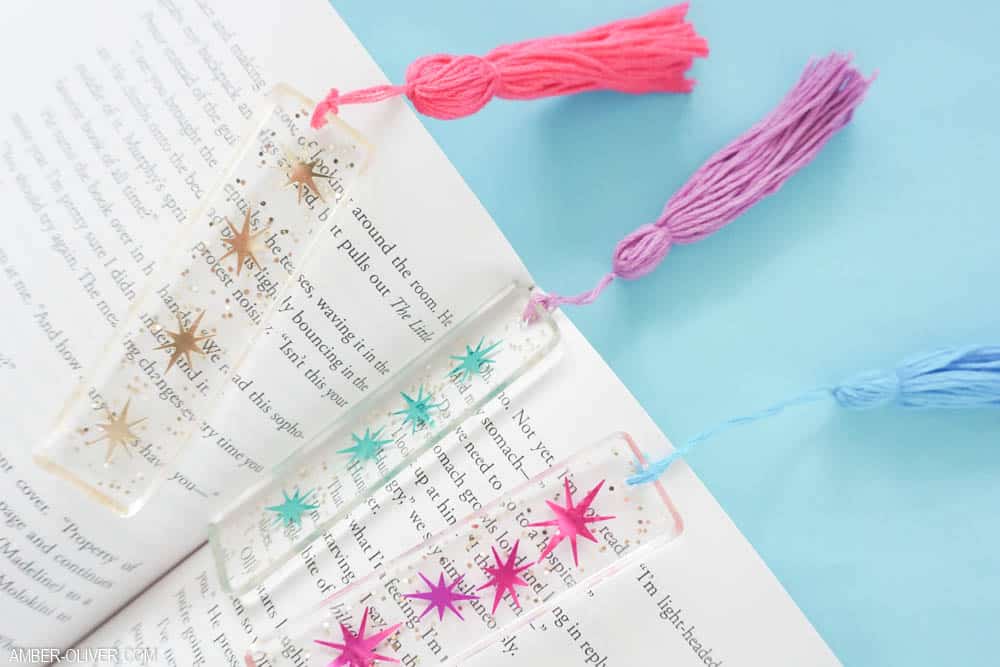
Either of these are such simple resin projects and they’re GREAT project for beginners! I used two part epoxy resin for this craft. It’s as simple as mixing equal parts of the resin and hardener and adding in your decorations!
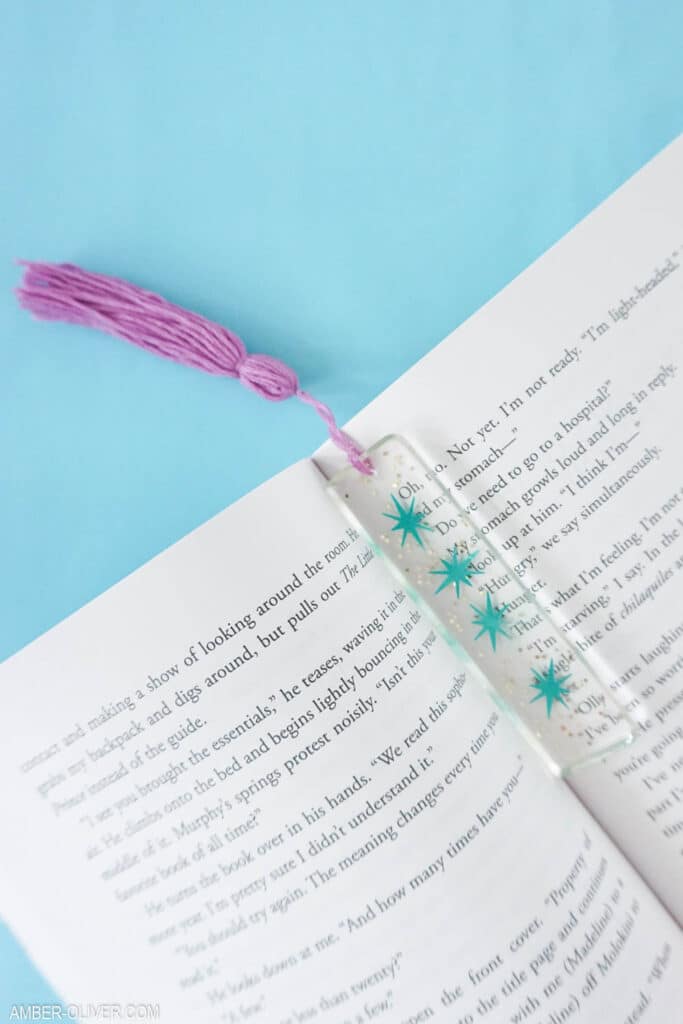
For this project, I didn’t have bookmark molds and simply used rectangle ones. If that’s all you have, just be careful to to overfill the mold. You don’t want your DIY bookmarks to be too thick!
DIY Bookmarks from Resin
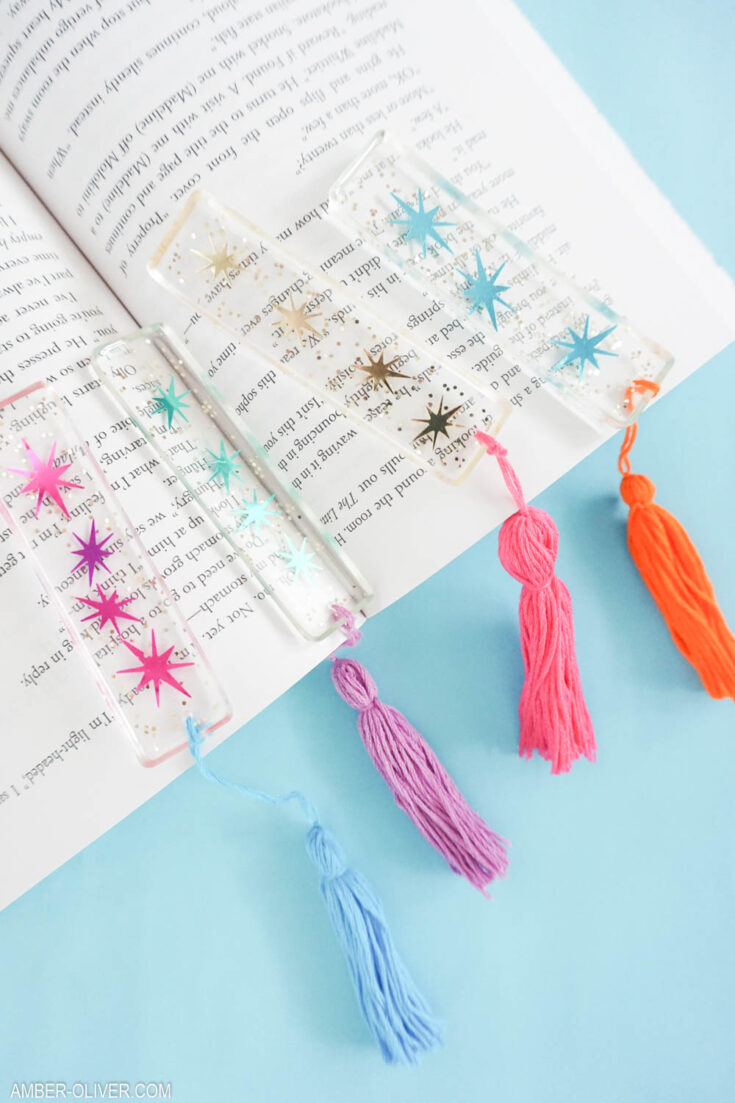
How to make gorgeous DIY bookmarks with resin! These resin bookmarks are easy to customize and make a great gift idea!
Materials
- EasyCast Clear Casting Epoxy
- Molds
- Glitter
- Metallic/foil confetti
- Mixing Cups
- Stir Sticks
Instructions
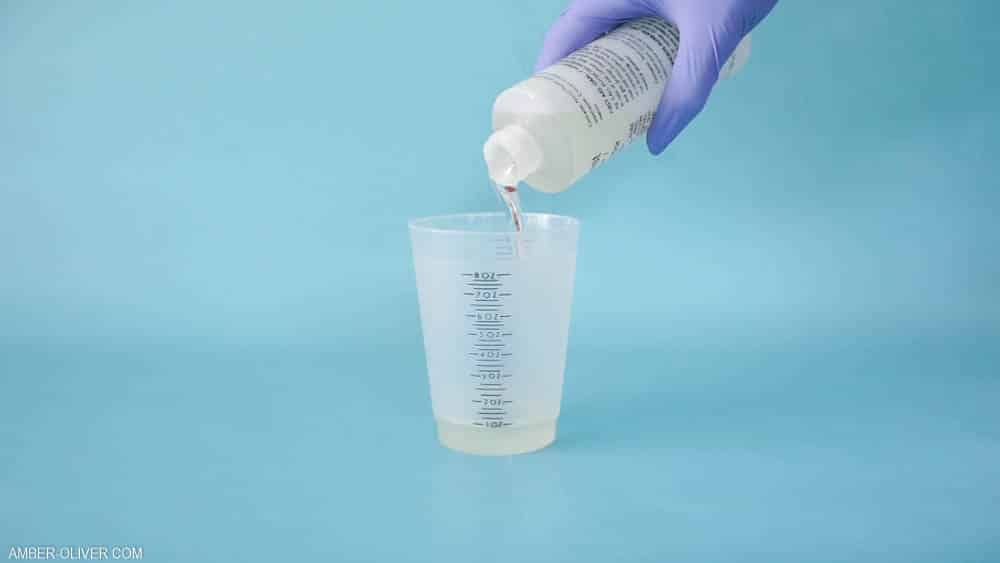
- Start by preparing your EasyCast Clear Casting Epoxy. This is a multi-step process so don’t start mixing until you are ready to do the whole project from the beginning to end! Start by mixing EQUAL parts of the Hardener and the Resin.
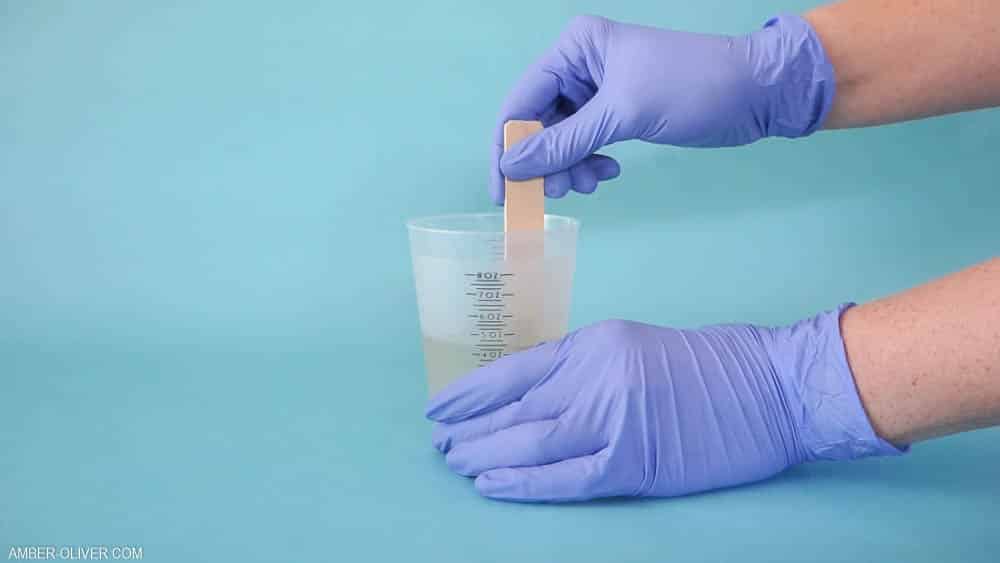
Stir the mixture for 2 minutes (be sure to scrape the bottoms and sides) then pour from the 1st cup into a 2ndand mix with a new stir stick for an additional minute. - Once your resin is ready you can add glitter in if you'd like!
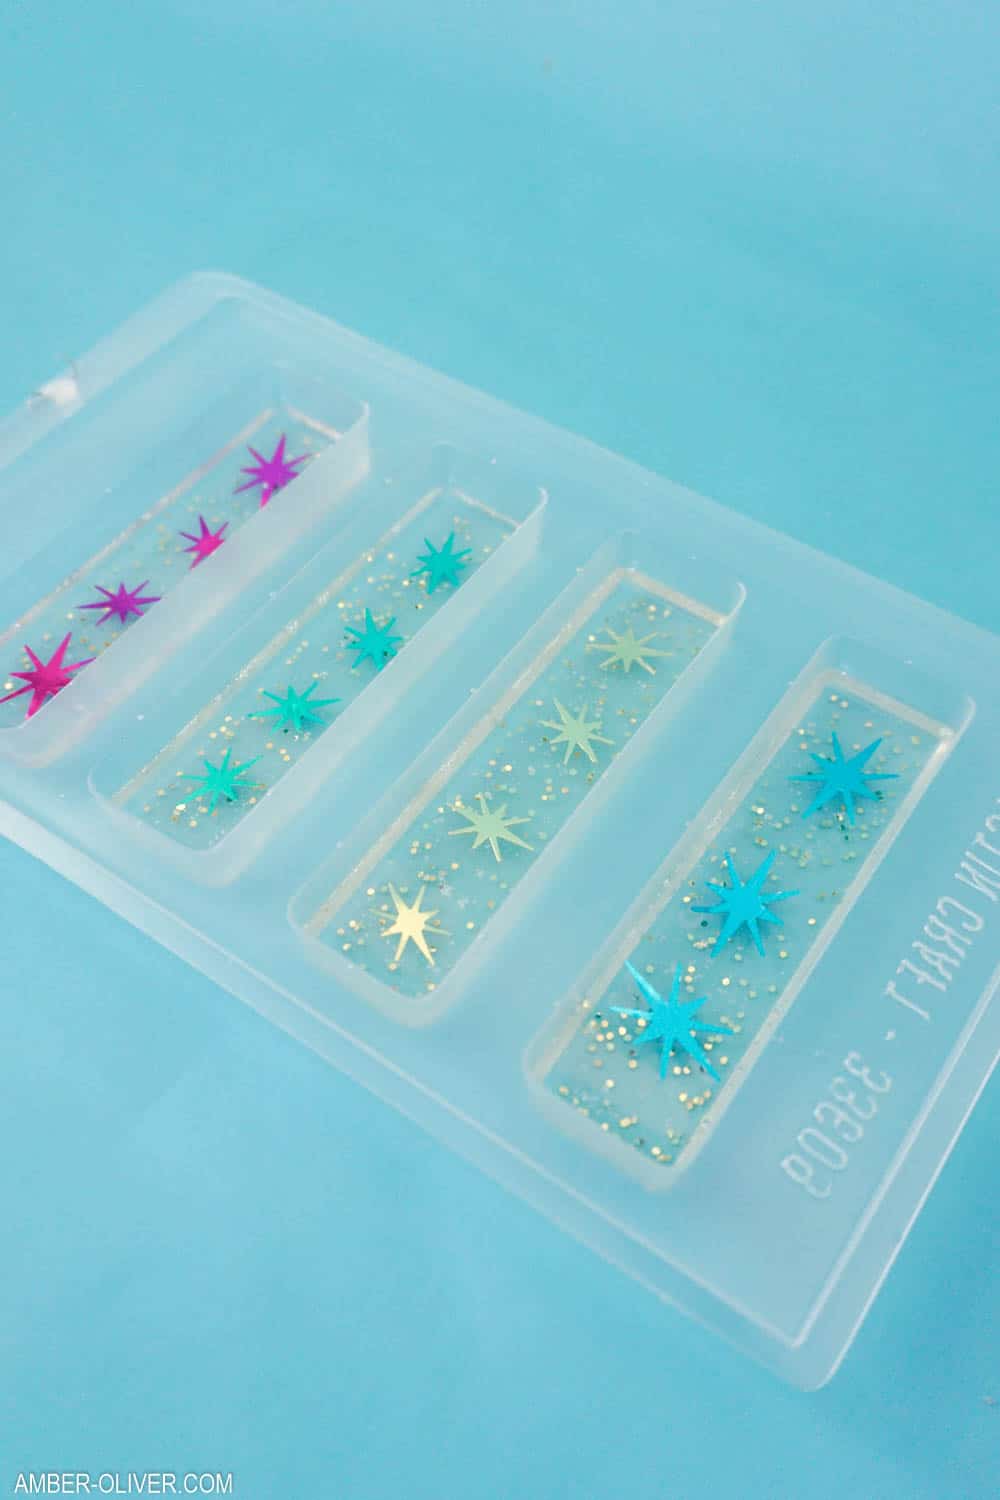
- Now add your resin to your molds! I didn't have bookmark molds for this project, so I used rectangle molds and only filled about 1/4 of the way so they were thin enough to use!
- After you've poured your resin bookmarks - add in any embellishment you'd like!
- After your resin to cures, you can remove from the molds!
Recommended Products
As an Amazon Associate and member of other affiliate programs, I earn from qualifying purchases.
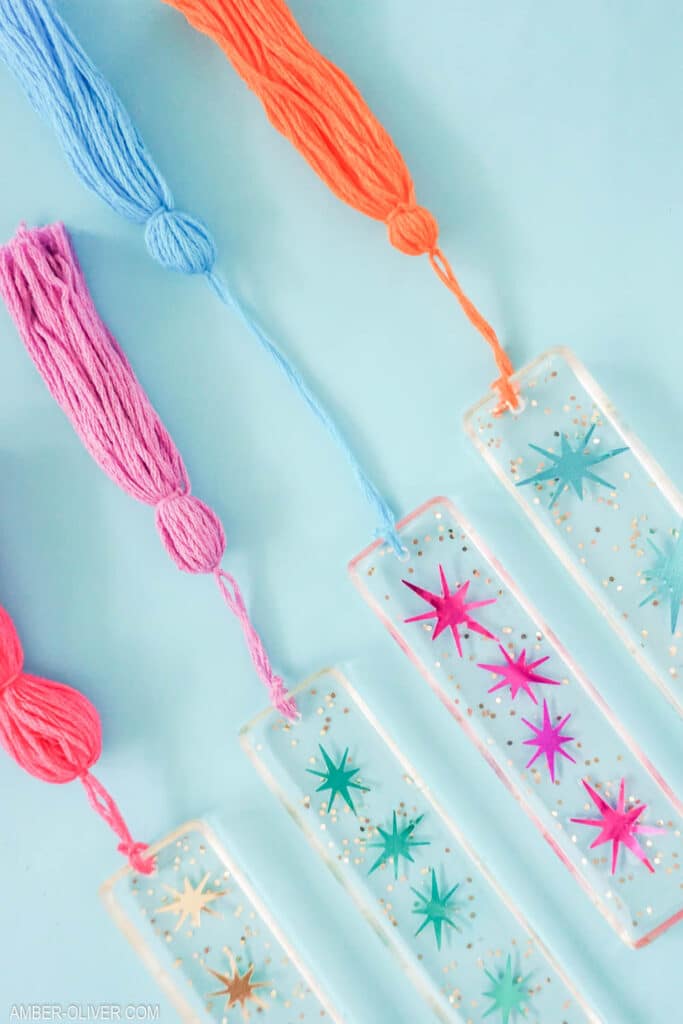
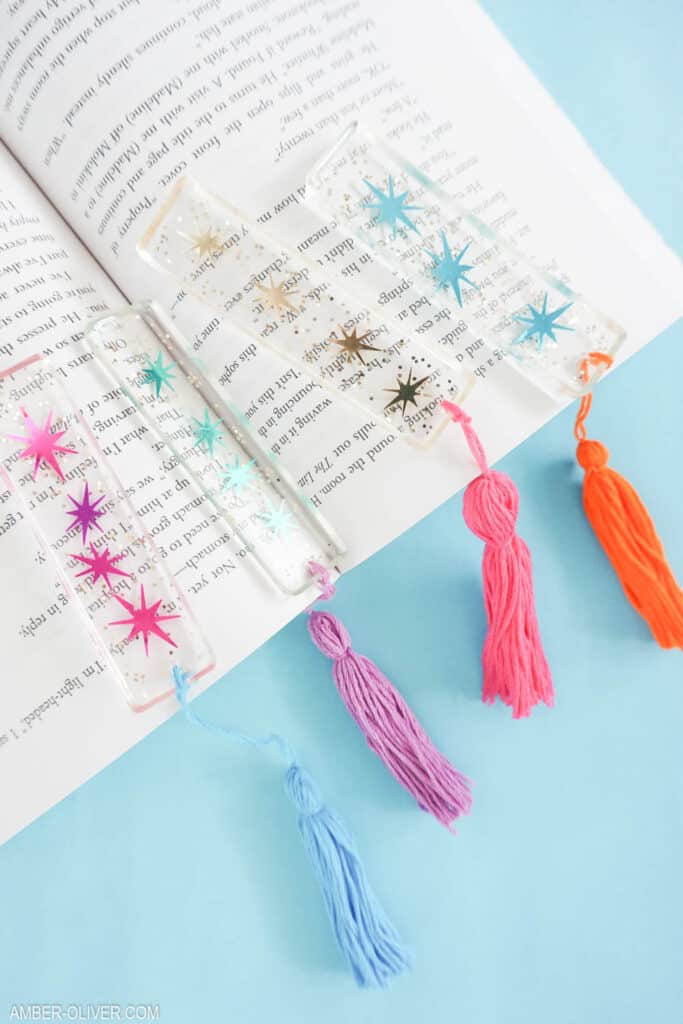
For my resin bookmarks, I used metallic confetti. Something with a coating works much better than say, paper for instance. They won’t discolor or have weird spots on them!
Adorable Doggie DIY Resin Bookmarks
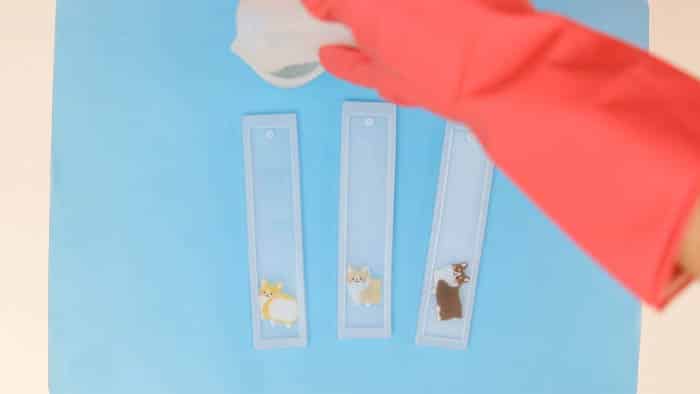
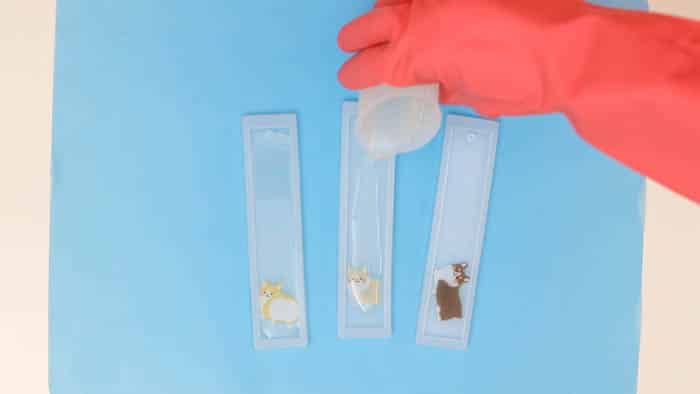
This second project is made very similarly to the first. Instead of metallic confetti, we are going to embed adorable doggies cut out of plastic sheets. I found my corgi sheets at the Japanese Dollar Store, Daiso.
If you don’t have a Daiso near you, I’ve found several alternatives you can order online. One option is stickers for resin and the other is transparent resin insert film sheets. Just remember, whatever you want to add into the resin, it’s best if it has a “waterproof” coating.
Adorable Doggie DIY Resin Bookmarks
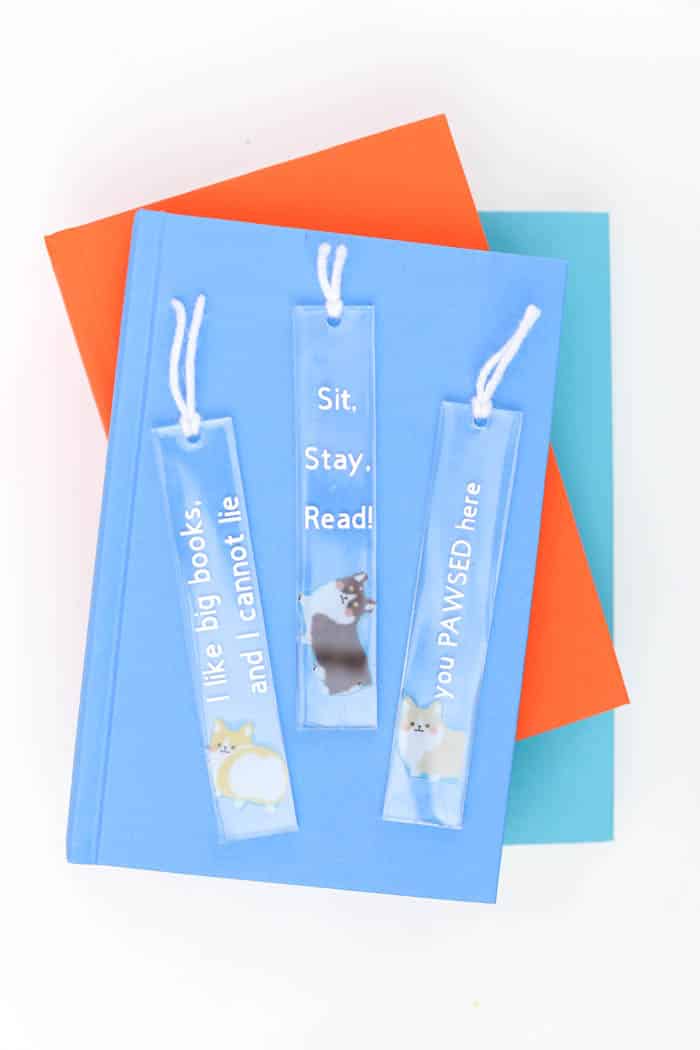
Adorable doggie resin bookmarks made from EasyCast Clear Casting Epoxy!
Materials
- EasyCast Clear Casting Epoxy
- Bookmark molds
- Plastic sheets with designs to cut
- String or yarn for tassels
Instructions
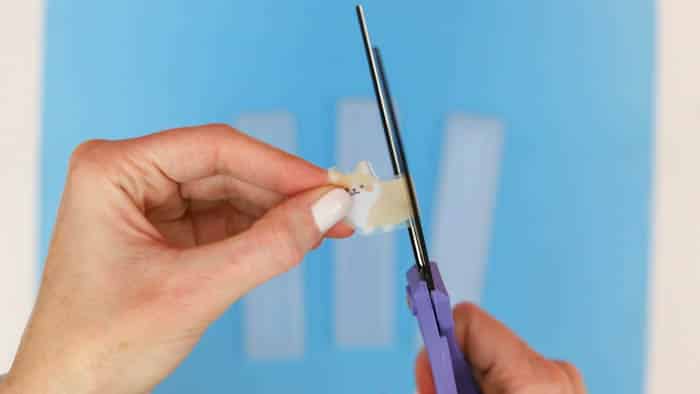
- Begin by cutting out the darling little designs so they fit into the bookmark molds
- Prepare your resin by mixing equal parts of the hardner and the resin in a cup and stir gently for 2 minutes.
- After 2 minutes, pour from the first cup into a second and mix gently for another minute.
- Now, pour your resin gently into the mold and cover your cut out.
- After you've allowed enough time for your resin to cure, you can pop them out of the molds and add a tassel!
I hope these projects inspire you to create your own DIY resin bookmarks! If you’re looking for more resin projects, please visit my resin archives!



Polly says
These are so beautiful!
Love the idea!
Amber Oliver says
Thank you!!
Jackie says
Very nice. I haven’t found any of my talents yet so I would like to try this. You did a great job. I am 71 lol! How did you make the holes?
Amber Oliver says
Thank you for taking the time to leave a comment, Jackie! I hope you do try! I drilled a hole to add the ribbon for the bookmark because the mold I used was just a rectangle. I’ve since found these molds and really like them! No drilling necessary! https://rstyle.me/+QTpa4XWDLtJN0OzoAXx1zg
Annie says
How did you keep the resin from climbing up the sides of the mold? Or did you sand and top coat after de-molding?
Amber Oliver says
I usually sand if needed 🙂