With this tutorial, learn how to make a DIY ring holder using resin and colorful alcohol inks.
Hello fellow crafters! With Mother’s Day and Father’s Day just around the corner, it’s the perfect time to start thinking of a unique homemade gift idea. And what better way to show your love than by creating a one-of-a-kind ring holder for your loved ones to display their favorite rings? Or maybe you keep it for yourself to display your wedding ring as I did!
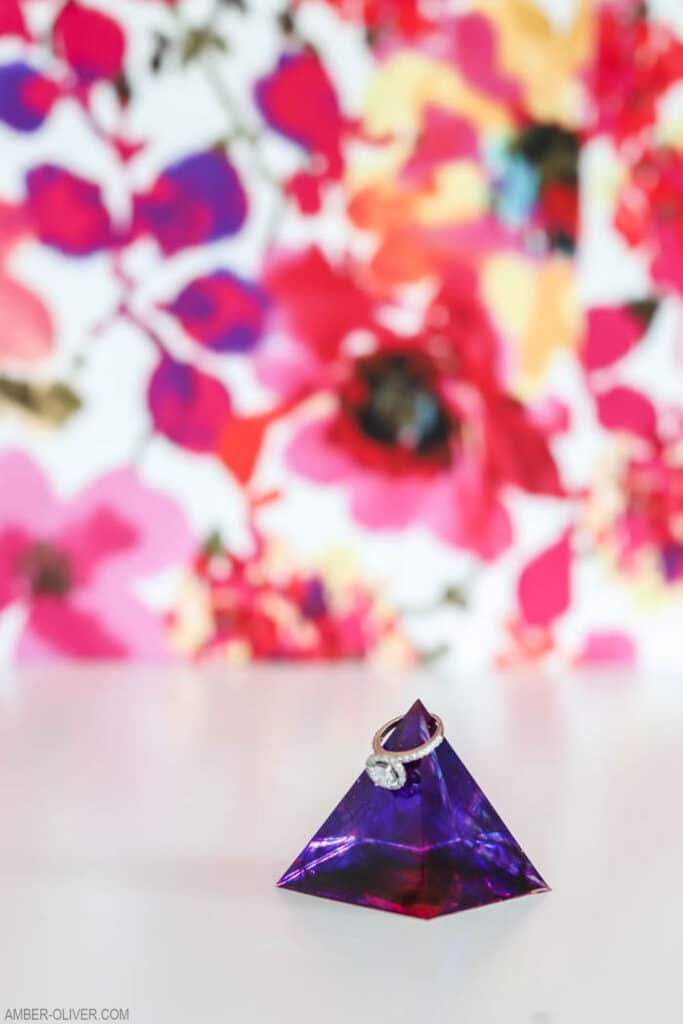
DIY Ring Holder
In this DIY project, we will be using two-part epoxy resin to create a beautiful and functional resin DIY ring holder. This project is easy to follow and can be completed in just a few hours, so let’s get started!
Materials needed to make a Resin Ring Holder
- Resin
- Silicone ring mold (I used a pyramid mold)
- Mixing cups and stir sticks
- Disposable gloves
- Silicon mats
- Alcohol Inks
- Glitter (optional – a little bit goes a long way!)
- Small decorative items (optional)
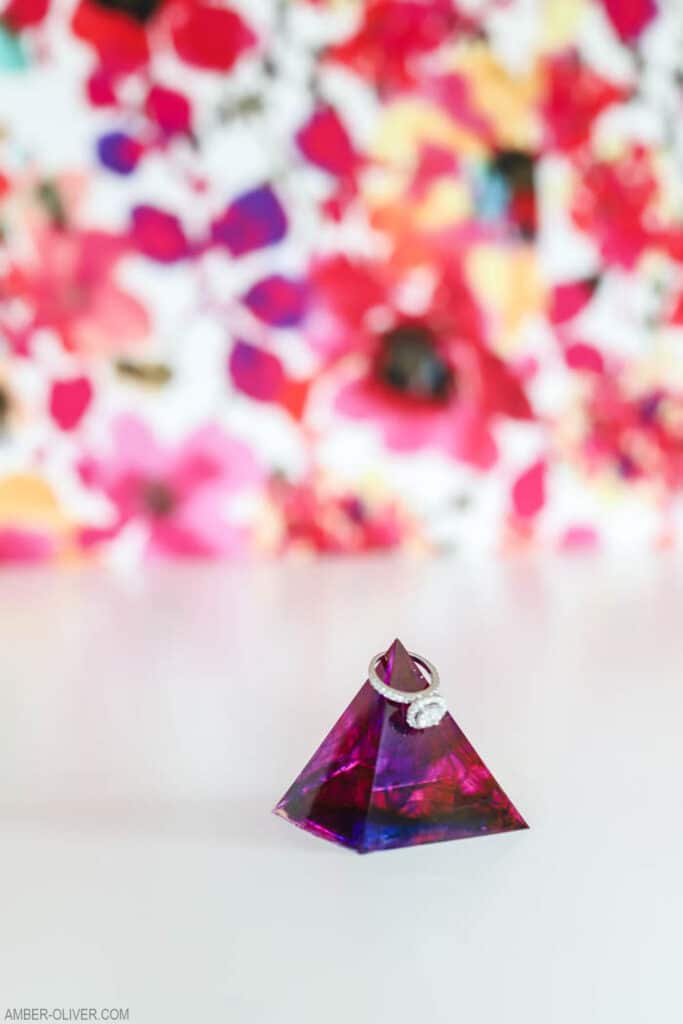
Step-by-step instructions for resin ring holder:
- Prepare your workspace by covering it with a silicone mat and put on your disposable gloves to avoid getting resin on your hands.
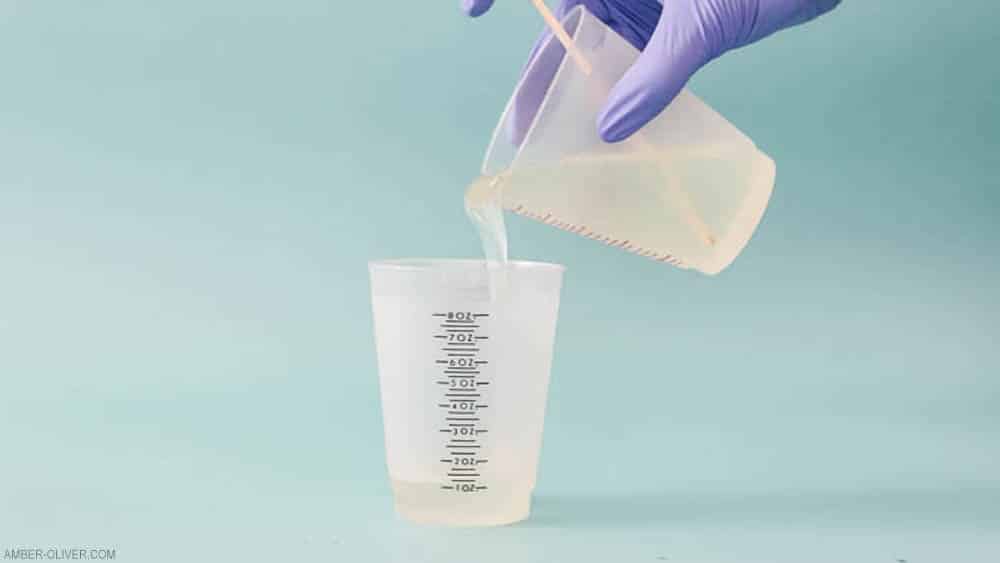
- Mix the resin according to the instructions on the package, making sure to mix it thoroughly.
- If you want to add glitter or other small decorative items, add them to the resin mixture and mix well.
- Pour the resin mixture into the silicone ring mold, filling it up to about 1/3 of the way if you are embedding items.
- Allow the resin to cure for about 15 minutes or until it becomes slightly tacky.
- If you want to add a second layer of decorative items, gently press them into the tacky resin layer.
- Pour the remaining resin mixture into the mold, filling it up to the top.
- Allow the resin to cure for 24 hours or until it is completely hardened.
- Once the resin is hardened, remove it from the silicone mold by gently pulling on the edges of the mold.
- Your resin ring holder is now ready to use!
With a little creativity, you can create a truly unique resin ring holder. Try adding different colors, glitter, or small decorative items like dried flowers or sea shells. You can also experiment with different ring mold shapes to create a variety of ring holders.
Not only is a resin ring holder a beautiful way to display your rings, but it also makes for a great gift idea. Imagine giving a loved one a personalized resin ring holder with their initials or a special symbol embedded in the resin. It’s sure to be a gift they’ll cherish for years to come.

Resin Education LINKS:
Another popular idea is using air-dry clay. To make a clay ring holder with air dry clay, start by rolling a small ball of clay and flattening it with a rolling pin. Use a cookie cutter or craft knife to cut out a circle, then place it inside an oven-safe bowl to create a concave shape. Smooth out any rough edges with a damp finger and allow it to dry completely. Once dry, paint the ring holder with the color of your choice and add any additional details, such as a little cone shape for holding rings or small slits for holding earrings. You can also use a hot glue gun to attach cup hooks to the top for hanging necklaces. Once complete, your handmade clay ring holder is ready to display your favorite jewelry on your bedside table or as a gift for someone special.
Resin Ring Holder
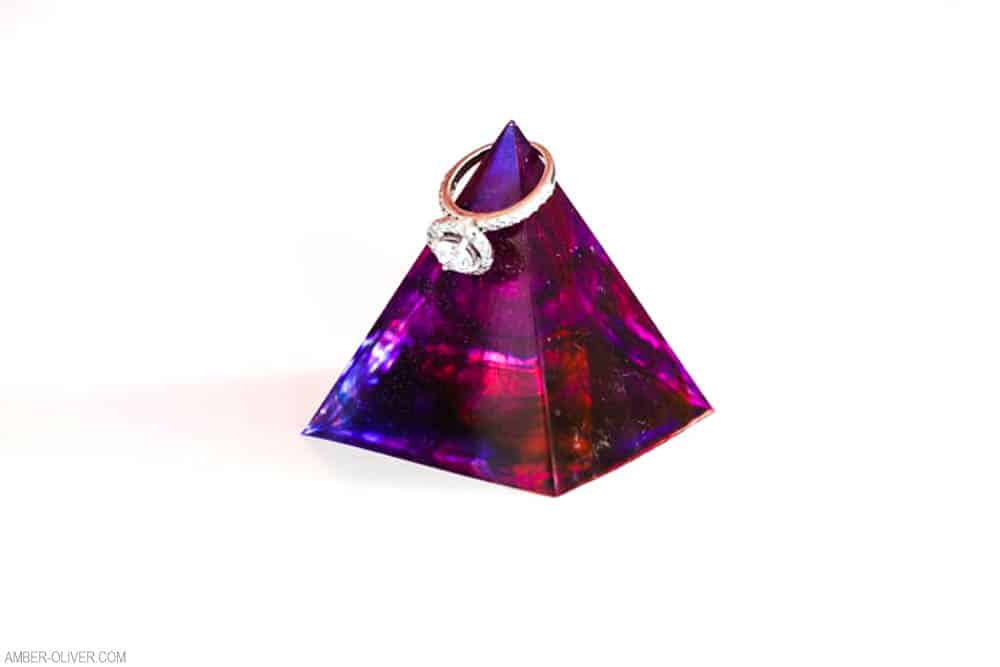
With this tutorial, learn how to make a DIY ring holder using resin and colorful alcohol inks.
Instructions
- Start by preparing your EasyCast Clear Casting Epoxy. This is a multi-step process so don’t start mixing until you are ready to do the whole project from beginning to end! Start by mixing EQUAL parts of the Hardener and the Resin.
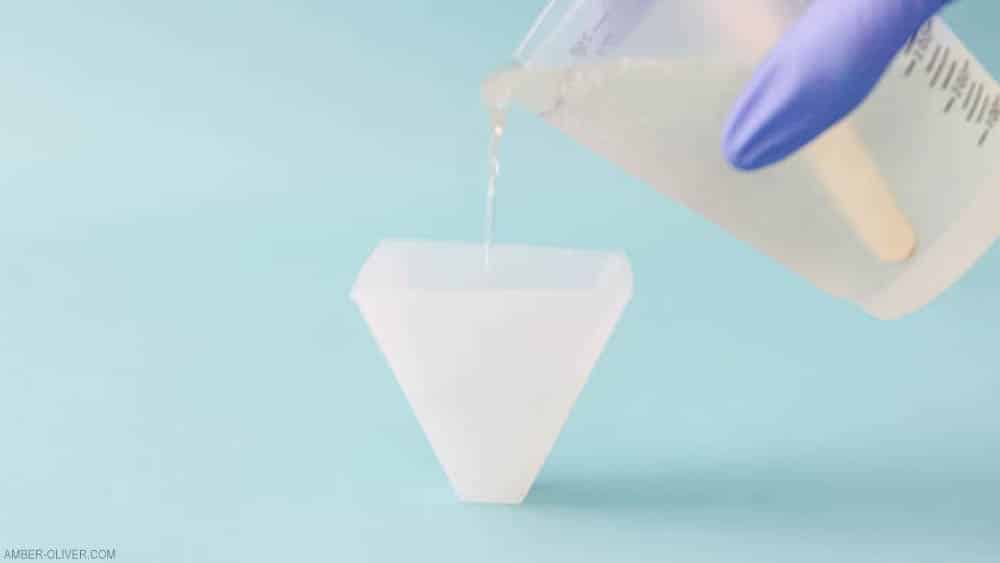
Stir the mixture for 2 minutes (be sure to scrape the bottoms and sides) then pour from the 1st cup into a 2nd and mix with a new stir stick for an additional minute. - Setup your hold on a silicone mat (just in case of spills!) Gently pour the resin mixture into the mold.
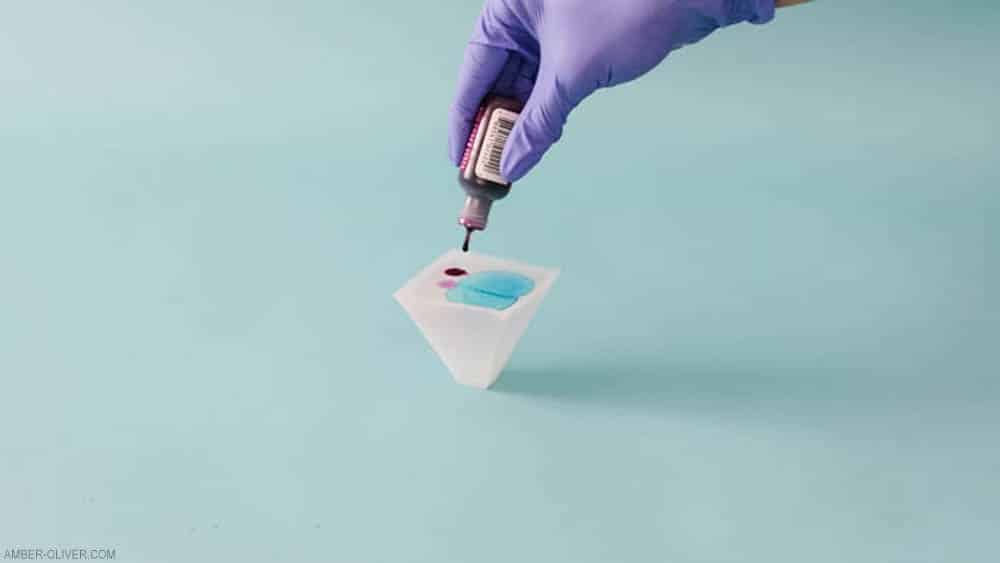
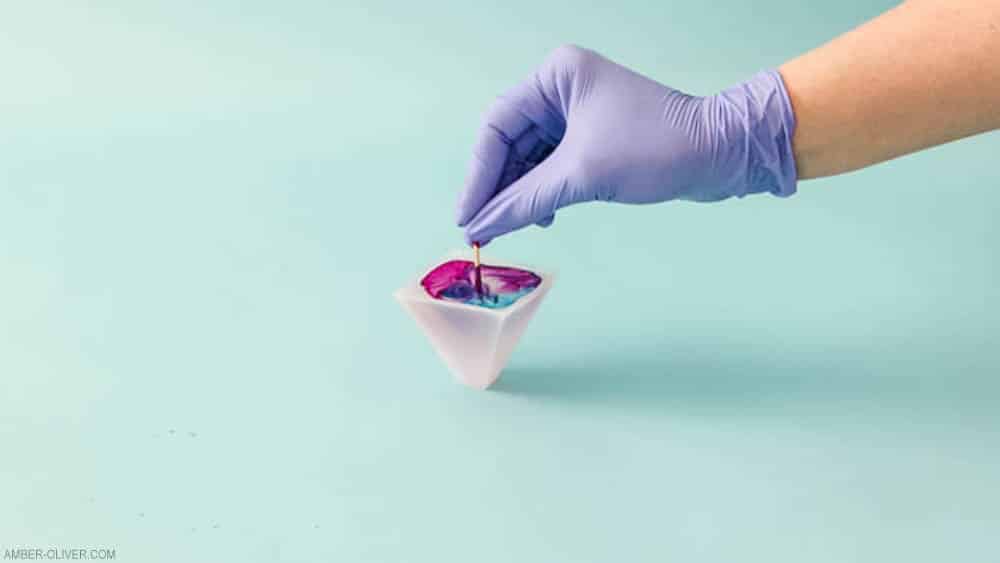
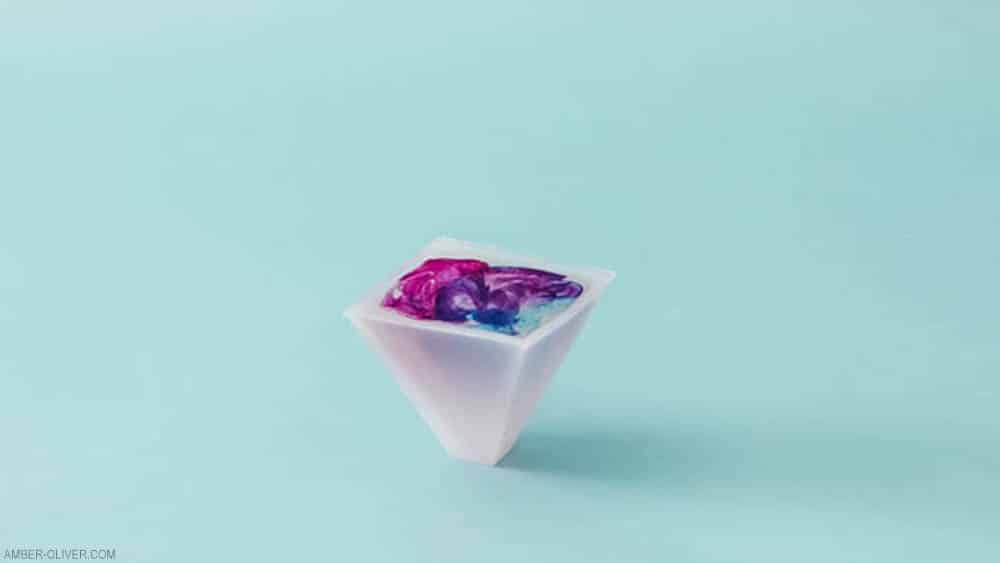
- Now carefully add a FEW, TINY drops of alcohol ink to the surface of the resin.
- Using a toothpick, gently swirl and push the ink down into the resin.
- After about 20 minutes, you may notice bubbles on the surface. Use a heat gun to pop these.
- After allowing enough time to set, you can remove the ring holder from the mold!
Notes
This project originally appeared on the Resin Crafts Blog.
Shop Resin Supplies
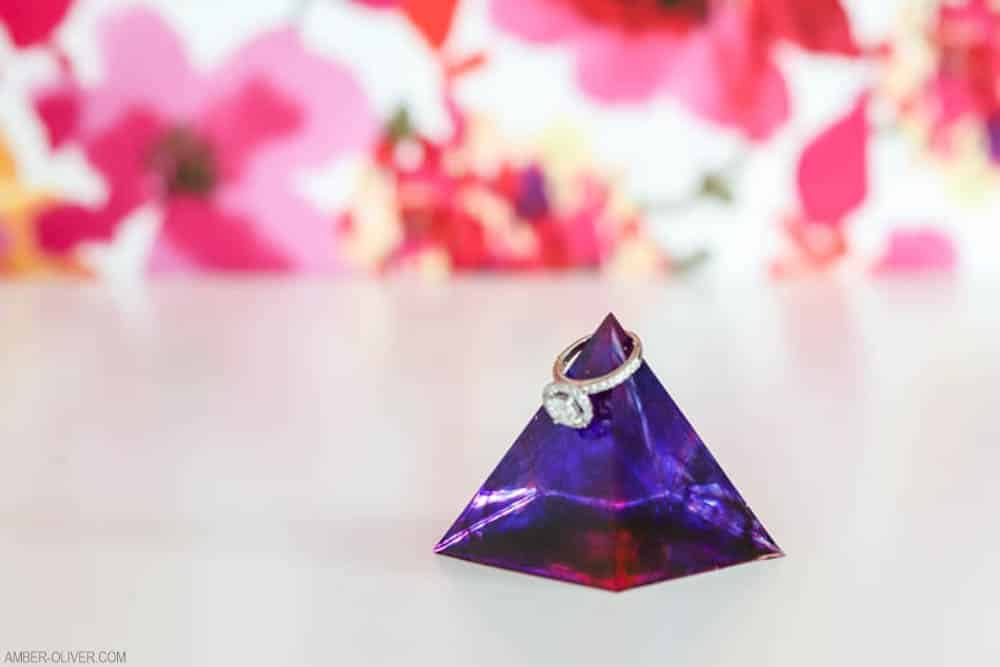
In conclusion, making a resin ring holder is a fun and rewarding DIY project that anyone can do. With just a few materials and some creativity, you can create a stunning and functional piece of art that showcases your favorite rings. So gather your supplies and happy crafting!





Leave a Reply