Last updated February 10th, 2023 at 03:04 pm
The ultimate guide on how to mix resin and create amazing resin crafts! We’ve included tips and tricks along with resin mixing basics to get the perfect finish every time!
Mixing resin is a fun and exciting process, especially when you have the right tools and techniques! Epoxy resin is a versatile material that can be used for a variety of projects, from jewelry making to surface coating. You’ll be able to create beautiful and unique pieces for all your epoxy resin projects! Before you get started, let’s talk about the most important thing to keep in mind when mixing resin: the mix ratio.
How to Mix Resin: The Basics
Mix Ratio for Resin
The mix ratio refers to the volume ratio of the resin to the hardener. It’s crucial to follow the mixing ratio specified in the technical data sheet for the particular product you’re using, as this will ensure the proper chemical reaction and physical properties of the cured epoxy. This is the foundation of a successful resin mix, so make sure to have your product instructions handy before you start.
Tools for Mixing Resin
Now that we’ve got that out of the way, let’s talk about the tools you’ll need to get started. Gather up a measuring cup, mixing cup, stir stick (a popsicle stick works!), and a heat source such as a heat gun. It’s also a good idea to have a warm water bath and a silicone mold for your project ready. By having all your tools ready and at hand, you’ll be able to work quickly and efficiently, which is key when working with epoxy resin!
Temperature Considerations
When it comes to temperature, it’s important to pay attention to the ambient temperature and the temperature of the resin and hardener. Epoxy resin mixtures typically have ideal working temperatures between 70-80 degrees Fahrenheit. If the temperature is too low, the resin will have a high viscosity and will be difficult to mix. If the temperature is too high, there is a danger of exothermic heat buildup, which can cause bubbles and discoloration in the cured epoxy. So, it’s best to work in a room that is at a comfortable temperature and try to avoid working in extreme temperatures.
How to Mix Resin: Step by Step
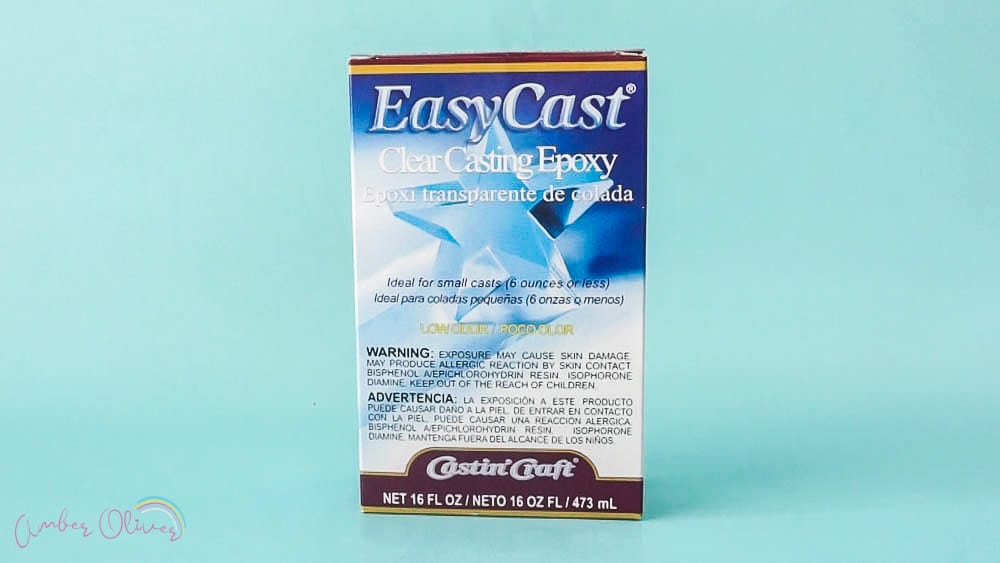
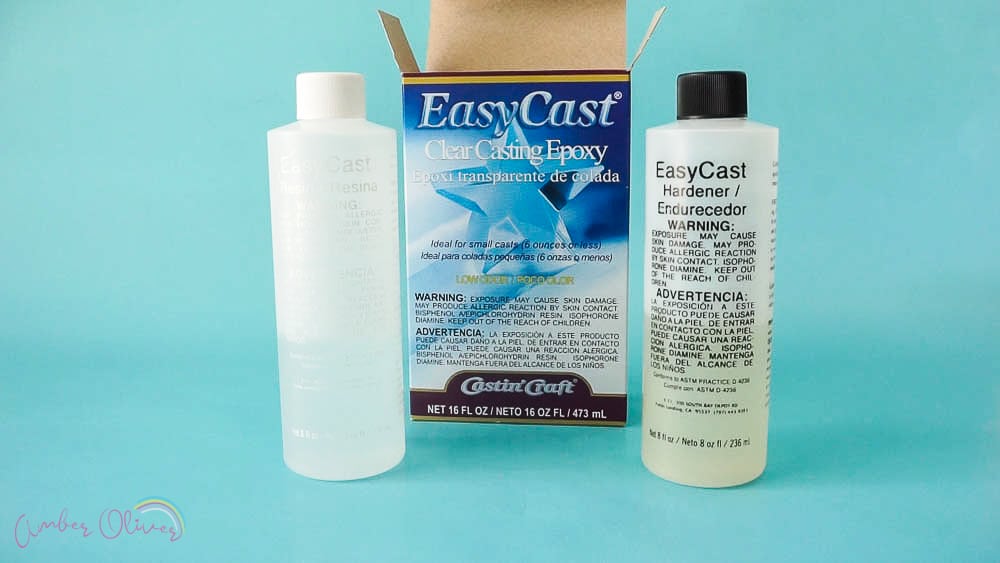
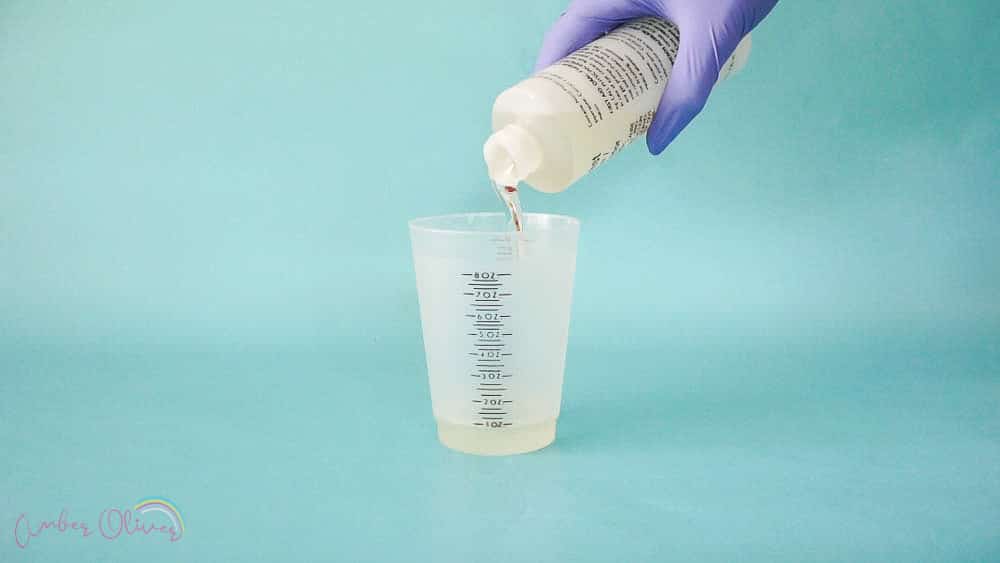
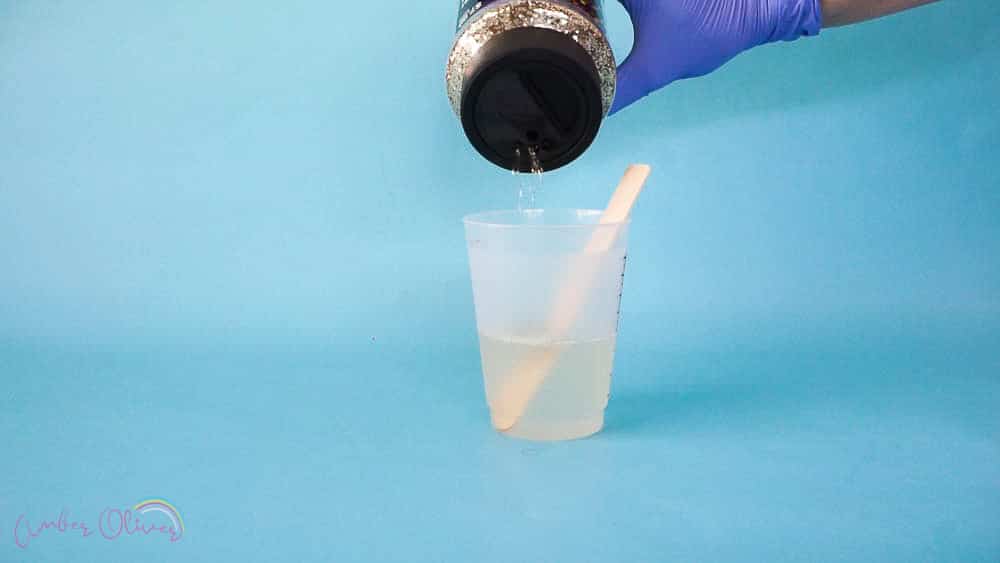
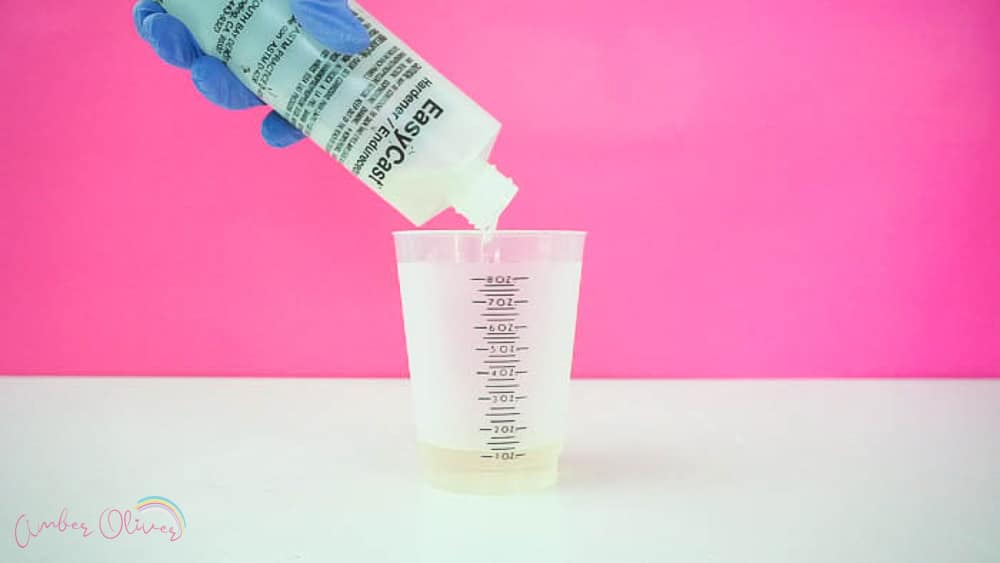
Most resin crafts use an epoxy mixture that has a 1:1 ratio! This makes it very easy, especially if it’s your first time trying resin mixing. The epoxy kit will include Part A Resin and Part B Hardener. Simply mix equal amounts of part A and B in your plastic mixing containers.
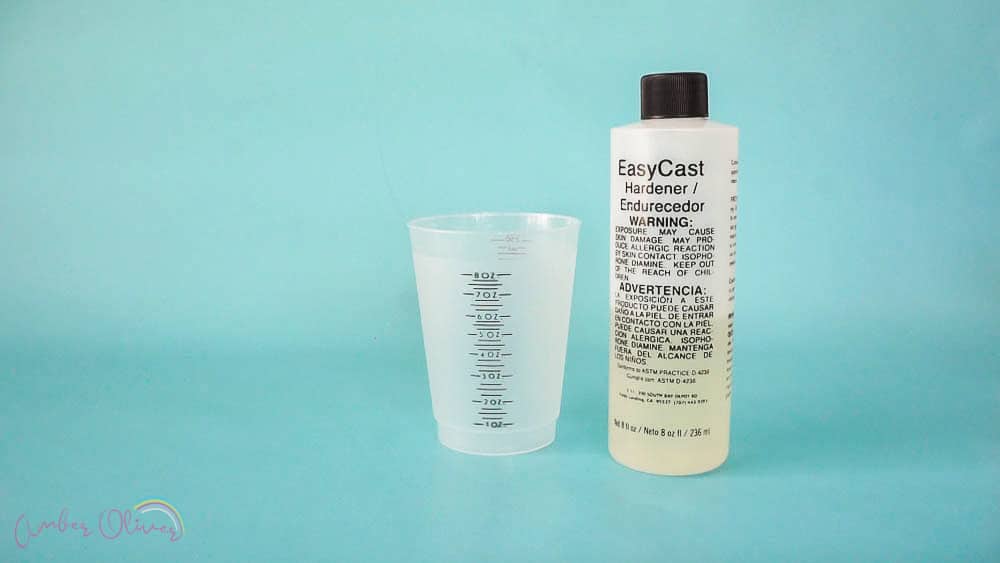
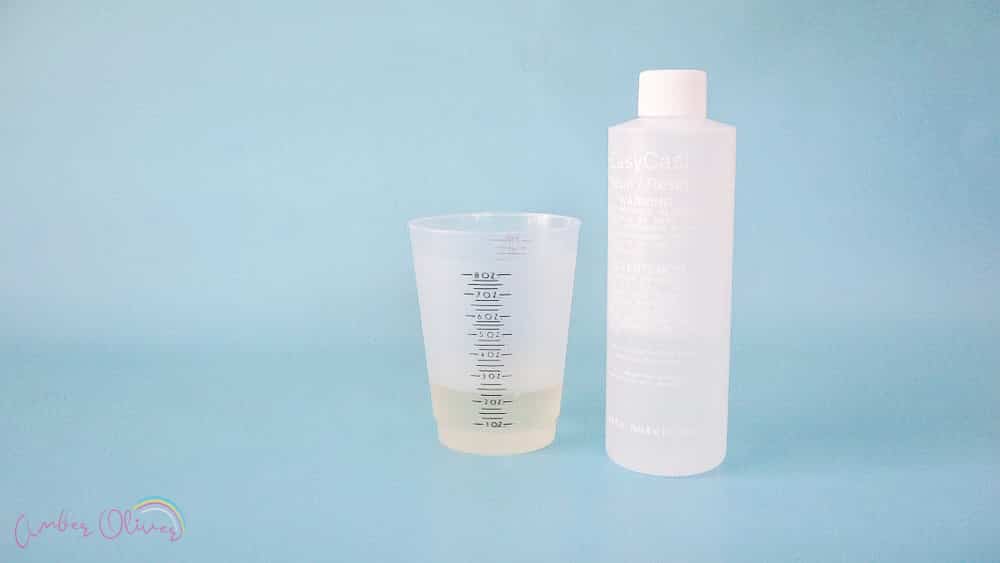
Using a measuring cup, measure out the appropriate amount of resin and hardener based on the mix ratio specified in the technical data sheet. For example, if the mix ratio is 2:1, you would measure out 2 oz of resin and 1 oz of hardener.
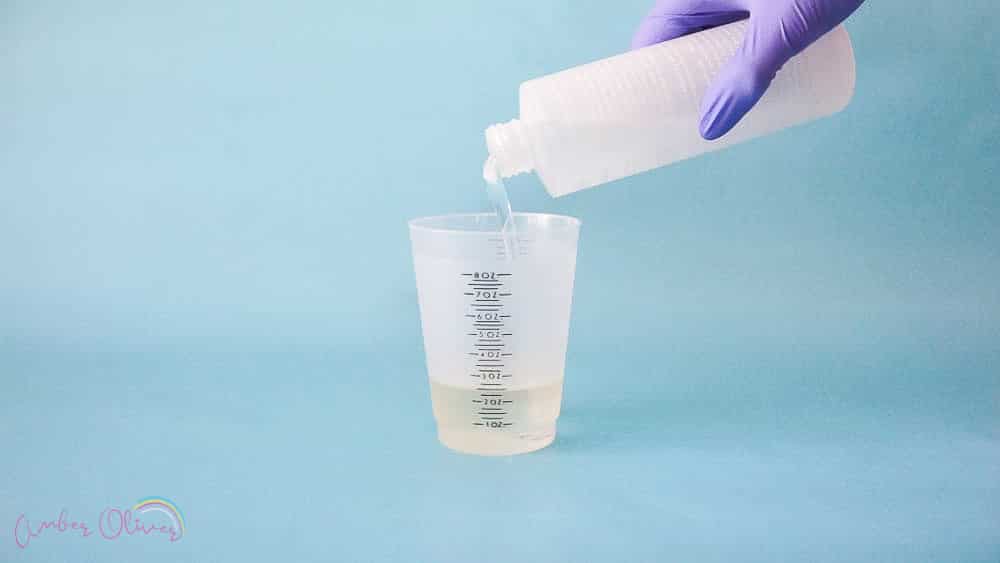
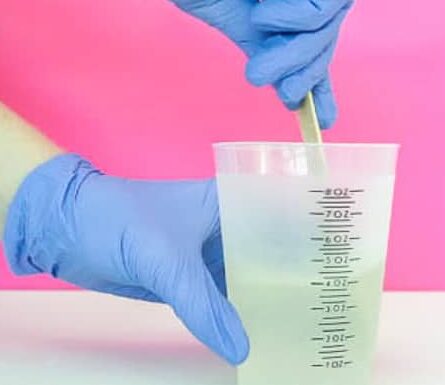
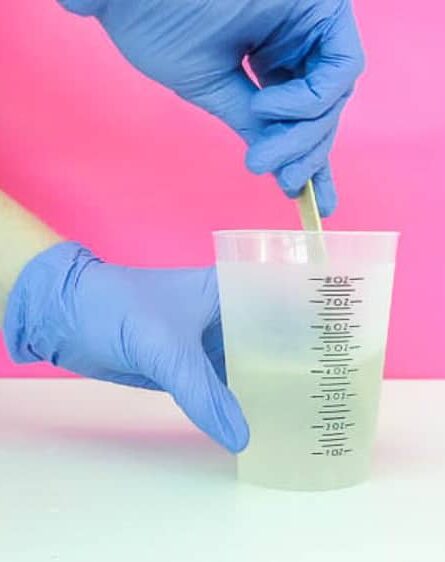
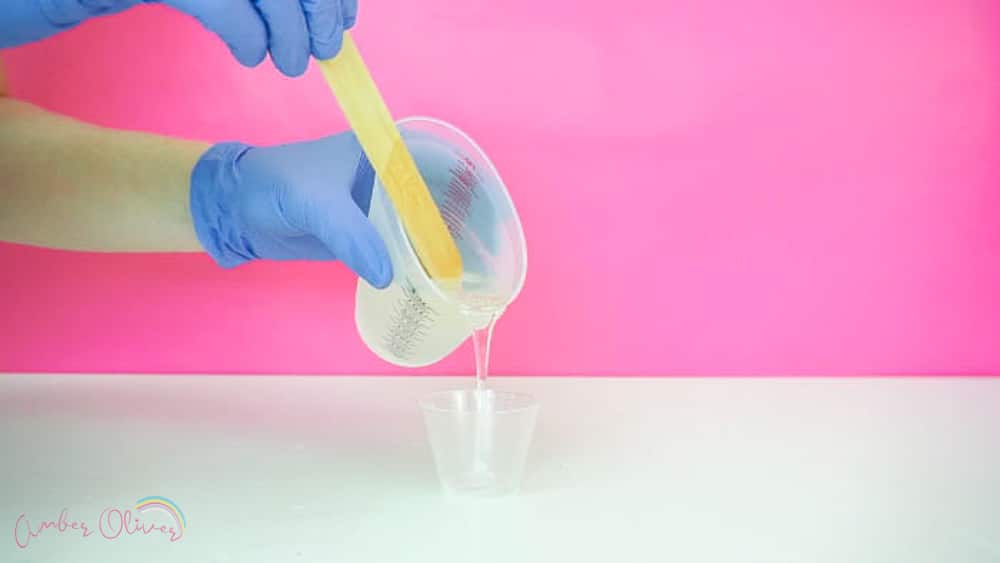
Then, pour the resin and hardener into the mixing cup and begin stirring with the mixing stick. It’s important to scrape the bottom of the container and sides to ensure a thorough mix. You also want to pour from the first cup into a second clean cup. This is the best way to ensure your resin is throughly mixed.
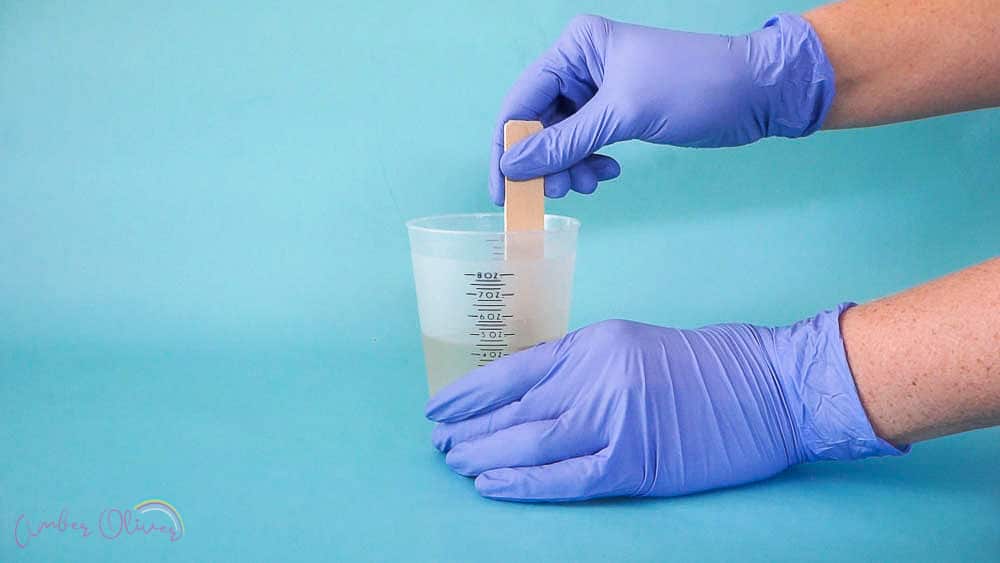
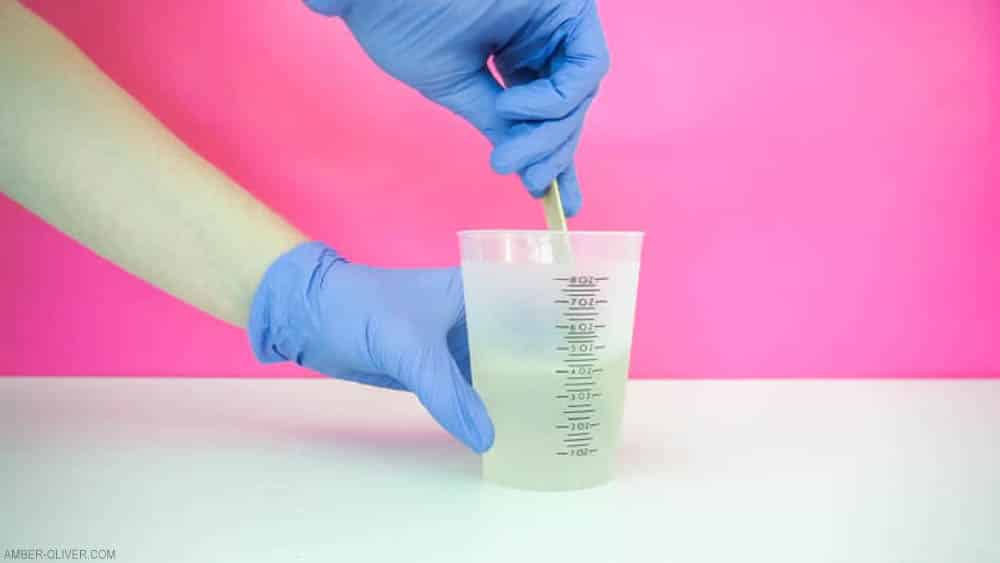
One of the best things you can do to achieve the best results is to mix in smaller batches. This will make it easier to control the mixing process and prevent any potential problems. Try to keep your stir stick in the mixture while stirring ; don’t lift it in and out of the mixture. This will greatly reduce the number of bubbles in your project!

If you do end up with air bubbles, it’s easy to get them out. You can use a heat gun to remove any bubbles that may form during the mixing process. This will give your final product a smooth and glossy finish. Your goal is to have crystal clear epoxy resin!
While stirring, you can also add a small amount of liquid colorant to the mixture, if you desire. This will give your epoxy a unique color, making it perfect for all your creative projects. But, keep in mind that a little goes a long way when it comes to liquid colorants, so start with the smallest amount of pigment and add more as needed. Use separate cups to create small batches of the different colors you want to use. This can change your epoxy cure time so keep that in mind.
When it comes to colorants, it’s best to use a high-strength epoxy solid colorant or a liquid colorant specifically designed for use with epoxy. This will ensure that the color is stable and won’t fade over time. Also, keep in mind that a small amount of colorant goes a long way, so start with a small amount and add more as needed.
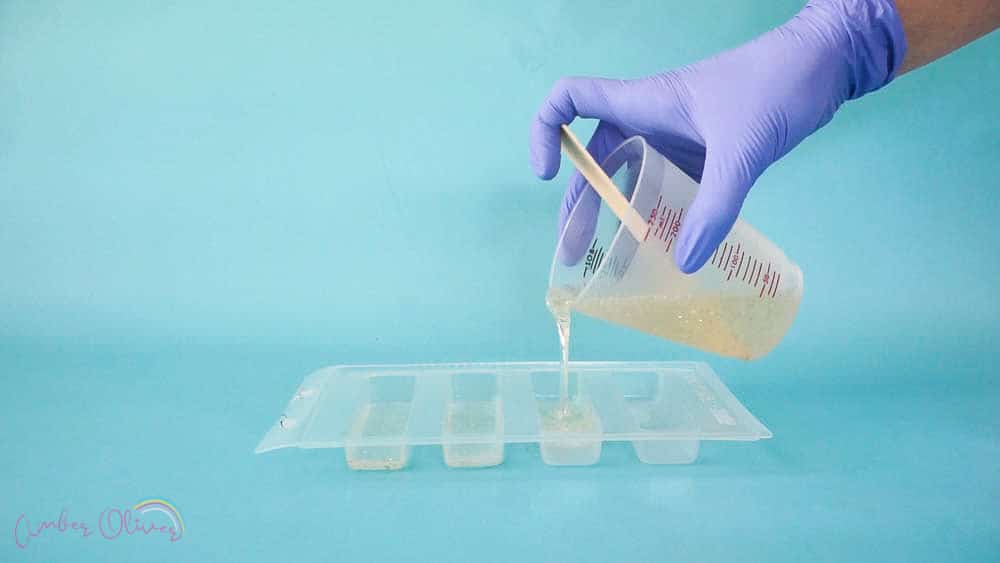
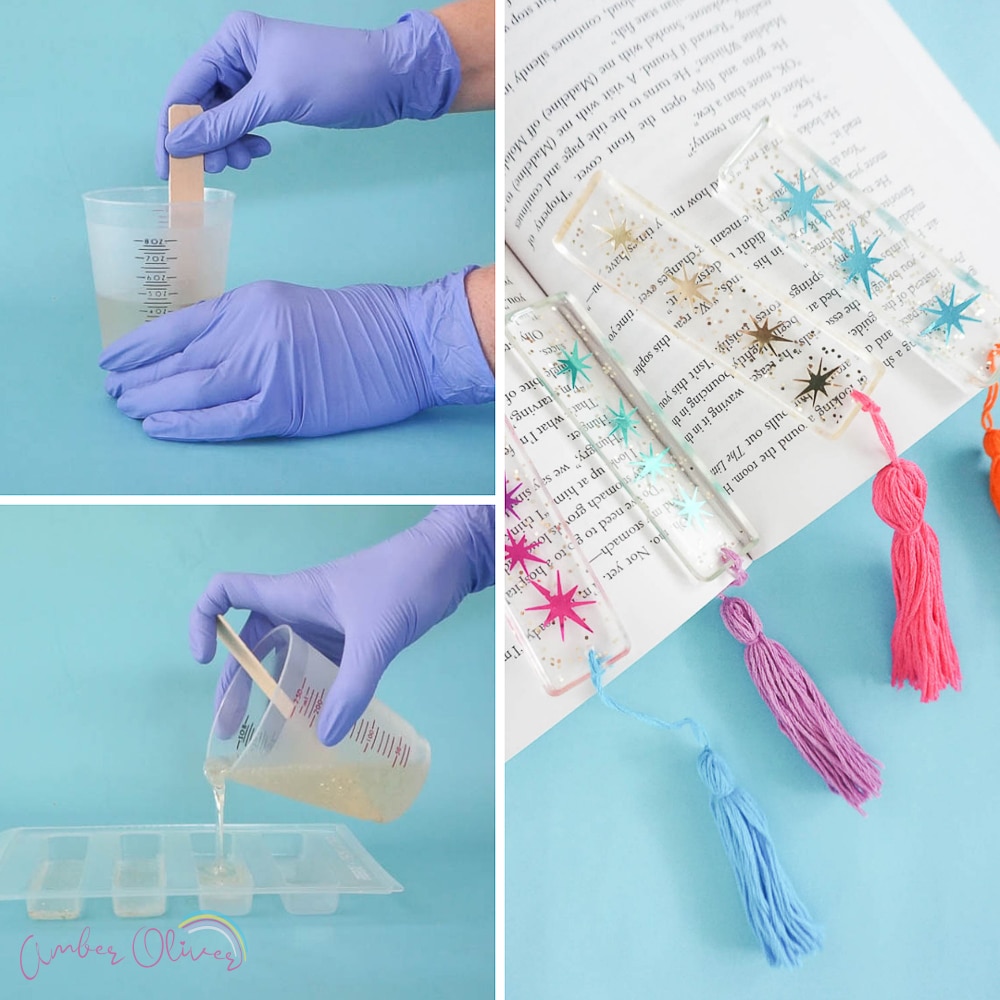
Once the resin and hardener are fully mixed, you can pour it into a silicone mold, plastic mold, or use it to coat an entire surface with a thin layer. Be sure to work quickly as the pot life of the epoxy is limited. It’s important to note that surface preparation is key, so any sticky spots or impurities should be cleaned with mineral spirits before pouring the epoxy. This will ensure that your epoxy adheres properly and gives you a smooth and glossy finish.
Here a few of my favorite silicone molds:

Mixing Resin Tips
Resin Cure Time
Another important aspect to keep in mind is the cure time specified in the technical data sheet. This will ensure that your epoxy has reached its full strength and durability. Epoxy takes time to cure, so be patient and give it the time it needs to fully harden. Room temperature is very important so make sure your work environment is set up accordingly. A seal coat of epoxy can also be applied for added protection and a glossy finish.
Working in Layers
When it comes to large projects, it’s best to work in layers. If you use too much resin, it won’t cure properly This will prevent any problems related to exothermic heat buildup that happens if you have a large volume of resin. If you’re working on a deep pour project, it may be best to work in layers. The previous layer doesn’t have to be completely cured before moving on – just make sure the resin has set enough that the next layer can go on top.
Silicone Tools
Most tutorials involve working with epoxy resin have you use plastic mixing cups and stir sticks that can be thrown away after use. This will save you the hassle of cleaning up a sticky mess and make your next project a breeze. It can end up being more expensive and is very wasteful though. I recommend using silicone cups, stir sticks, etc. as you can clean and re-use them! Also, it’s a good idea to have a few extra cups and stir sticks on hand in case you need to mix another batch.
Work Surface
Another good rule of thumb is to always work on a clean surface, whether it be a work table or your silicone mold. Any impurities or debris can affect the final outcome of your project. And don’t forget to protect your work surface with a drop cloth or silicon mat to make cleanup a breeze.
UV Considerations
Finally, it’s essential to consider the long-term UV protection of your project. Epoxy is susceptible to yellowing and degradation over time when exposed to UV light. To prevent this, consider applying a UV-resistant topcoat or storing your projects indoors or in a UV-protected location.
How To Mix Resin
Here are the basic steps for how to mix resin that you will use every time you do a resin craft project.
Materials
- Two part Resin
- Mixing Cups
- Stir Sticks
- Mold or Surface
Instructions
- Gather tools and materials.
- Check the mix ratio.
- Measure out resin and hardener

- Mix resin and hardener.

- Add colorant or other additives.
- Pour into a mold or coat a surface.
- Allow for cure time.
- Clean up.
In conclusion, mixing resin can be a fun and creative process with the right tools and techniques. By following the mix ratio, paying attention to temperature, working in smaller batches, and being mindful of surface preparation and cure time, you’ll be able to achieve the best results for all your epoxy resin projects. And don’t be afraid to experiment and try new things, as the learning curve is part of the fun! Happy crafting!

RESIN ARCHIVES
View our collection of Resin projects!
Leave a Reply