Last updated April 12th, 2024 at 03:16 pm
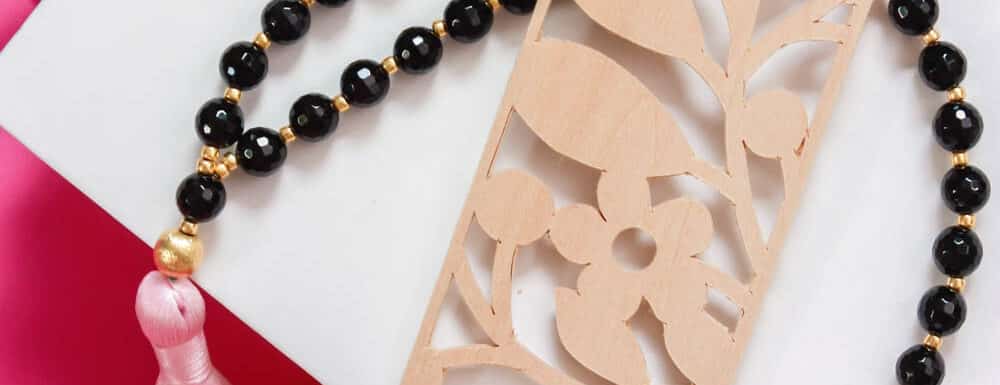
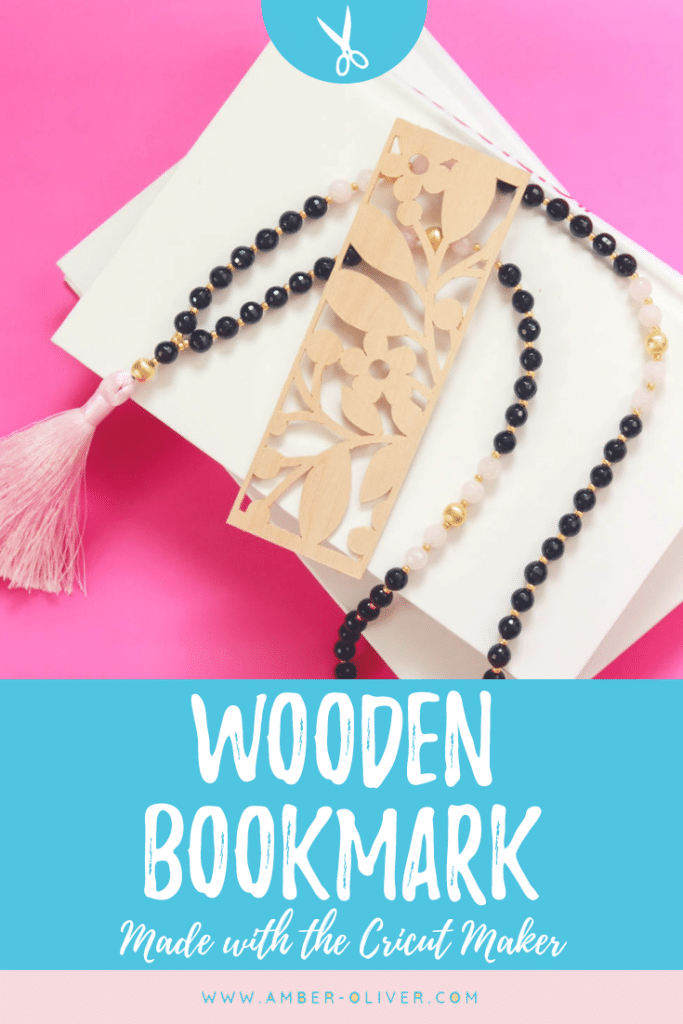
Learn how to use the knife blade to cut beautiful wooden bookmarks from basswood with the Cricut Maker.
If you call someone who collects books a bibliophile – what do you call someone who collects bookmarks? I have been on a DIY bookmark kick lately. I created these beautiful bookmarks last week and this week I decided to try another medium: WOOD! I pulled out my Cricut Maker and used the knife blade to cut out my creation!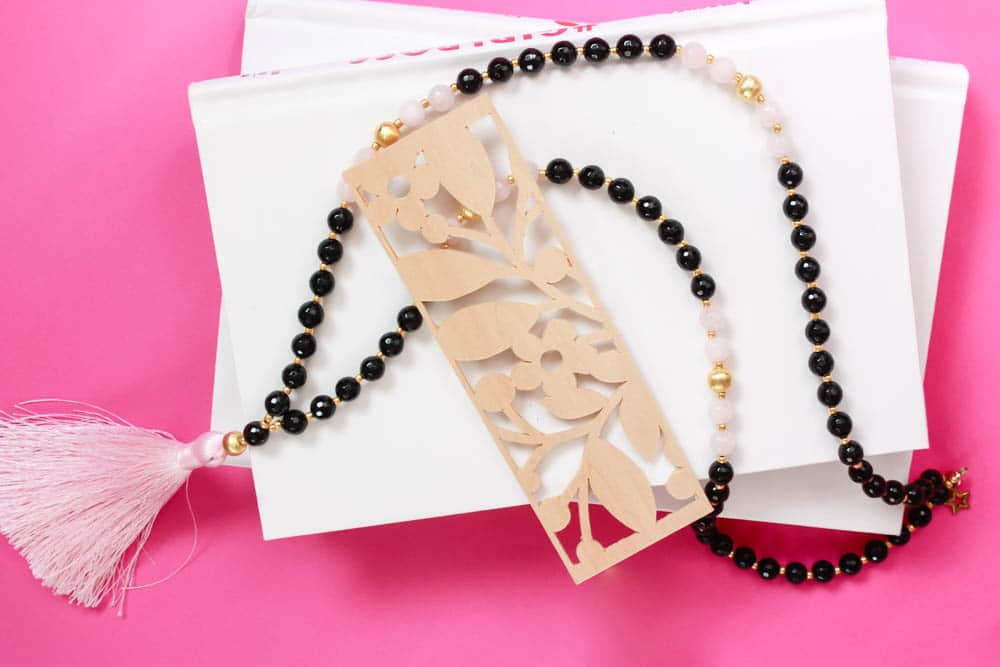
The biggest piece of advice I can give someone started out with the Cricut Maker is to not be afraid of it. When starting a project, I’m always nervous that I’m going to mess up. Spoiler alert – you will!
You’re going to forget to mirror your vinyl or select the wrong material sometimes. The good news is: a Cricut Machine is extremely easy to work with and Cricut Design Space gives you lots of hints and help along the way!
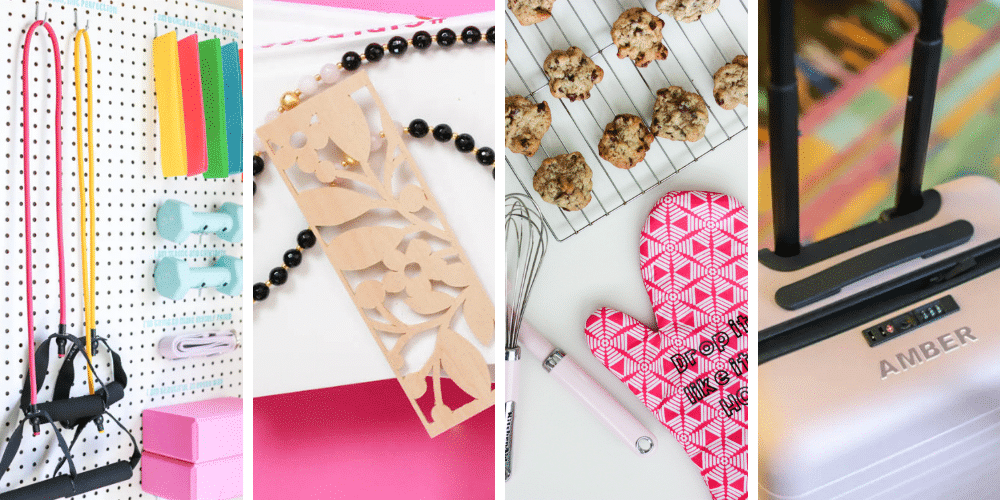
Don’t miss one of my most popular Cricut projects: custom DIY oven mitts! And my all time FAVORITE project: a DIY wooden bookmark!
A few things I learned working with the Cricut Maker and the knife blade (Maker FAQ!):
- You can’t cut using the knife blade from the app. Must be with the desktop version of Design Space.
- The cuts can take a LONG time. This bookmark took about an hour to cut.
- You have to tape everything down – you can’t just rely on the stickiness of the mat!
- That being said – you can’t use Fast Mode – so make a cup of coffee or put on your favorite show while the Maker works!
- The Maker also works on Balsa wood projects!
- When cutting these thick materials, it may damage your cutting mat. Keep an eye on it!
How To Make A Wooden Bookmark
How to use the knife blade to cut beautiful wooden bookmarks from basswood with the Cricut Maker.
Materials
- 1/16 Basswood
- Painter's Tape
- Wooden Bookmark Design Space cut file
- Purple Strong Grip Mat
- Maker Machine
Instructions
- Open this file in design space and click Make It.
- Decide which bookmark you'd like to cut and hid the others. Select the one you want to hide, click the 3 dots in the upper left corner, then click "hide selected".
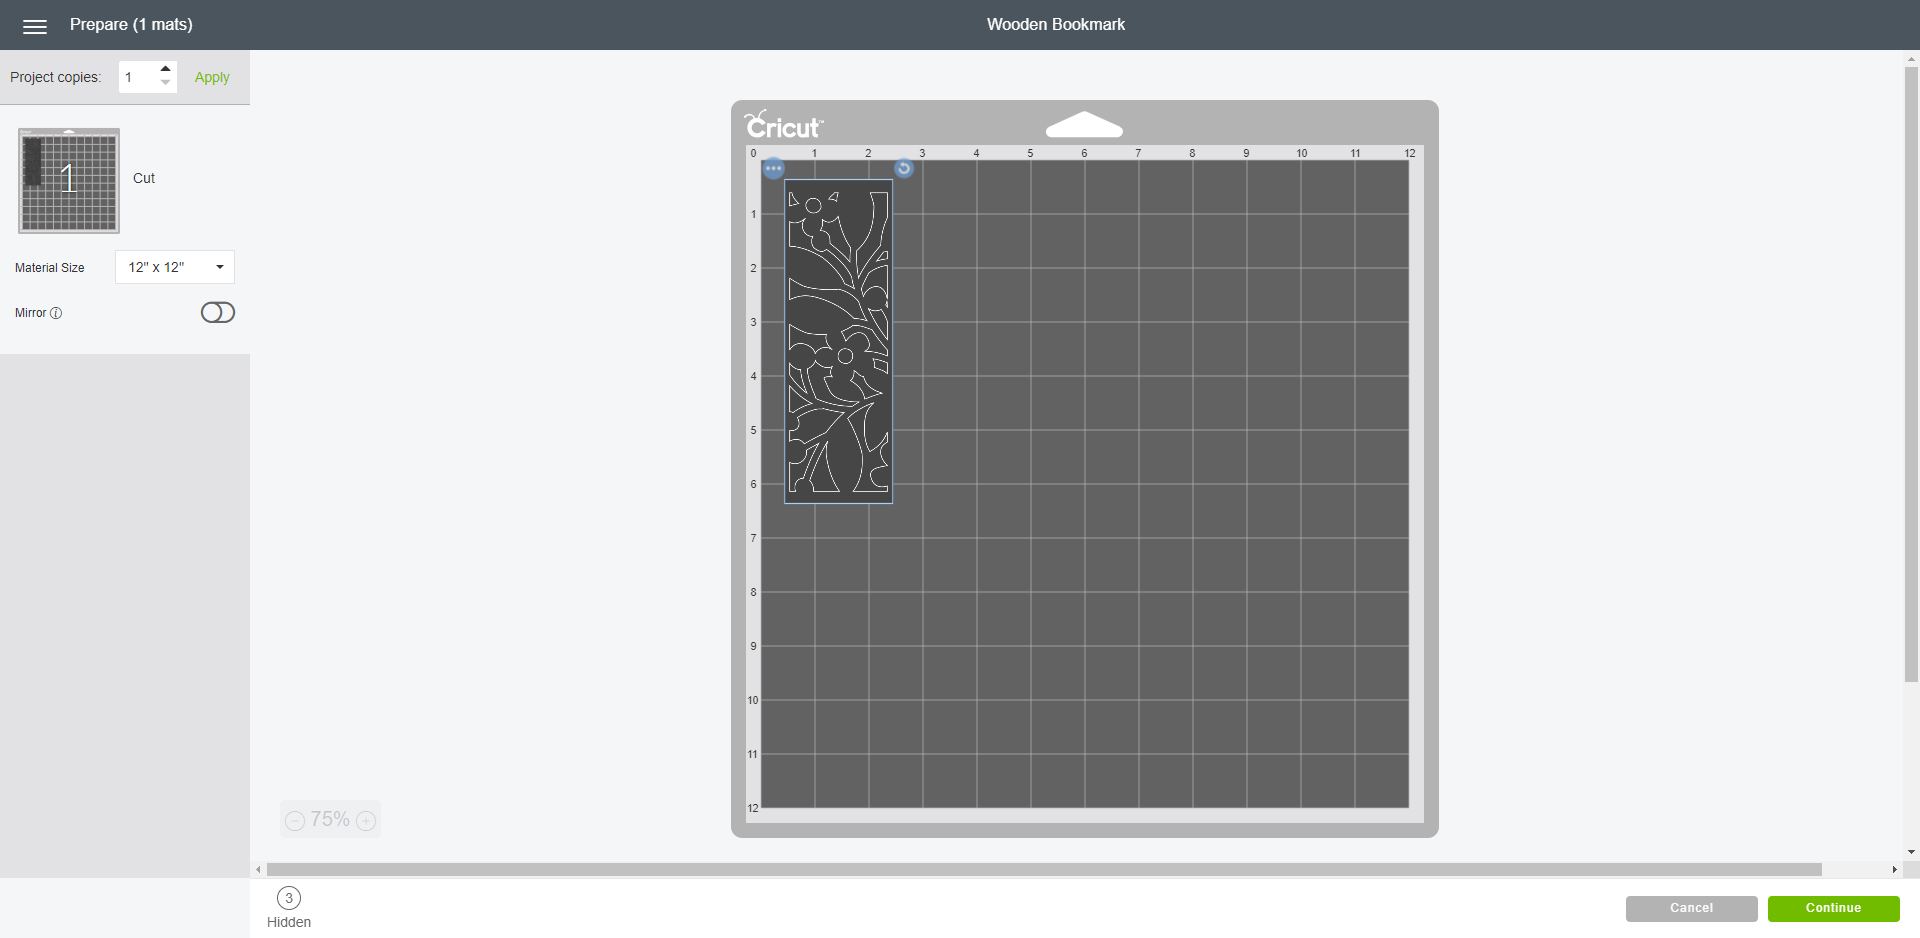
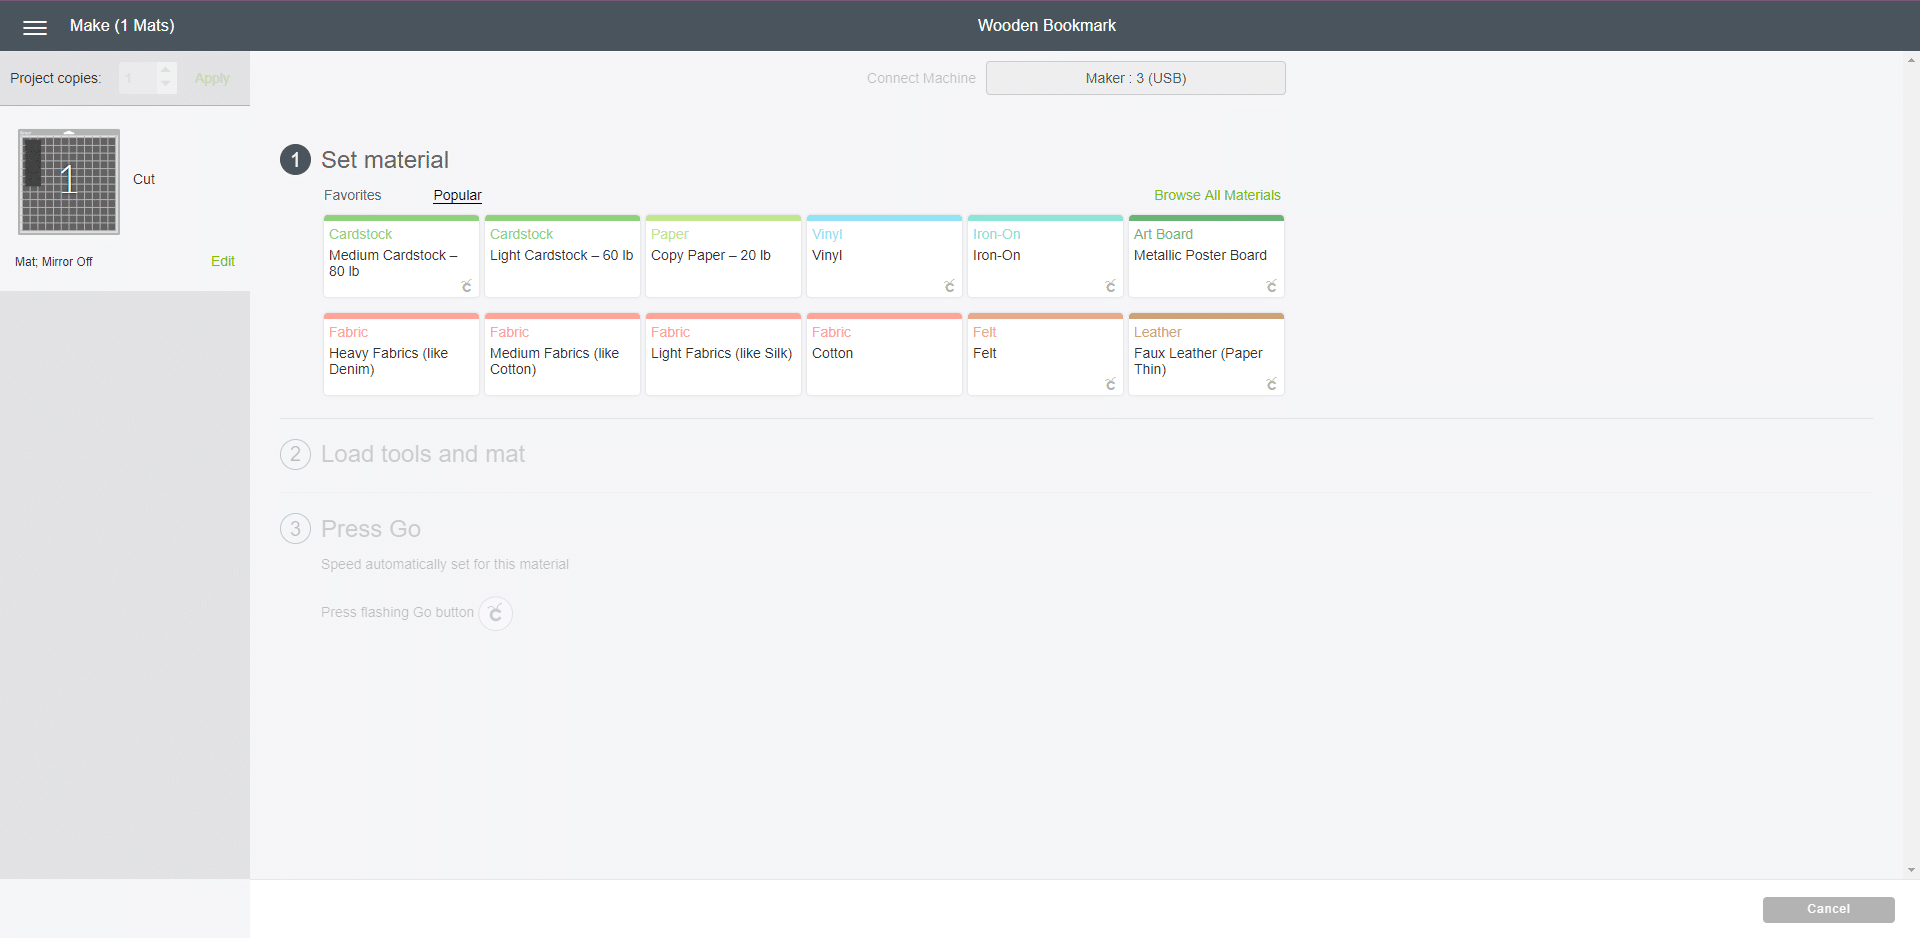
- On the next screen, setup your mat where the design is on the preview screen.

- Select the material you are using - I used 1/16 Basswood from JOANN.
- Follow the onscreen instructions to setup your machine: move the white star wheels all the way to the right.
- Setup your mat: use a Strong Grip mat and use tape on the edges of the wood. You can follow this guide for preparing your materials.
- Lastly load your machine and press go!
Notes
Note: you'll need to keep your machine connected when working with a "longer" project like this. For that reason you can't use the design space app on your phone to complete it.
While the knife blade is pretty awesome, I also cut plenty of things with the other blades. My favorite thing to cut is vinyl. I love to make labels for everything from the kitchen to the bathroom. I also make everything from home items to party decor. I’ve also cut fabric using the rotary blade! What makes this machine different from others is its ability to cut 100s of materials and the expandable suite of tools (like the knife blade used on this project!) Once you get a Maker you’ll be using it all the time!
To create this project I used a few shapes from Design Space. I switched from the Silhouette to Cricut mostly because of the software. I found Design Space much easier to use and with a lot less guess work. Here’s a customizable wooden bookmark tutorial to create your own:
I started with a rectangle and customized the size to my liking.
Next, I found a design I liked and sized it to fit over the rectangle.
I then sliced the image and put the sliced piece over the same size rectangle.
Lastly I attached – so the design would be cut out of the rectangle!
The main thing with designing these bookmarks, is making sure all the pieces stay connected. The pieces have to be connected so your bookmark is one solid piece. You can cut out and enjoy my design or make one of your own!
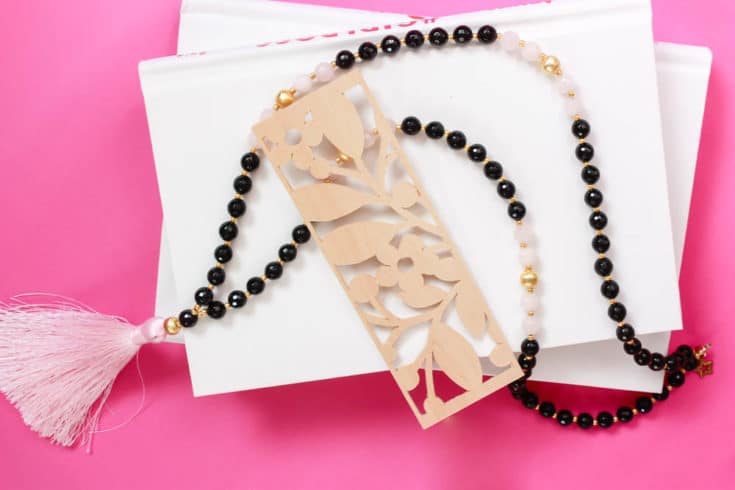
These beautiful wood bookmarks would make great gifts for all the book lovers in your life. It’s a fun DIY project and a great way to work with your Maker machine. You could also keep one of these for your favorite book!
Love this idea but only have a Cricut Explore Air? There are other creative bookmarks you can create. You can use faux leather bookmarks, use the engraving tip or embossing tip to make cool intricate cuts, or use glitter cardstock or any other heavy cardstock with the Explore or Cricut Joy. Please tag me on social media if you make one of these – I’d love to see!
Don’t forget to PIN for later!
This is a sponsored conversation written by me on behalf of Cricut . The opinions and text are all mine.
Love DIY projects? We have 100s of tutorials to inspire you!
CRICUT ARCHIVES
View our collection of Cricut projects!
Gail says
Instructions and file for bookmarks – ranks a 10. The bookmark is beautiful!!!!!
Thanks
Amber Oliver says
thank you so much!!!
Amanda says
When I tried to cut with my knife blade it didn’t cut all the way through. Do you have any advice?
Amber Oliver says
Hi Amanda, it takes a lot of passes so it depends on how thick your wood is. I had a couple of tight corners that didn’t’ cut all the way through and I used an xacto knife to punch those parts out!
Stacy says
The file wont open for me – it goes to design space but just a blank white screen.
Amber Oliver says
Thank you for letting me know! It changed with an update in design space! This link should work: https://design.cricut.com/landing/project-detail/5bb4e432f96865062f5fddc1
Happy crafting!