Last updated August 8th, 2022 at 03:02 pm
Create a cute, customized bookmark with the new American Crafts Foil Quill kit from JOANN. This project is sponsored by JOANN!
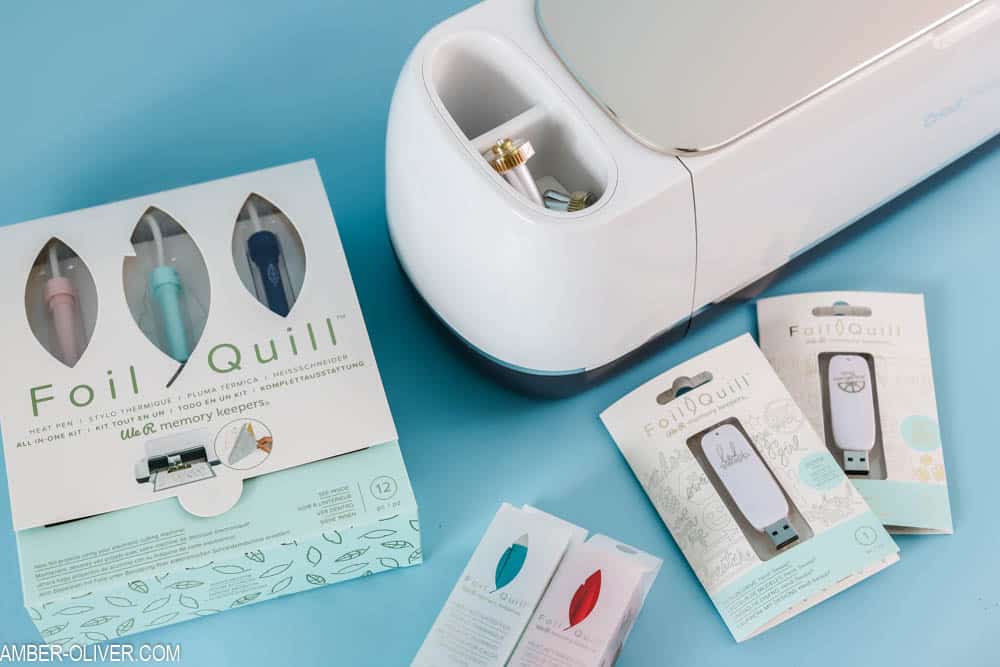
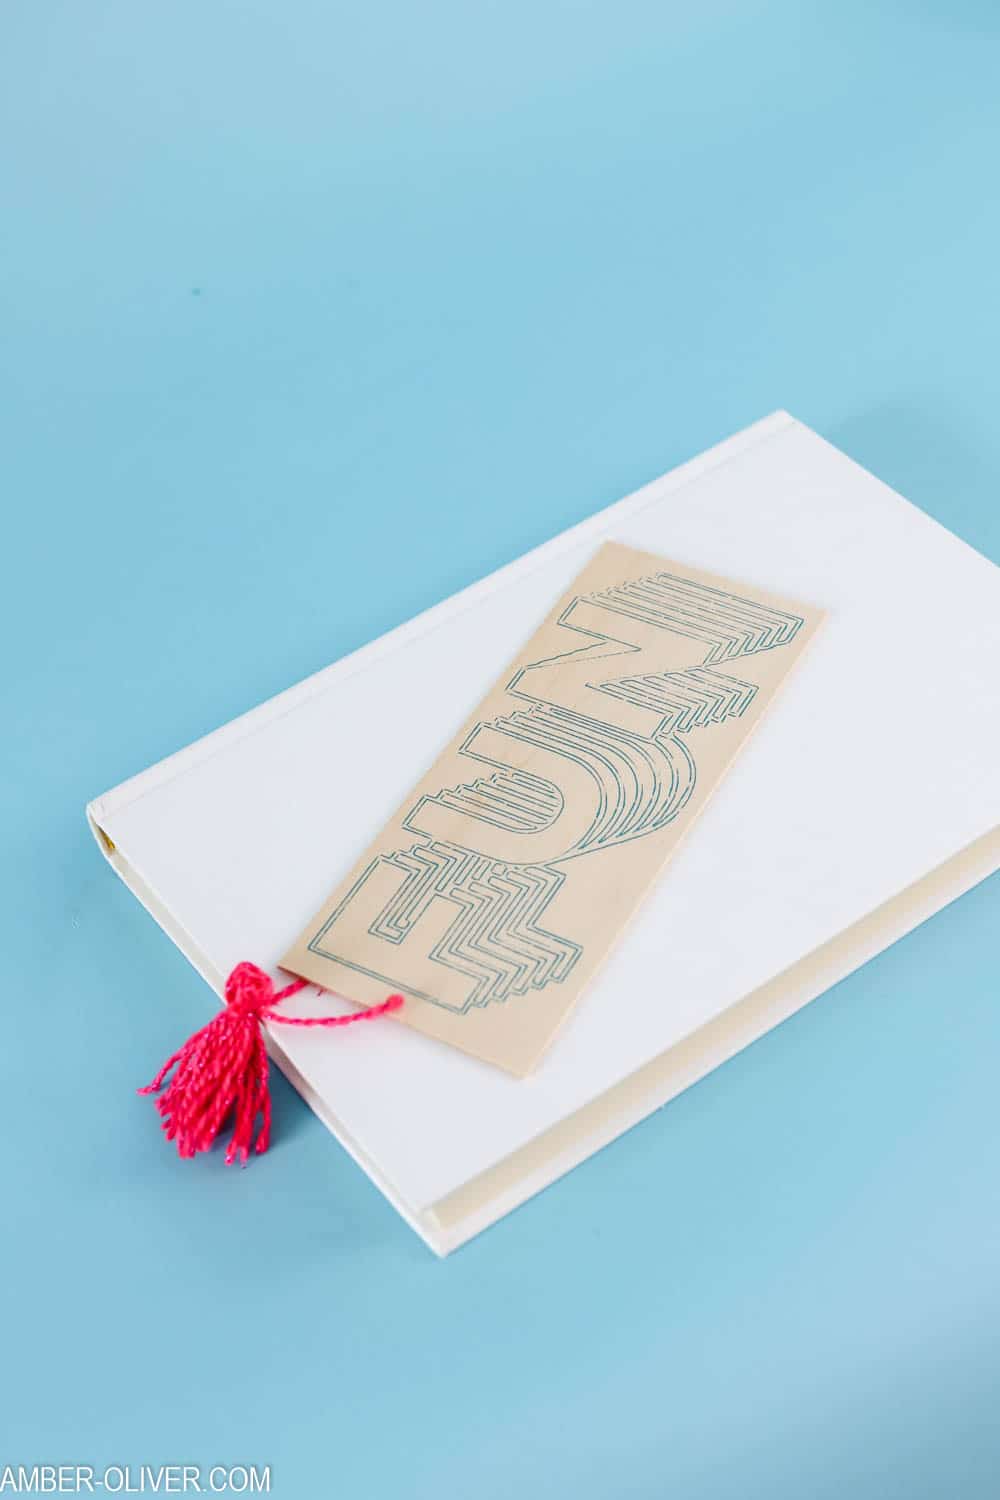
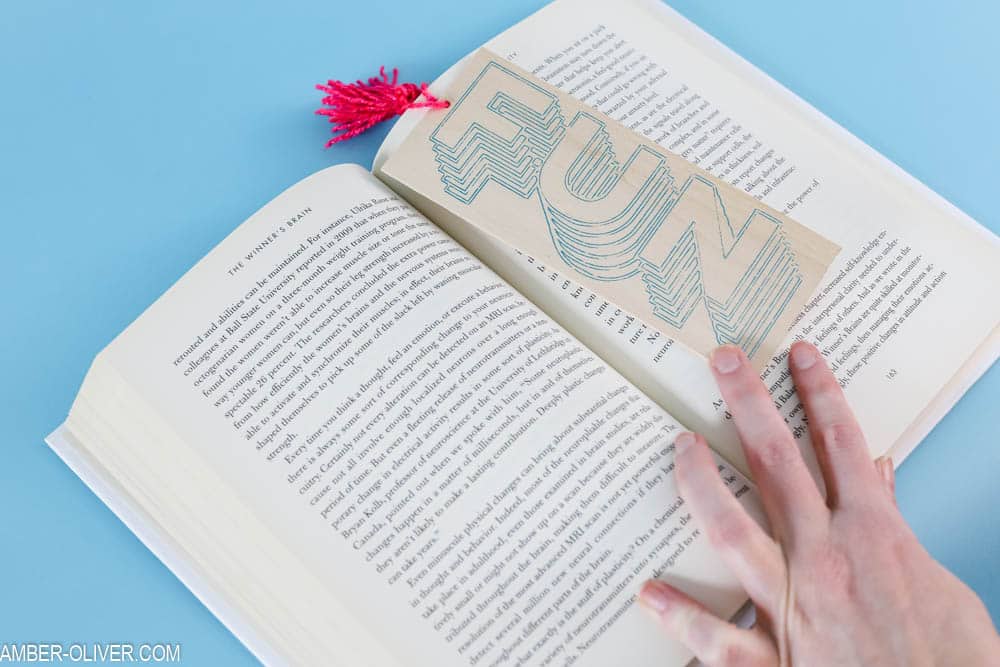
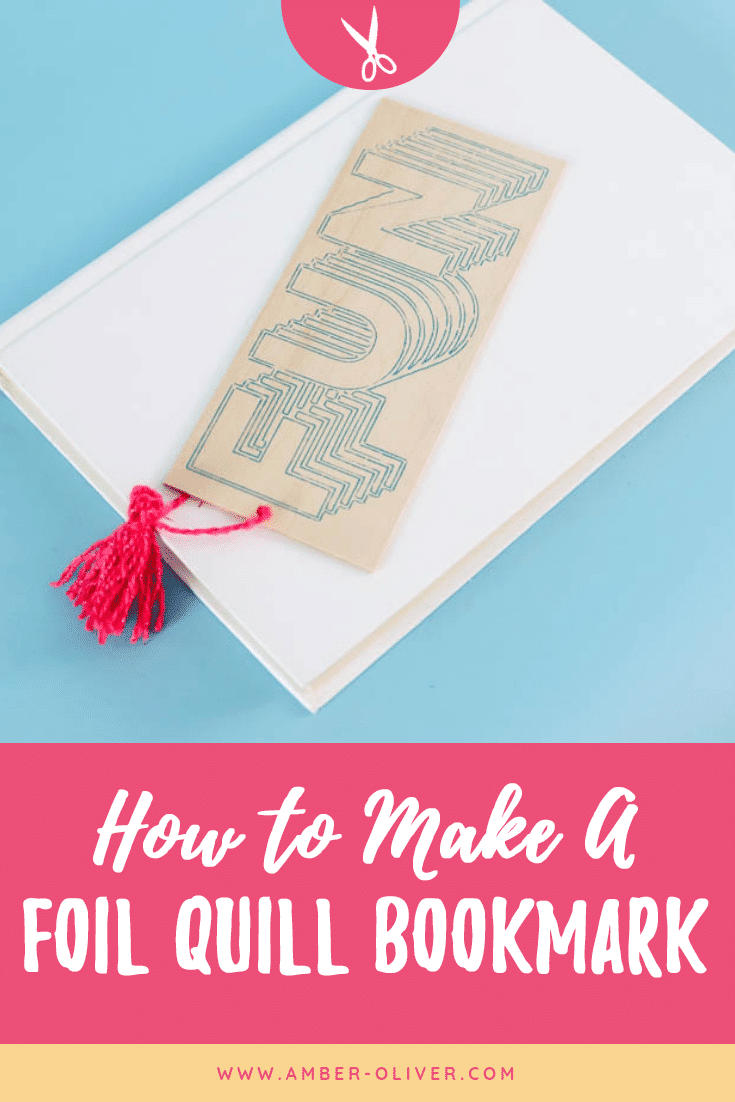
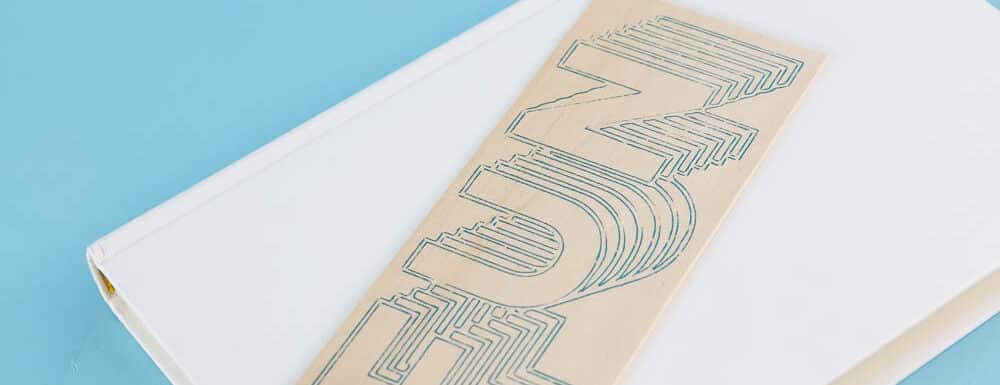
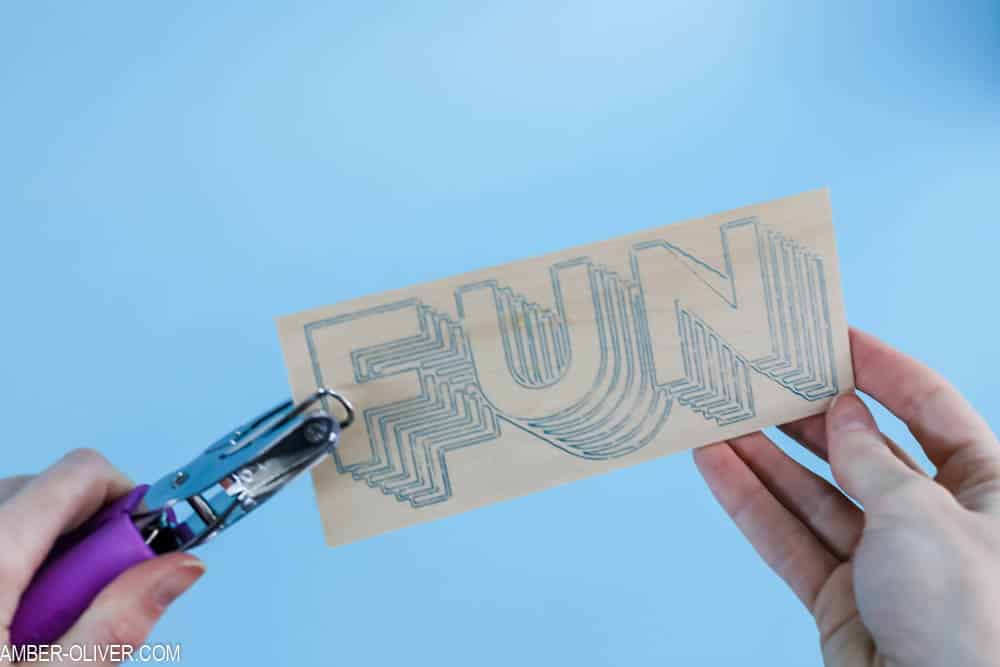
You can never have too much fun (or too many bookmarks!) I got the chance to try the new American Crafts Foil Quill kit from JOANN and lemme tell ya: nothing is safe from foil now! To start, I practiced on cardstock to create a few tags for gift bags. I simply added the text in Cricut design space and used the Foil Quill kit to foil onto the cardstock gift tags. My Cricut Maker treated the Foil Quill tip just like it does a pen, and moved right on to cutting after it finished “foiling”. I decided to test another surface next: basswood! I created a simple wood bookmark quickly and easily with the Heidi Swap Foil Quill thumb drive. There are a variety of images to choose from – I chose this cute “FUN” design!
Foil Quill Bookmark
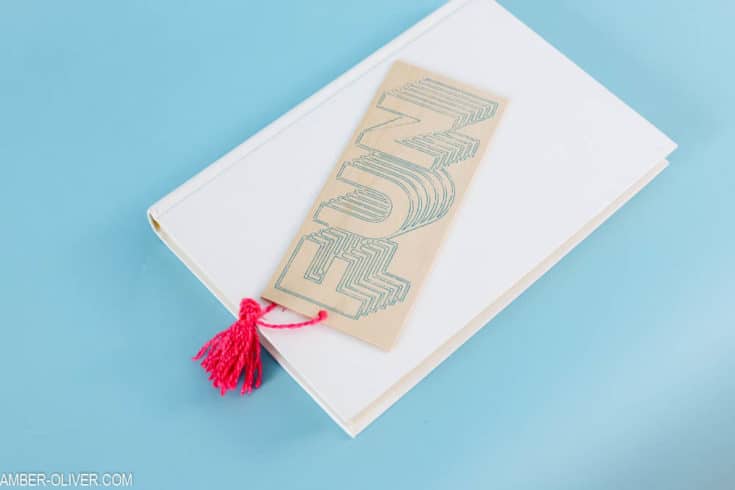
Create a cute, customized bookmark with the new American Crafts Foil Quill kit from JOANN.
Materials
Instructions
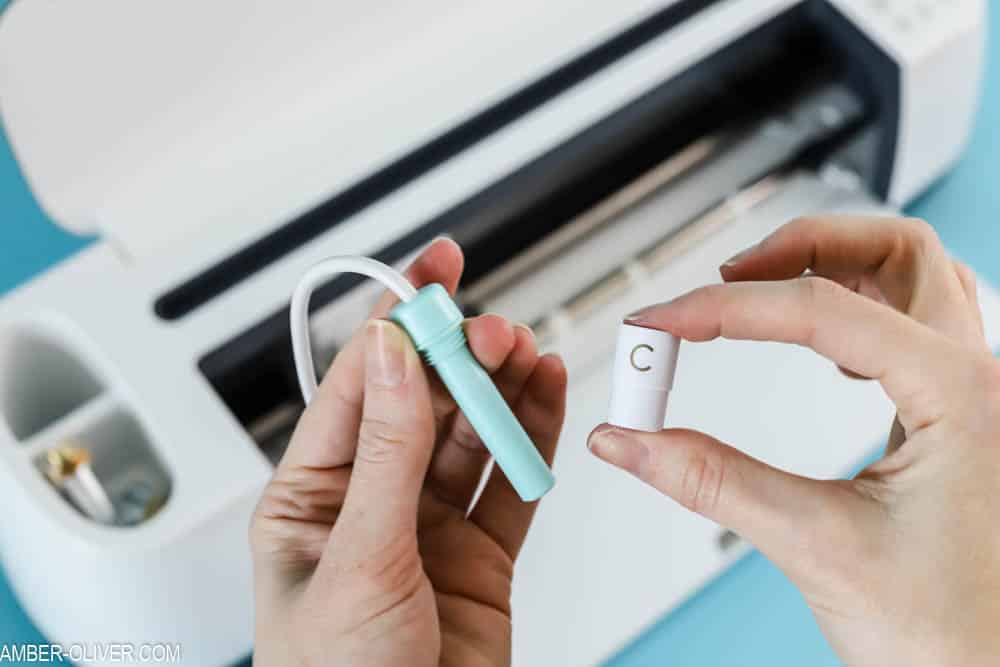
- Follow the set up instructions for your cutting machine. There are four different adapters: Cricut, Silhouette, Brother and Sizzix.
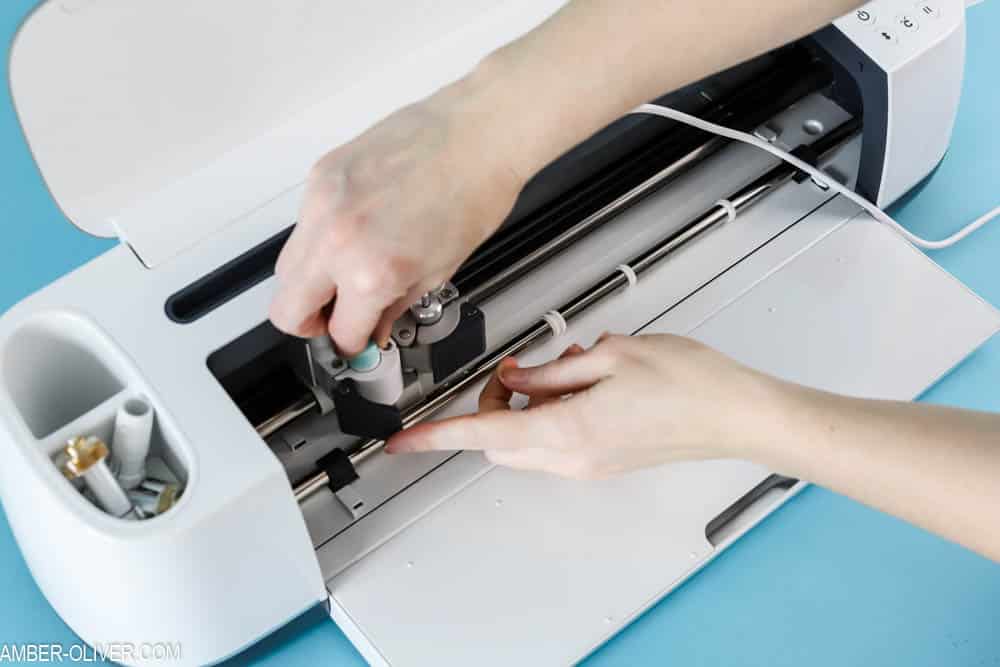
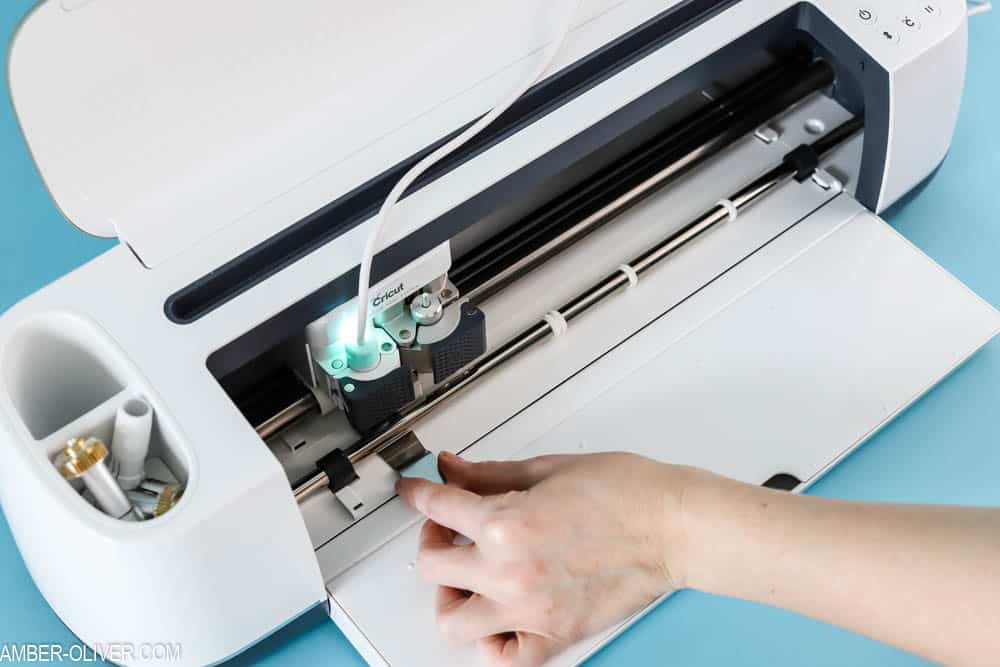
- Insert Foil Quill into the machine carriage and fasten according to machine instructions. For the Cricut, I had to pop out the pen carriage first.
- Plug in Foil Quill USB to power source, it will light up. The Cricut Maker has a USB port on the side. Be sure to also insert the metal plate to protect your machine.
- Allow to heat up 5-10 minutes before use.
- To set up the foil, trim foil to desired design size.
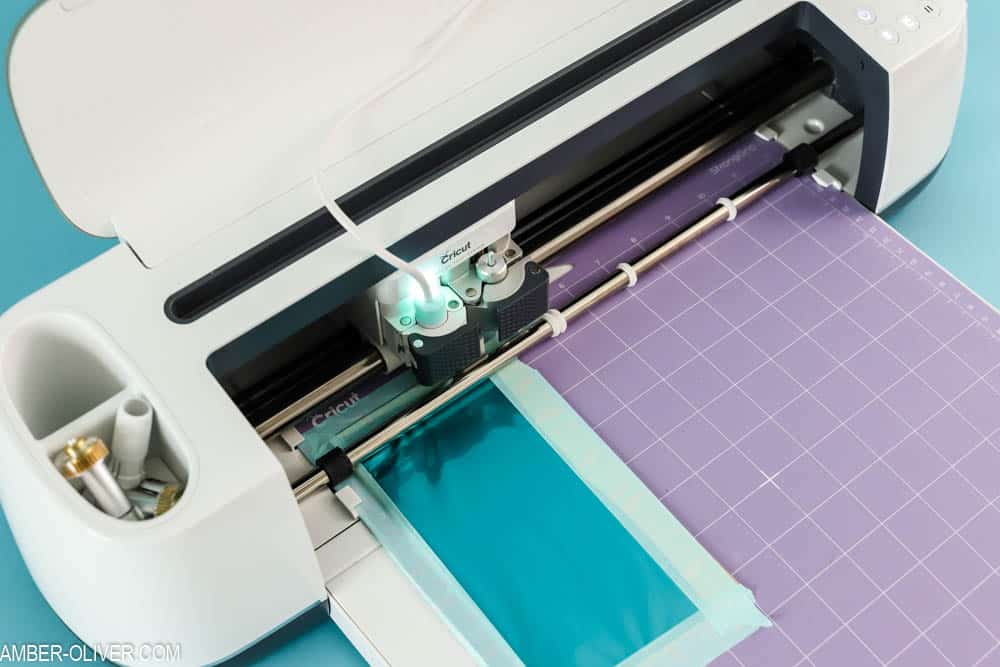
- Adhere Foil Quill tape to the top edge of the foil and place on the surface of the basswood, repeat on all sides; make sure the foil is flat and secured with minimal wrinkles.
- Place basswood on a cutting mat.
- Follow your machine’s operating instructions for drawing pen.
- Find the design you would like to use on the Foil Quill thumb drive. I chose "fun" from the Heidi Swap drive.
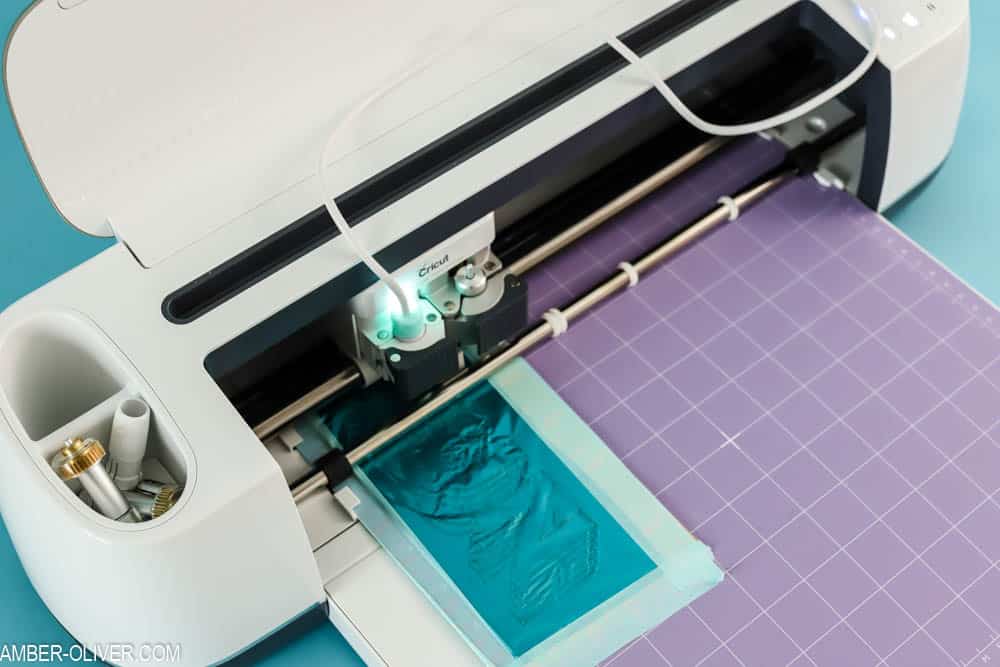
- Follow your machine’s instructions to have the Foil Quill draw your design.
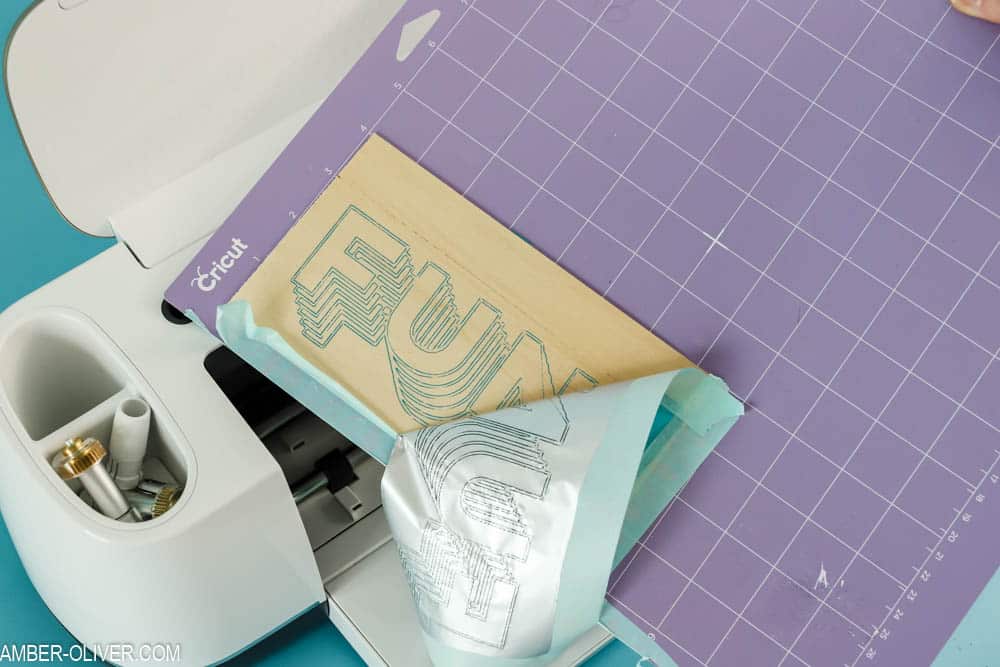
- Once the machine is finished, take the mat out of the machine and remove the tape and the foil.
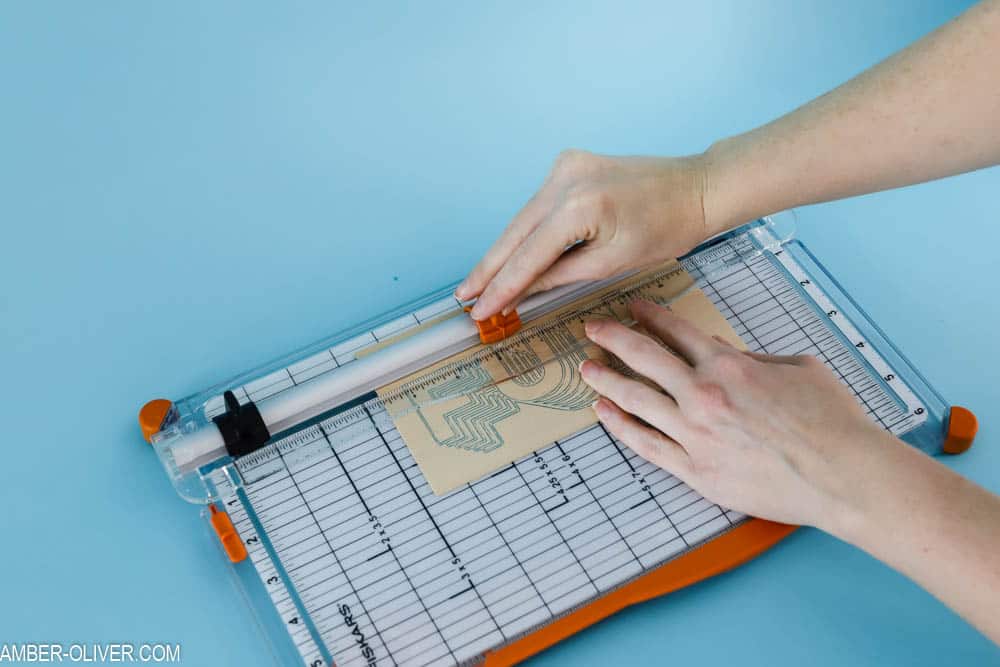
- Cut your bookmark down to size with an xacto knife (I used a paper cutter to make a line I could follow).
- Add a hole and tie a tassel for a fun embellishment!
Foil Quill Tips:
- The trick to successful transfers with Foil Quill has to do with two basic things: the settings and the material
- It’s recommended to start with the manufacturer’s recommendations for drawing or sketching the material you’re working with, and then adjusting speed and pressure/force settings from there. Always do a test run when trying a new project
- The finer the tip, the less pressure needed. So if you’ve used the Bold tip on a certain material with a certain speed or pressure, you may need to reduce that using the Fine Tip on the same material.
- Not all materials transfers equally, including paper. Smooth cardstock without a sheen works best.
- Materials with a waxy finish or coating will not transfer as well as ones that have a more mat finish.
- Smooth leather without a heavy sealant work better than textured leather that’s covered with a thick shiny sealant.
- Always allow the Foil Quill to heat up for before using.
- Make sure your placement tape is not covering the area where the Foil Quill will touch the foil–it won’t transfer well if the heat pen goes over the tape.
Don’t forget to PIN for later!

Leave a Reply