If you’re looking to transform your space with a polished finish, mastering how to install baseboards is an essential DIY skill that can make all the difference in your home renovation project.
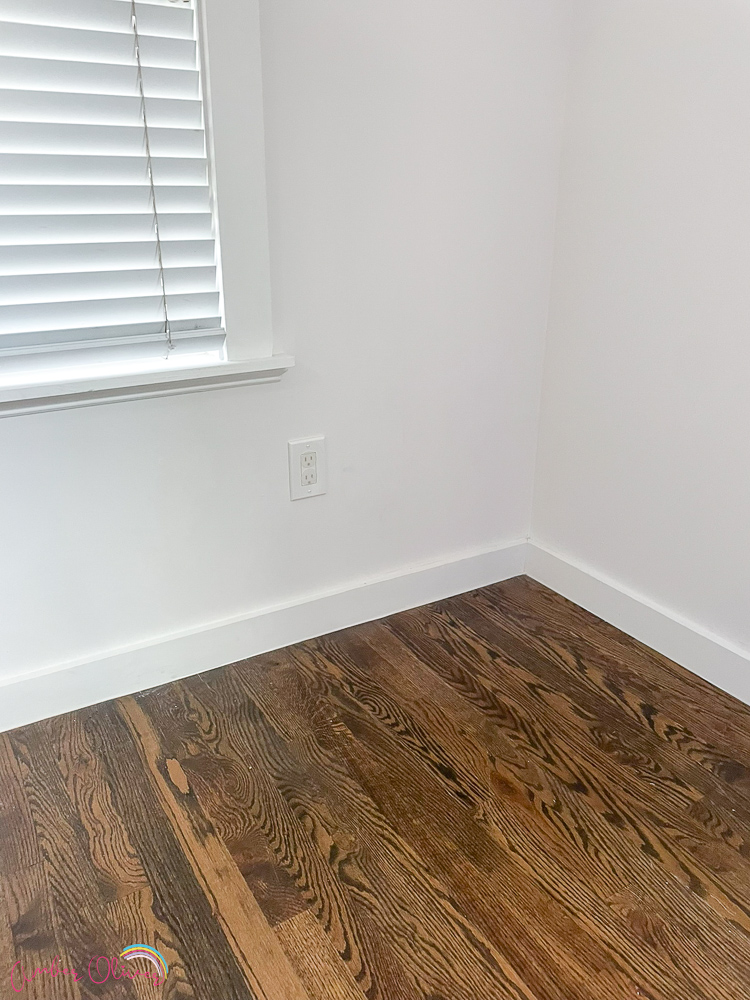
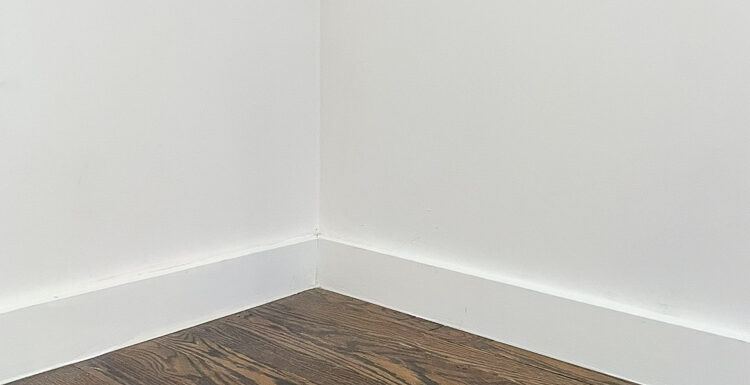
I’m thrilled to share another update from our home reno project —installing baseboards in our newly added family room. After months of renovation, our home addition is finally complete, and we couldn’t be happier with the results. Now, it’s time to put the finishing touches on the space, and what better way to wrap up than by installing beautiful new baseboards? This project might seem a little daunting, but with the right tools and a bit of patience, you can achieve a professional finish that will elevate the look of any room. It’s actually pretty simple!

Why Baseboards Matter
Before we get into the nitty-gritty of baseboard installation, let’s talk about why baseboards are so important. Baseboards aren’t just decorative; they also serve a practical purpose by covering the gap between the wall and the floor, protecting the walls from scuffs and dings. They can also hide uneven floors or gaps where your new flooring doesn’t quite meet the wall.
Whether you’re installing new baseboards or replacing old baseboards, the process is fairly straightforward, and the end result is always worth the effort. In our case, the family room was just begging for a crisp, clean line of baseboard molding to tie everything together.

Tools and Materials You’ll Need to Install Baseboards
Before we start, make sure you’ve gathered all the tools and materials you’ll need for this project. Here’s a handy list:
- Baseboard molding (make sure you have enough material for the entire perimeter of the room)
- Miter saw (or a miter box for manual cuts)
- Coping saw (for interior corners)
- Stud finder
- Tape measure
- Utility knife
- Brad nail gun (or a hammer and d finish nails)
- Wood filler or wood putty
- Caulk gun and caulk
- Wood glue (if fixing pieces)
- Painter’s tape
- Chalk line (alternative is tape)
- Nail set (in case a nail needs help)
- Scrap piece of baseboard
- Shoe molding (optional, for a more decorative finish)
- Pry bar (if removing existing baseboards)
- Relief cuts
- New flooring (if applicable – install this first!)
You can find most of these tools and materials at Home Depot or your local hardware store!

How To Install Baseboards
Step 1: Remove the Old Baseboards if needed
If you’re working with old baseboards, your first step is to remove them. This is where the pry bar and utility knife come in handy. Start by using the utility knife to score along the top edge of the baseboard where it meets the wall. This helps to break the seal of any old paint or caulk, making it easier to remove the baseboard without damaging the wall.
Next, carefully insert the pry bar behind the baseboard and gently pull it away from the wall. Work your way along the entire wall, being careful not to damage the drywall. If you’re lucky, the baseboards will come off in one piece, but don’t worry if they break—this is pretty common.
Step 2: Measure the Room
Now that the old baseboards are out of the way, it’s time to measure the room. Use a tape measure to measure the length of each wall, noting any inside or outside corners. Be sure to measure twice to ensure accurate measurements—this is crucial for getting the perfect fit. Measure twice – cut once!
Step 3: Cut the New Baseboards
With your measurements in hand, you’re ready to start cutting the new baseboards. This is where the miter saw comes into play. For most cuts, you’ll be making a straight cut at a 45-degree angle. A trick I recently learned is to cut at 46 degree angle instead and you will have perfectly snug corners! I haven’t tried this yet though!
Cutting for Inside and Outside Corners
Corners are where things can get tricky. For inside corners on a decorative wood, the best way to achieve a tight fit is by using a coped joint. Start by making a 45-degree cut with your miter saw. Then, use a coping saw to carefully cut along the edge of the molding. This will create a profile that fits perfectly against the adjoining piece.

For straight boards, you can use mitered cuts.
For outside corners, you’ll also want to make a 45-degree cut. When cutting for outside corners, remember that the pieces need to fit together like a picture frame. This means one piece will have a longer edge than the other, so make sure you’re cutting in opposite directions for the two pieces.
Cutting for Long Walls
When working with long walls, you’ll need to use a scarf joint to join two pieces of baseboard together. A scarf joint is simply two 45-degree cuts that fit together to create a seamless joint. This is a good option when your walls are longer than your baseboard pieces.
Pro Tip: Measure Twice, Cut Once
REMEMBER: It’s always better to cut a little bit longer than you think you’ll need—you can always trim it down, but you can’t add material back!
Step 4: Dry Fit the Baseboards
Before you start nailing anything in place, it’s a good idea to do a dry fit of your baseboards. Lay the pieces out along the wall to make sure everything fits snugly. Pay special attention to your corners—this is where any gaps will be most noticeable.
If you notice any slight gaps, don’t panic. You can use a bit of wood filler or wood putty later to fill these in for a seamless finish.
Step 5: Install the Baseboards
Once you’re happy with the fit, it’s time to start installing the baseboards. Start with the longest wall and work your way around the room. If you’re using a brad nail gun, this step will go pretty quickly. If you’re using a hammer and nails, it’ll take a little longer, but the process is the same.
Nailing into Studs
Use a stud finder to locate the studs in your wall, and mark them with a chalk line or a small piece of painter’s tape. When nailing the baseboards, make sure you’re driving the nails into the studs for a secure fit.
If your walls have any uneven floors (hint: you probably do!), start at the lowest point and work your way up. This will ensure that the bottom of the baseboard sits flush with the floor.
Step 6: Handle Inside and Outside Corners
Corners require a bit more finesse. For inside corners, use the coped joint method we talked about earlier. For outside corners, make sure your miter cuts are clean and precise. Bullnose corners can be especially tricky, so take your time and make sure everything fits together perfectly. With rounded corners you can use something like this to install corner baseboards to the rounded corners.
Step 7: Fill Nail Holes and Gaps
Once all your baseboards are in place, you’ll need to fill in the nail holes and any small gaps. Use wood filler or wood putty for this step. Apply the filler with a putty knife, and then smooth it out so it’s flush with the surface of the baseboard. Another trick I learned (but haven’t tried yet!) is to put painters tape on before nailing. You then fill the hole and remove the tape for a clean finish.
Step 8: Caulk the Edges
The final step in the installation process is to caulk along the top of the baseboard where it meets the wall. This will give your baseboards a clean, finished look. Load your caulk into a caulking gun and run a bead along the top edge of the baseboard. Use your finger or a caulking tool to smooth it out for a professional finish.
Step 9: Paint the Baseboards
Now that everything is installed and caulked, it’s time to paint! If you’re painting your baseboards the same color as your walls, you can do this step last. However, if you’re using a contrasting color, you may want to paint the baseboards before installing them to avoid getting paint on your walls.
Use a high-quality paintbrush to apply the paint, and take your time to ensure even coverage. You may need two coats for the best results.
Step 10: Add Shoe Molding (Optional)
If you want to take your baseboard installation to the next level, consider adding shoe molding. This is a thin piece of trim that sits at the bottom of the baseboard where it meets the floor. It adds a decorative touch and can help cover any gaps caused by uneven floors.

Troubleshooting Tips when you Install Baseboards
Even with the best-laid plans, things don’t always go perfectly. Here are a few common issues you might encounter and how to fix them:
- Slight gap at corners: Use a bit of wood filler to fill in the gap and then sand it smooth before painting.
- Baseboards don’t sit flush against the wall: This is usually due to uneven walls. You can use a scrap piece of baseboard to check for high spots and then sand them down with a block sander.
- Nail holes are too big: If you accidentally make a hole that’s too big, don’t worry. Just fill it in with wood filler, let it dry, and then sand it smooth before painting.
- Baseboards are too short: If you cut a piece too short, you can either start over with a new piece or use a small piece of wood to fill in the gap. Just be sure to paint or stain the filler piece to match the rest of the baseboard.
Final Touches: Tips for Success
Before you go, here are a few more tips to ensure your baseboard installation goes smoothly:
- Choose the Right Type of Baseboard: Baseboards come in a variety of styles and materials, from wood baseboards to medium-density fiberboard (MDF). Consider the style of your room and your budget when selecting your baseboards. MDF is a good option for a budget-friendly, easy-to-work-with material, while solid wood offers a more traditional, durable choice. MDF *can* warp if wet.
- Make Accurate Measurements: Always double-check your measurements before making any cuts. A little bit of extra attention to detail can save you a lot of time and frustration down the line.
- Handle Corners with Care: Whether you’re dealing with interior corners, outside corners, or even tricky bullnose corners, take your time with your cuts and test the fit before securing anything in place. A tight fit is key to a professional-looking finish.
- Don’t Skimp on the Filler: For the best results, fill in all nail holes, gaps, and joints with wood filler or wood putty. This will give your baseboards a seamless, polished look once they’re painted.
- Use Painter’s Tape: If you’re worried about getting paint on your walls or floors, use painter’s tape to mask off areas before you start painting. This will help ensure clean, crisp lines.
- Invest in Quality Tools: While it’s tempting to go for the cheapest option, investing in quality power tools like a miter saw and brad nail gun can make the job much easier and give you more precise cuts and secure installations. You can find great deals on these around major holidays.
- Plan for Expansion Gaps: When installing baseboard molding, especially with hardwood flooring, leave a small expansion gap at the bottom of the baseboard. This allows the floor to expand and contract with changes in temperature and humidity without causing the baseboards to warp or crack. I like this caulk for areas you suspect movement.

A Beautiful Finish for Your Room
And there you have it—a step-by-step guide to installing baseboards like a pro! This DIY project is a fantastic way to add a polished, professional finish to any room, and with a little bit of patience and the right tools, you can achieve results that rival those of finish carpenters.
Our new family room has truly been transformed with the addition of these baseboards. The crisp lines and clean corners provide a beautiful frame for the room, tying together the walls and new flooring seamlessly. It’s amazing how such a small detail can make such a big difference in the overall look and feel of a space.
So, are you ready to give your space a polished new look with fresh baseboards? Grab your tape measure, fire up your miter saw, and let’s get to work! Whether you’re a seasoned DIYer or just starting out, I hope this guide gives you the confidence to tackle this project and create a room you’ll love for years to come.

Supply Links:


Leave a Reply