Last updated April 11th, 2024 at 07:31 pm
When I moved into my first apartment by myself I, like many recent graduates, had a hodge podge of furniture. I knew for my bedroom the first thing I wanted to do was get a new headboard.
The one I’d used in college was really cute (I posted about that diy headboard a while ago!) but I was ready for something more “grown up”. I found gorgeous padded headboards online but they were all wayyyy out of my price range. Like this gorgeous one from Ballard Designs.
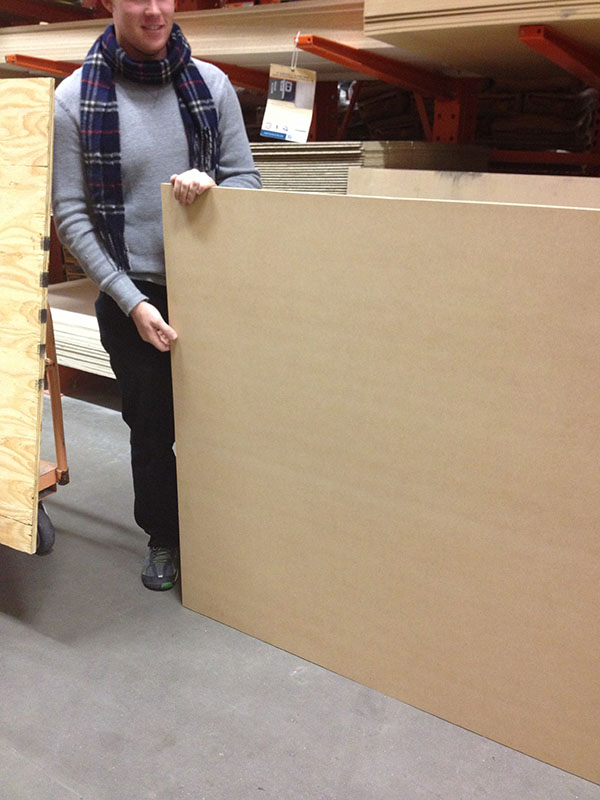
For Christmas, I got a Jig Saw from my mama (baby’s first power tool!) and decided to create the design myself – my own DIY Headboard! Home Depot was nice enough to cut the board to the right width and cut the legs for me so all I had to do was cut the design I wanted and added the padding and upholstery.

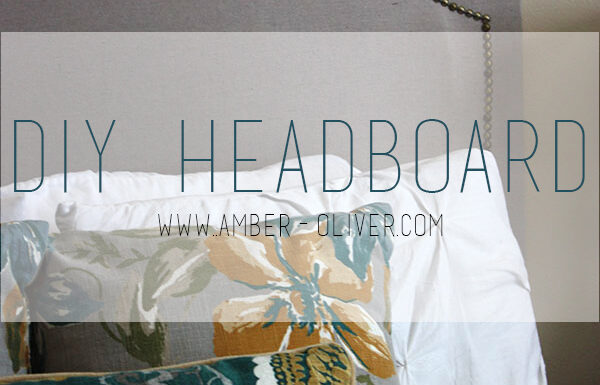
DIY Padded Headboard
Materials
Tools
Instructions
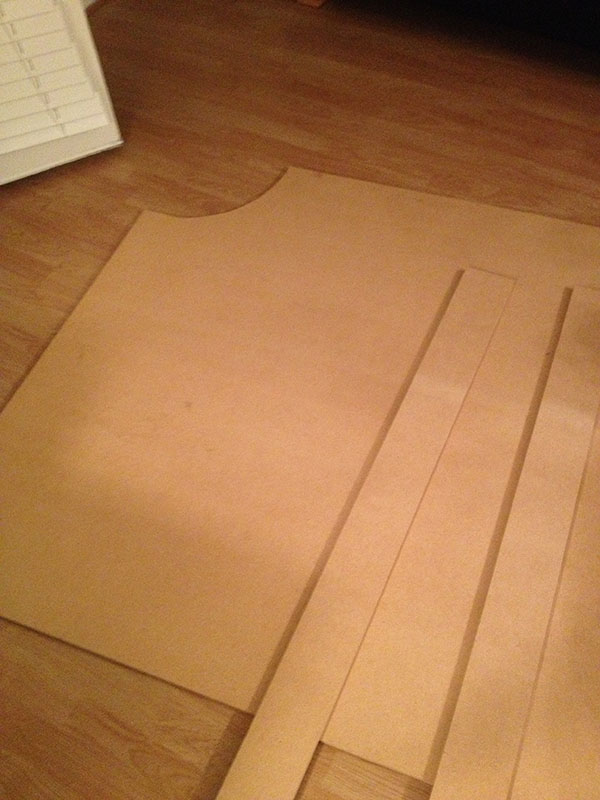
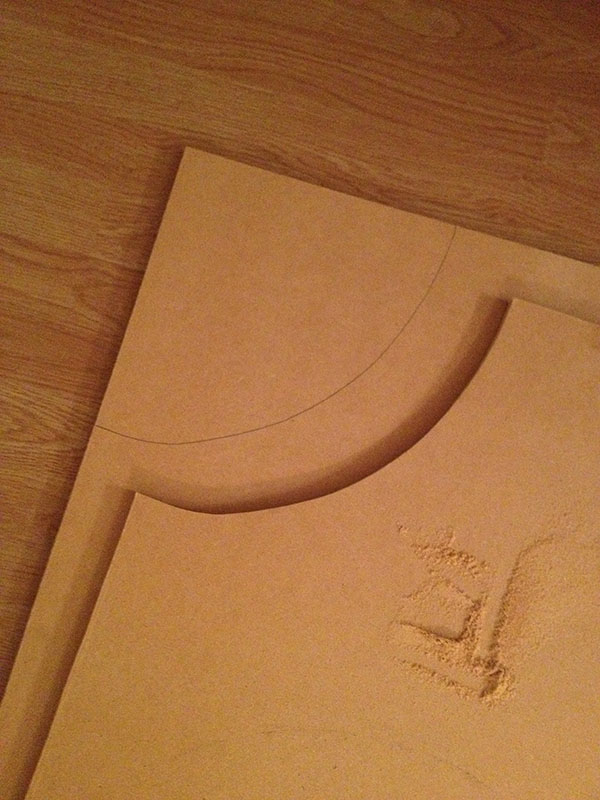
You can cut any design you want along the top. Just make sure you flip it and trace it on the opposite side so it matches. I used a lampshade to cut the large circle on mine. The thickest MDF Panel I could find was 3/4 in thick.
After I cut the design in the corners I flipped it around and nailed it to the backing. I then put the legs underneath. That way I had a sort of border for when I added the nail head trim. I did this for three reasons:
1. The nail head doesn’t go into the padding very easily
2. I wanted the edges to be sharp/crisp corners instead of soft and rounded
3. It makes the headboard sturdier
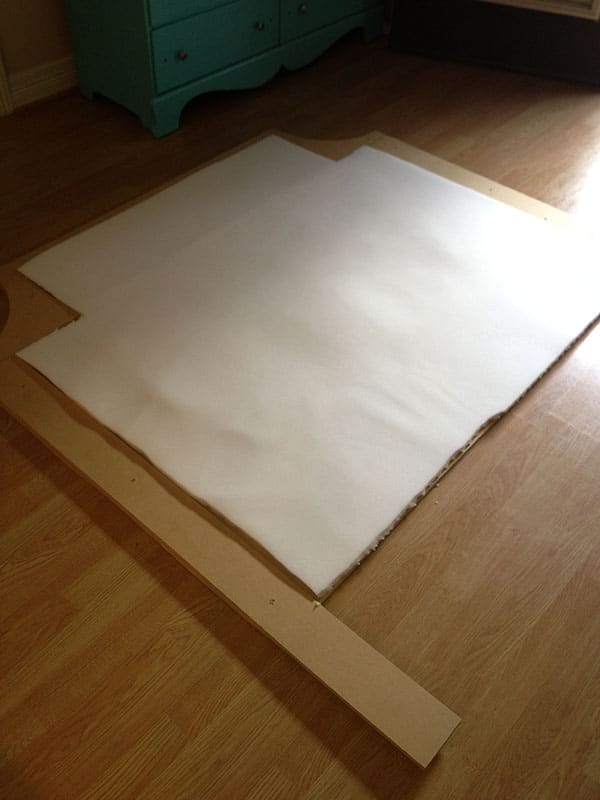
After you’ve attached the legs with screws you can then fill in the middle with the padding – just cut to size and either glue or use a staple gun to attach. You are now ready for the fun part!
I really liked the look of linen but didn’t really like the price. I used a Canvas Cotton Drop Cloth from Home Depot and saved a TON of money. I even used the scraps to make a bed skirt! (Simply staple to the box springs).
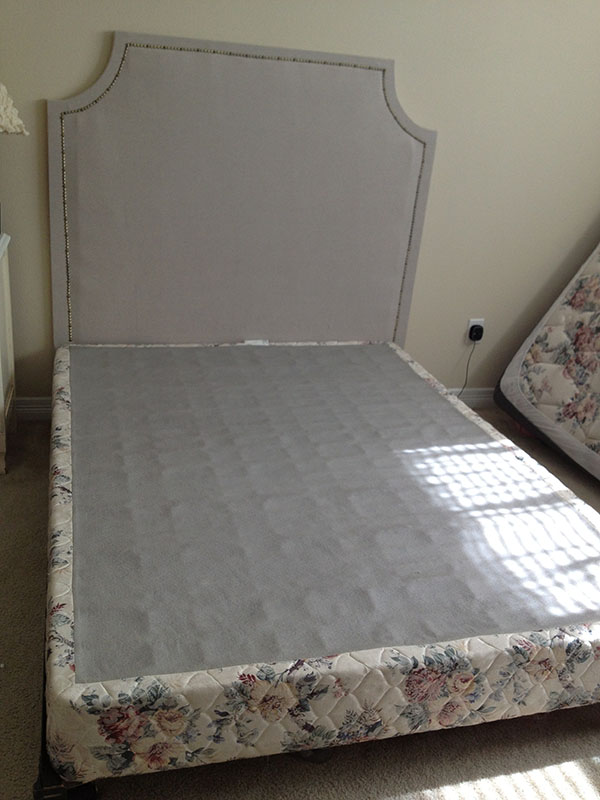
Cut your fabric as close as you can then wrap around and staple to the headboard. Honestly, you can change it up in the future if you want to redecorate – just pull out the staples.
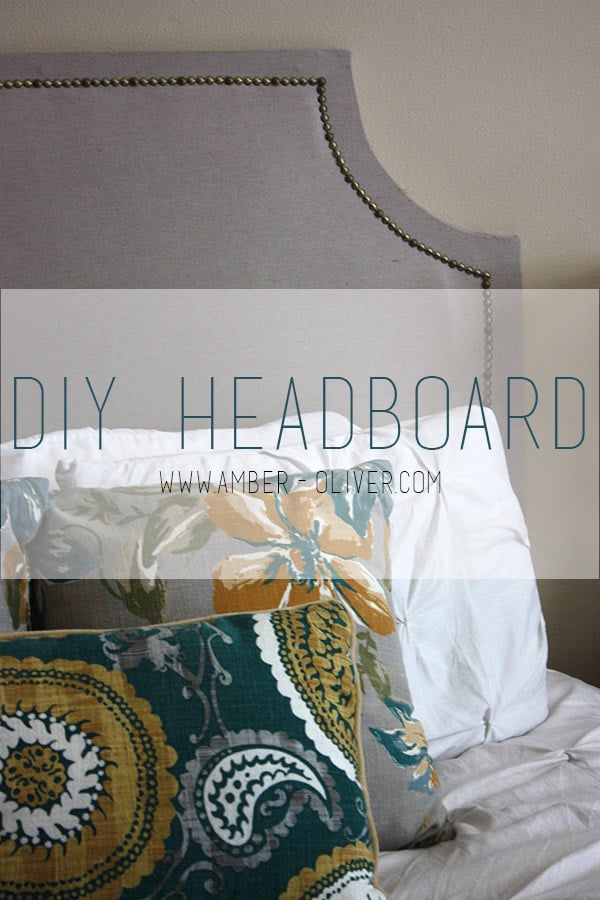
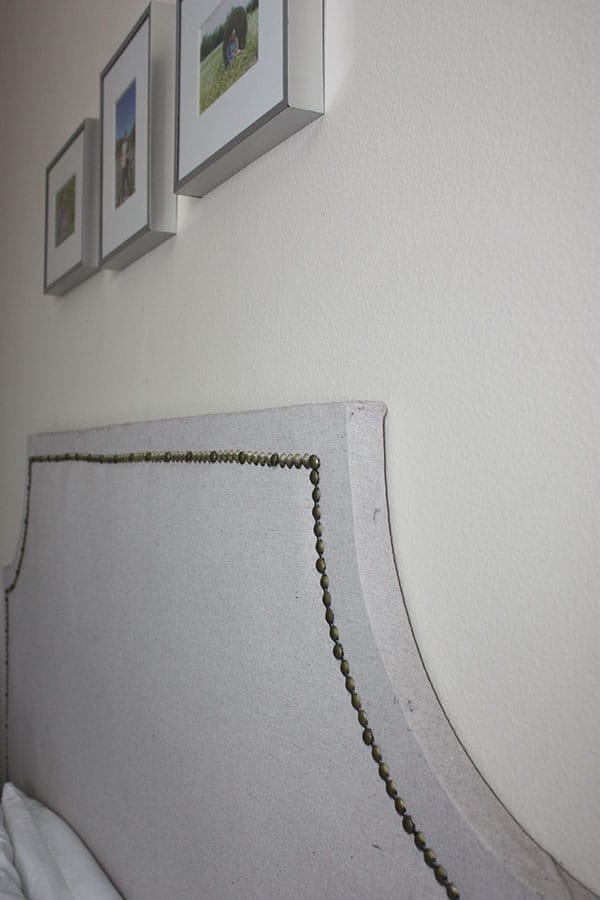
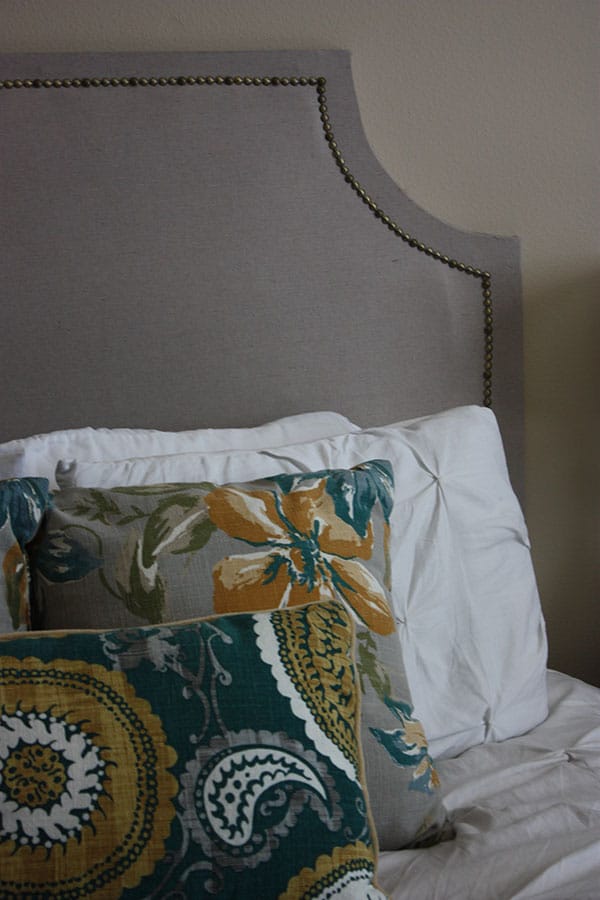
My biggest tip is to use THIS Nailhead Trim. It comes on a roll that you only have to hammer about every 10th one. This speeds up the process and helps you get straight lines! Warning- It’s super sharp so be careful when unrolling it.
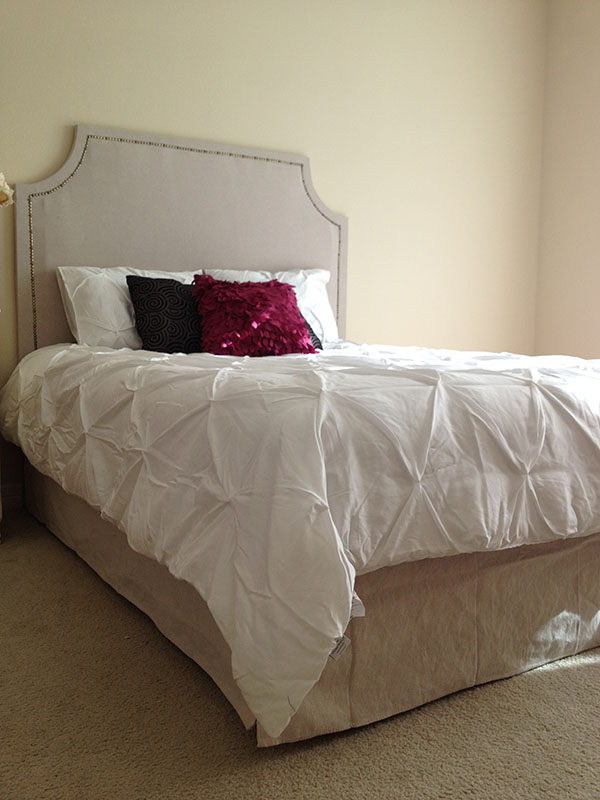
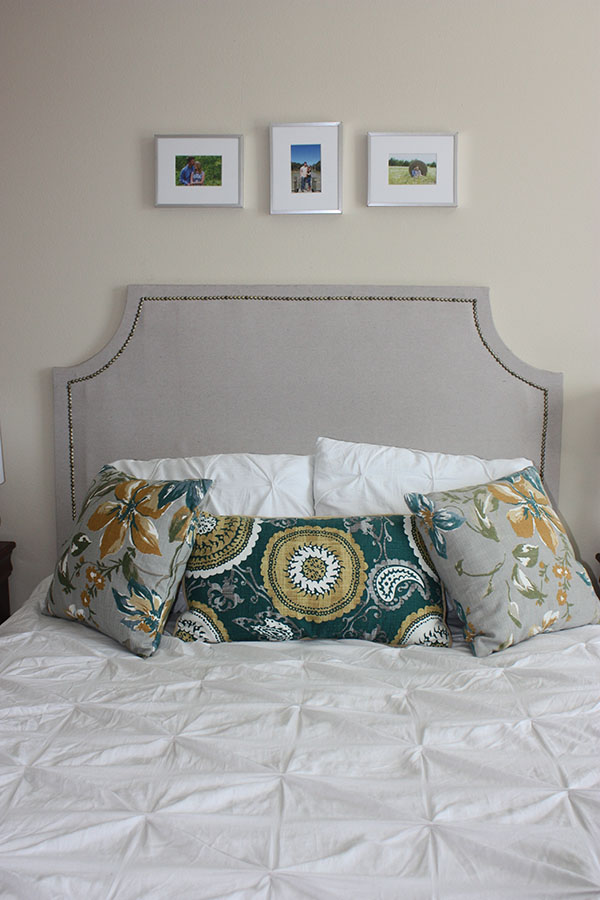
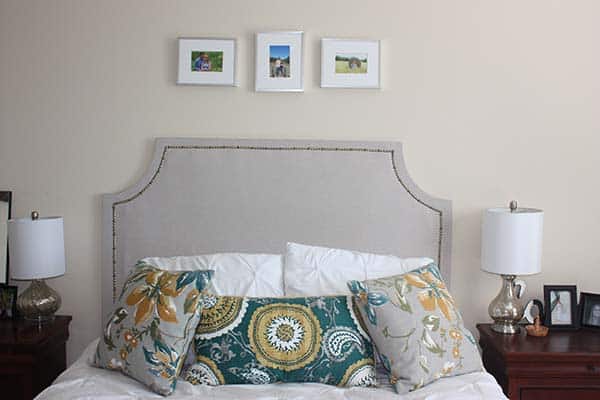
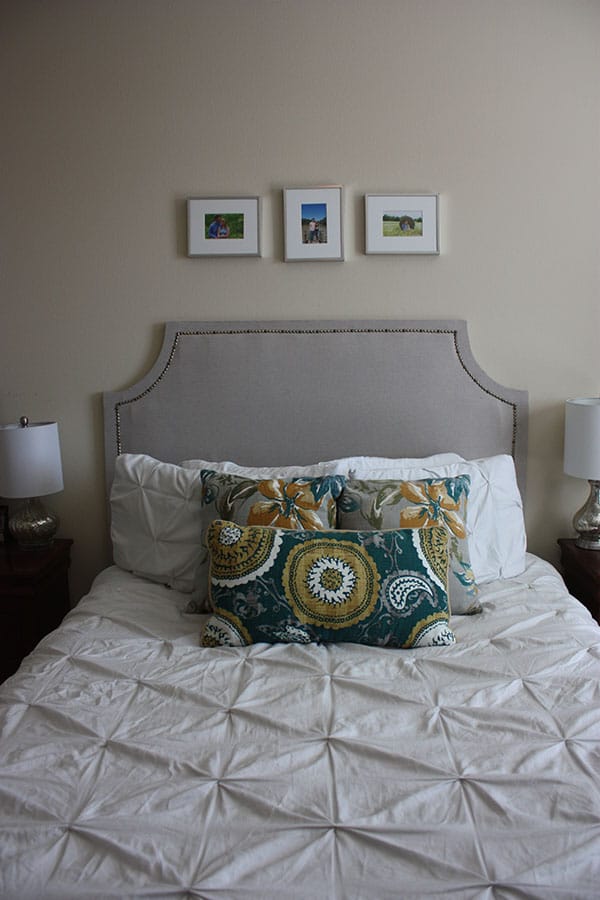
This headboard looked great in my first apartment with lots of pink accessories. It also transitioned nicely when Eric and I moved in together and I needed a less feminine room.
The neutral color goes well with pretty much anything. I found the pillows, comforter, and picture frames at Target and the lamps at Home Goods.
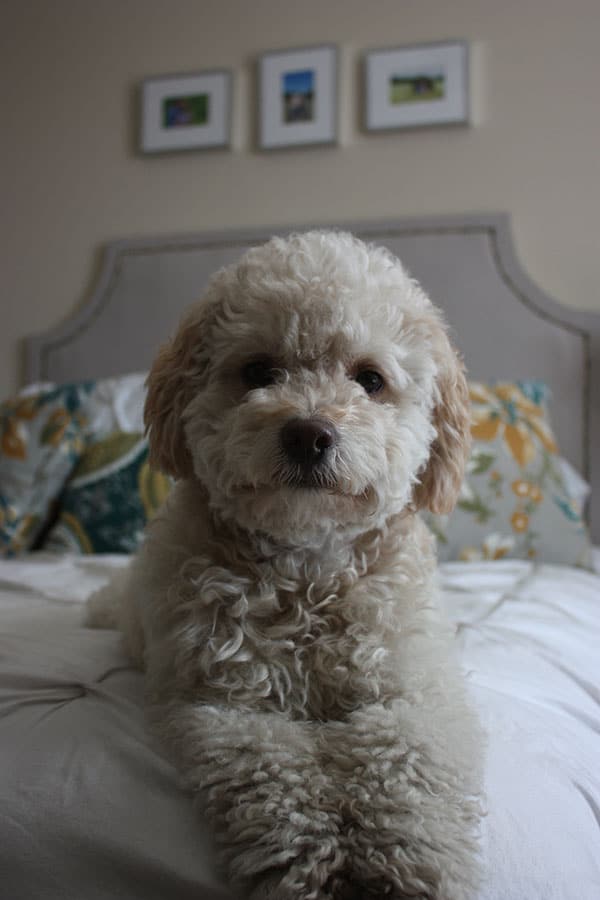
I can’t do anything without Barkley getting in the middle of it. That’s OK because he’s really cute! My own little teddy bear 🙂
Hope you like my headboard! This is one of my favorite projects and one I’m most proud of. The best part is it cost less than $50. If you have any questions please feel free to ask! I’d love to help.
Follow me! INSTAGRAM | TWITTER | FACEBOOK | BLOGLOVIN
Shop this project:

Nicole says
Amamzing! Don’t know if I could pull this off! LOL Your bedroom looks beautiful!
Miranda says
OMG this tutorial is amazing! You did such a great job with it. I made my current headboard with my mom last year and it was a TON of work, but it’s so nice to have something custom and completely chosen by me!
Anyway, it was so nice to meet you yesterday. I had to come check out this tutorial on your blog because I was so intrigued when you told me about it!
xo Miranda
Stephanie says
Hi! It’s been a while since you made this and I’m curious to know if you have removed the nail head trim to change the fabric. That’s what I’m wanting to do and wonder how difficult the trim is to remove without damaging it. I wish that I’d used a more neutral fabric when I made mine.
Amber Oliver says
I haven’t replaced the fabric, but I did accidentally pull some of the nailhead trim off once. It didn’t get damaged!