Last updated August 28th, 2023 at 12:02 pm
Learn how to use a paint sprayer for walls and how to paint a room quickly and like a pro! This project is sponsored by Wagner. Thank you for supporting the brands that help us bring you inspiring content!
After our dreams of living abroad together came to an end last year, we decided to make our house a place we LOVE instead of just a place we have to live. We made over our guest bathroom with paint and wallpaper, gave me a closet that made me cry, and are now transforming our guest room into a home office that occasionally has guests!
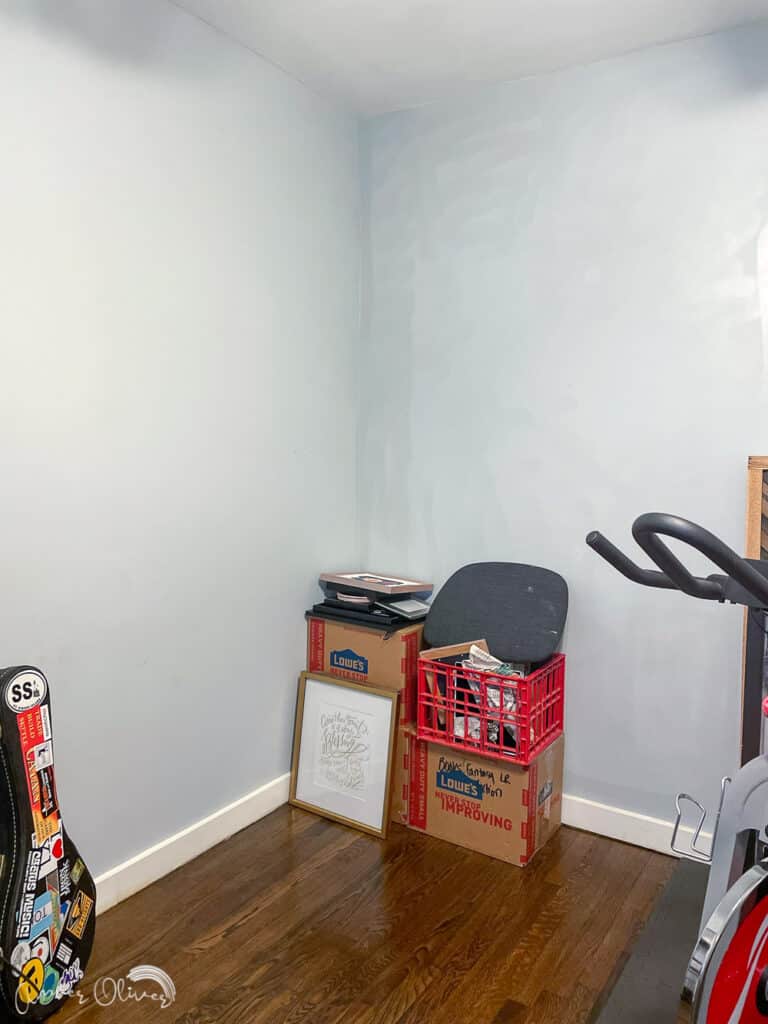
The first project in this room – PAINTING! Let me show you how to use a paint sprayer for walls and inspire you to update a long neglected room in your home! So how long does it take to paint a room by hand? Making Manzanita estimates 5 hours and 20 minutes! I’ll show you how to drastically cut that time down!
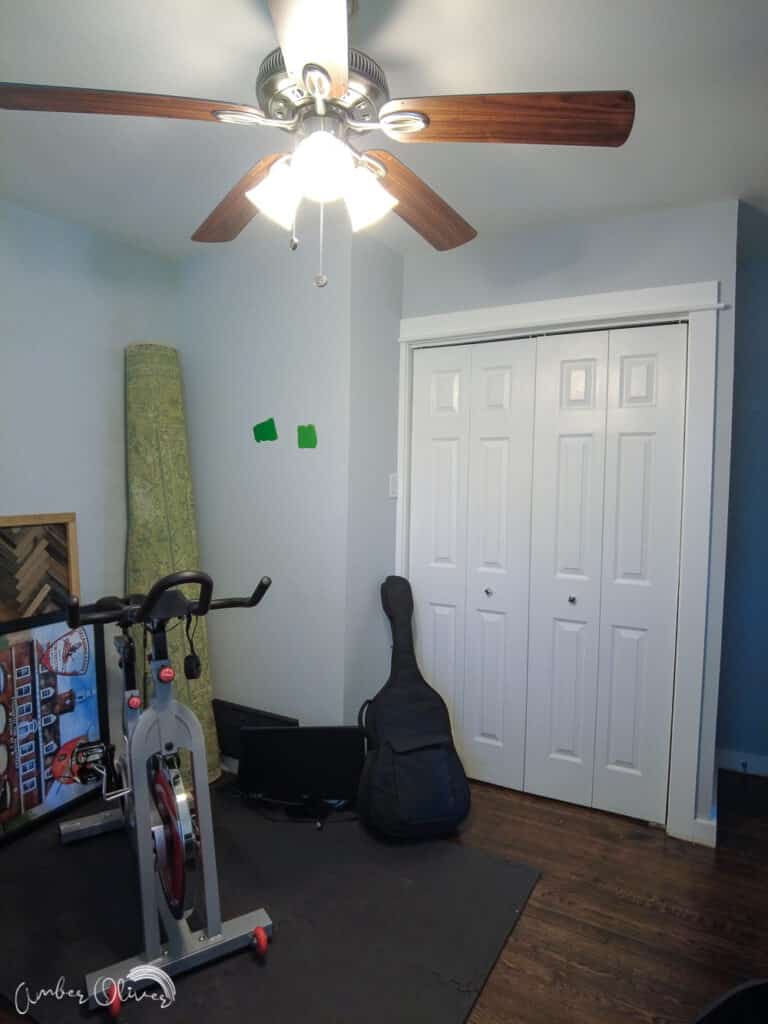
Why use a paint sprayer for walls?
I’ve used a paint sprayer countless times, but I’d never used a paint sprayer for walls. I’ve painted lots of pieces of furniture and it also helped us get a flawless finish on kitchen cabinet doors.
Using a paint sprayer for walls is SO FAST. I painted an 8’x10′ wall in about 5 MINUTES! This is obviously much faster than using a roller. You also get a super smooth finish and don’t have to worry about brush marks.
Because it’s so fast, you keep a “wet edge” and you don’t end up with lines where you started at stopped. I also found I didn’t have to use a ladder and could spray from baseboard to ceiling easily with this interior paint sprayer.
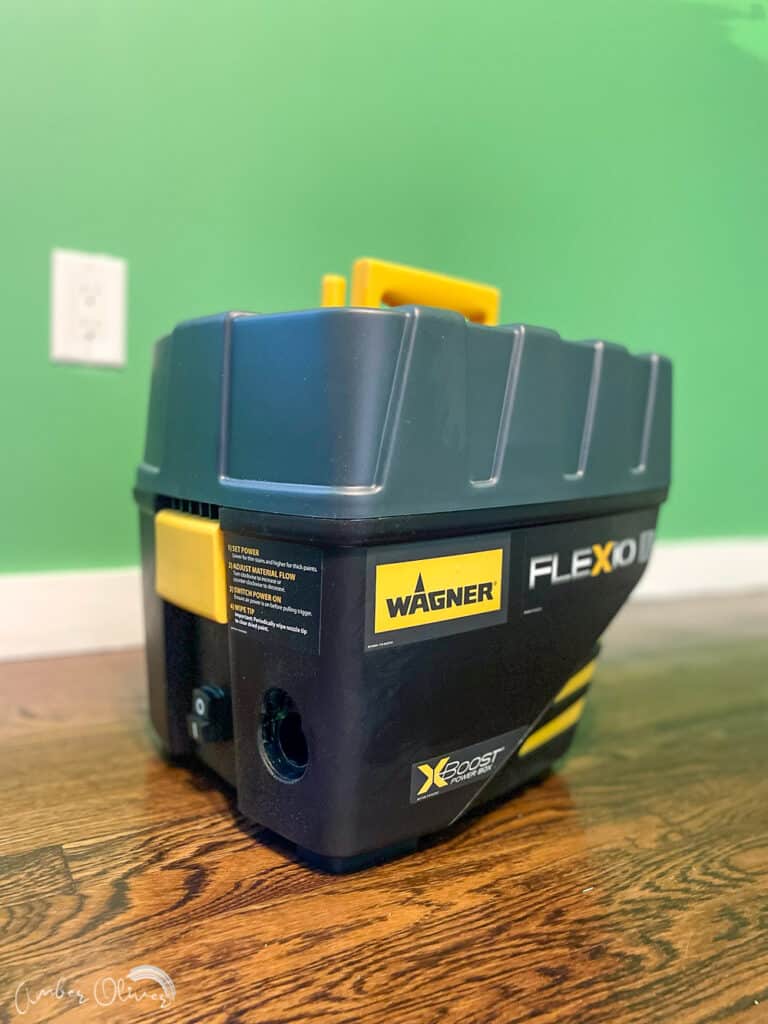
Our new Wagner Paint Sprayer
The sprayer I used before was the HomeRight Finish Max and it’s great for small projects. I wanted something that could handle wall paint without the hassle of having to dilute the paint. I also needed something with a bit more power so we could get a professional looking finish on the walls.
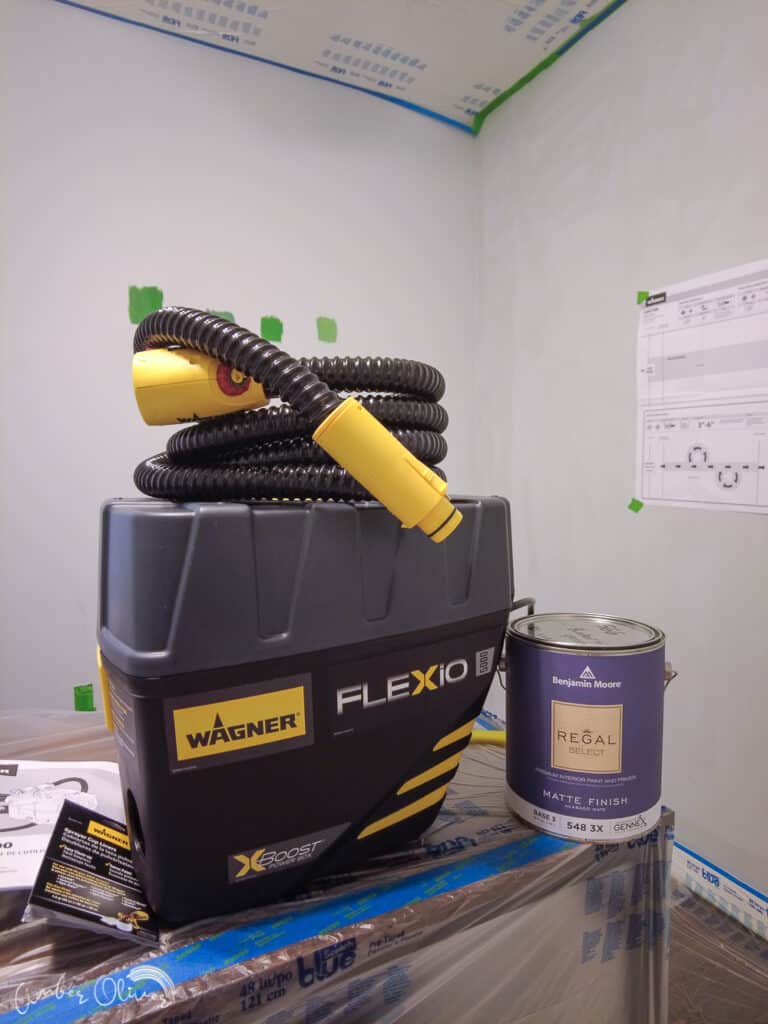
With the Wagner Flexio YOU DON’T HAVE TO THIN THE PAINT! This is a GAMECHANGER my friends! You literally fill up the Wagner Paint Sprayer with paint straight from the can and go!
Shop for the Flexio 5000 Wagner Paint Sprayer
How To Use a Paint Sprayer for Walls
How to Prep a Room for Painting
Start with prepping the room. Remove everything you can from the room. Fill any holes on the walls and sand them smooth. Clean by dusting and sweeping the floor.
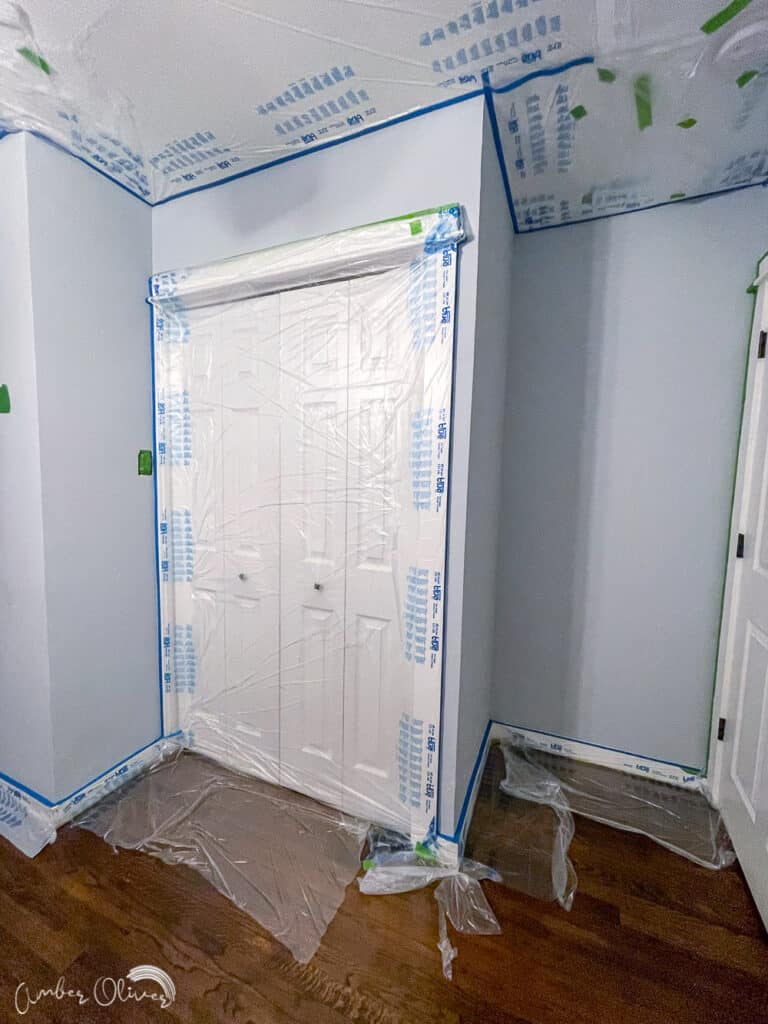
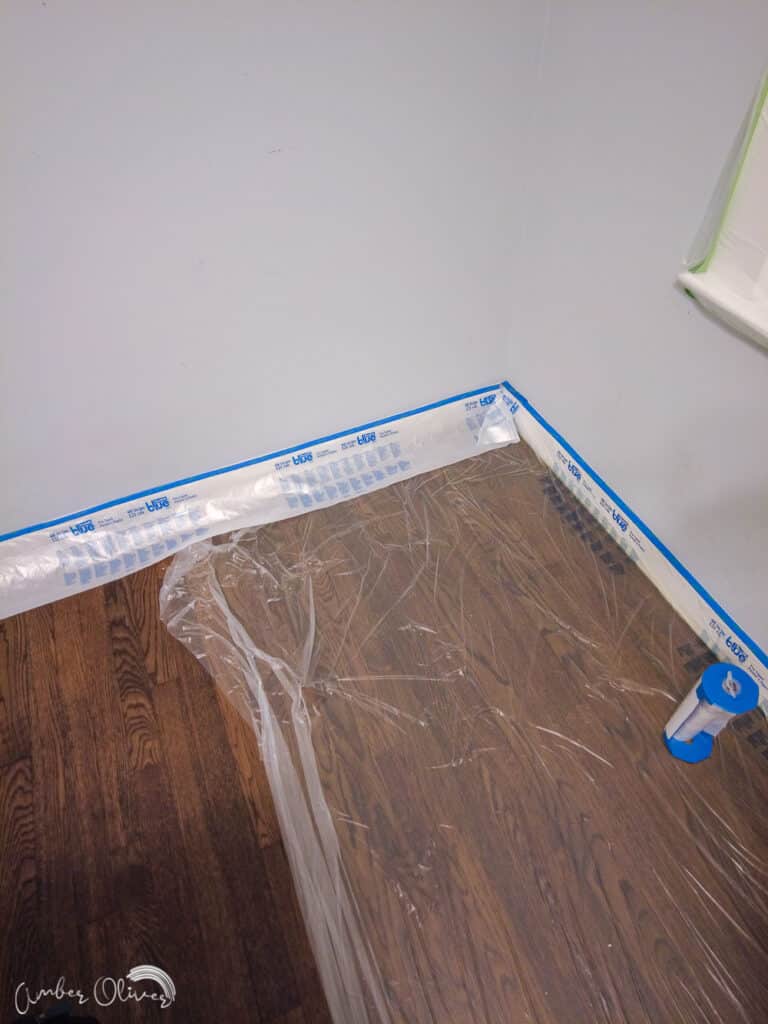
Tape off the room. We used pre-taped painter’s plastic and while I have mixed feelings about it I don’t have another recommendation for you. We had trouble getting it to stay stuck on the ceiling but you may have better luck.
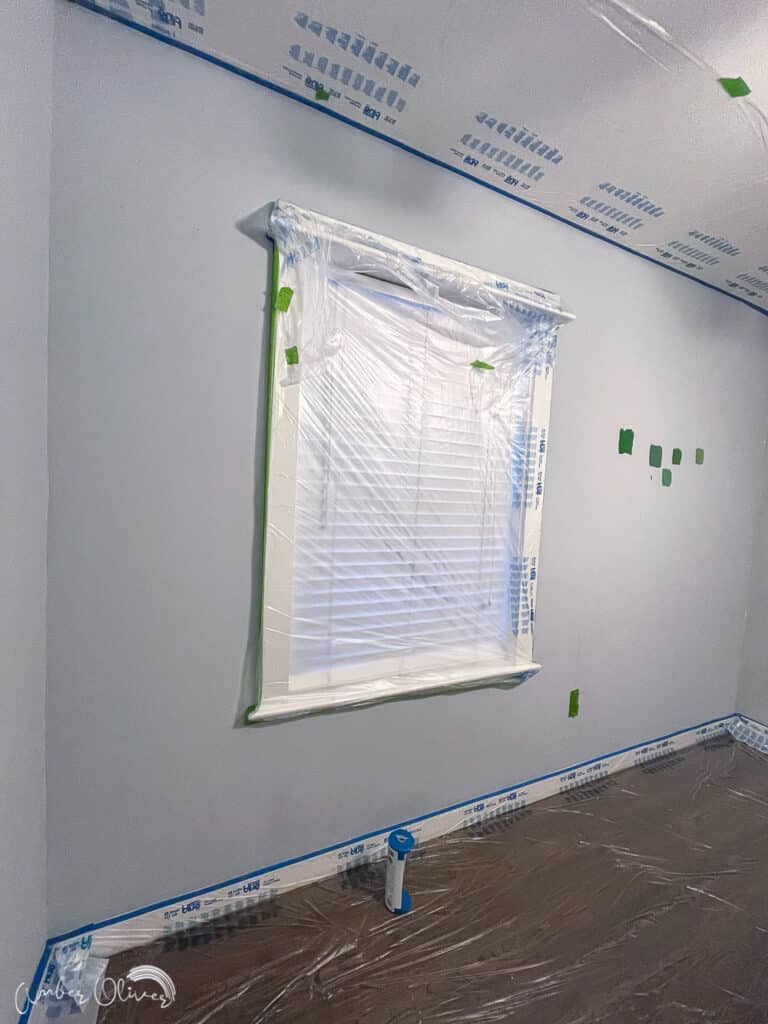
Make sure you clean the ceiling well before sticking the tape to it. We also tried putting tape down then sticking the pre-taped plastic sheets too it. You can also use push pins to help hold it in place. Tape the ceilings at least 24″ in, tape and cover all baseboards/windows/closets/doors, and cover the floor with drop cloths.
Prepare The Paint
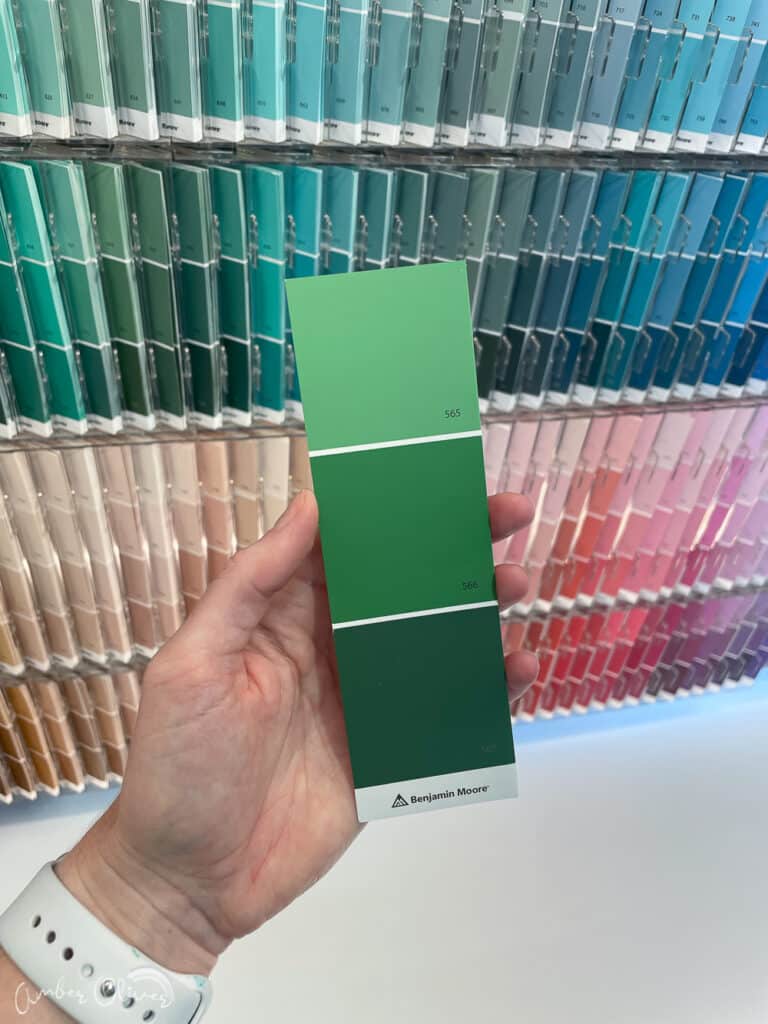
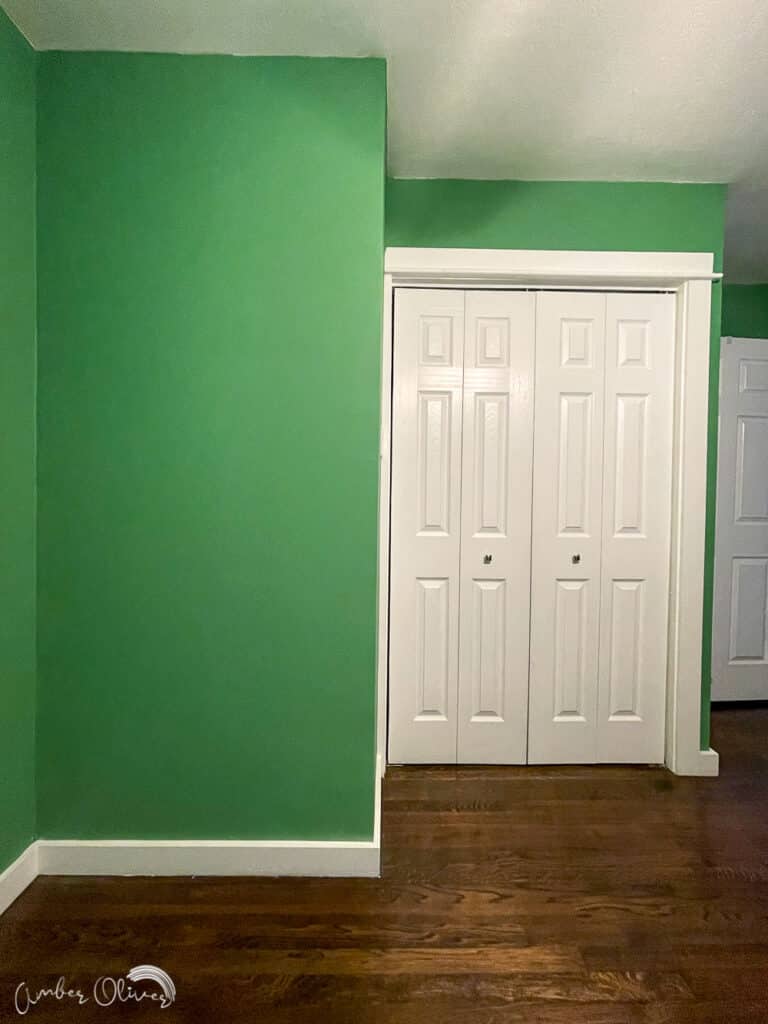
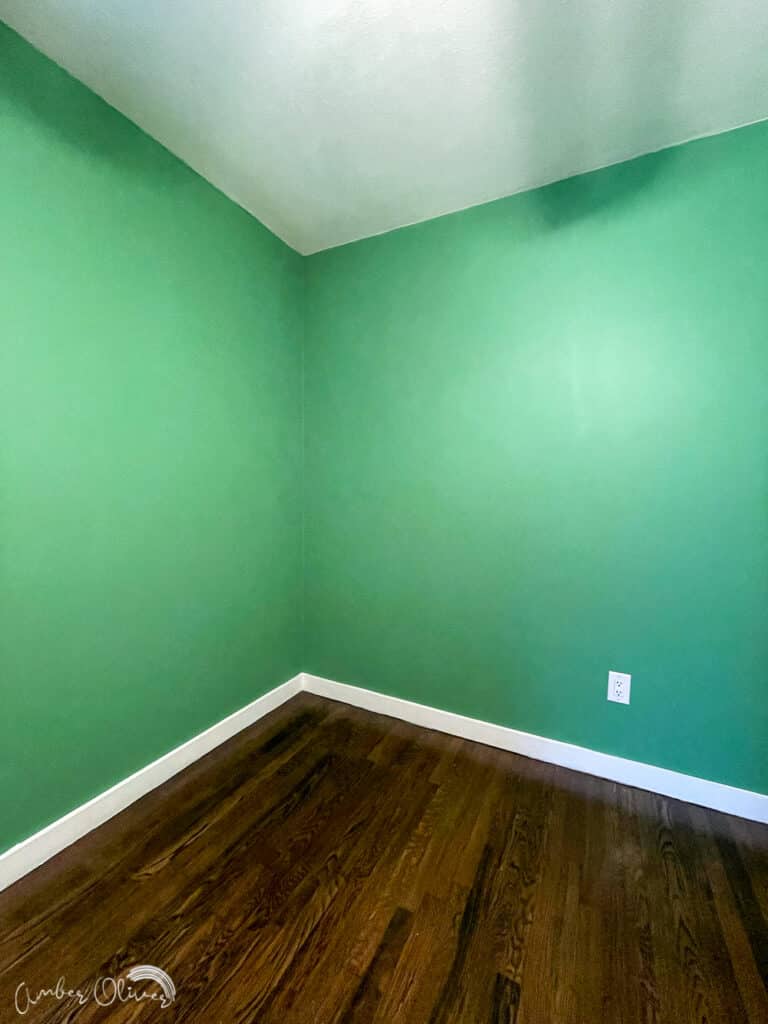
Prepare your paint. The Flexio 5000 comes with two nozzles. Since we’re using the paint sprayer for walls, we’ll use the iSpray Nozzle. It can spray unthinned latex paint and gives a roller like finish. Make sure your paint is mixed thoroughly then fill the container. We used Bunker Hill Green from Benjamin Moore lighted 50% for our wall spray paint.
How to Assemble Wagner Paint Sprayer
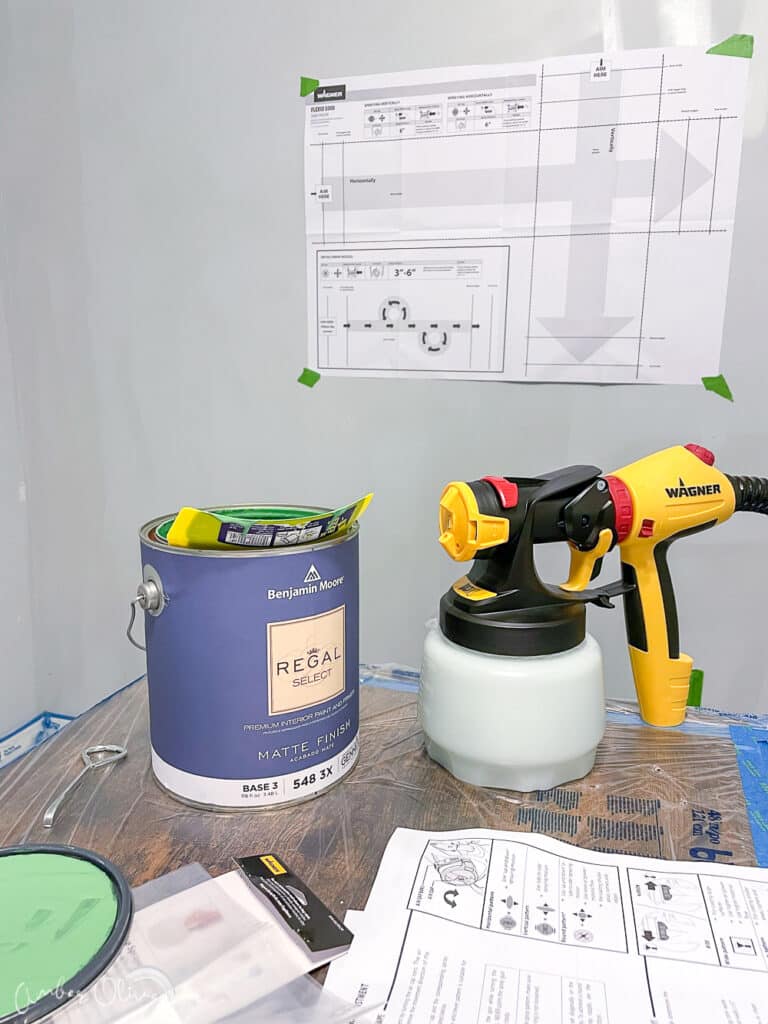
Put together the Wagner Paint Sprayer
We’re using the Flexio 5000 for this project. To assemble, first remove the air hose from the storage case and plug in on the front of the case.
Because this is a stationary paint sprayer, it’s perfect for longer/bigger projects like this because it keeps the weight on the floor instead of in your hands!
Assemble the nozzle
Insert the paint pickup tube into the intake opening on the nozzle. Carefully reassemble by screwing the cup back on and tighten firmly. Once reassembled, screw the nozzle into the handle.
Power on your Wagner Paint Sprayer
Turn the power on the Power Box ON then turn the power switch on the handle ON. (This part took me a while to figure out, LOL read the instructions!!)
Adjust power and material controls
Since we are using paint straight from the can (unthinned) we need to set the X-Boost™ power dial (adjusts the level of air pressure produced by the turbine) at a high setting. A high air power level will result in faster coverage and a smoother finish with thicker materials.
Next, adjust the material flow (the amount of paint that is sprayed from the gun). We had to set at 10 per the included settings guide provided by Wagner in the instructions!
Adjust spray pattern
Depending on if you’re spraying vertically or horizontally, you’ll turn the cap on the front of the gun. There’s also a spray width lever to adjust the width. Since we’re using our paint sprayer for walls you’ll want to set a wide pattern.
How to Paint A Wall With a Paint Sprayer
Before spraying, always make sure you’re wearing proper PPE. We had ventilator masks but I failed to cover my eyes and they were irritated for a few hours after.
Always test your spray and adjust your settings to ensure the best coverage. The Flexio 5000 comes with a handy spray poster that can be used for practice. The best advice is to keep your arm moving when the you pulling the trigger.
You’ll keep the nozzle only 6-8 inches from the wall – this is much closer than I would have guessed! Try to move at the same speed and and keep the nozzle the same distance. This will help you paint consistently.
Start just past where your wall starts, so either on the floor or ceiling. Starting past where you want your paint to begin helps you not pool the paint when starting. I painted my walls vertically and was able to do so mostly without a ladder.
Move straight up or down then overlap the next pass by at least 50%. This will ensure you get full coverage painting the wall!
How Long Does it Take to Paint a Room with a Sprayer?
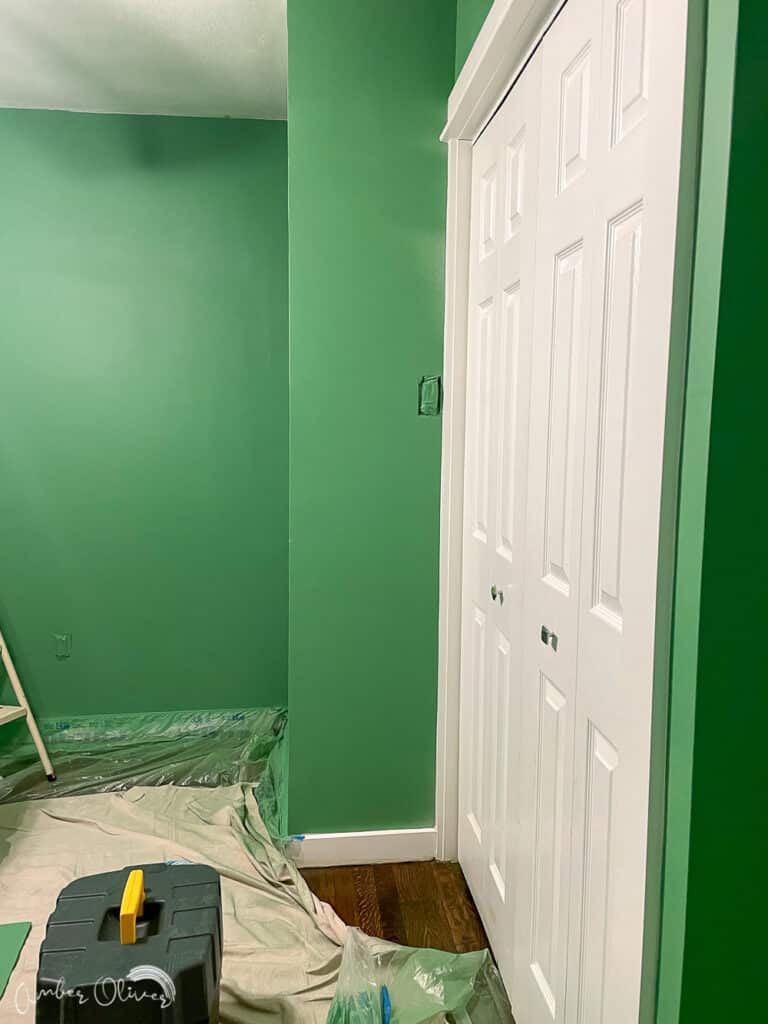
I mentioned above I was able to paint the back wall in our room in just over 5 minutes! We have 8′ ceilings and that wall is about 10′ wide! If I hadn’t been messing with the step ladder I think I could have done it in under 5.
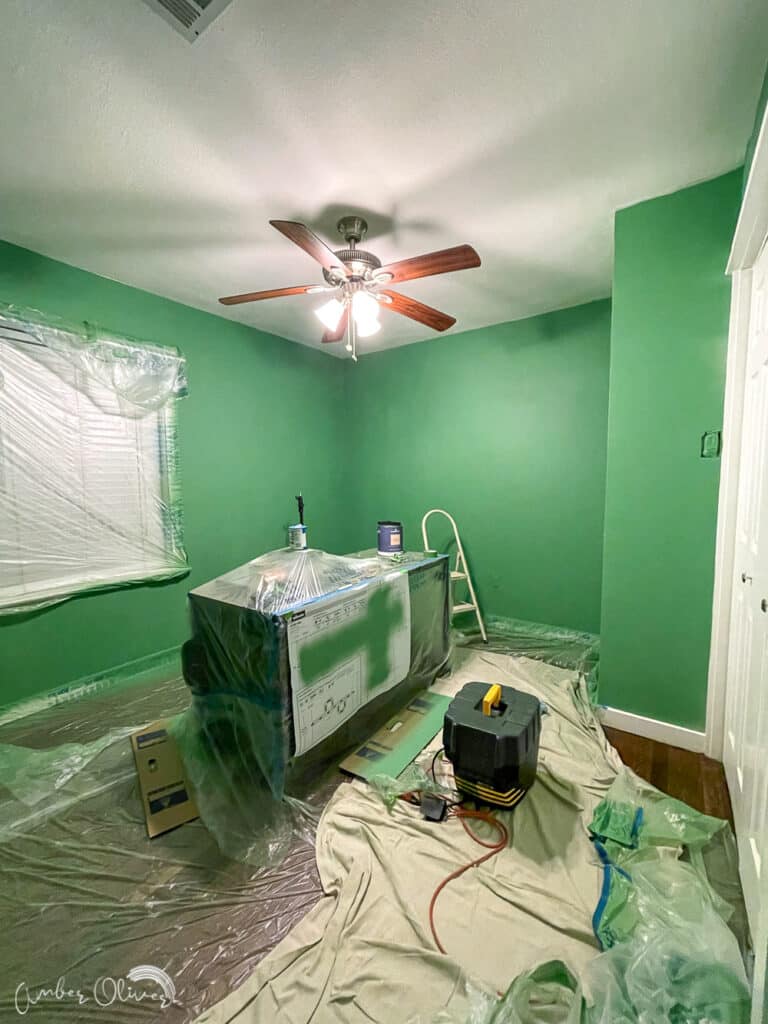
The *actual* painting is very, very fast. Most of the time spent to paint a room is in the prep. Cleaning out the room and taping everything off took about 3 hours.
If we weren’t using a paint sprayer to paint the walls, we wouldn’t have had to tape off the ceiling. But the rest of the taping you’d have to do either way. So honestly it’s not that much more.
When it was time to actually paint, I was done with the entire room in under an HOUR. There’s no way I could have done that with the roller and brush. The bottom line: using a paint sprayer for walls is 100% worth it!
Tips for Painting a Room
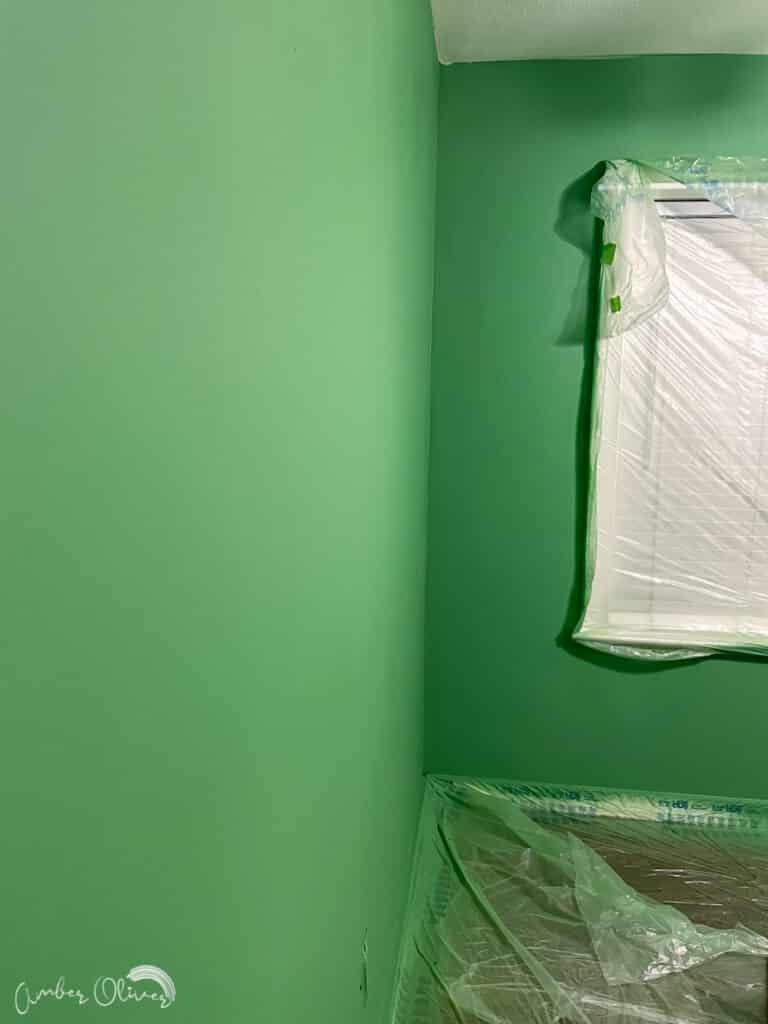
You’re going to have overspray. Despite our best efforts of taping off the room, I still had to clean up overspray. That being said, I usually have to clean up drips even when using a brush with a drop cloth so this wasn’t anything new for me!
The easiest way to get paint off of wood floors? Soap and water! Since we’re using a paint that can be cleaned with soap and water, that’s all you need for your floor. Well, that and a bit of elbow grease 😉
Using a quality paint *does* make a difference. While using the paint sprayer properly will give you the coverage you are looking for, if you have a cheap paint you aren’t going to see the results you want no matter how well you spray.
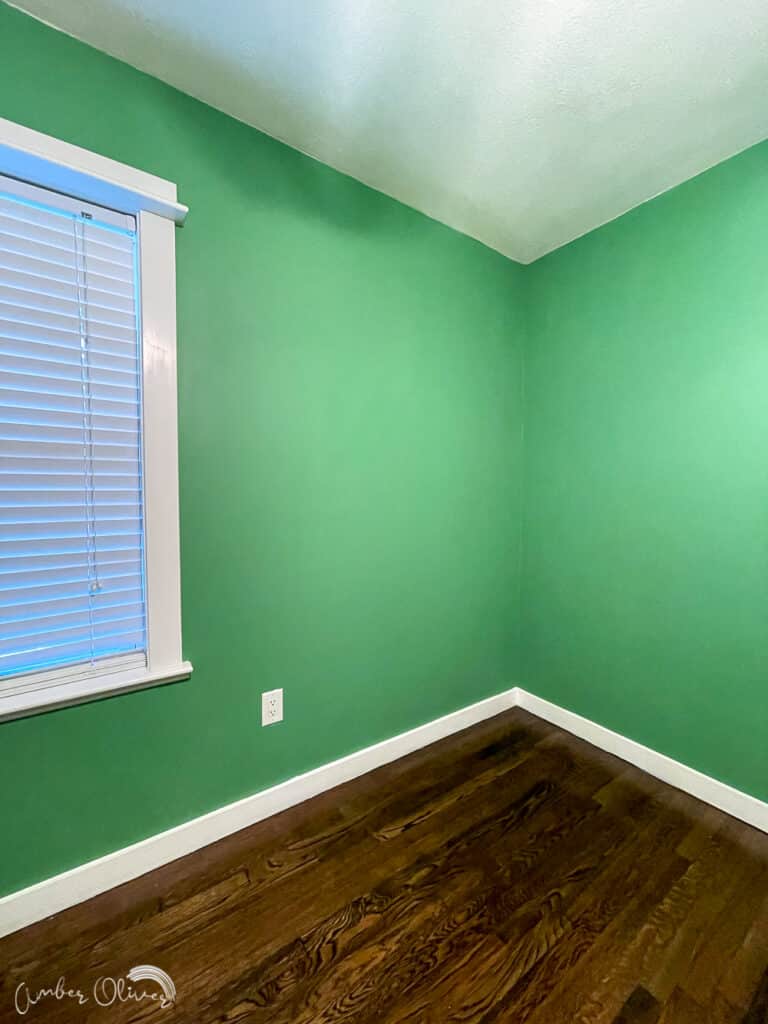
We shelled out for Regal Select Waterborne Interior Paint and there’s a reason this paint is the top of the line. It’s nearly $80 a gallon BUT for less than $100 we had everything we needed to see a huge difference in this room. The best part? We only needed ONE COAT!
Paint sprayers consume more paint than a roller. You may decide to go a cheaper route for paint. Keep in mind that the sprayer uses more paint than a brush or roller would and you may end up buying/needing more to get full coverage.
I hope this project inspires you to use a paint sprayer for walls in your home. Check out the Wagner Paint Sprayer options if you need an interior paint sprayer!

tiktokio official says
Great tips, Amber! I never thought about using painter’s tape to cover edges before spraying. Can’t wait to try it out on my next project!
HDstreamZ says
Great tips, Amber! I didn’t realize how much time I could save using a paint sprayer instead of a roller. I’m excited to try out your techniques and see the difference it makes on my next project! Thanks for sharing!
APK says
Great tips, Amber! I’ve been wanting to try a paint sprayer for my living room, and your step-by-step guide makes it seem so much easier. Can’t wait to give it a go!
Teerwin says
This post is super helpful, Amber! I’ve been hesitant to use a paint sprayer for walls, but your step-by-step guide makes it seem so much easier. I especially appreciated the tips on prep work and cleaning the sprayer afterward. Can’t wait to try this on my next project!
Gems says
Great tips, Amber! I’ve been hesitant to use a paint sprayer for my walls, but your detailed steps and techniques really make it seem manageable. Can’t wait to try it out on my next project!
Ytmp4 says
Great tips, Amber! I never considered using a paint sprayer for my walls until now. Your step-by-step guide makes it seem so much easier. Can’t wait to try it out on my next project!
7 says
Great tips, Amber! I’ve been considering using a paint sprayer for my living room, and your step-by-step guide makes it seem so much easier. I appreciate the advice on prep work and the importance of practice. Can’t wait to give it a try!
Sprunki says
Great tips, Amber! I never thought about using a paint sprayer for walls, but your step-by-step guide makes it seem so doable. Can’t wait to try it out on my next project!
daman says
Great tips, Amber! I’ve been thinking about using a paint sprayer for my living room makeover, and your post really clarified the process. Can’t wait to try it out!