Last updated April 24th, 2025 at 01:09 pm
Learn how to stain your fence quickly and easily! A paint sprayer makes it very simple to stain a wood fence. Thank you Behr Paint for providing the product for this project!
Oh boy, this project was a LONG time coming! After getting the stain for this project, it sat in our garage for MONTHS before I was able do this. I didn’t know how to stain a fence, but I knew I did NOT want to do it by hand. I used my handing dandy paint sprayer knock this project out BY MYSELF in a SINGLE AFTERNOON!
How to Stain A Fence
Should I pressure wash my fence before staining?
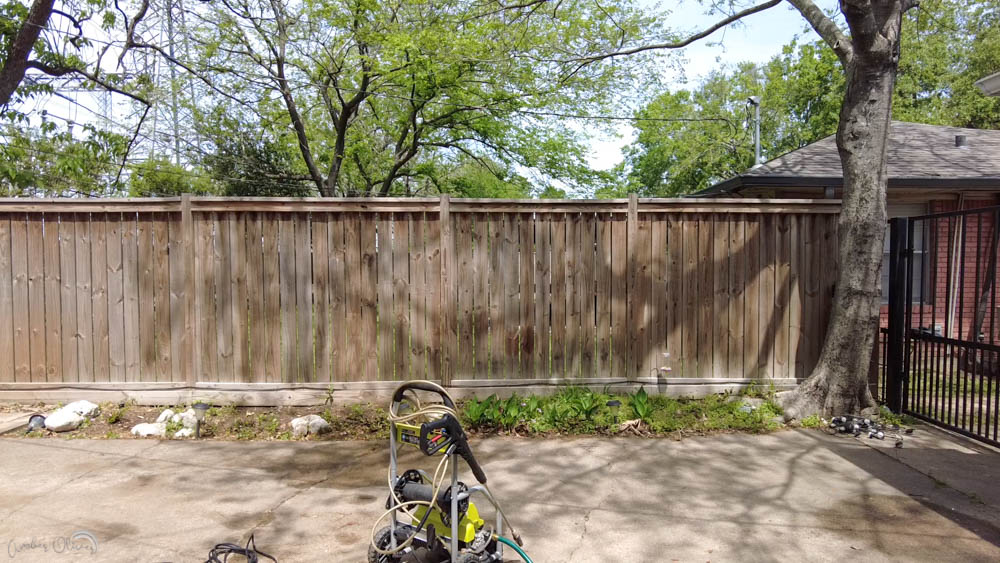
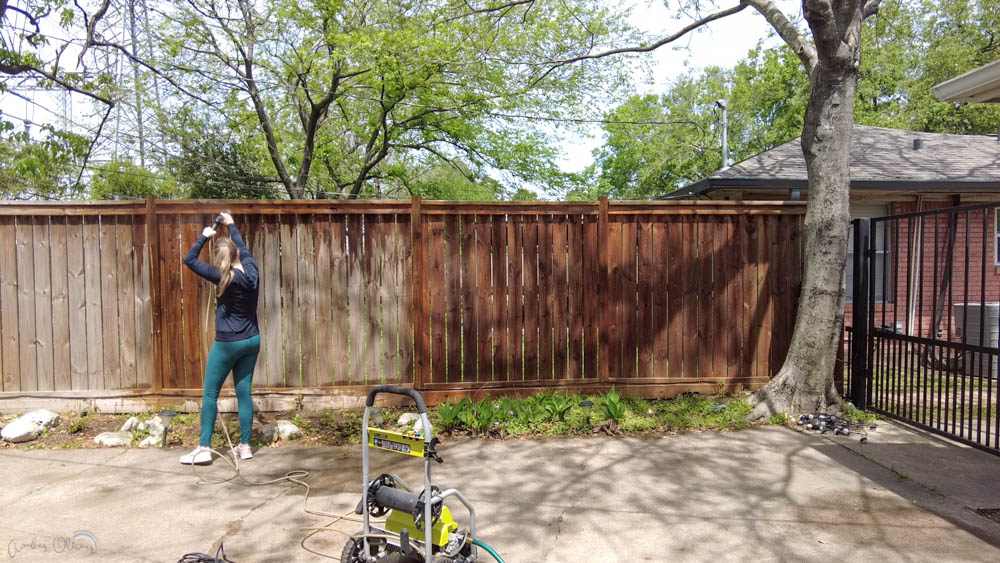
Start by cleaning your fence! Our fence is about 60 feet long. It took me about 40 minutes to get this whole thing power washed. Since our fence is pretty new, I only needed to rinse it to get everything off. It was mostly bird poop, spider webs, and dirt and debris. If you need a deeper clean you can view this post to see how I actually “CLEANED” my other fence.
Prepare the Paint Sprayer with Fence Stain
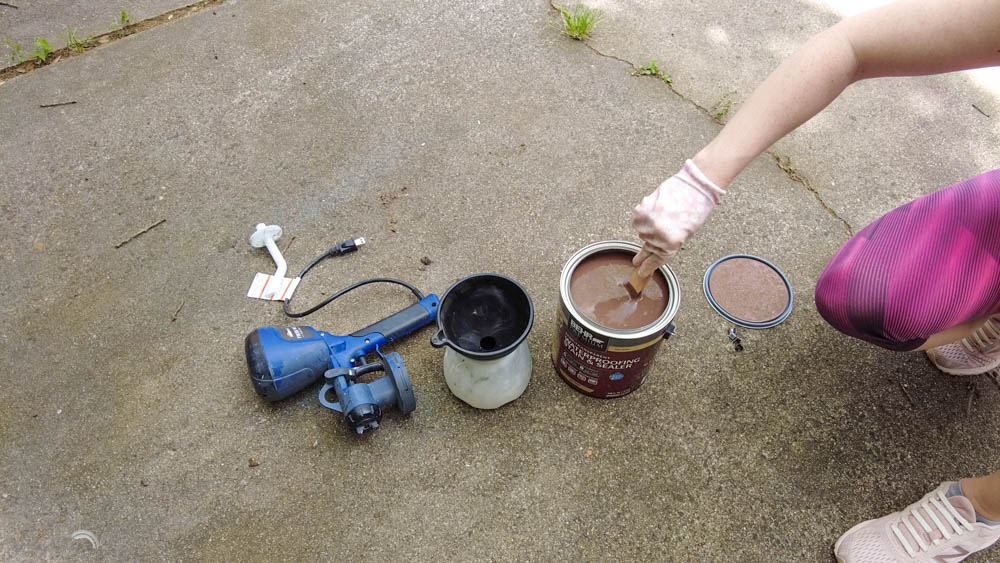
While I let the fence dry, I got my paint sprayer ready. I’m using a gifted Finish Pro from HomeRight. This sprayer has several different nozzles, and I originally put the wrong one on. I used the one listed for stain but this fence stain has a consistency more like PAINT so I had to switch it out. Be sure to mix the stain well before adding to the sprayer.
Assembly is super easy though: use the include wretch to swap the tip, put the plastic ring in place to hold it on, and adjust the nozzle depending on the direction you want to spray!
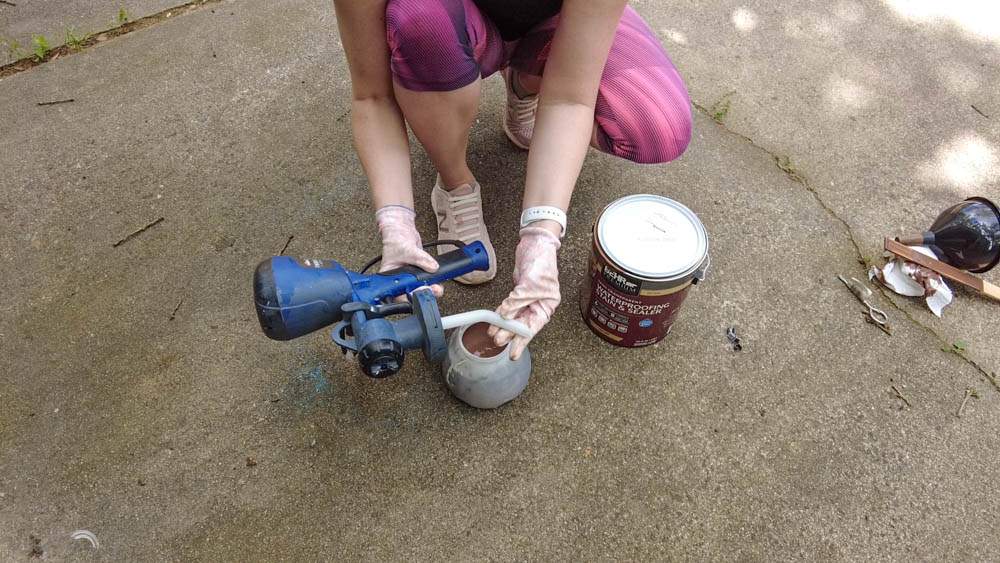
Add Fence Stain to Paint Sprayer
Behr gifted us this semi-transparent stain and sealer and OMG wait until you see how great it looks!!!! I love that I didn’t have an extra step to seal the color in! I used a funnel to load my paint sprayer – if you have a tip to do this better let me know in the comments! I’m a bit messy! If you’ll mostly be painting pointed up, put the paint tube pointed to the back, and if you’re mostly painting with the sprayer pointed down point the tube toward the front of the container.
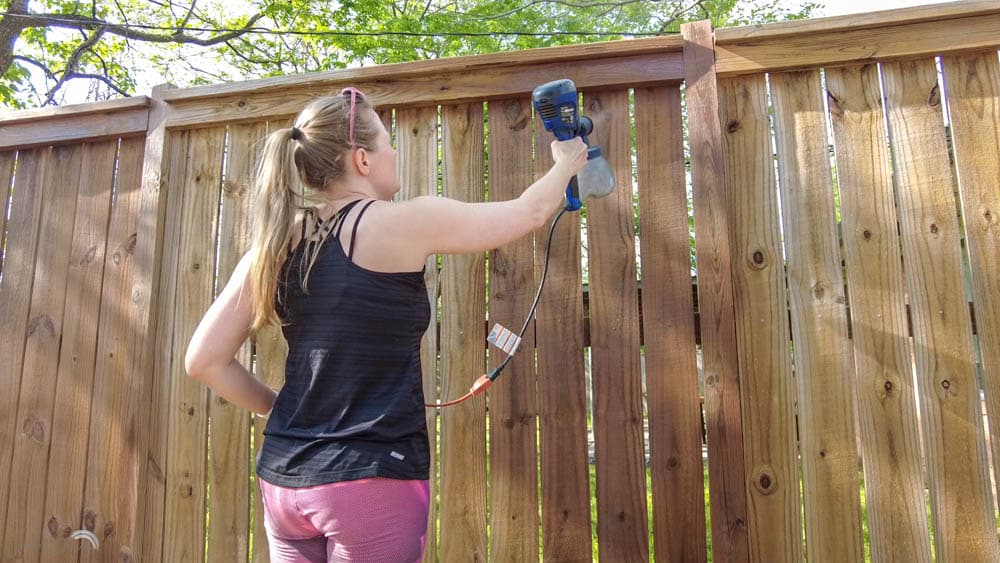
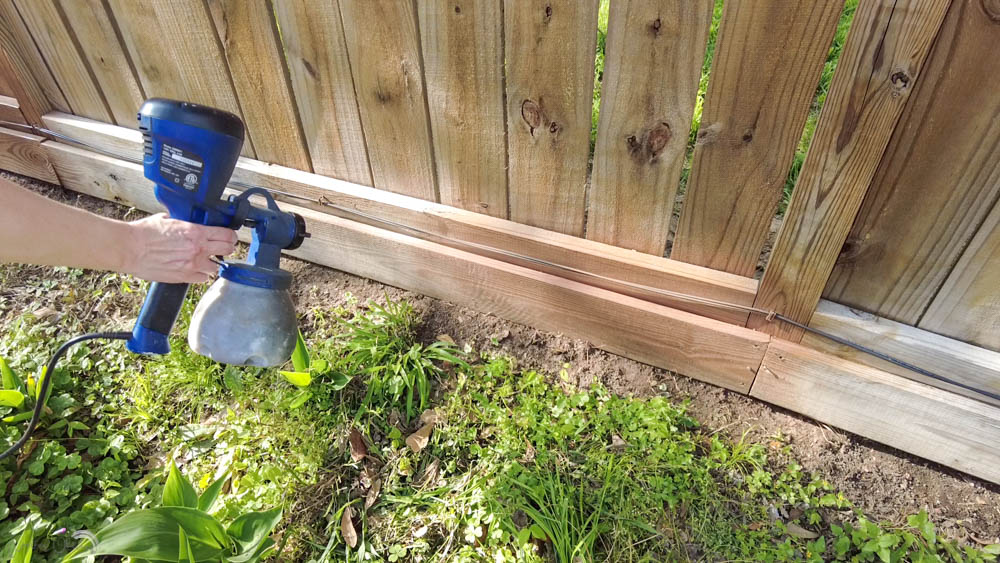
Start Spraying the Fence Stain to Stain Your Fence!
I show you in my Youtube video for this project in real time how fast and easy this process is! Be sure you test in an inconspicuous area or on cardboard before getting started. You’ll want to adjust the spray pattern before beginning to reduce your overspray. I got this set perfectly so I’m just covered one board at a time. The lack of overspray is pretty awesome! Keep the sprayer continually moving and I like to move in an up and down pattern, going back over each section once to ensure full coverage.
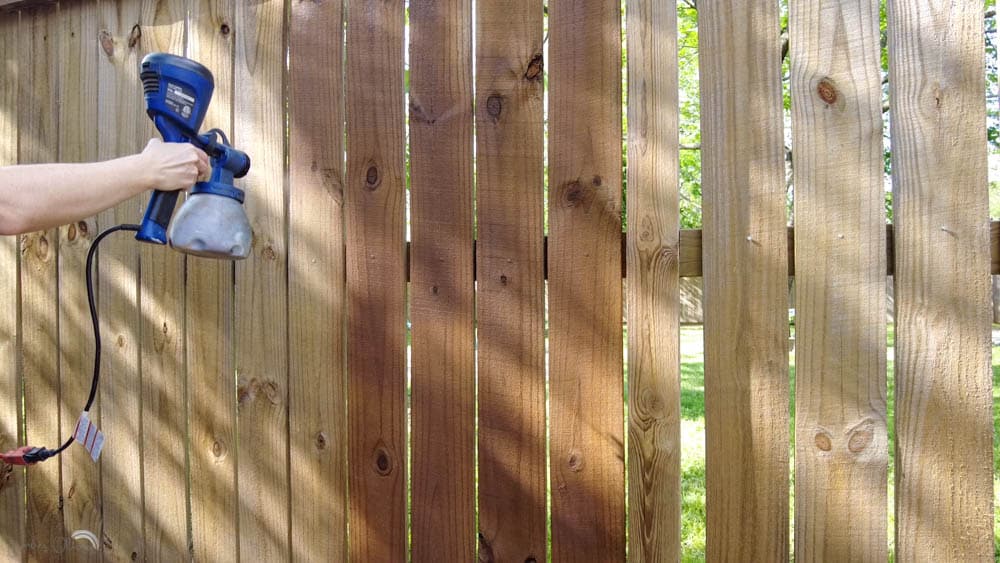
My one complaint is I had to refill the paint sprayer after each section of fence. The smaller container kept things light, which I’m all for, but it was inconvenient to keep refilling. Either way this is SUPER FAST and the coverage was perfect! I also had to stop to rotate the tip to do the horizontal boards.
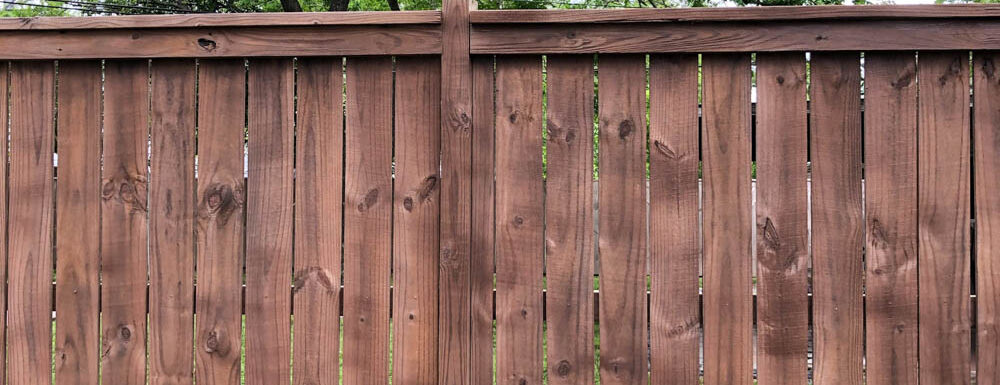
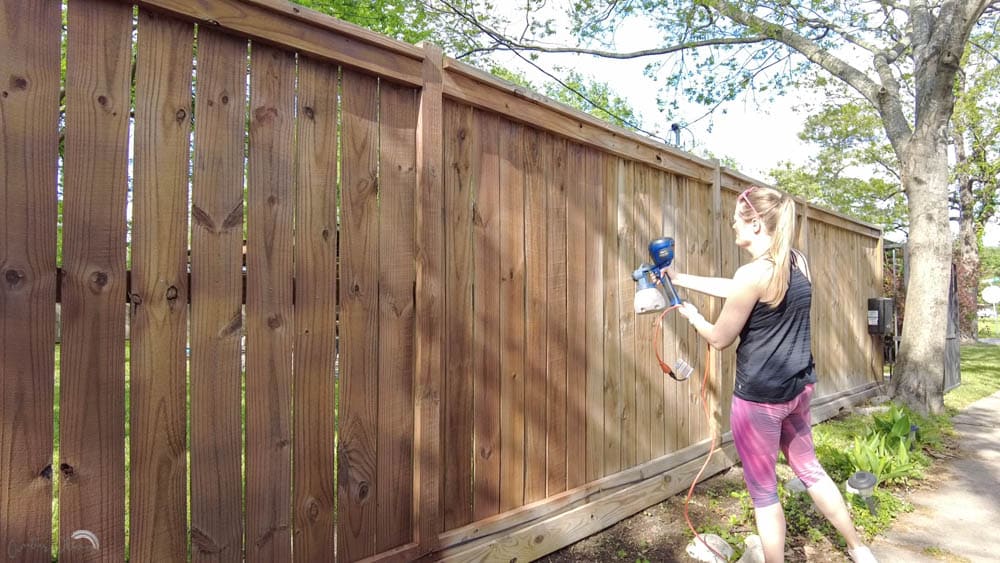
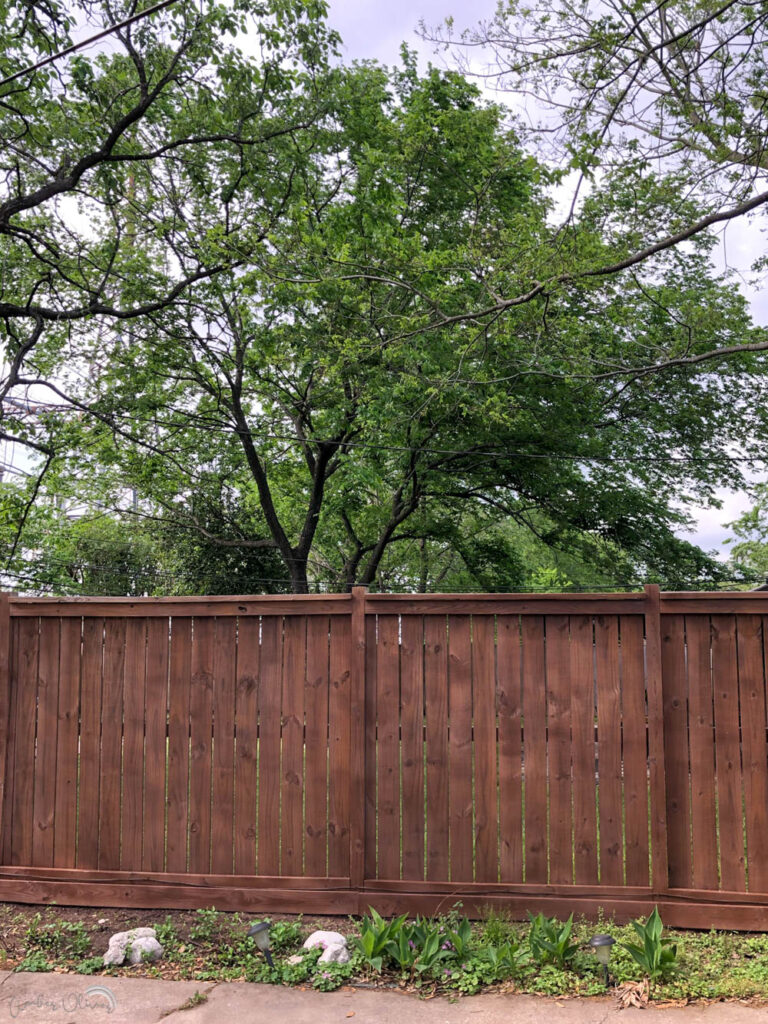
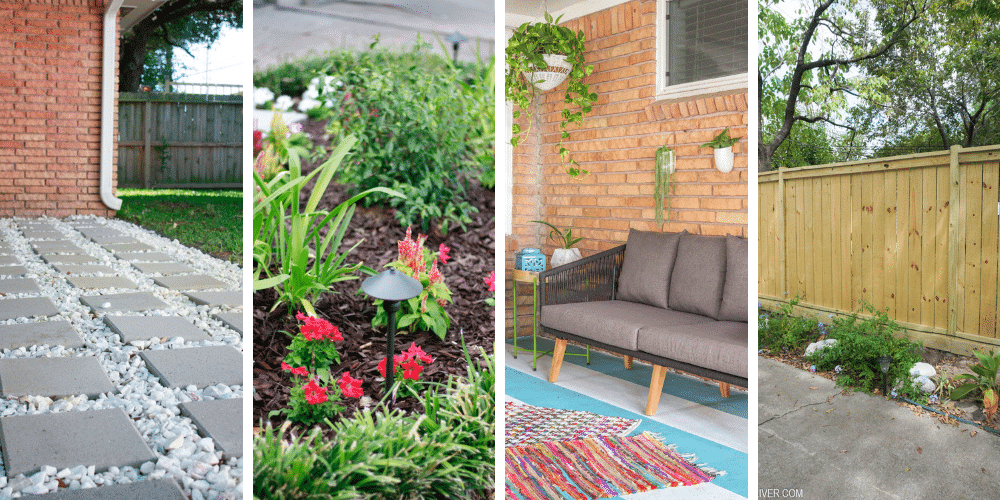
What an amazing difference this makes! Behr’s semi transparent allows the wood grain to still show through and the “Chocolate” color is a beautiful rich brown that looks so beautiful and really elevates the look of this wood fence.
How many coats of stain do I need for a fence?
To stain this entire fence with the sprayer took about 4 hours. That includes setting up and cleaning the sprayer! Sometimes prep really is the hardest part! We got our fence covered with one coat of fence stain!
How to Stain A Fence: FAQ
You may be wondering about plants or grass? It’s recommended you cover any plants or bushes – please use resuable tarps instead of disposable plastic. For grass, pull some cardboard out of the recycle bin and slide under the bottom of the fence to protect the grass. We were about to put in new landscaping so I didn’t worry about covering anything!
I also didn’t have any problem getting in between the boards – there might be some places it isn’t perfect but it wasn’t anything I could see. Although, if you took the fence apart you can probably tell!

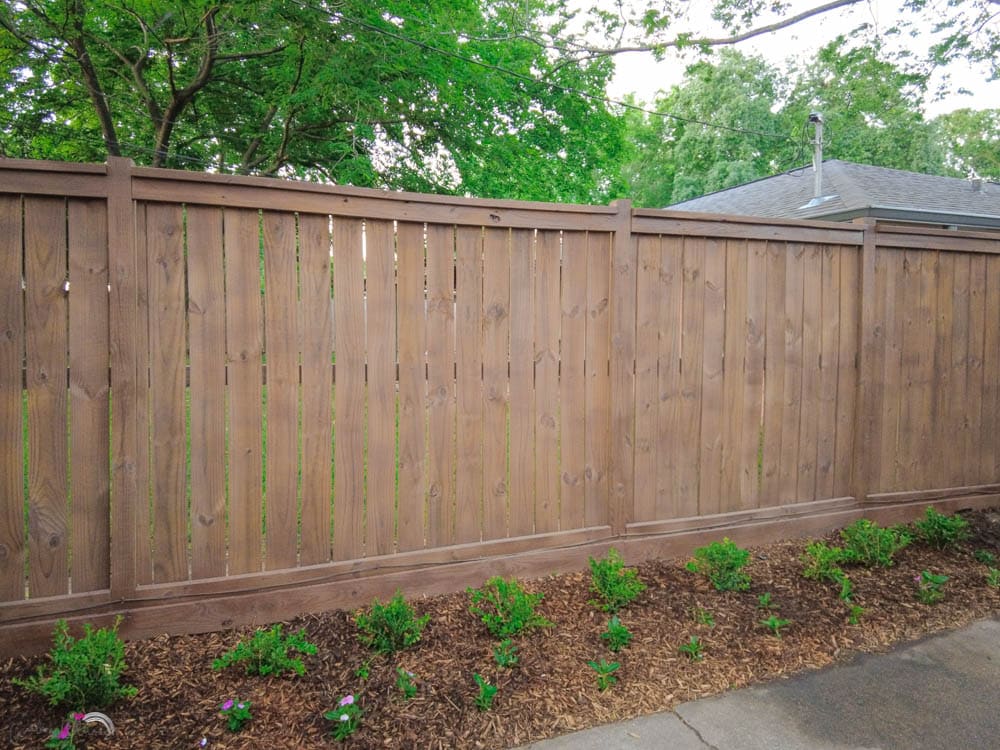
We also didn’t have any problem with overspray or it showing on the other side – so no worries if you’re only staining your side of the fence. When the fence stain is fresh it looks REALLY dark but once you allow time to dry and the stain to penetrate the wood it looks more natural and subtle.
The only obstacle I had was our mounted gate opener on one end. I wrapped it with a trash bag and had minimal over spray! I then reused the trash bag so I didn’t waste it!
Can I stain an old fence?
Yes! After staining this fence, I had to stain the fence on the other side of the yard to match. It had been up for years, so we cleaned the wood fence and then applied stain. We used this same method to stain the fence over there too!
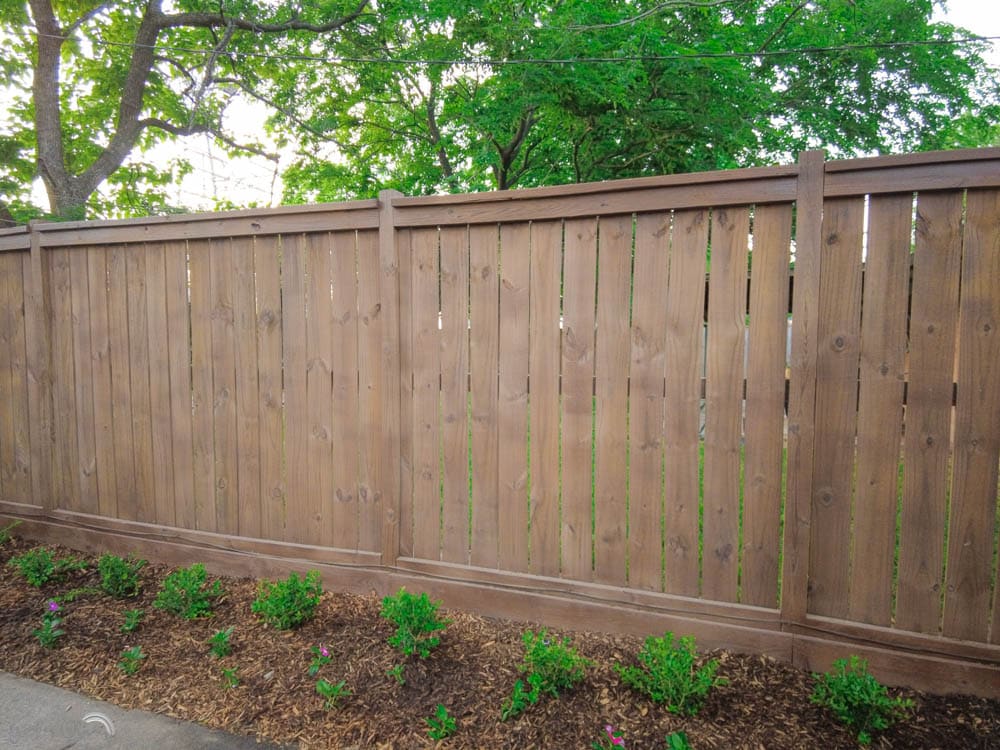
After the fence stain was done, we had new landscaping installed. I can’t wait for these beautiful boxwoods to fill it. The seasonal color in front looks beautiful now after a few months in front of our newly stained wood fence! The stain on the fence looks perfect after it had a while to dry and really soak in!
Once your DIY fence is built and stained you can move on to other fun backyard DIYs like these DIY cornhole boards! Or create you own DIY potting bench using old pallets! Don’t miss my post where I gathered 15 easy DIY fence projects with tips and tricks for building and staining your own fence.
Thank you so much to Behr Paint for providing the product for this project. I hope this project inspires you to tackle this project in your backyard! We will back in our home in the fall so be sure to follow all our upcoming home renovations!
If you enjoyed this DIY project, please check out our DIY projects archive!
How To Stain A Fence

Learn how to stain your fence quickly and easily! A paint sprayer makes it very simple to stain a wood fence.
Materials
Tools
- Pressure Washer
Instructions
- Clean your fence
- Allow fence to dry
- Load your paint sprayer for fence stain
- Apply fence stain to fence with the sprayer
- Re-load paint sprayer as needed
- Clean sprayer when finished
- Allow fence stain to dry and reapply in any missed places.
OUTDOOR PROJECTS ARCHIVES
View our collection of outdoor projects
Percy Morris says
Great instructions!! Very helpful for a rookie. I’m a professional wood fence installer and I stain On the side. One big tip I have for you; for best coverage and end result, always pain/stain with the grain of the wood…not across the grain.👍🏾 I’ve never used a small sprayer. My sprayer uses a 5gallon bucket at a time and has a 50ft feed line to the nozzle. Rather costly for a diy, however it can be rented for about 50 bucks a day.
Akshat says
Hi ,
From where you can rent it for a day?
Thanks,
Akshat
Matt says
Hey Akshat, I have rented paint sprayers from Home Depot before. Make Sure to clean them really well before you return them to avoid a cleaning fee.
Bunny says
What color stain did you use for the fence? I really like this neutral brown. Most stains are too red/brown or yellow/brown. I like the one you used.
Amber Oliver says
Hi! I totally agree. This color is “chocolate brown” by Behr!
Karley Kirk says
Just curious how long does the fence stain last?
Amber Oliver says
we are a few years in and it still looks good!
Alisha says
Great article and useful! I’m preparing to stain my new fence and I am a little nervous. This article made me more confident about doing it myself.
Amber Oliver says
Glad to hear that!! Good luck!!
Peggy says
This may sound like a silly question but will the stain leach over to the other side (neighbours side) if I paint with a brush? Also, do you think it would be easier just to paint a small fence with just a brush if you had to do it over again?
Amber Oliver says
Good question! I thought we’d have that problem spraying – but didn’t! I think it’s even less likely to do it with a brush. If I had to do it without a sprayer, I’d use a roller for the larger areas!
Julia Smith says
This is an incredibly useful and practical guide on how to stain a fence quickly and easily! I especially appreciate the tips on using a paint sprayer to make the job so much more efficient. For anyone looking to achieve these fantastic results without the DIY effort, our team at Ninja Fence Staining offers professional fence staining services that ensure a beautiful, long-lasting finish, just like the one you’ve showcased here.