Last updated May 6th, 2020 at 03:29 pm
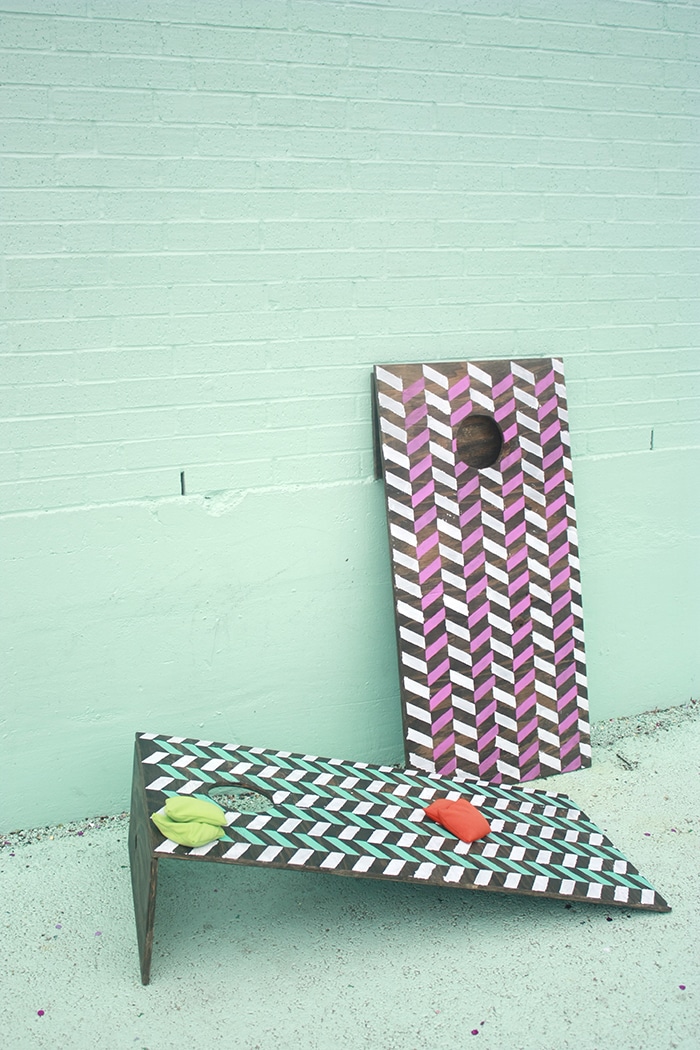
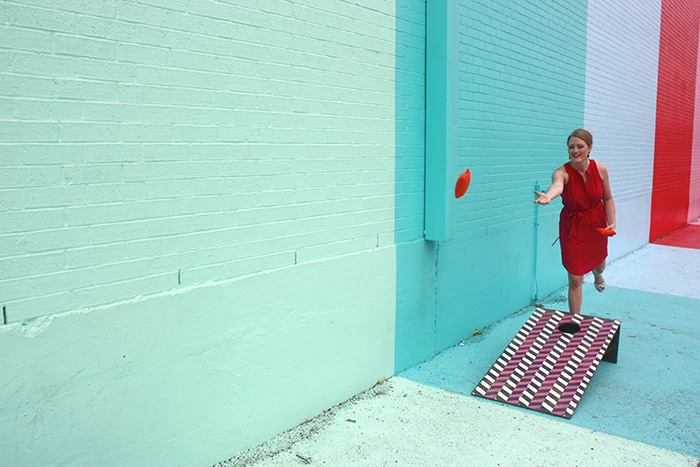
Make your own DIY cornhole boards that are both lightweight (easy to get out to play!) and collapsible (easy to store!).
To me, summer has always meant more time outdoors. The days are long (and hot) but more daylight = more time for fun! We like to play backyard jenga at a friend’s house, so I wanted a fun backyard game for our house as well.
In college, we used to play cornhole (also known as “bags”). I thought it’d be fun to have a set of cornhole boards for our backyard! I found several different tutorials for making your own, but all of them seemed too big and bulky.
We needed a set that was wood so it’d be sturdy, but I didn’t want it too heavy to lug around. We made a set of cornhole boards that are lightweight and compact for easy carrying and easy storage!
DIY Cornhole Boards
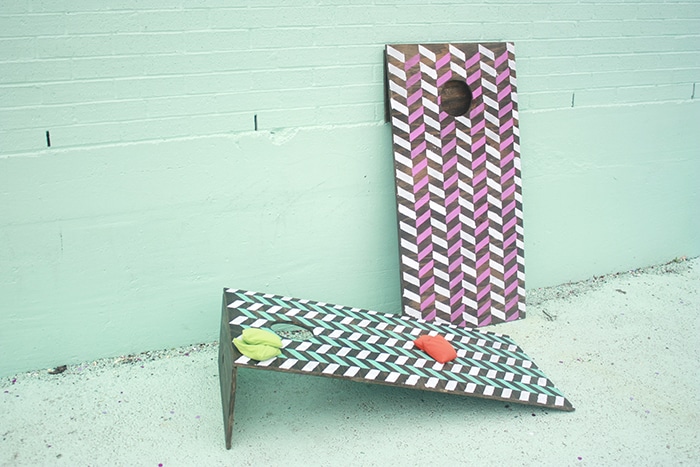
We made a set of cornhole boards that are lightweight and compact for easy carrying and easy storage! Follow this tutorial to make a set of your own.
Materials
Tools
- Skill Saw
- Jigsaw
- Drill
- Spade Drill bit
- Orbital Sander
- Router (Optional
Instructions
- We had our plywood cut down in the store so it'd fit in the car. The 4x8 sheets are perfect if you cut them into 4ths. Just have it cut into four 24 inch sections (your boards will be 24 inch wide by 48 tall).
- For the back board, use one of the extra boards to cut into two 12 inch sections (depending on the thickness of your plywood you may want to subtract a bit to make it stand 12 inches tall). This will be attached underneath to prop the cornhole boards up.
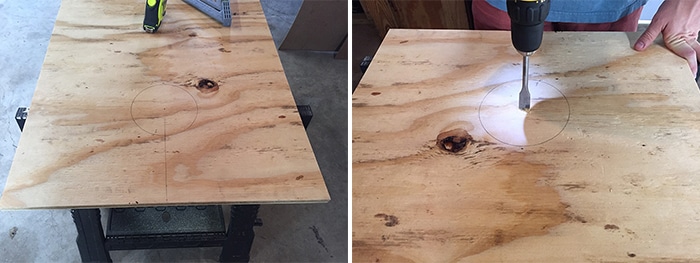
- To mark the holes, draw a 6 inch circle so the middle of the circle is 9 inches from the top. Measure 12 inches in from the sides to find the center. We couldn't find our protractor or compass so we used a bowl to trace a circle.
- Use a spade drill bit to make a hole in the middle of the circle. You'll use this to get your jigsaw in. Now you can begin the process of cutting out the hole.
- After your hole is cut, you can sand the cornhole boards and prep for the wood stain. We waited until the boards were stained to attach the back piece with the hinges.
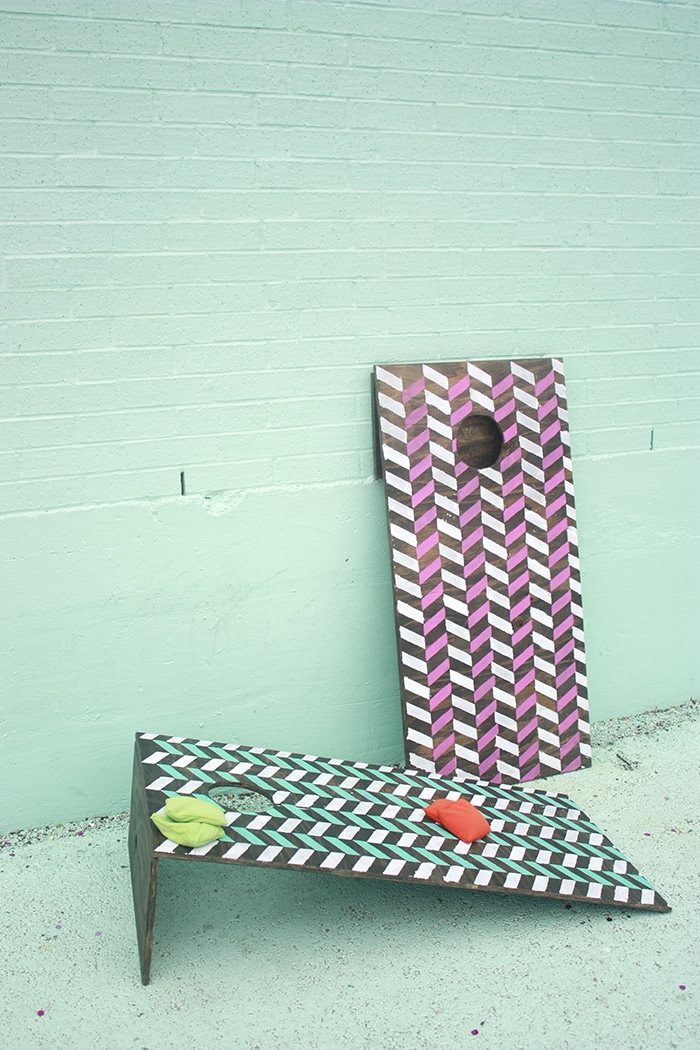
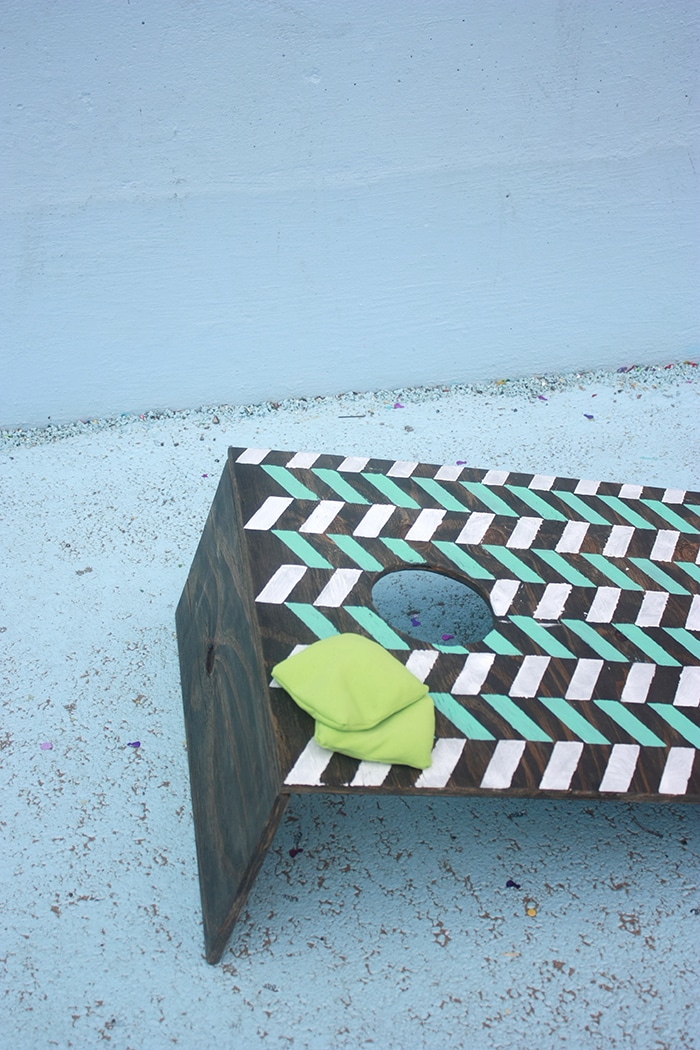
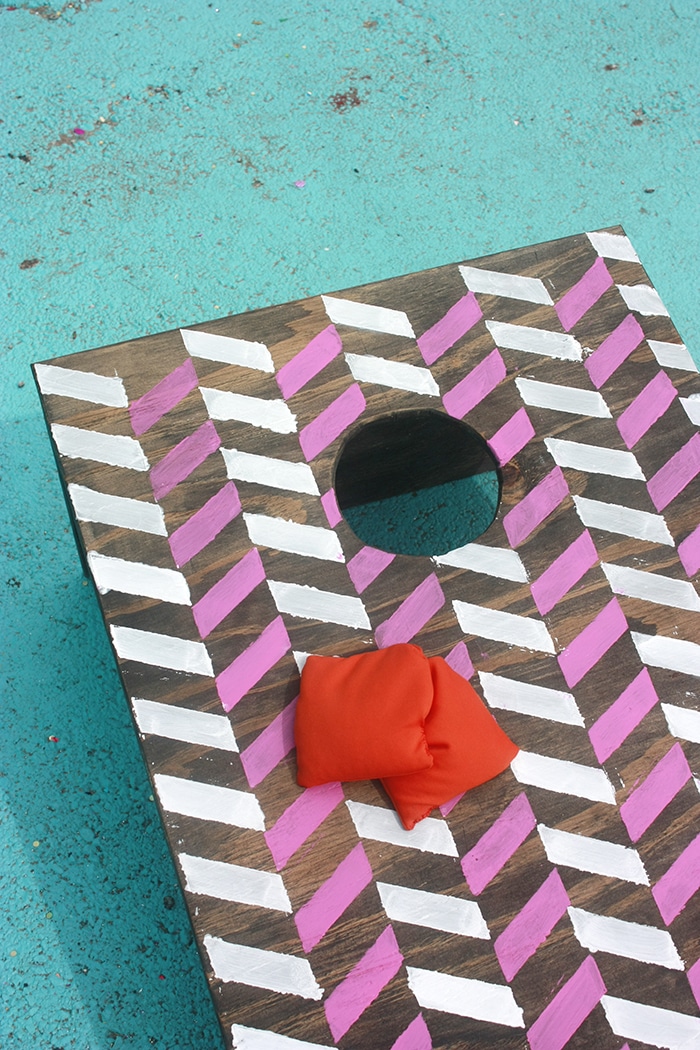
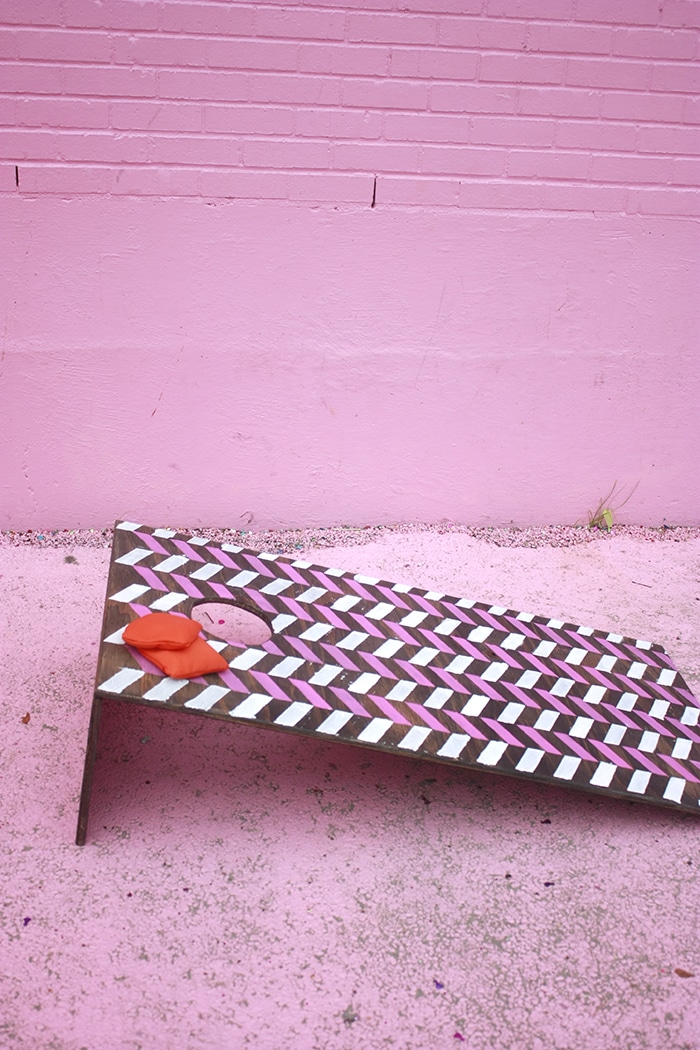
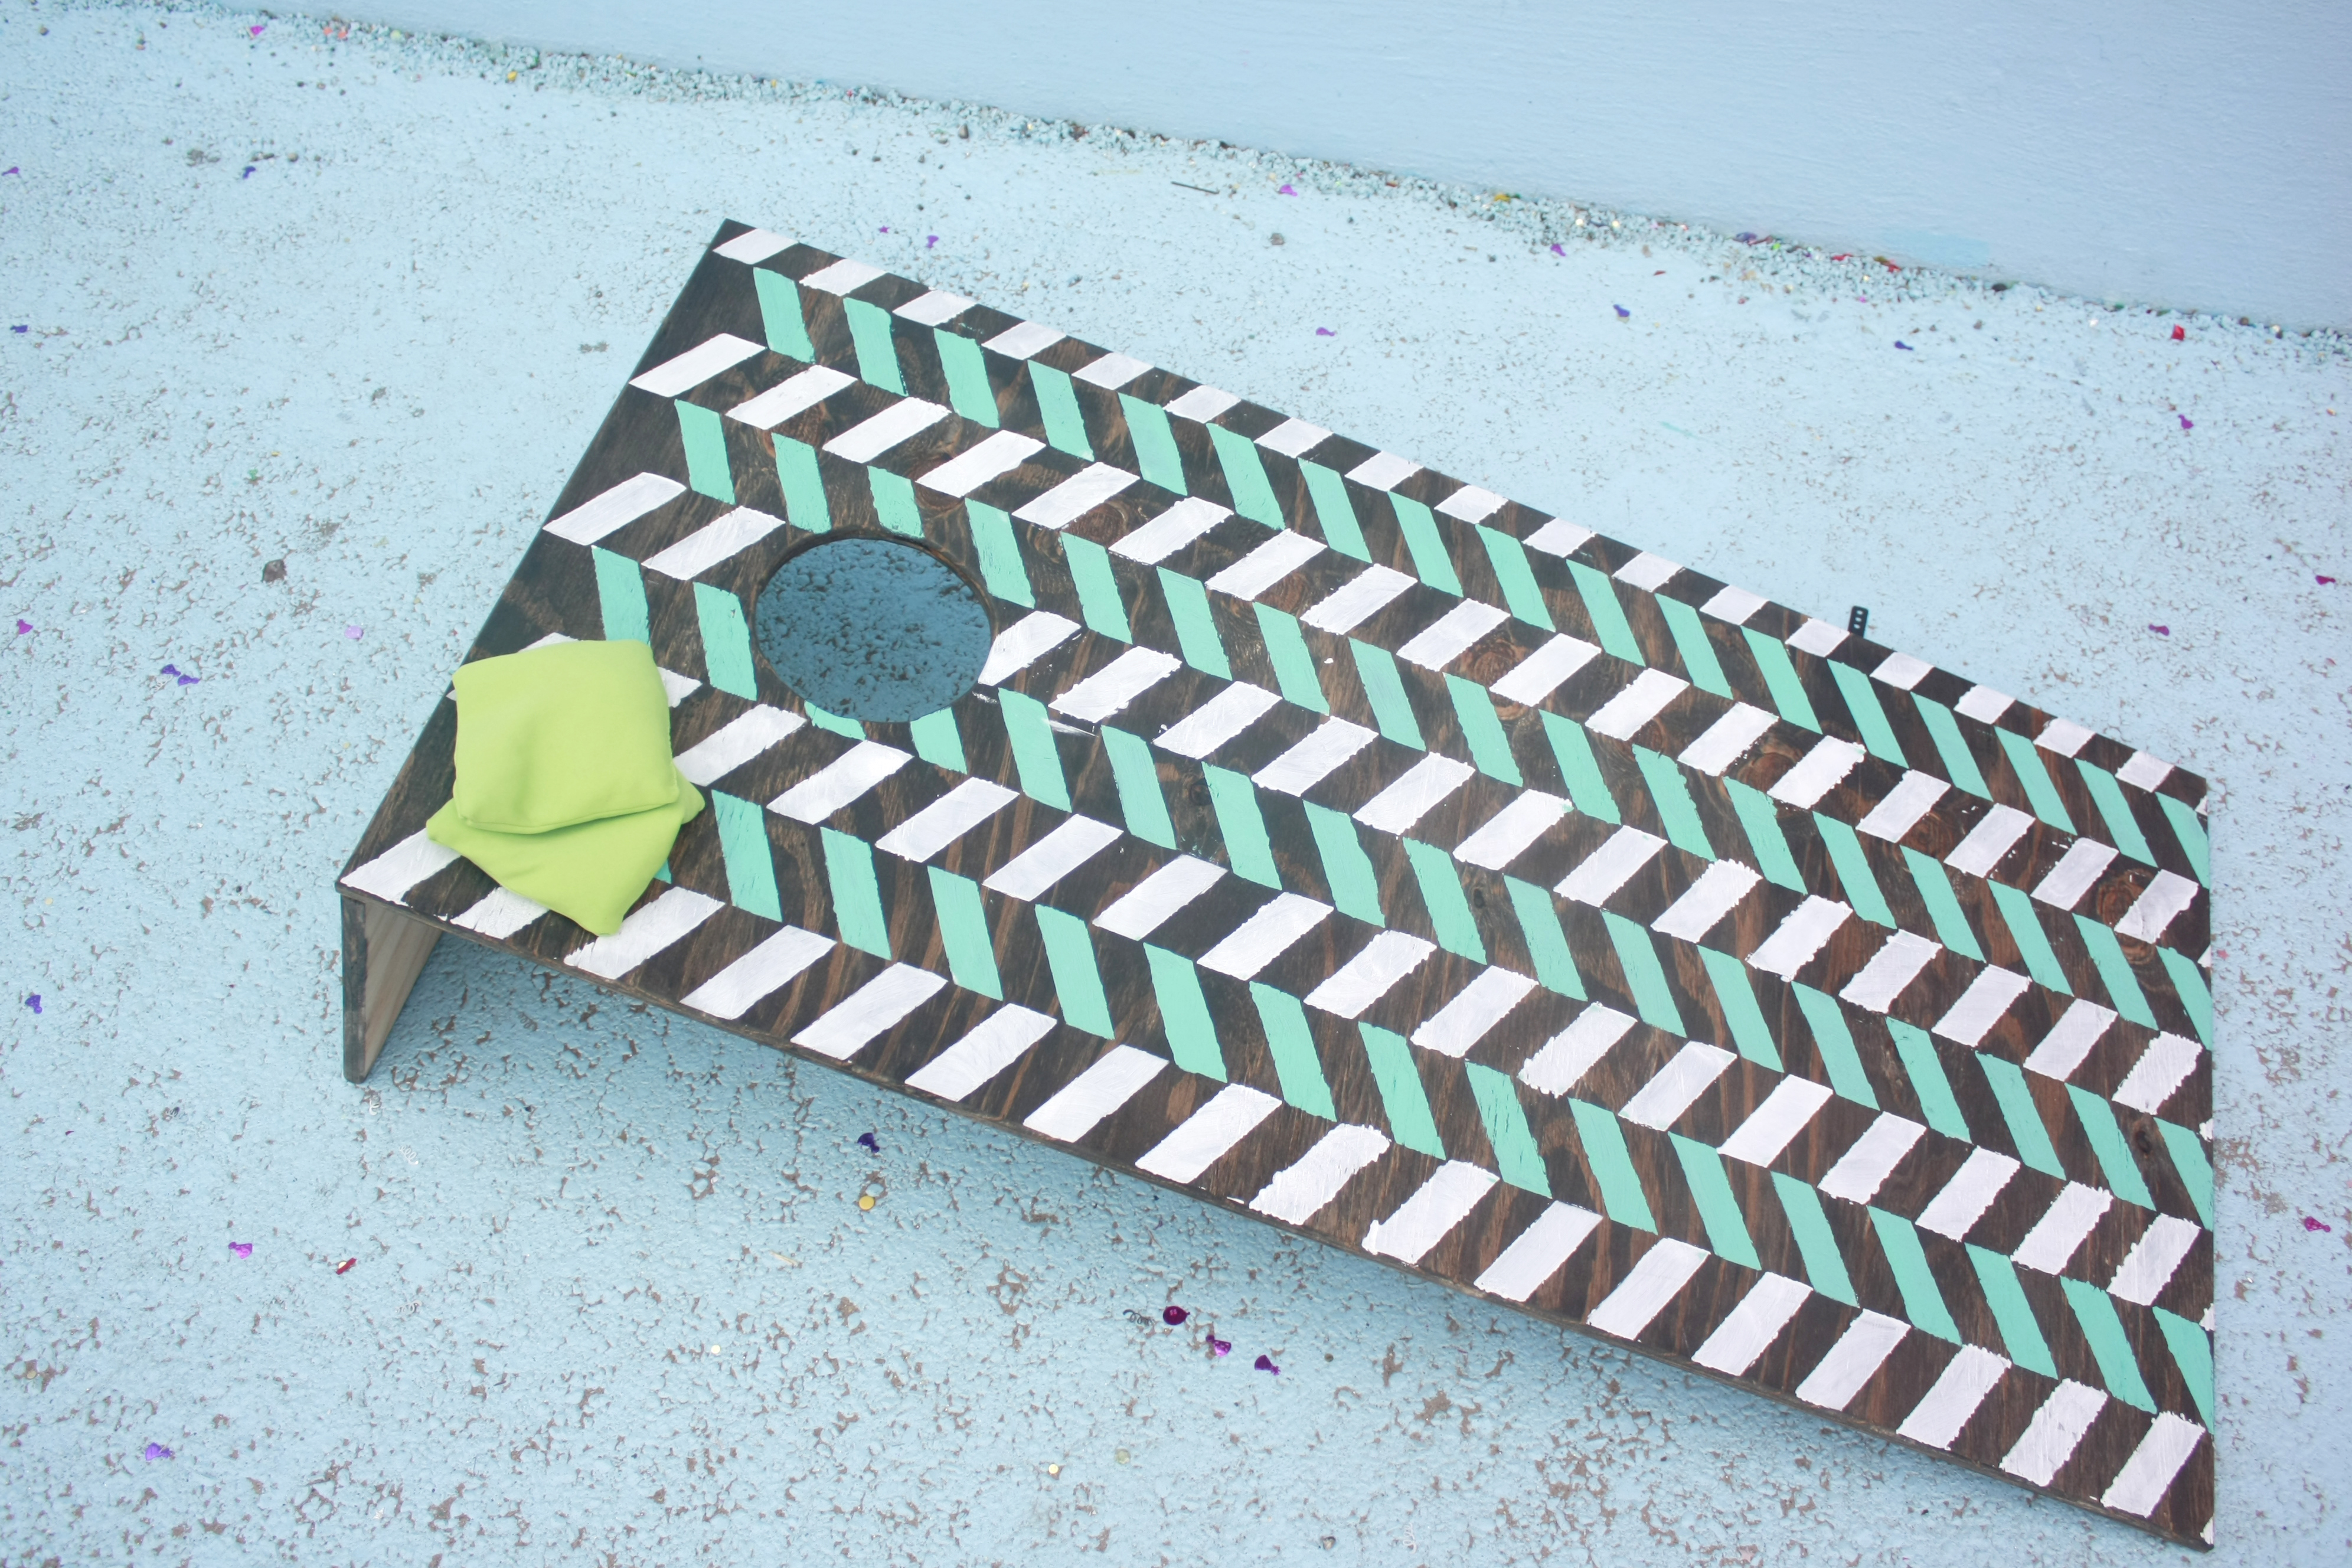
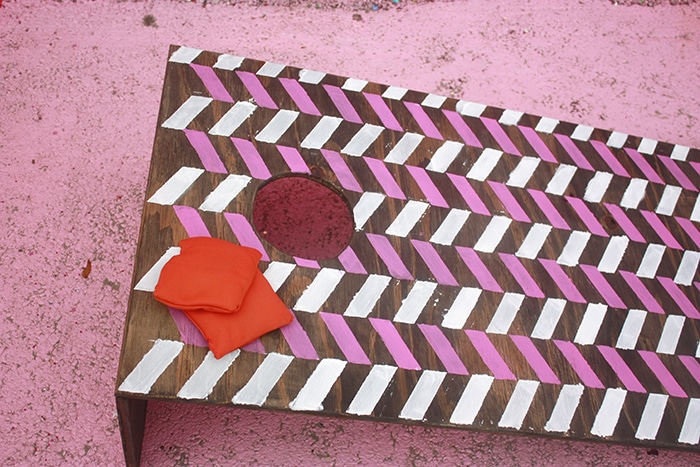
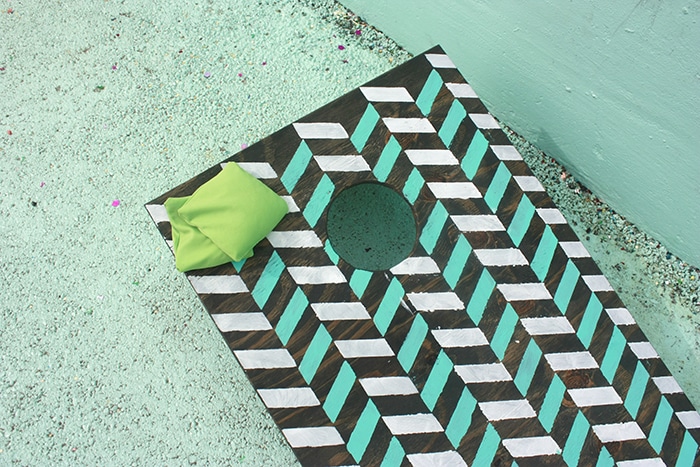
- After the stain was dry, I was eager to use my new DecoArt Patio Paints to stencil on a cool design. I absolutely love how the zig zag design came out! The stencil was easy to use; I taped it down with painter's tape and used a dabber to apply the paint. The edges line up so all your lines are straight!
The paint is made for the outdoors so it should hold up nicely on these outdoor DIY cornhole boards!
Bonus: we also used our router to finish the edges. This is my new favorite power tool!
After your hole is cut, you can sand the cornhole boards and prep for the wood stain. We waited until the boards were stained to attach the back piece with the hinges.
After the stain was dry, I was eager to use my new DecoArt Patio Paints to stencil on a cool design. I absolutely love how the zig zag design came out!
The stencil was easy to use; I taped it down with painter’s tape and used a dabber to apply the paint. The edges line up so all your lines are straight! The paint is made for the outdoors so it should hold up nicely on these outdoor DIY cornhole boards!
NOTE: To make this project even simpler, you can purchase pre-cut cornhole boards. This path is a bit more expensive, but you can still customize them however you want!
Do you have a favorite backyard game?



Lura says
also known as bags… for some reason this was funny to me. Also, I would totally win at cornhole. I love how you made a slim version of corn hole tables. I’ve never seen anything like that.
Creative.
Julia says
I’ve been meaning to make a corn hole set! This would be great for me since I live in an apartment and I could store them easily.
Julia – http://Bunnybaubles.com
Jaclyn Kent says
Ahh y’all are seriously SO talented!!!! I’m actually really good at cornhole BEETEEDUB.
Kelsi says
These are so awesome!! We definitely made cornhole boards for our wedding last year and it was a huge hit!
Kaycee says
I made my boyfriend some regulation size boards almost 2 years ago for Christmas!! These are so much simpler than mine! And they fold up so small and easily put away in storage! Love it!
Kaycee – https://www.kayceelou.com
Ashley says
These look perfect for tailgating. Do they ever fall flat when the bags hit them though?
Amber Oliver says
Nope! No problems! 🙂
Ashley says
Thank you! I’ll be making a trip to Home Depot today ?
Amanda says
Just wondering if you have ever had an issues with the hinge collapsing after several bags have hit the board? Like wiggling or bumping it enough times that the hinge closes?
Amber Oliver says
Nope! We play in the grass, so that may help it stay up.
Melissa Mullen says
These are amazing and look simple enough that i can tackle them myself! Question, did you buy the bags or did you make them? Is there a separate tutorial or we just have to figure that out ourselves?
Amber Oliver says
Thanks! I’ll have to add a link to the article but here you go! https://amzn.to/2t5wT2X
Felicia says
Hey, I was wondering how you attach the hinges so the boards stay erect and don’t collapse?
Thanks for the awesome tutorial! I plan to make them this weekend ????
Amber Oliver says
Hi Felicia! We didn’t have any problems with collapsing! Just open them and set them up and they stay in place – we’ve played in the grass and on concrete with to problems.