Looking for small closet ideas? Here’s all the details of my closet makeover sponsored by Modular Closets.
Have you ever had a closet make you cry? Maybe you’ve cried IN a closet but not the other way around? Well, to explain why I’ll need to backup a few months and explain.

If you’ve followed along for a while you know in early 2020 my husband and I were in the process of moving to China for a couple years on a work assignment. We downsized, sold most of our furniture, leased our home, and even arranged international pet shipping for moving our dog abroad. Fast forward 18 months and I was never able to join my husband and BFF (best furry friend) overseas.
That time apart was hard. According to the Census I had to fill out during that time I was actually considered homeless. I was bouncing around between friends houses, family, and hotels. I’d packed and shipped most of my clothing since it was lighter weight and put heavier items in my luggage to fly with me. Almost all the clothing I had at that point fit in my carry on. I felt a bit unsettled to say the least.
When we were finally back in our home one thing I was most happy about was having my STUFF back and a place to put it! We’d decided that since we didn’t get our time abroad together at this point we were going to make our home a place we LOVE instead of just a place we have to LIVE. Where to start? Our primary closet!
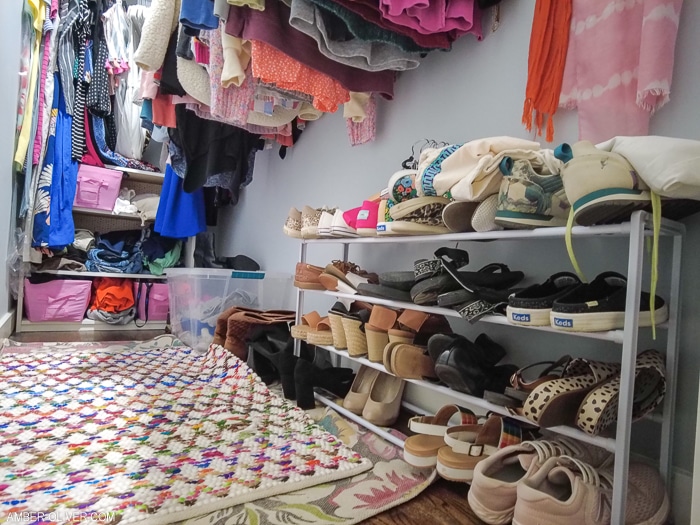
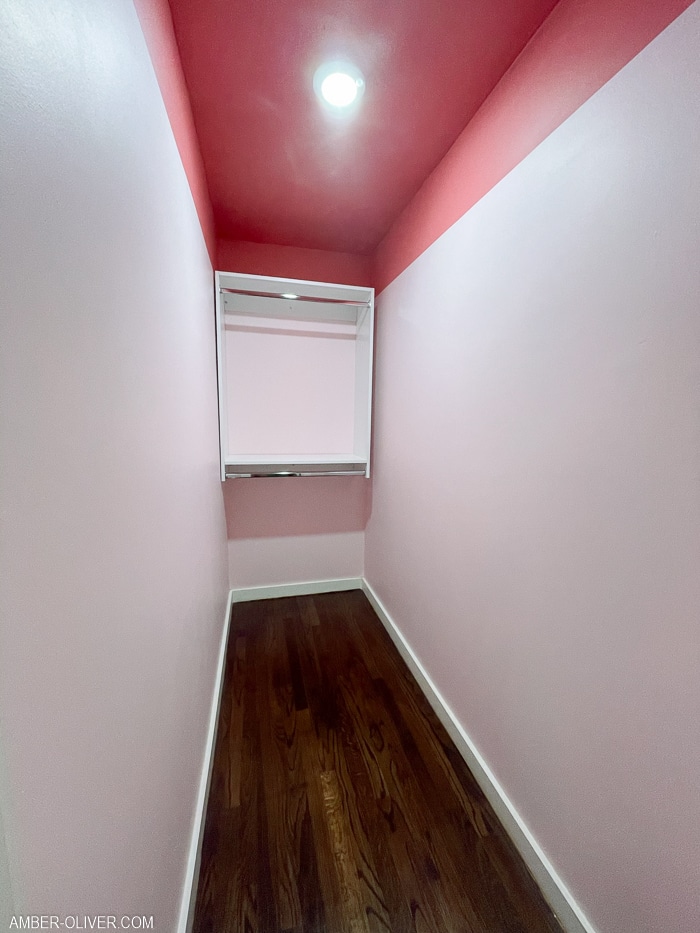
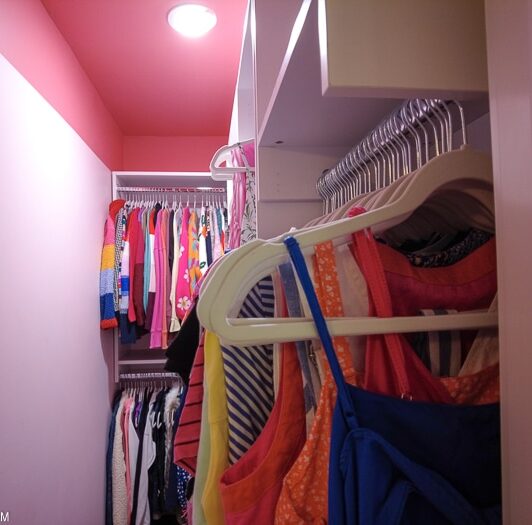
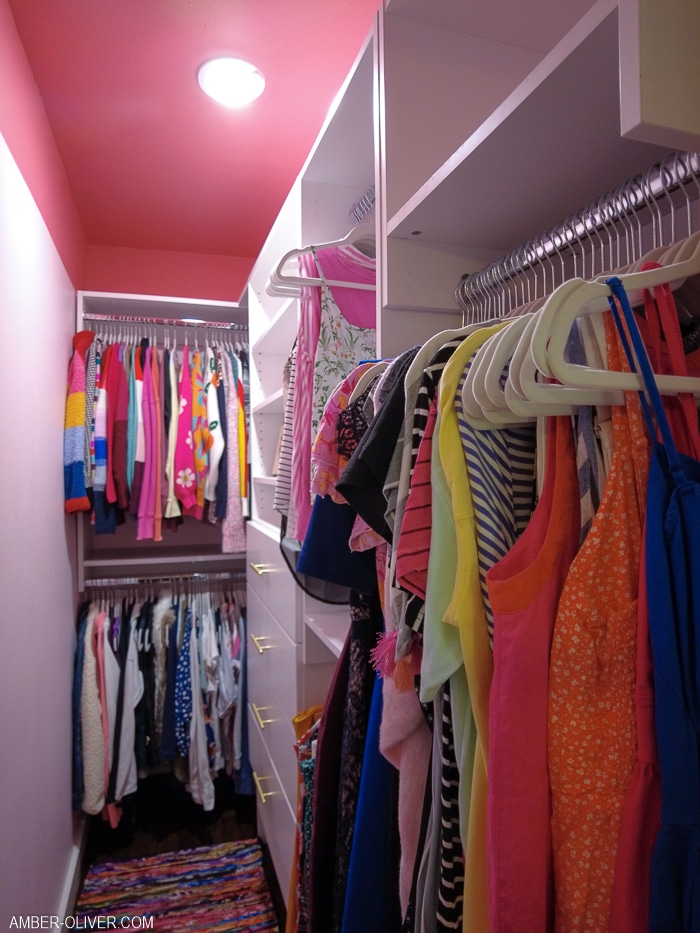
I found Modular Closets and knew they were EXACTLY what I needed. The two main problems were the size of the closet and the wasted space. We have a smaller home (less than 1500sqtf) and the closet is only a little over 3 foot by 8 foot. It came with a single bar and shelf along one wall and in the back. This left a lot of wasted space above and below.
The back of the closet was especially crowded. I had a small bookshelf that I put in and used it to hold a few bins and stacks of clothes. This was also where I had my longer hanging items. Between the stacks of clothes falling over and the hanging items in front of the shelf, it ALWAYS looked messy!
The closet was also super cramped. I not only needed more storage, I needed it to take up less room. My husband has a wardrobe in our bedroom and shares half of our dresser with me. I really needed to free up that dresser space for him. How the heck could we do all that?
After taking an inventory and doing a bit of downsizing and cleanup, I sent my measurements and “wish list” to Modular Closets. While you can go to their site and shop Pre-Designed closets or even try designing your own with the online closet design tool, they offer FREE design services! Doesn’t get much easier than that!
We worked with the amazing organizing expert Christina Giaquinto and were able to customize this closet literally down to the INCH! Talk about maximizing small closet space! We got a draft of the plans then my DIY custom closet shipped for FREE from right here in the US! Love that lower carbon footprint 🙂

Once the boxes arrived, the first thing we did was unpack and inspect them. They are packed carefully but you can’t control what happens after they ship! If you run into any issues give their customer service a call. Our problem was solved quickly and easily 🙂 I’ll also note that the majority of their packaging was recylceable! That’s very important to us and we were glad to see their use of sustainable packaging.
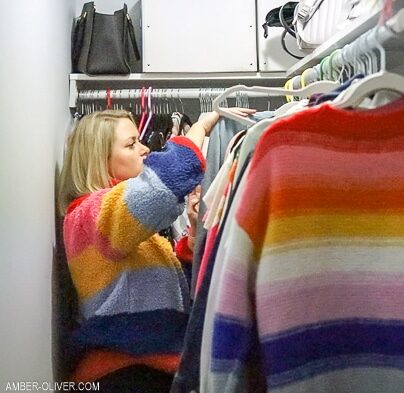
Now, before you get to the closet setup, I recommend taking a look at your space and make any changes you want! Go ahead and get everything (yes EVERYTHING) pulled out then downsize and declutter while you go. You also need to remove all your old shelving, racks, rods, etc. This was the point we decided to give this space a bit more love – with COLOR!
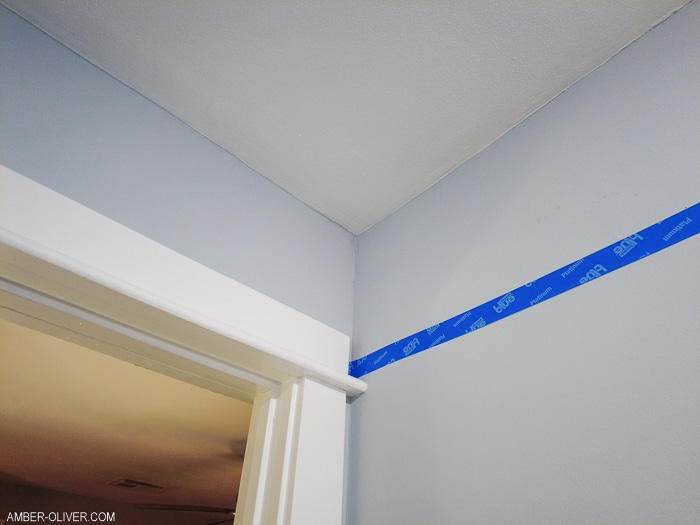
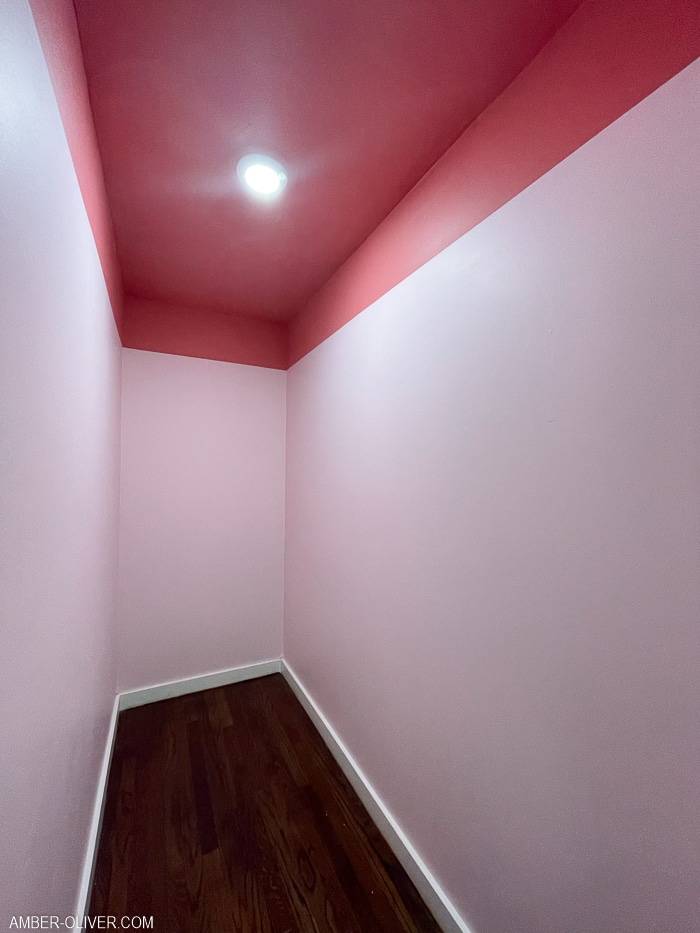
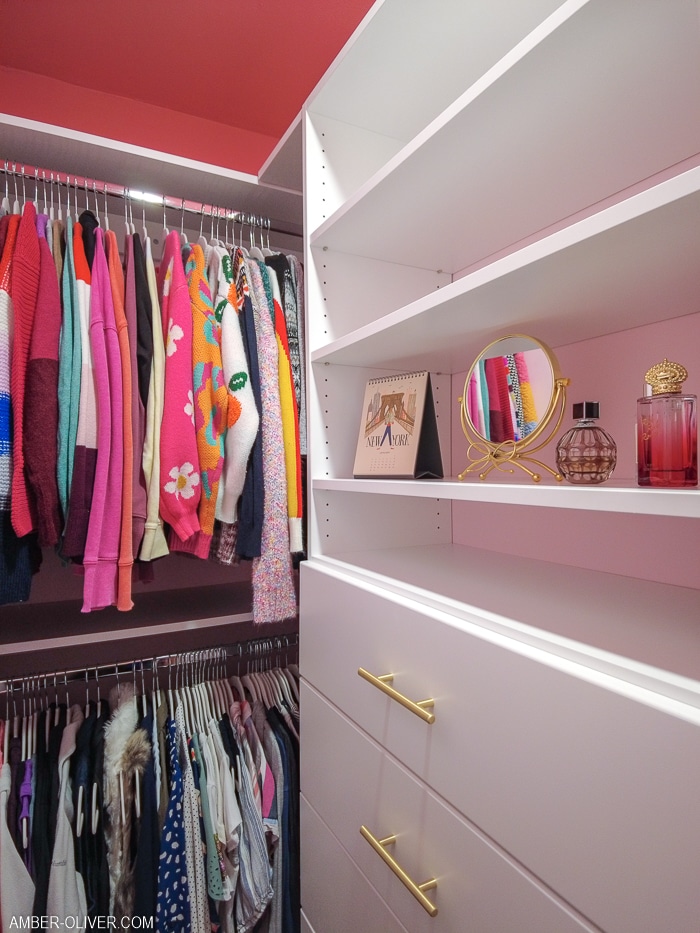
After taking out the old closet accessories, I filled and sanded all the holes left behind. The good news was I could see pretty clearly where the wall studs were – the bad part was we desperately needed a new coat of paint. Since I’ve yet to convince my husband to go with pink paint elsewhere in the house, I decided to go all out here! We got two shades of pink from Benjamin Moore. We put Coral Essence on the ceiling and Angel Pink on the walls. It was love at first sight!
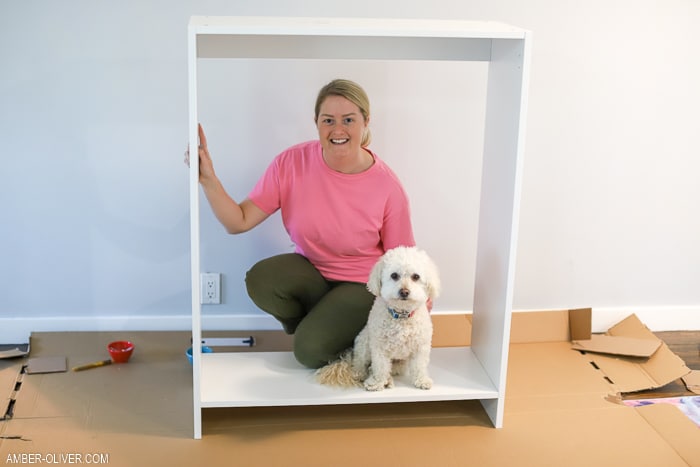
Between coats of paint, we started working on the Modular Closets assembly. While I was lucky to have a second set of hands, one person could easily assemble these themselves. When it comes time to wall mount – you totally need help though! The other awesome thing: you only need a SCREWDRIVER! Such easy assembly. All the instructions are available on the Modular Closets website!
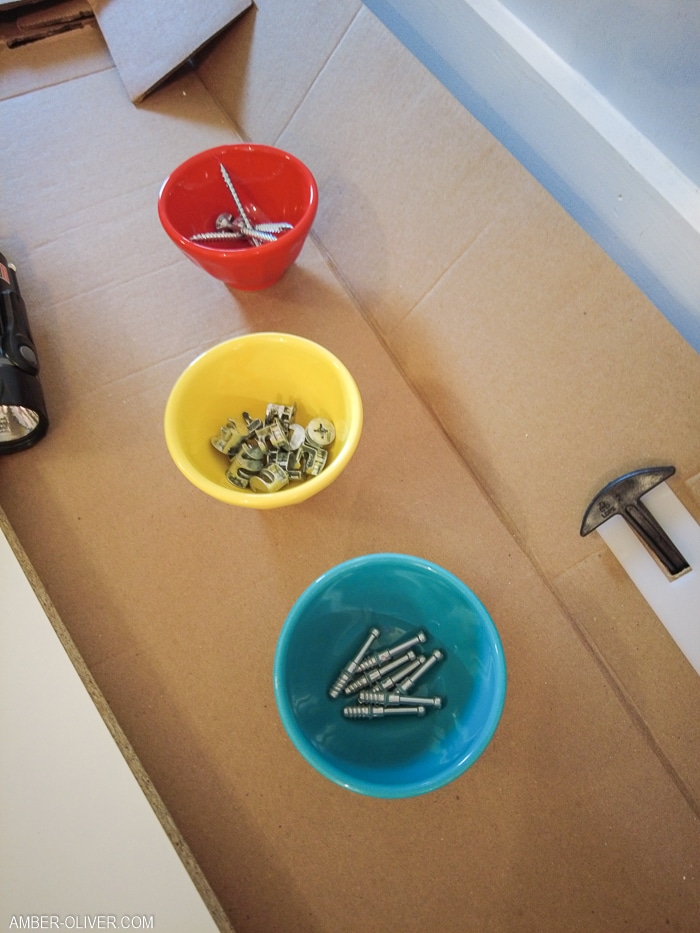
The 3 main types of hardware you’ll be working with are the Cam Locks, Cam Posts, and 2.5″ screws. The 3 types of pieces you’ll use on pretty much any module from Modular Closets are the 2 side panels, the rear cleats, and the set shelves. Once you figure out each of these pieces you will fly though the assembly! There of course are other pieces – some sections having hanging rods, some have drawers, etc. We did each of these and the instructions were easy and straightforward!
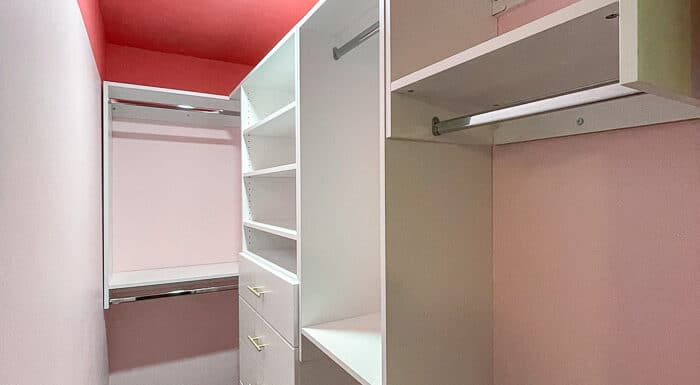
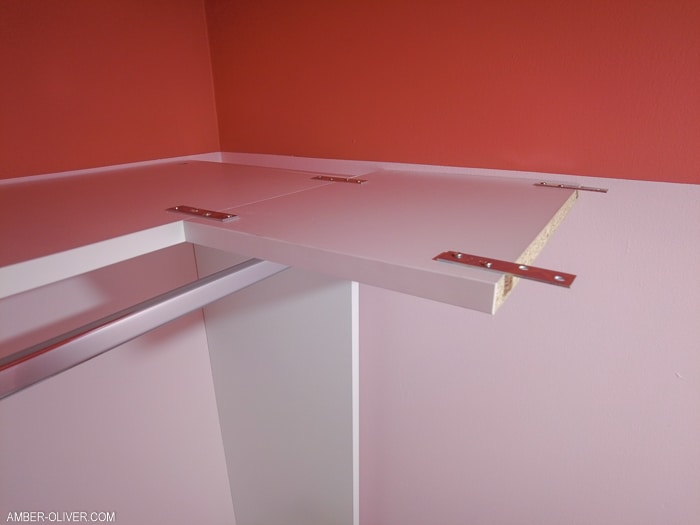
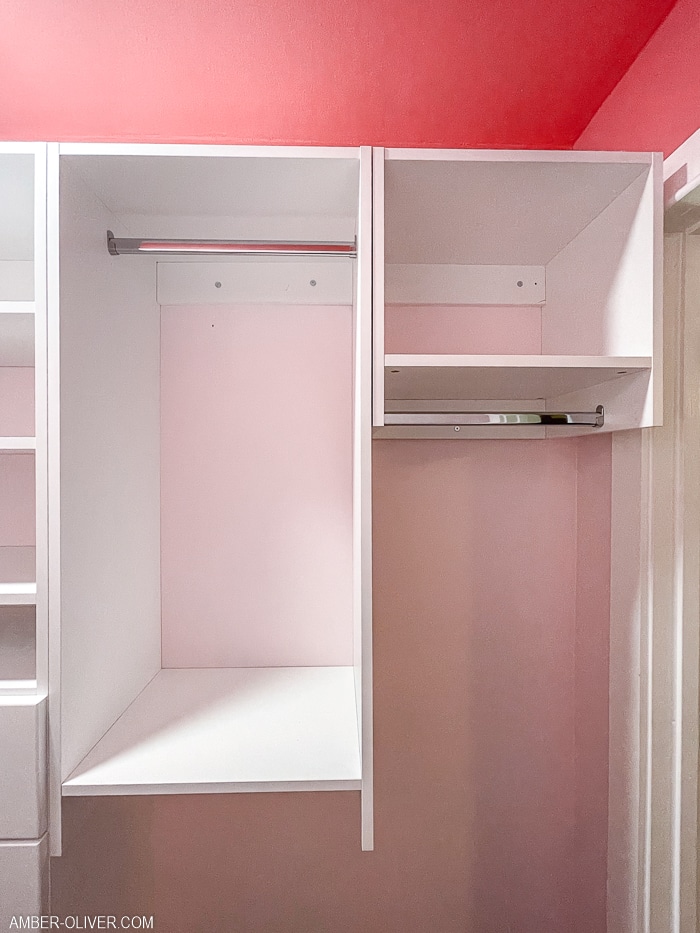
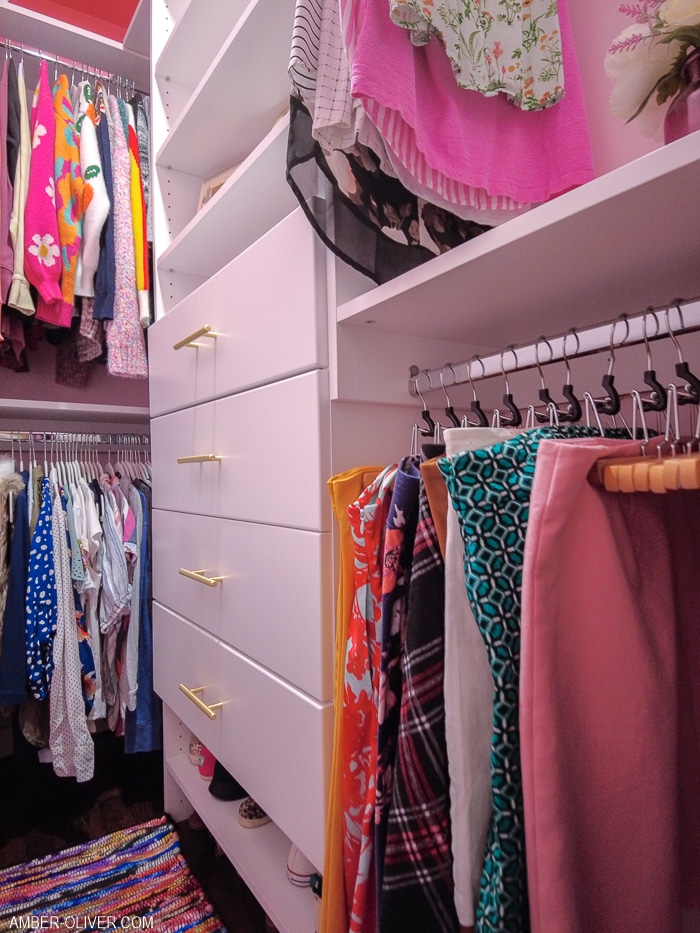
Once your modules are assembled it’s time to install them! Each unit will be wall mounted individually. My favorite thing about Modular Closets (beside it being an affordable closet system!) was how much you could customize. You can adjust nearly every single section so that you completely fill your closet with usable space. I also LOVED their corner solution. Instead of a corner unit that can actually block off some of your usable space, we were able to maximize every inch by utilizing the corner bridge shelf. We cut this piece to the desired size and installed it to connect the back wall unit to the side wall units so we have a nice cohesive look AND we could use the space on top for storage!
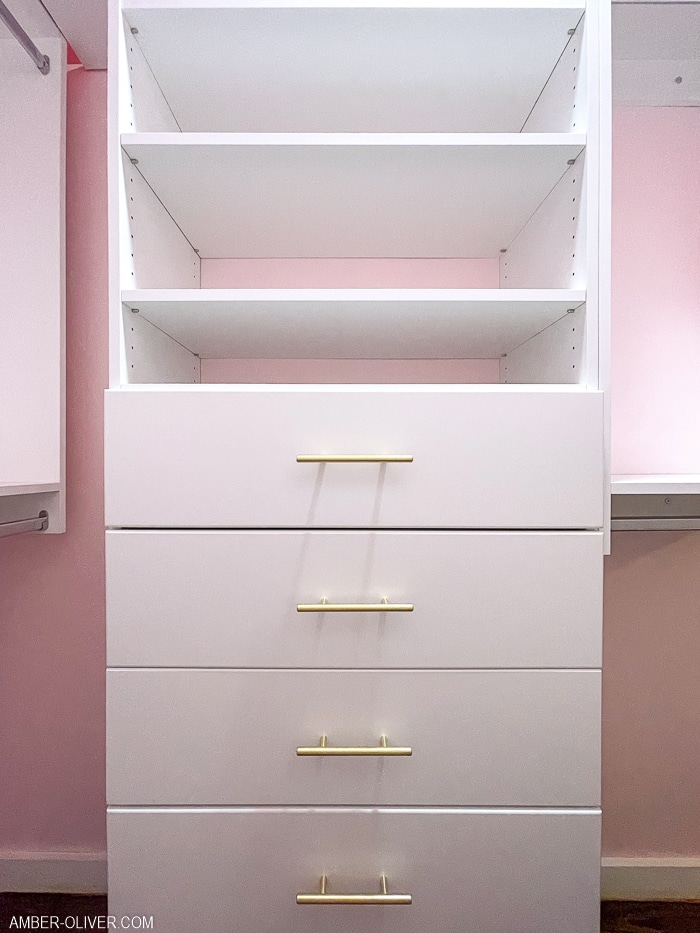
After we installed the Double Hanging module on the backwall and connected the corner bridge shelf we were able to put in my favorite section, the 4 Drawer Shelf Closet Tower! The higher shelves would be easier to get to and keep bins organized and the drawers had plenty of space to move over all the stuff i’d previously kept in the dresser! We even added the legs to the tower unit with a shelf and gained some shoe storage!
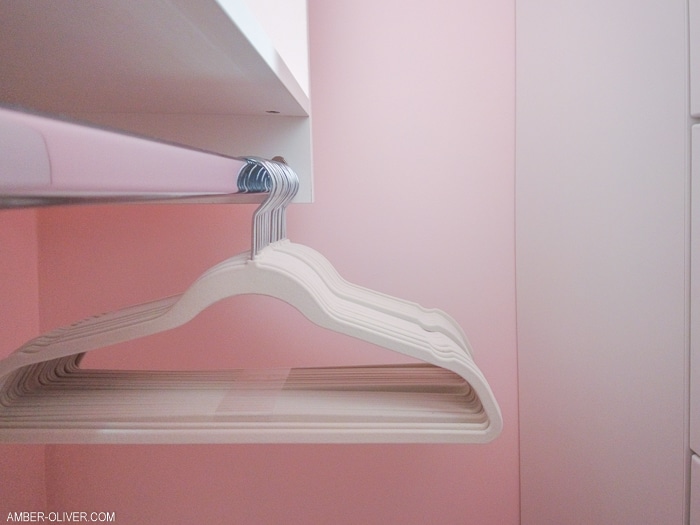
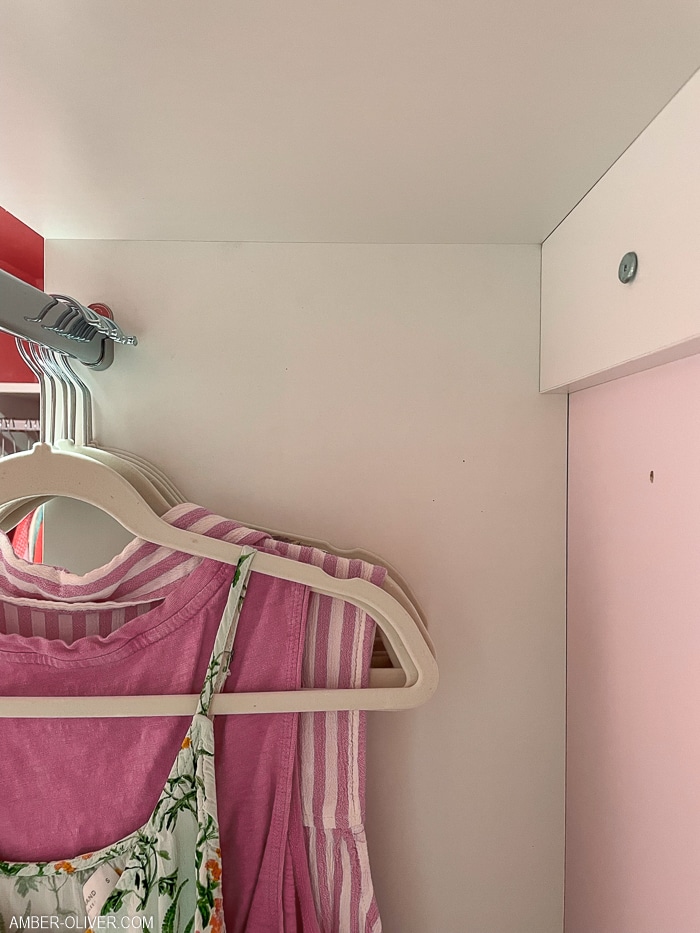
The Double Hanging section in the back alone was the same size as the entire hanging space I previously had on the long wall! So nearly everything after this was new closet space! In order to also allow more space to move around, I actually moved the hanging rod in from the standard location. With a hanger in place I saw there was about 4 inches in the back so the rod could go in a bit. This made a big difference! It didn’t feel nearly as crowded in there and I can easily move around!
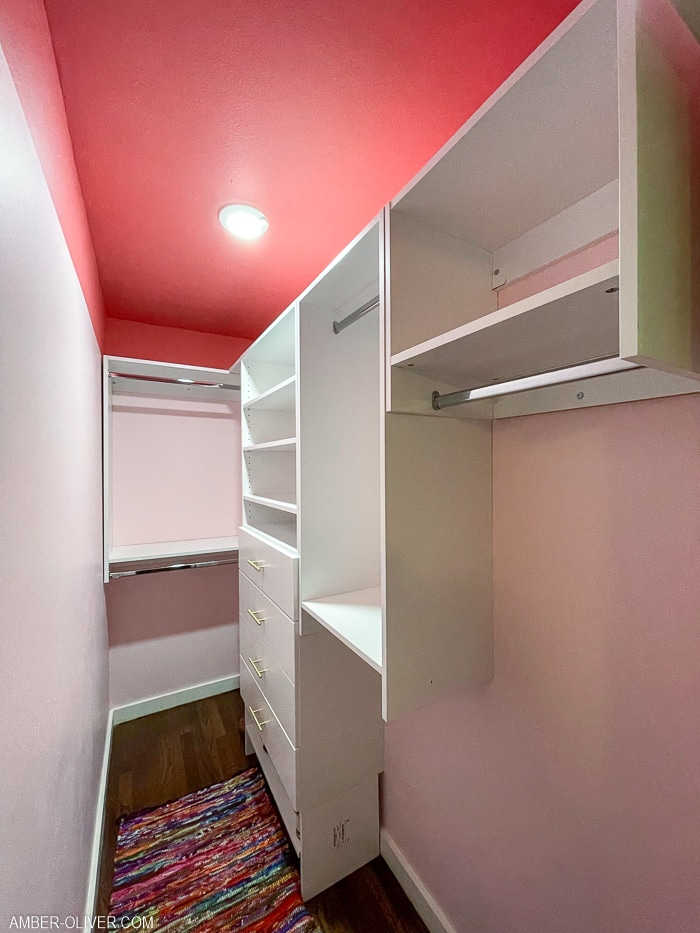
This change made the biggest difference on the Tall Hanging section closest to the door. As I said, we used every last inch of this closet which meant this last section was really close to the door. By moving the rod in just a couple inches, it made the doorway feel less crowded.
So back to the beginning of this story: why did a closet make me cry? As we were building these closet modules and painting this weird two toned idea I’d come up with – I was finally seeing my ideas come to life again.
I felt so happy to be back with my family in our home and making it not only beautiful but useful too. So the happy tears that were shed were because this was the first thing that had made me feel absolute joy in many, many months. If your closet isn’t bringing you happy tears, I definitely recommend checking out Modular Closets.
HOME DECOR ARCHIVES
View our collection of home decor posts.
Leave a Reply