Last updated August 19th, 2022 at 02:11 pm
This super simple home organization hack uses regular vinyl as fabric storage bin labels! This project is sponsored by Cricut.
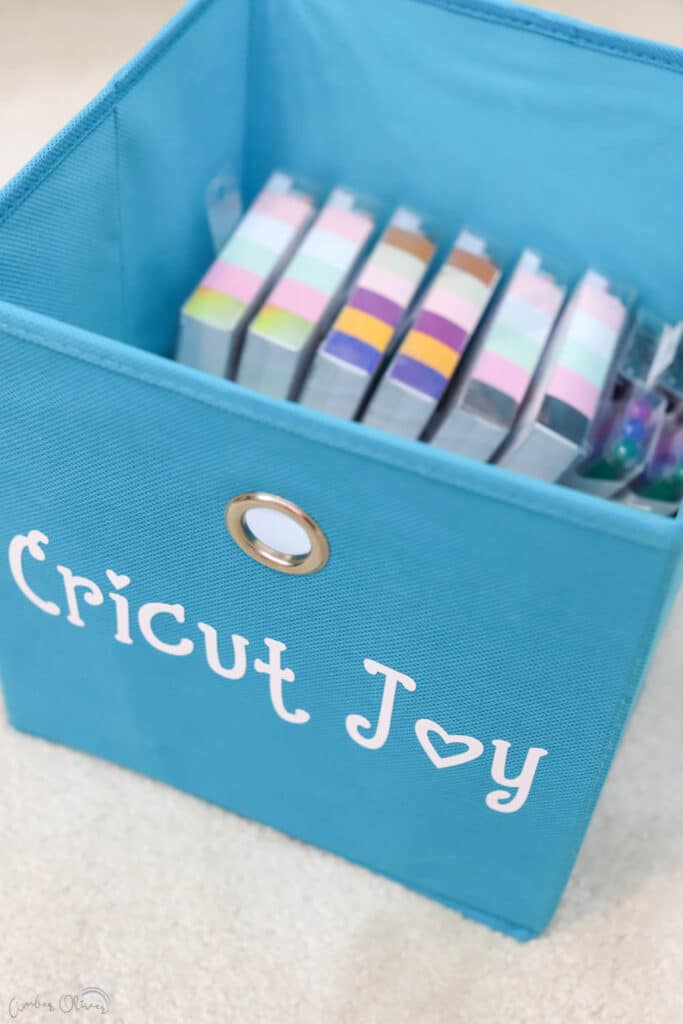
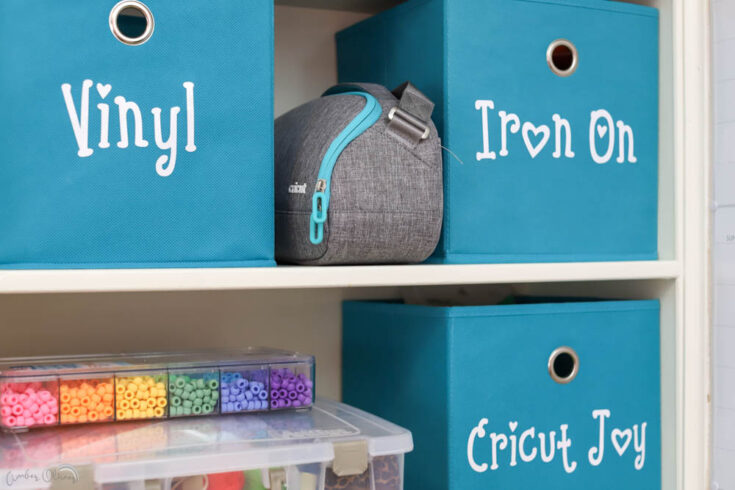
My temporary craft room was getting suuuuuuper messy! I was only supposed to be in this space a short time, but it’s now been 7 months! It’s been over 15 MONTHS since Eric moved and I was supposed to move as well but got stuck in the US. To make the most of my small craft space, I got some fabric bins to help organize all my Cricut supplies.
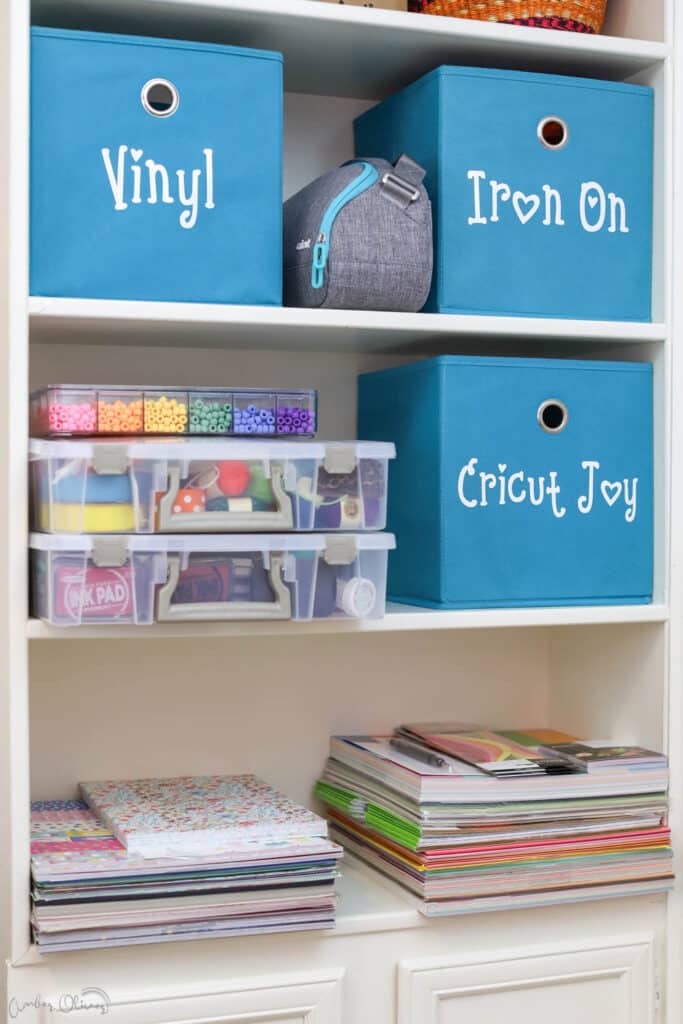
I actually found these bins at the thrift store in their original packaging from Target for $3.99! Turns out they are the same price at the store! Either way – it’s a darn good deal! These 3 bins were less than $20 and helped my wrangle all my Cricut Joy accessories.
Use your Cricut to make adorable custom Oven Mitts with this tutorial!
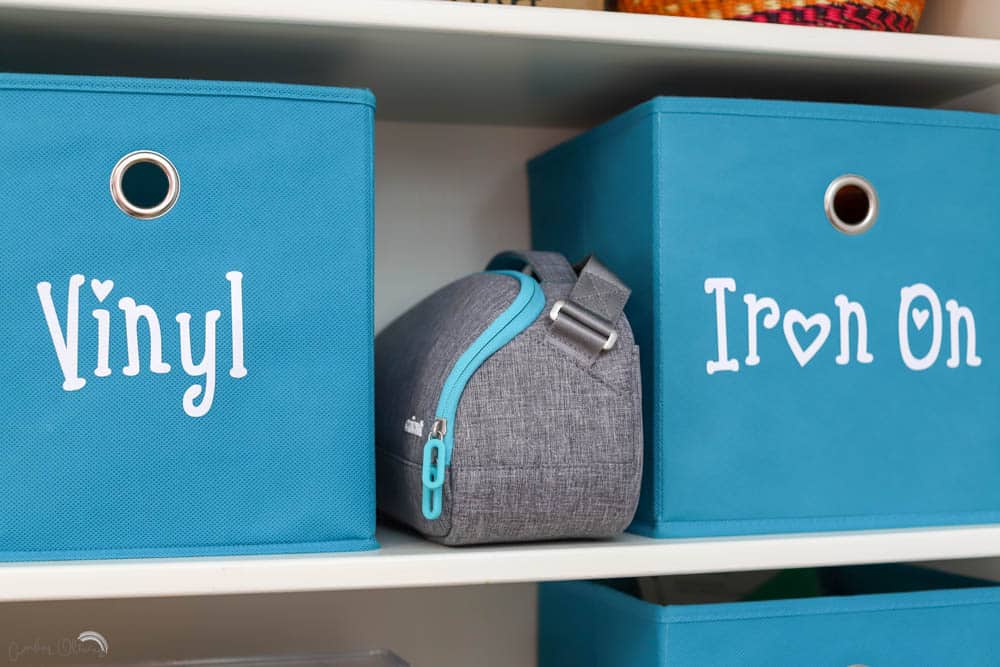
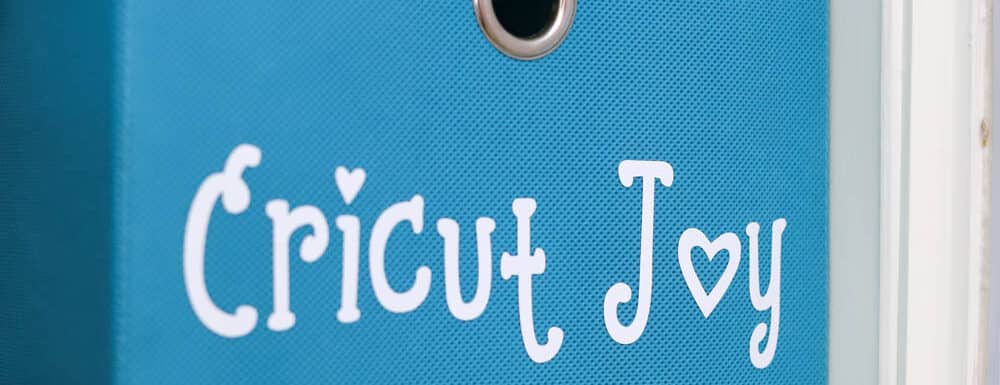
I’m going to share with you all a genius little home organization hack! Instead of making iron on labels for your bins – JUST USE PERMANENT VINYL! It will stick just fine AND you can remove it and relabel later if needed!
Fabric Storage Bin Labels
Materials
Instructions
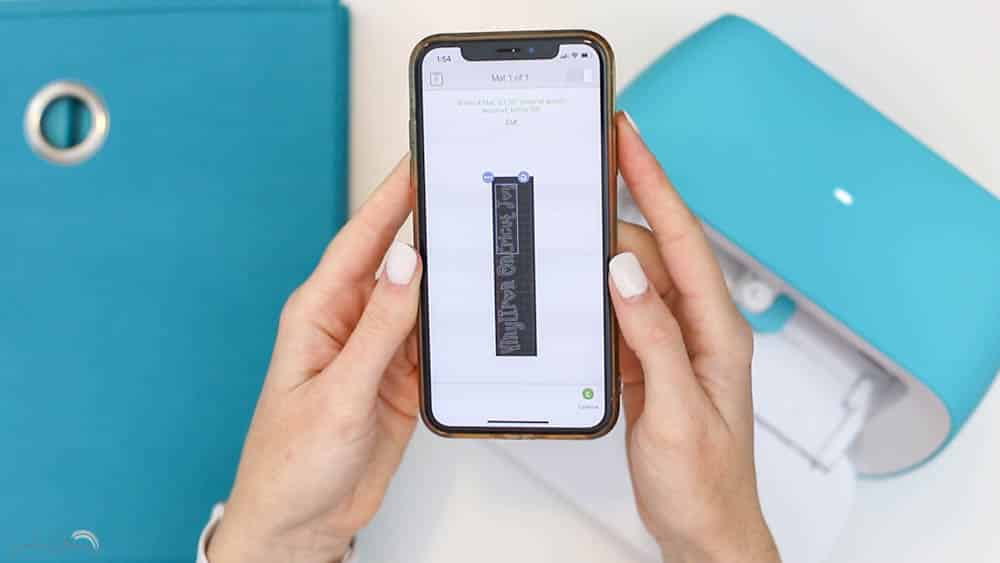
- Open design space and either create your own words for the storage bin labels or use mine!
- Select MAKE IT.
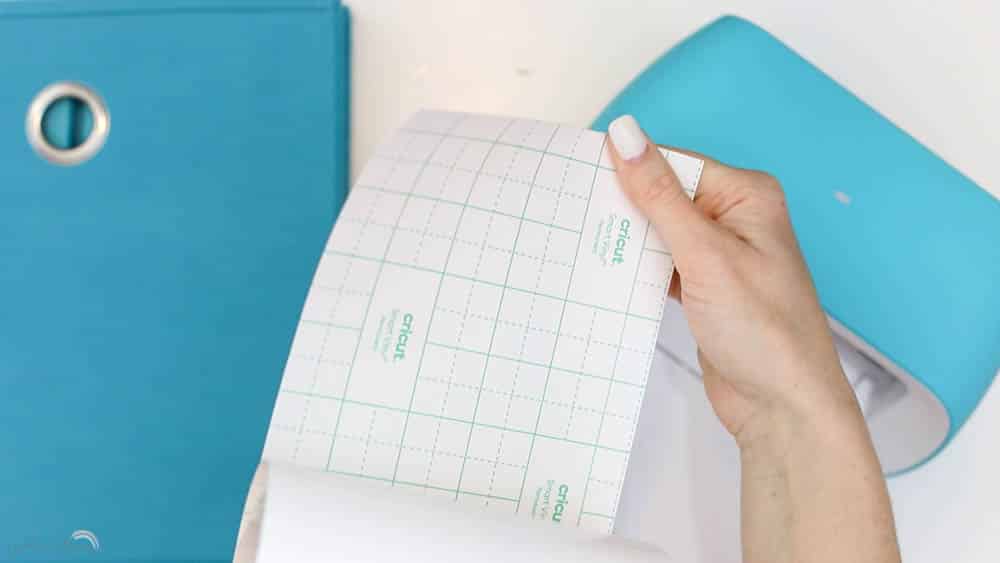
- Load your Cricut with PERMANENT VINYL.
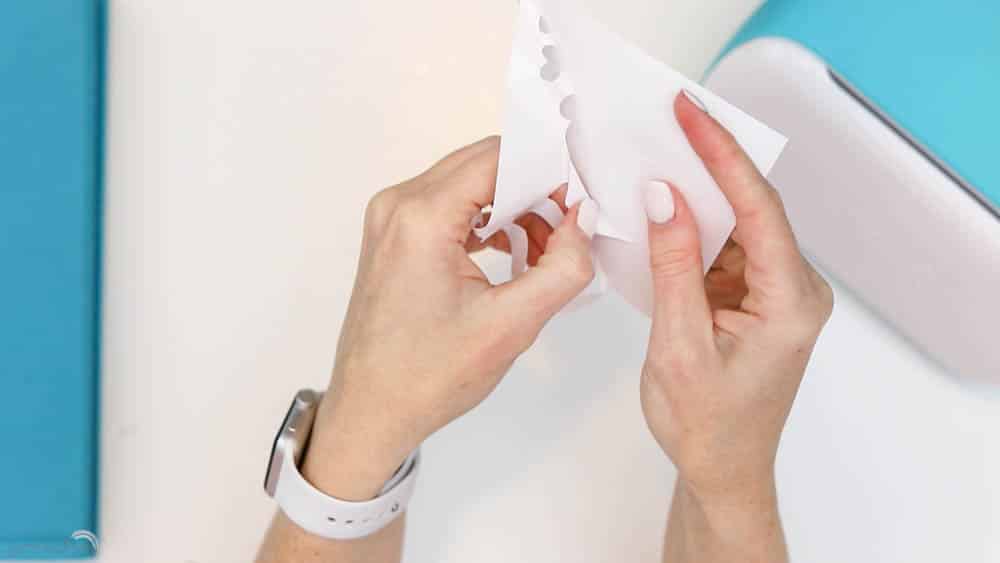
- After your designs are cut, weed the design. (Remove the excess vinyl.)
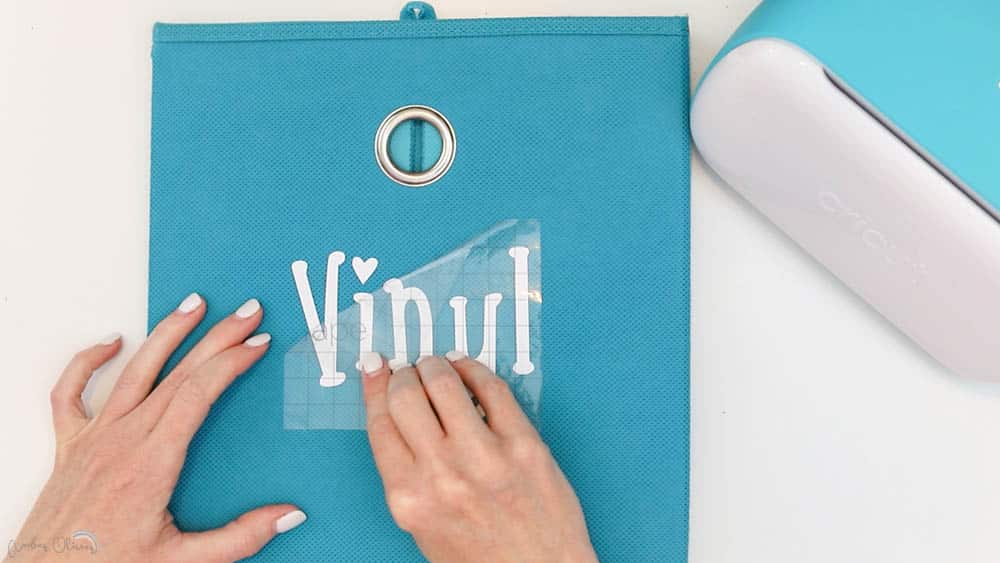
- Use transfer tape to place your storage bin labels onto the fabric.
- Use the scraper tool to press the vinyl firmly onto the fabric.
If you’re using your storage bin labels in a high traffic area or maybe with kids – using iron on vinyl might work better for you. I found the permanent vinyl worked just fine for me in my temporary craft room. Plus when I am finally able to move and get settled, I have the option to change the storage bin labels!
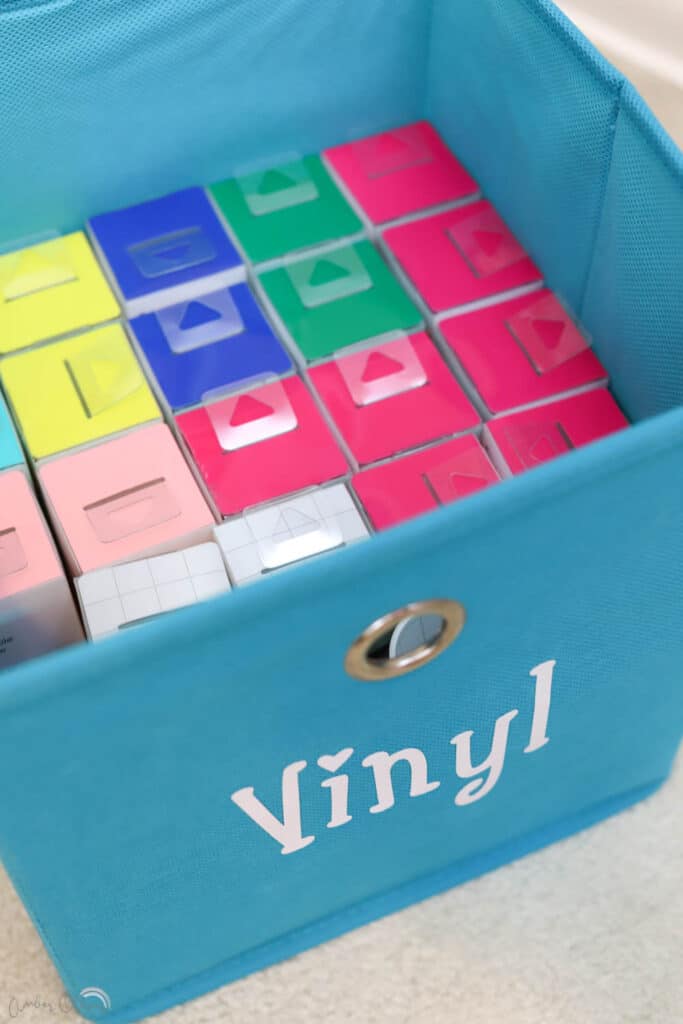
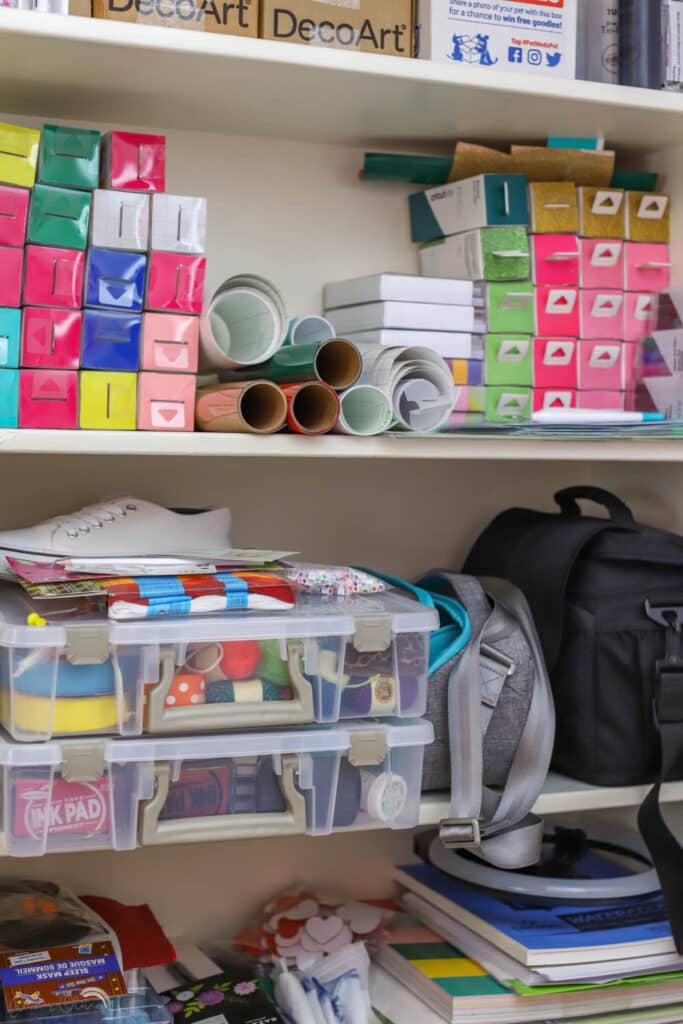
These bins are 11×11 and are perfect for holding rolls of vinyl as well as all my other Cricut Joy accessories. You can perfectly squeeze 4 rolls in a row and have plenty of room on top for more!
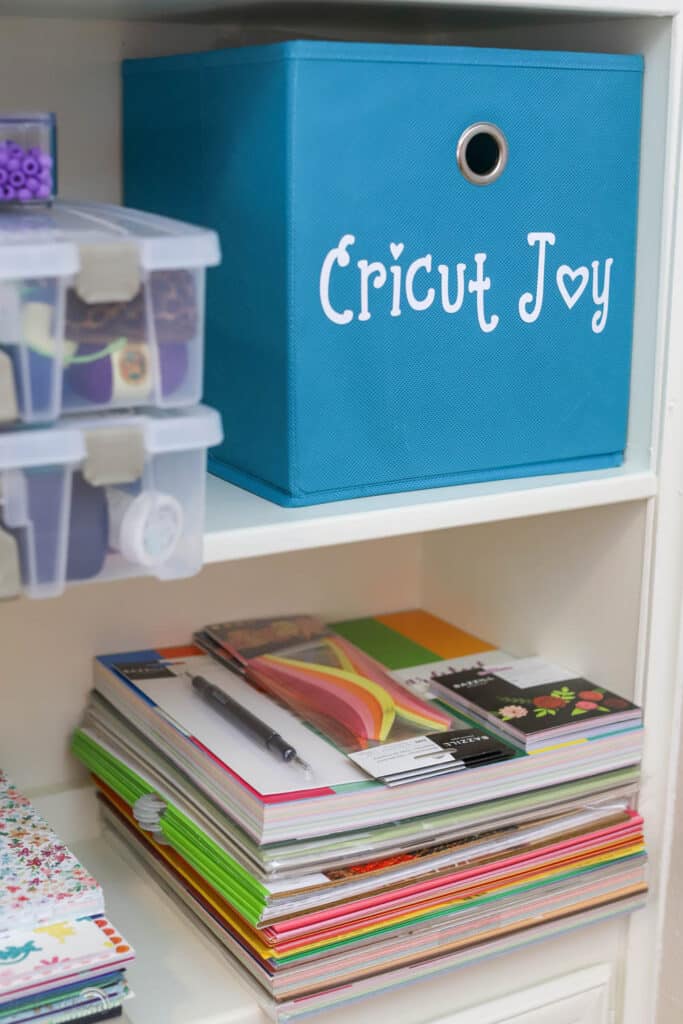
I’m so happy to have my little space organized and I especially like having all my Cricut accessories together. The DIY storage bin labels were the perfect touch. Plus – how cute is that font!? It’s totally me!!
Looking for more home decor inspo? How about some inexpensive wall art? Try this tutorial using wood shims! We’ve also rounded up almost 30 easy DIY cricut crafts and home decorating ideas!

I hope this project inspires you to try my home organization hack and create your own fabric storage bin labels!

Jan says
Love this idea, but concerned about how easy permanent vinyl will be to remove. Would removable vinyl work? Thanks
Amber Oliver says
I haven’t had any problem with the permanent! You can use a hair dryer to heat it a little and pull away. I think removable just wouldn’t be quite as sticky!
Erin says
I tried this and my bin melted. Can you share what bins you used?
Amber Oliver says
Hi! I did not use heat – I used regular vinyl. I found the bins at Goodwill but they were originally from Target!
Michelle G. says
Hi! I’m planning a similar project, even already have the same color bins! Love the idea to use the permanent vinyl instead of the iron on to make future changes easier. I adore the font, do you recall what it’s called?
Amber Oliver says
It’s called “DJ Flirt”! 🙂