Last updated August 8th, 2022 at 03:01 pm
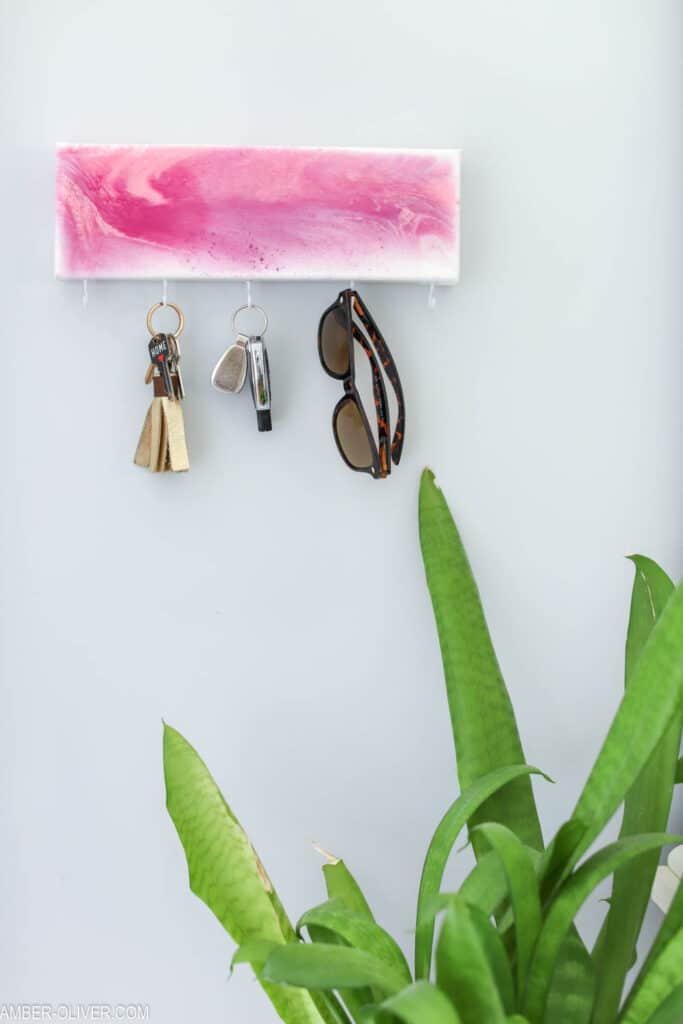
Create a colorful home for your car keys and sunglasses with this resin pour DIY key holder! This project is sponsored by ETI.
Paint pouring can be slightly addictive. Choosing colors, layering them in the cup, then watching how they mix and flow is incredibly relaxing and a bit exciting – you never know how your design is going to turn out!
Using a simple paint pour on a canvas creates beautiful art and I’ve even shared how I used the method to create some colorful and unique earrings!
If you’re ready to take your paint pour to the next level, you should use RESIN! Create a beautiful piece with a durable finish using a resin pour.
Resin Pour DIY Key Holder
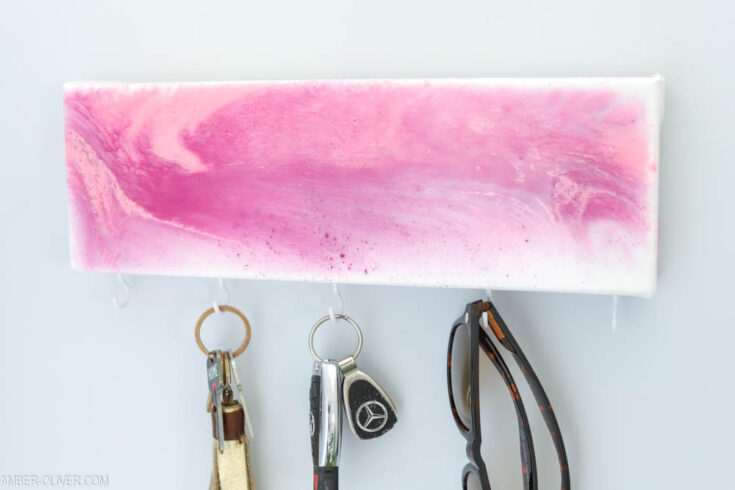
Materials
- Canvas
- Resin
- Cup Hooks
- Acrylic Paint
- Mixing Cups
- Rubber gloves
- Brush
- Stir sticks
- Drill and drill bit
Instructions
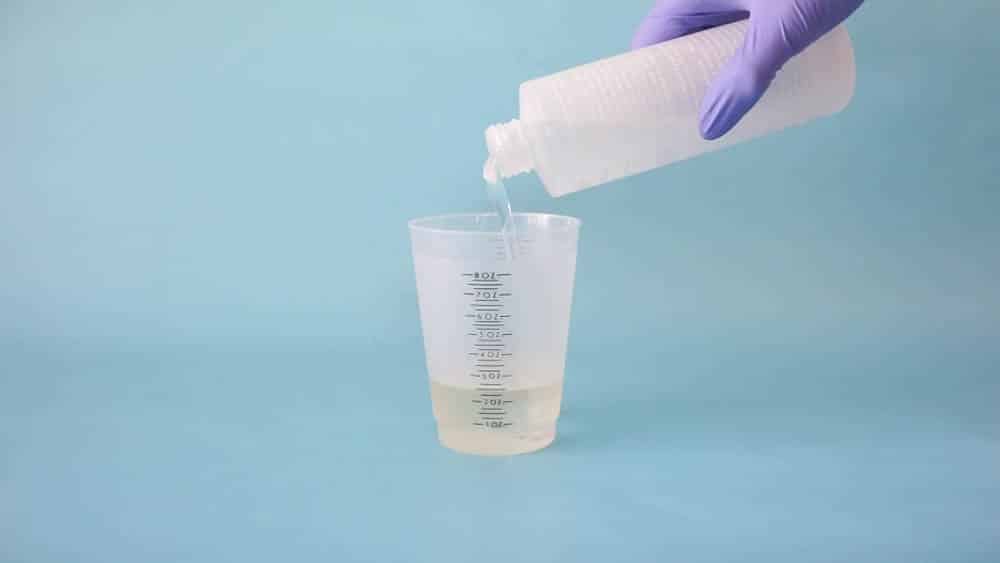
- First, prepare the EnviroTex Lite® Pour On High Gloss Finish. This is a multi-step process so don’t start mixing until you are ready to do the whole process from beginning to end! Start by mixing EQUAL parts of the Hardener and the Resin.
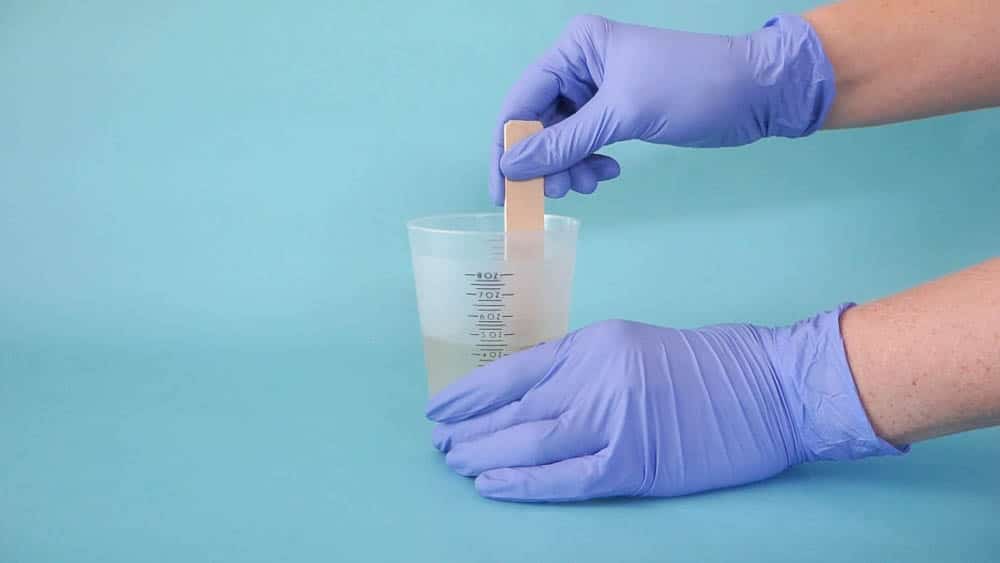
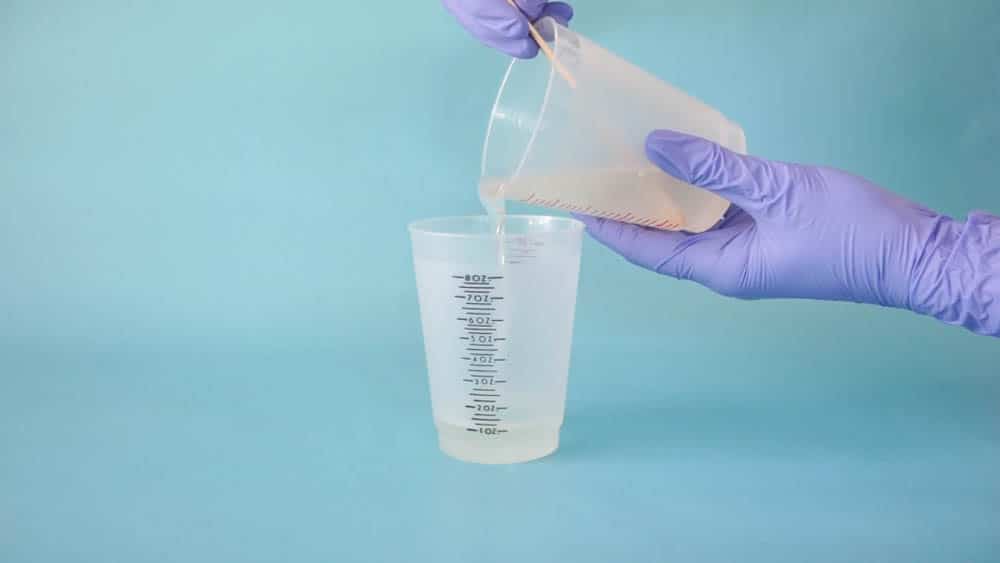
Stir for two minutes (be sure to scrape the bottoms and sides) then pour from the first cup into a second and mix with a new stir stick for another minute.
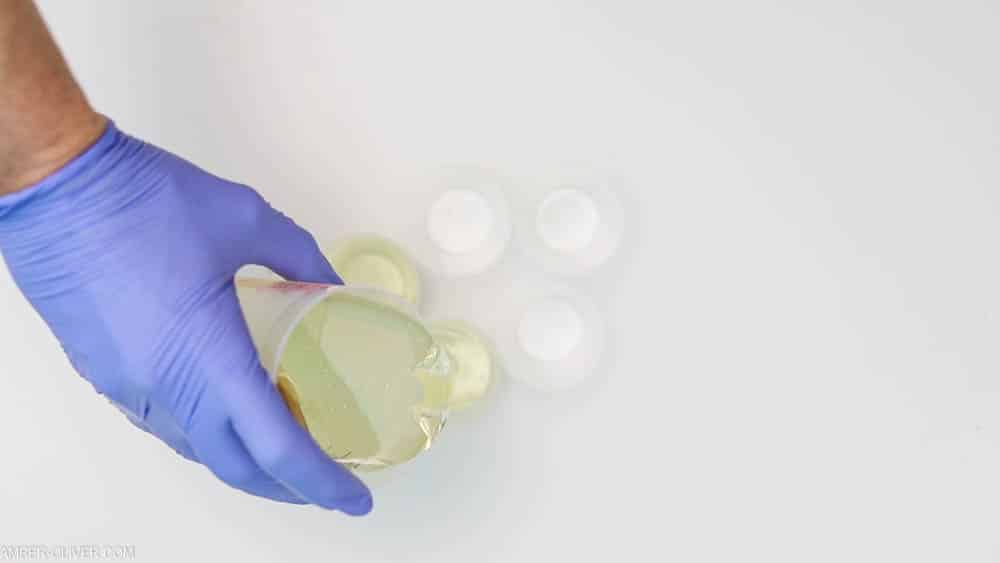
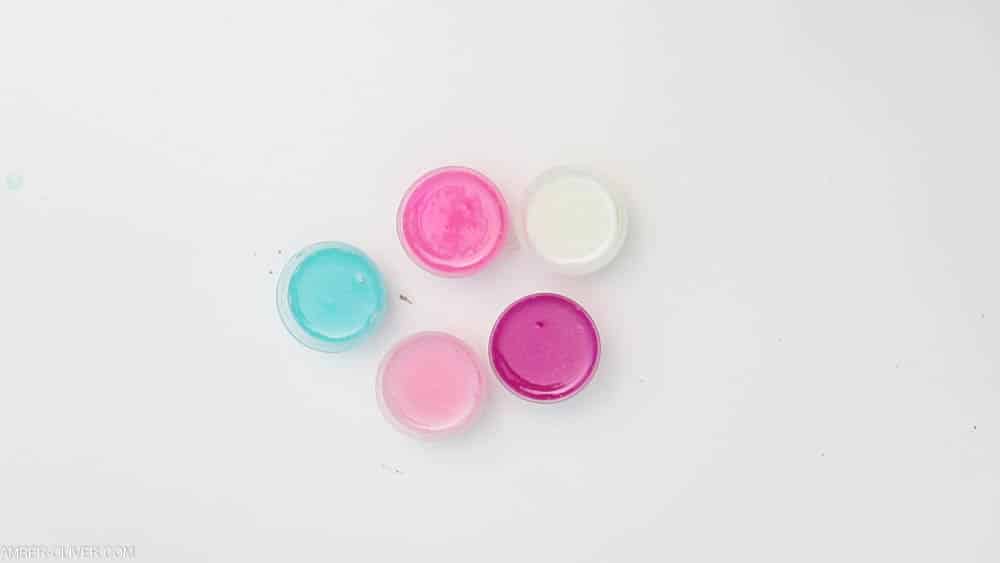
- Pour a small amount of resin into smaller measuring cups.
- Add a small drop of acrylic paint to each cup and mix thoroughly.
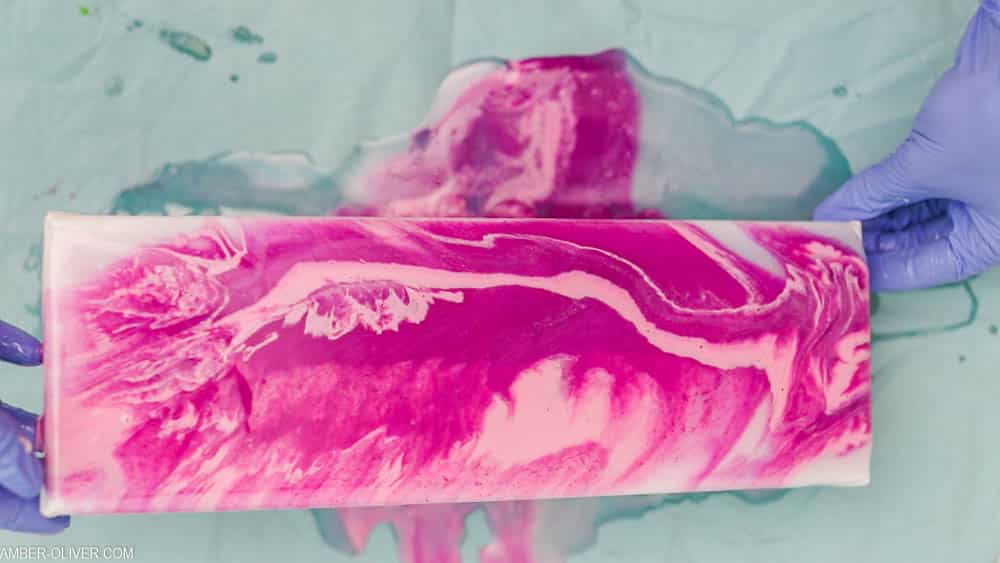
- Add each color slowly to a large cup, then gently pour onto your canvas.
- Carefully tilt the canvas to ensure the resin covers the surface completely.
- Use small measuring cups to elevate the canvas and allow the sides to drip. Use a brush to wipe away the pooling drips on the underside of the canvas.
- Allow to set overnight and don't attempt to move until it's cured!
Notes
About 20 minutes after your resin pour, you may notice bubbles on the surface of your project. You can use a butane torch to pop these or simply breathe on it with a straw. It’s the CO2 in your breath that releases the bubbles – not the heat!
I found this awesome rectangle canvas at JOANN and it was the perfect size for this project! I loved that it had a pretty heavy duty frame underneath.
One problem with using resin on canvas likes this is it can weigh down the center of the canvas. So for projects likes this DIY key holder, you want a smaller canvas that is nicely reinforced on the back so it doesn’t bow.
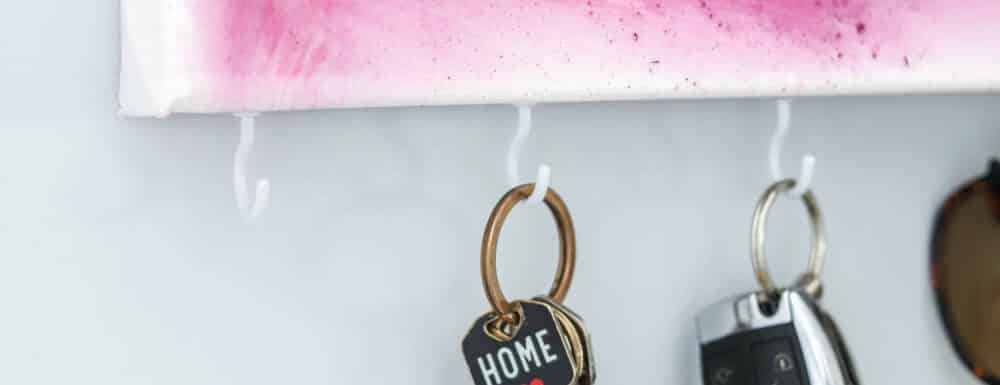
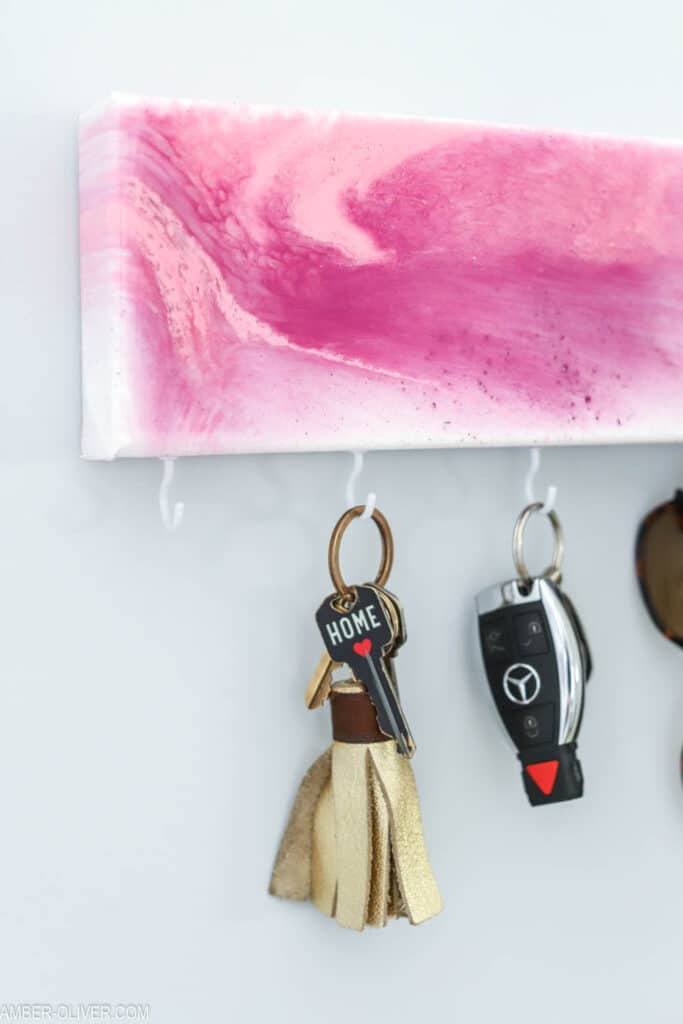
To add the hooks, I first drilled a pilot hole so then I could easy screw in the cup hooks by hand. Add as many as you like so that all your keys and sunglasses have a nice home base 🙂
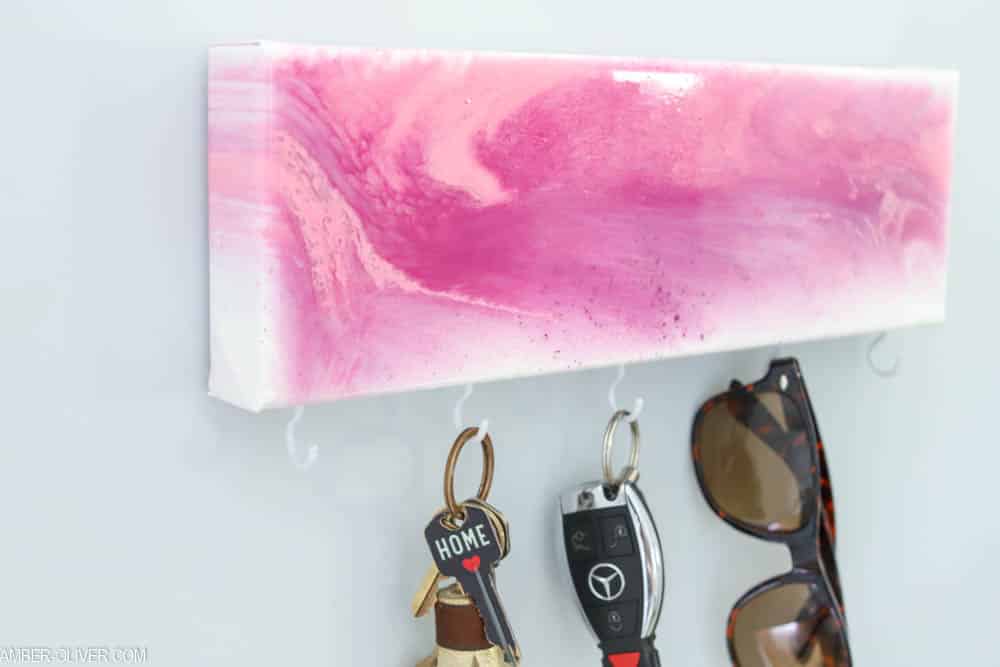
This design actually started a bit differently. I originally mixed up resin with blue and purple in addition to the dark and light pink, but when I poured it, the colors weren’t nearly as bold as I wanted.
The nice thing is, the resin pour is pretty forgiving! I moved quickly, and mixed up a few more colors and tried again – right over the first pour. It turned out beautifully and made the perfect DIY key holder!
If you’re interested in trying more Resin projects, please visit my Resin archives and check out all my projects on the Resin Crafts Blog!
Don’t forget to PIN for later!

 Stir for two minutes (be sure to scrape the bottoms and sides) then pour from the first cup into a second and mix with a new stir stick for another minute.

Leave a Reply