Last updated August 8th, 2022 at 03:01 pm
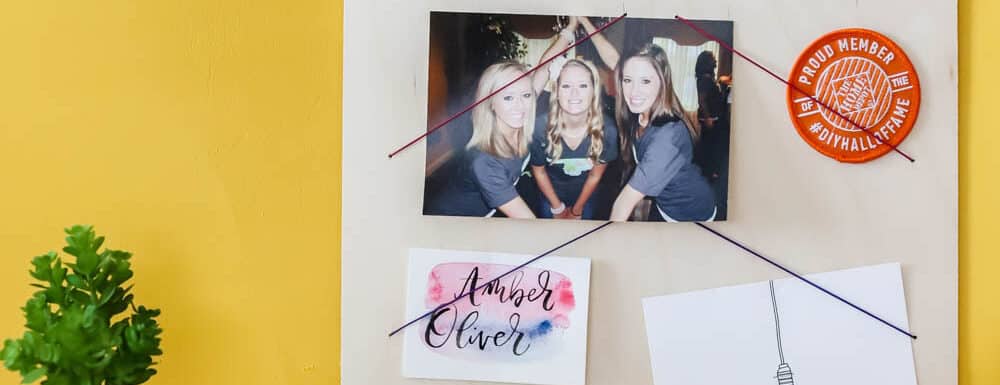
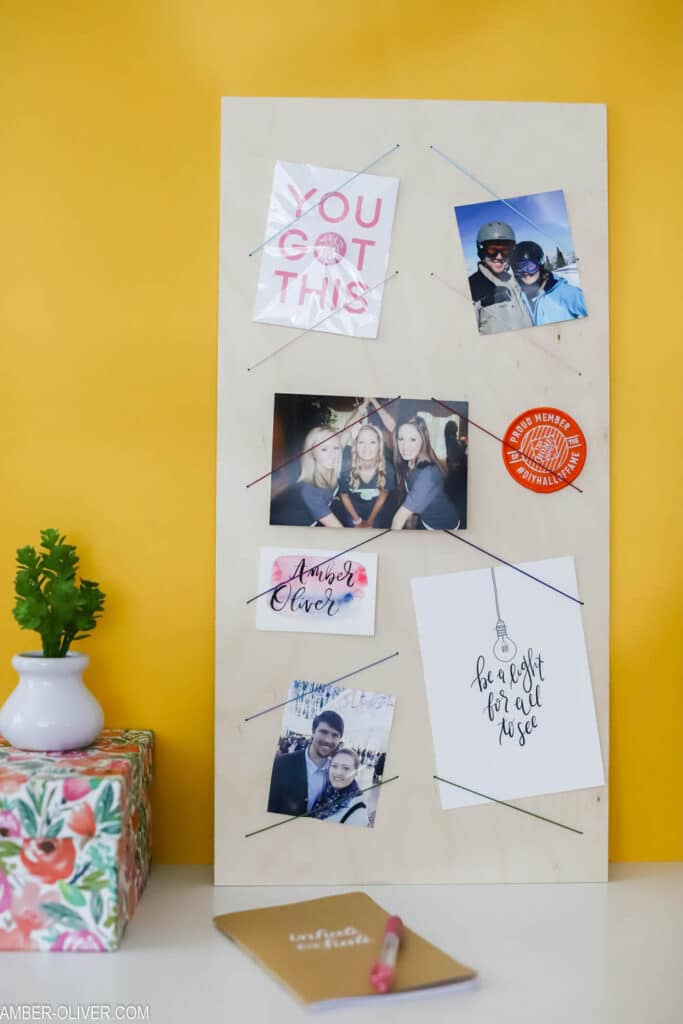
Learn how to make a DIY bulletin board to display your photos and keepsakes! This project is sponsored by JOANN.
I love a quick and easy project! I also love finding new ways to display my photos. I made this resin photo holder last summer and it inspired me to continue displaying photos around the house.
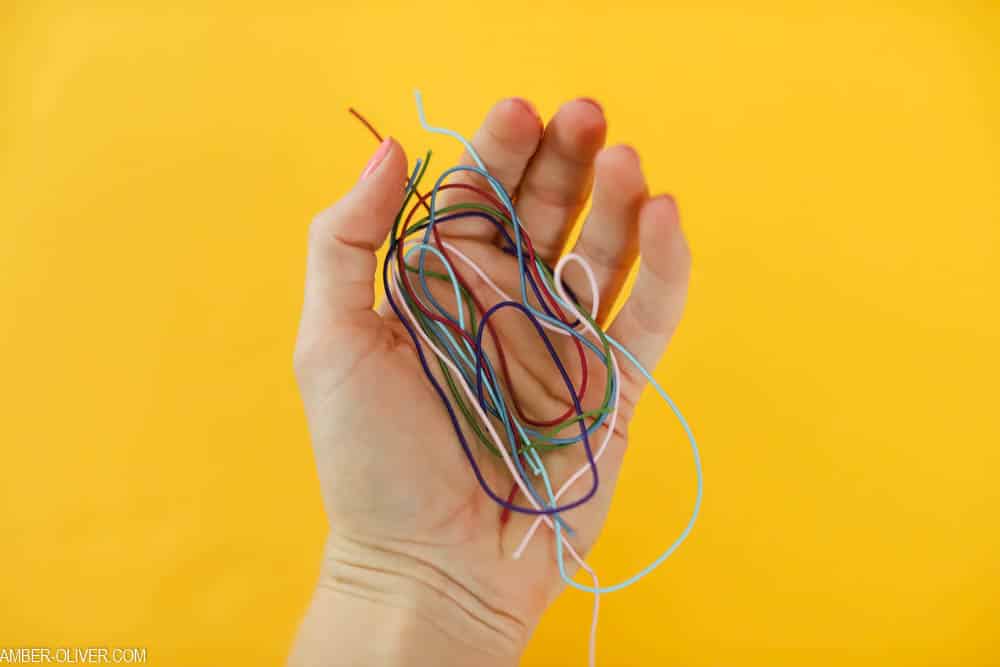
For this project I picked up two simple items from JOANN to create a cute way to display photos and keepsakes. I found this colorful stretch cord and decided to come up with a fun way to use it. I also grabbed a piece of thin plywood from the unfinished wood section and got to work!
DIY Bulletin Board

Learn how to make a DIY bulletin board to display your photos and keepsakes!
Materials
Tools
- Drill
- Ruler or Straight Edge
- Pencil
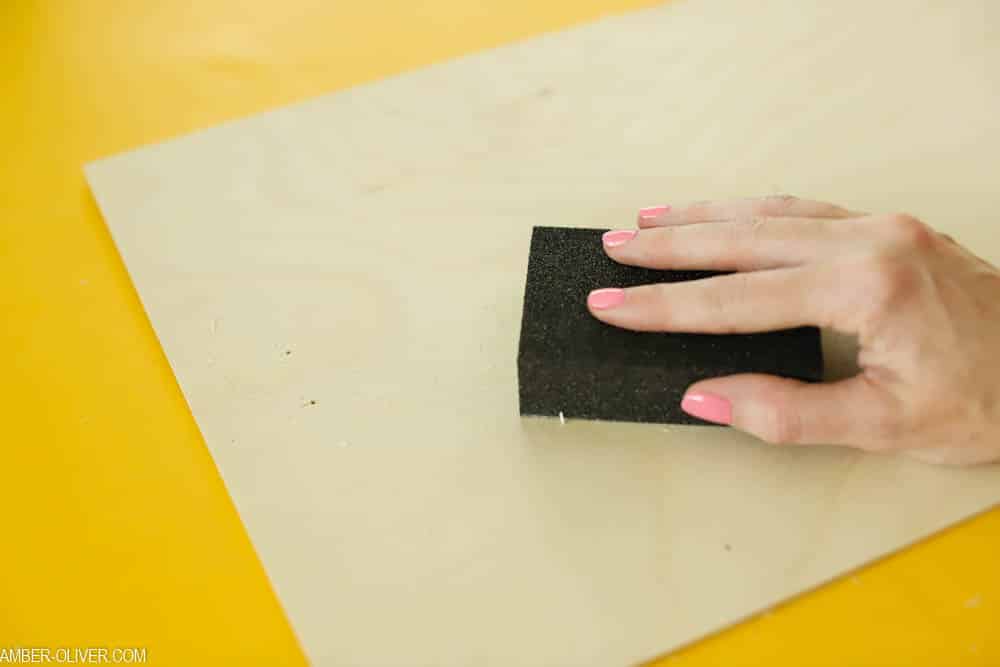
- Sand paper
Instructions
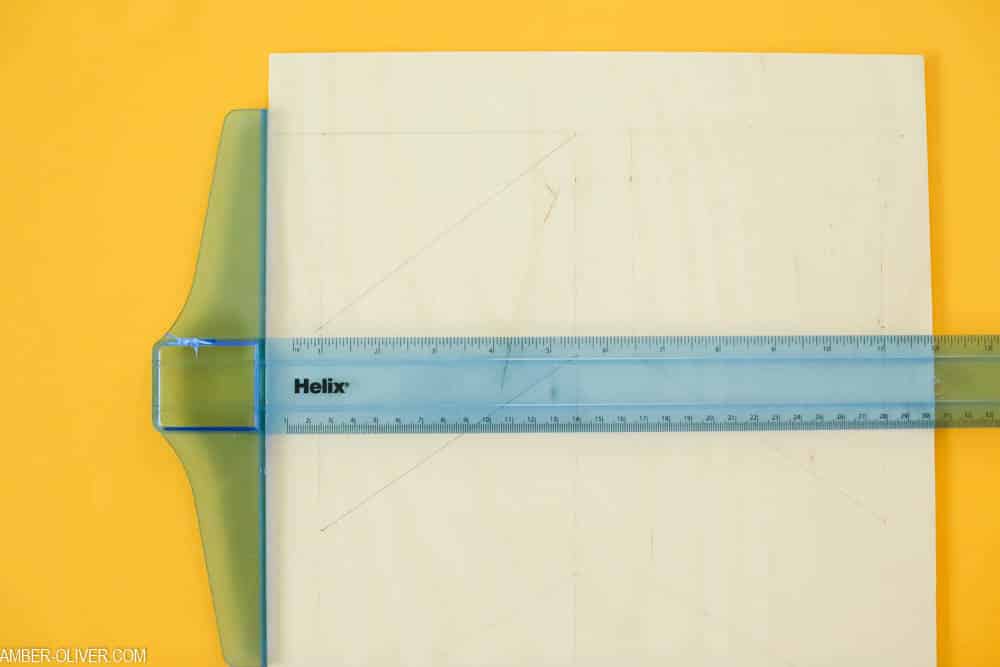
- Measure and mark your design.

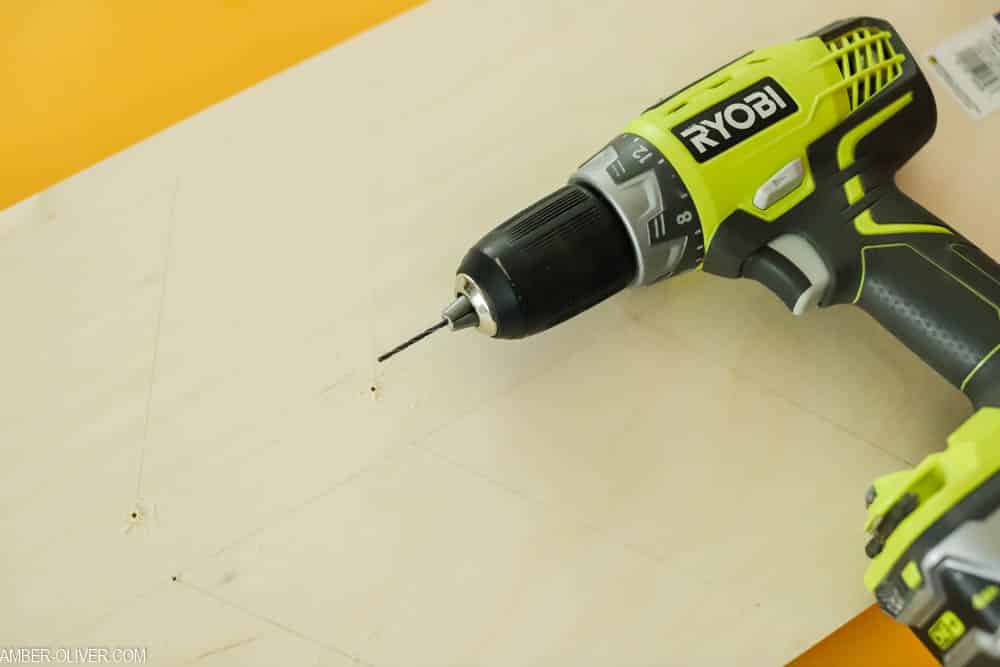
- Dill holes on each side of your lines.
- Lightly sand the surface.
- Cut small sections of stretch cord.
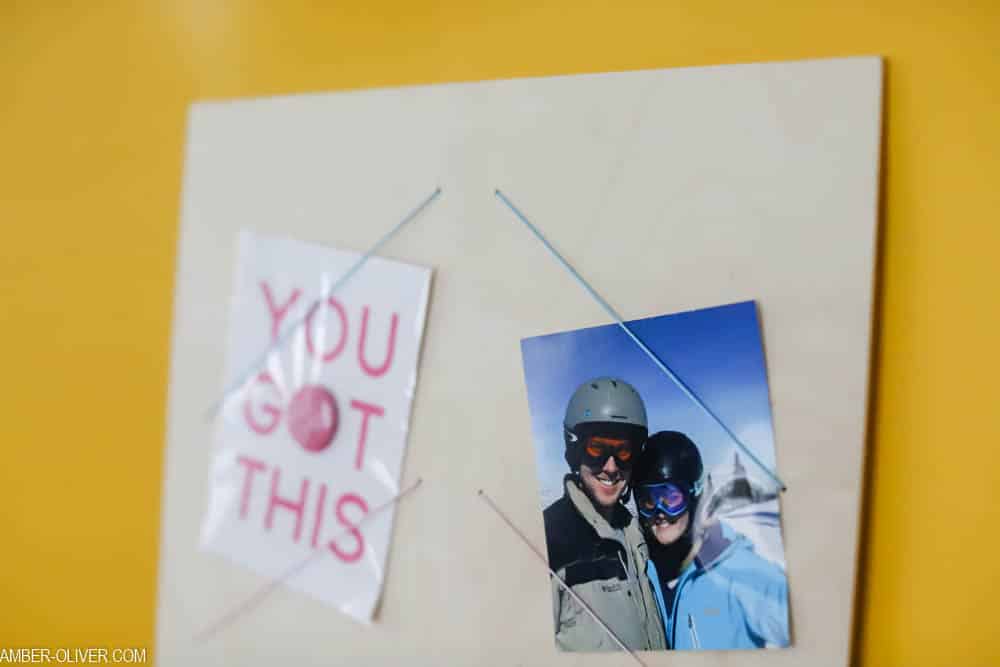
- Thread the cord through the board and tie tightly in place.
The simplicity of this project makes it quick and easy, but you could easily jazz this up with a bit of paint or wood stain. Get creative and create a really fun backdrop for your photos and keepsakes! How cool would this look using the paint or resin pour like I did on this stool?
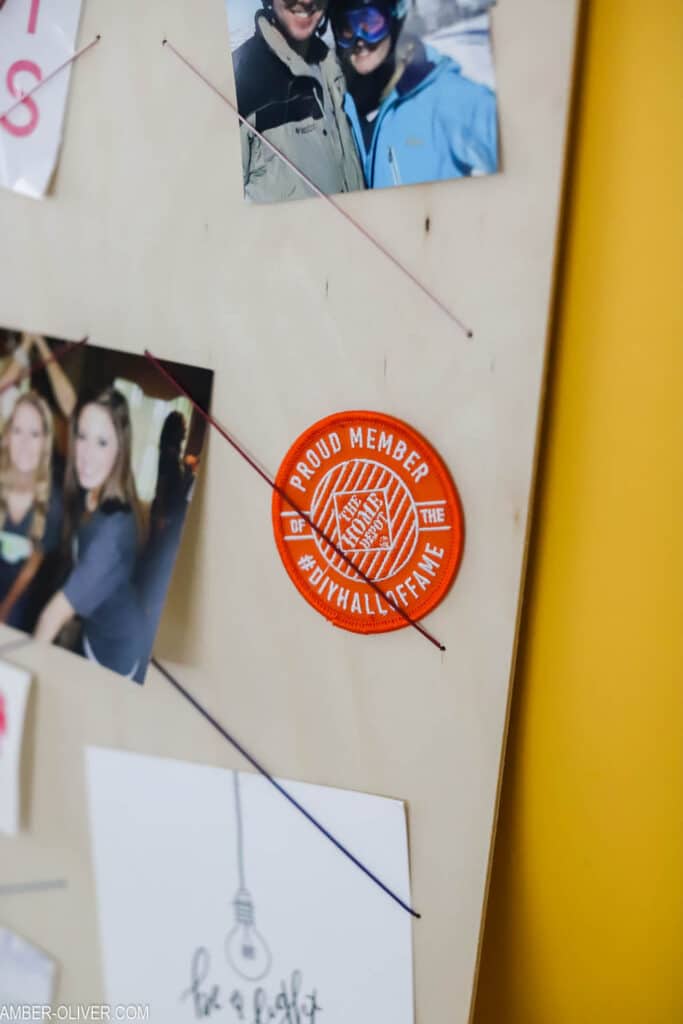

I hope this project inspires you to create a DIY bulletin board for yourself!
Leave a Reply