Last updated April 12th, 2024 at 03:56 pm
This project is sponsored by Cricut. This holiday dinner party had the perfect DIY dinner party decor thanks to the Cricut Explore Air 2.
I love to eat but I hate to eat alone. I’m so lucky that I get to have a dinner party EVERY WEEK! Our bible study group meets at our house every Wednesday and a while back we started taking turns bringing dinner. Some pick up take out (and several have their go-to place so we always know what to expect from them!) but sometimes we get lucky and someone will bring something homemade.
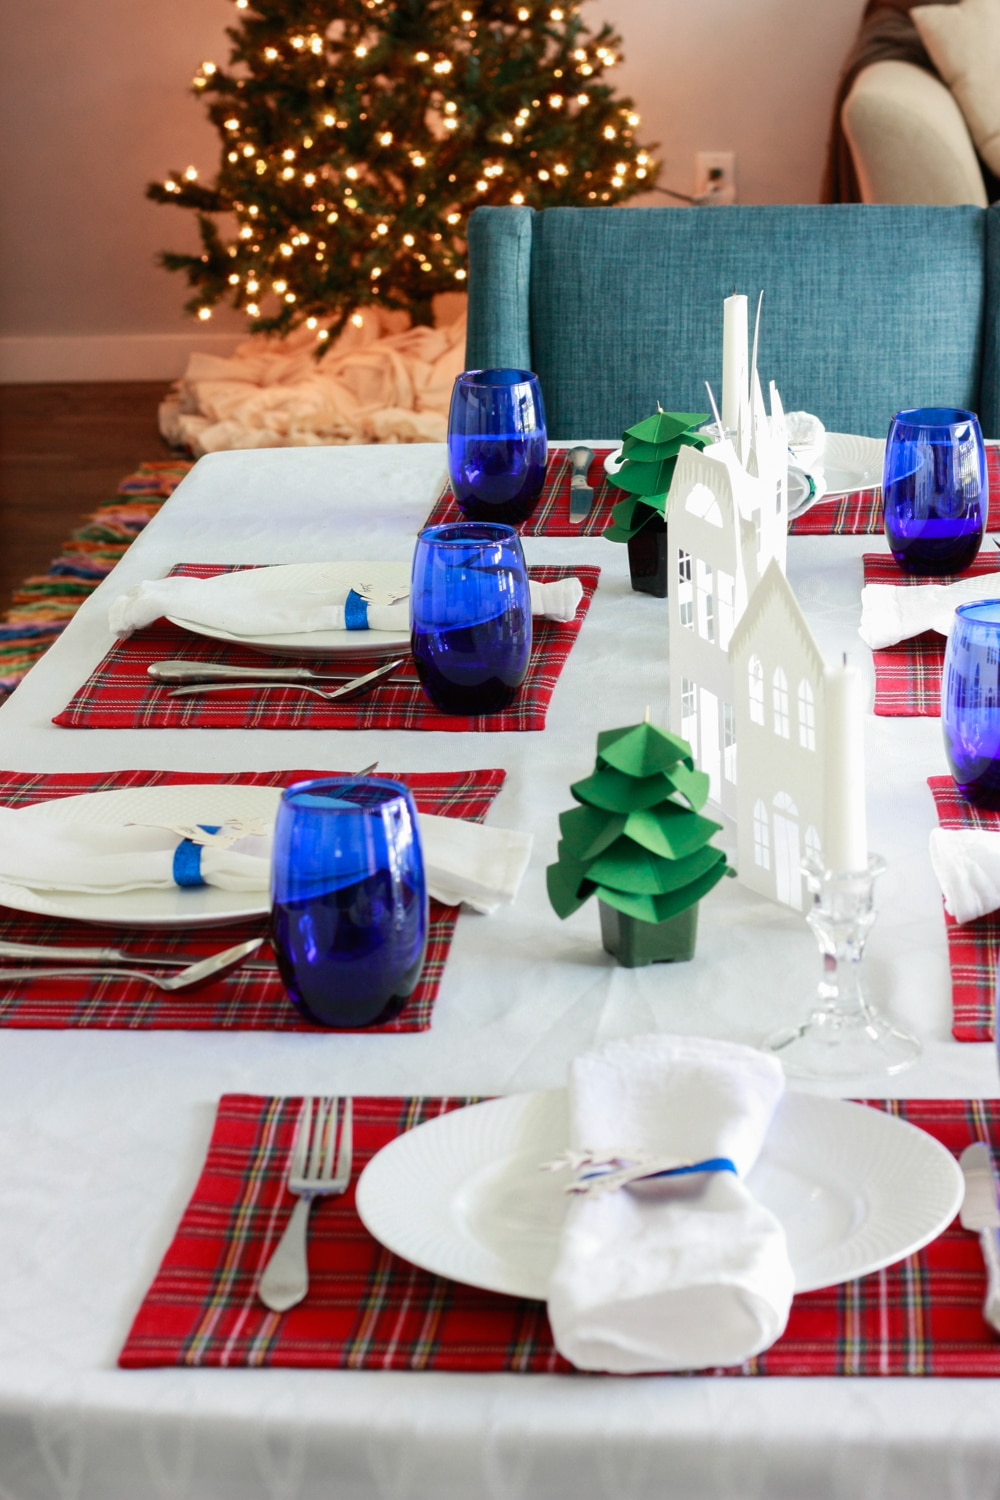
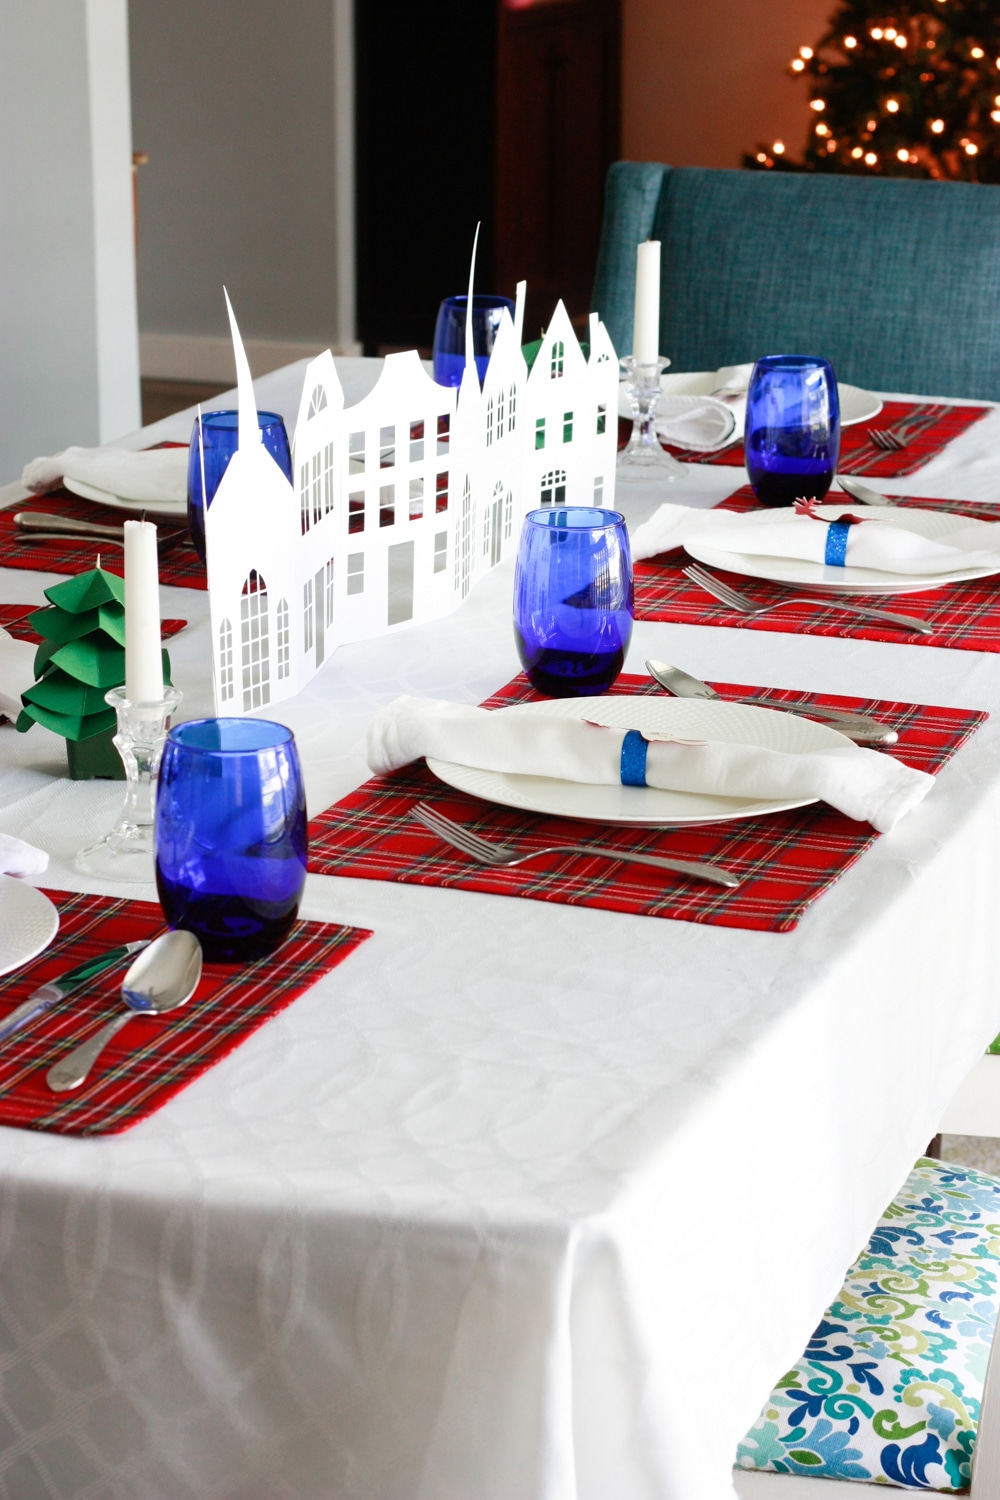
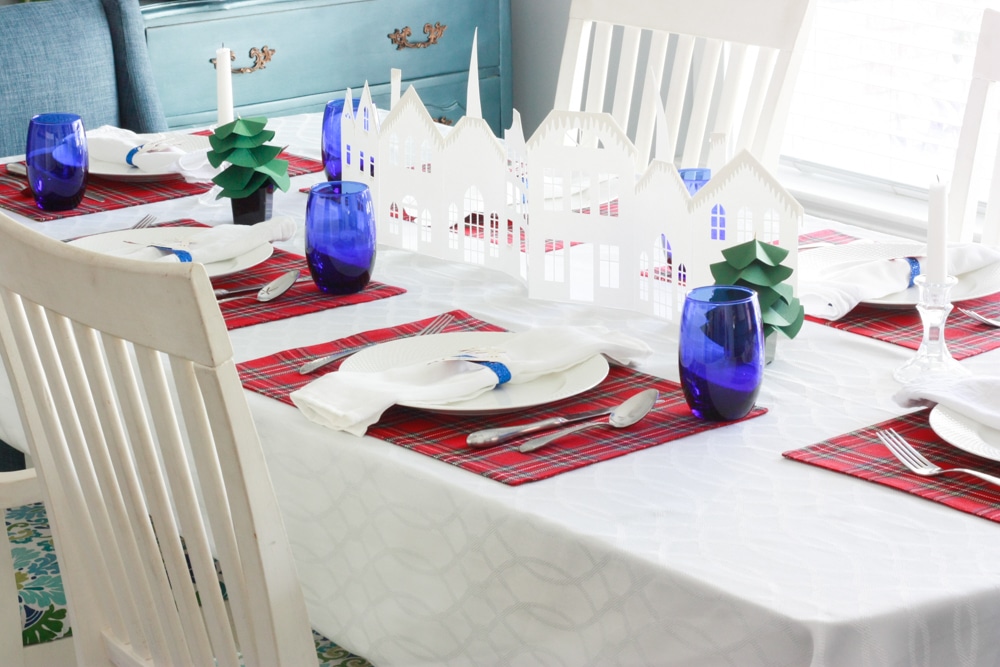
Every few months we even do our favorite night – breakfast for dinner! Since we host so often, the meals aren’t always *special* (we often use paper plates!) but the time we spend together is always a welcomed break in our week. For our annual ‘friendsgiving’ I wanted to put together the perfect tablescape so I used my Cricut to DIY beautiful holiday dinner party decor.
Table Decor for Holiday Dinner:
These are both Cricut “Ready To Make” projects! The ability to quickly and easily cut paper and more has really upped my decorating game. If you’re short on time, just choose a “Ready To Make” project and send straight to your Cricut. When you’re feeling creative, you create your own projects or customize the “Ready To Make” ones!
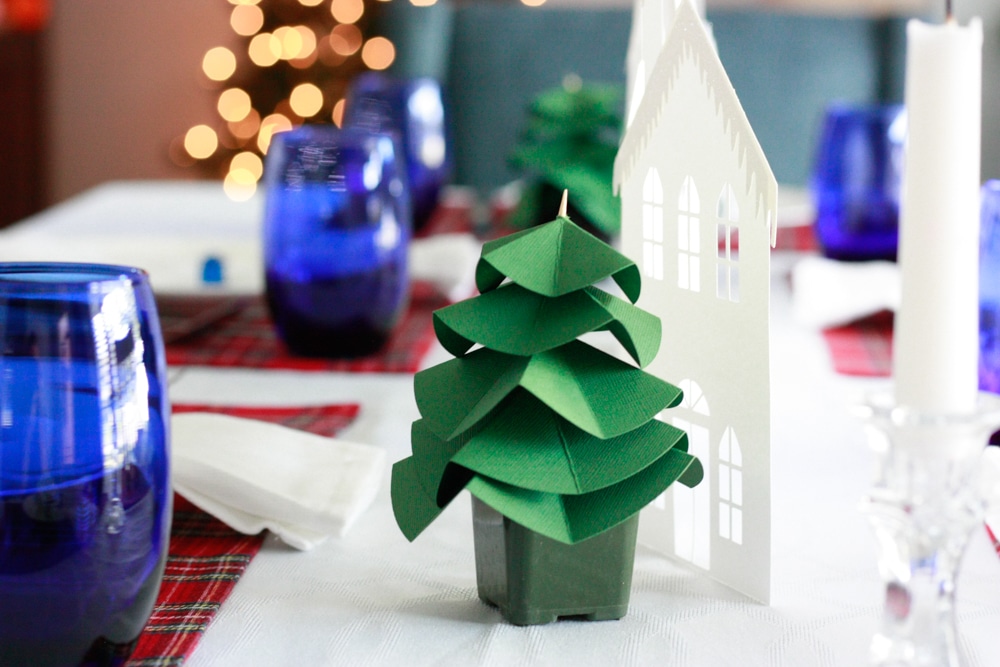
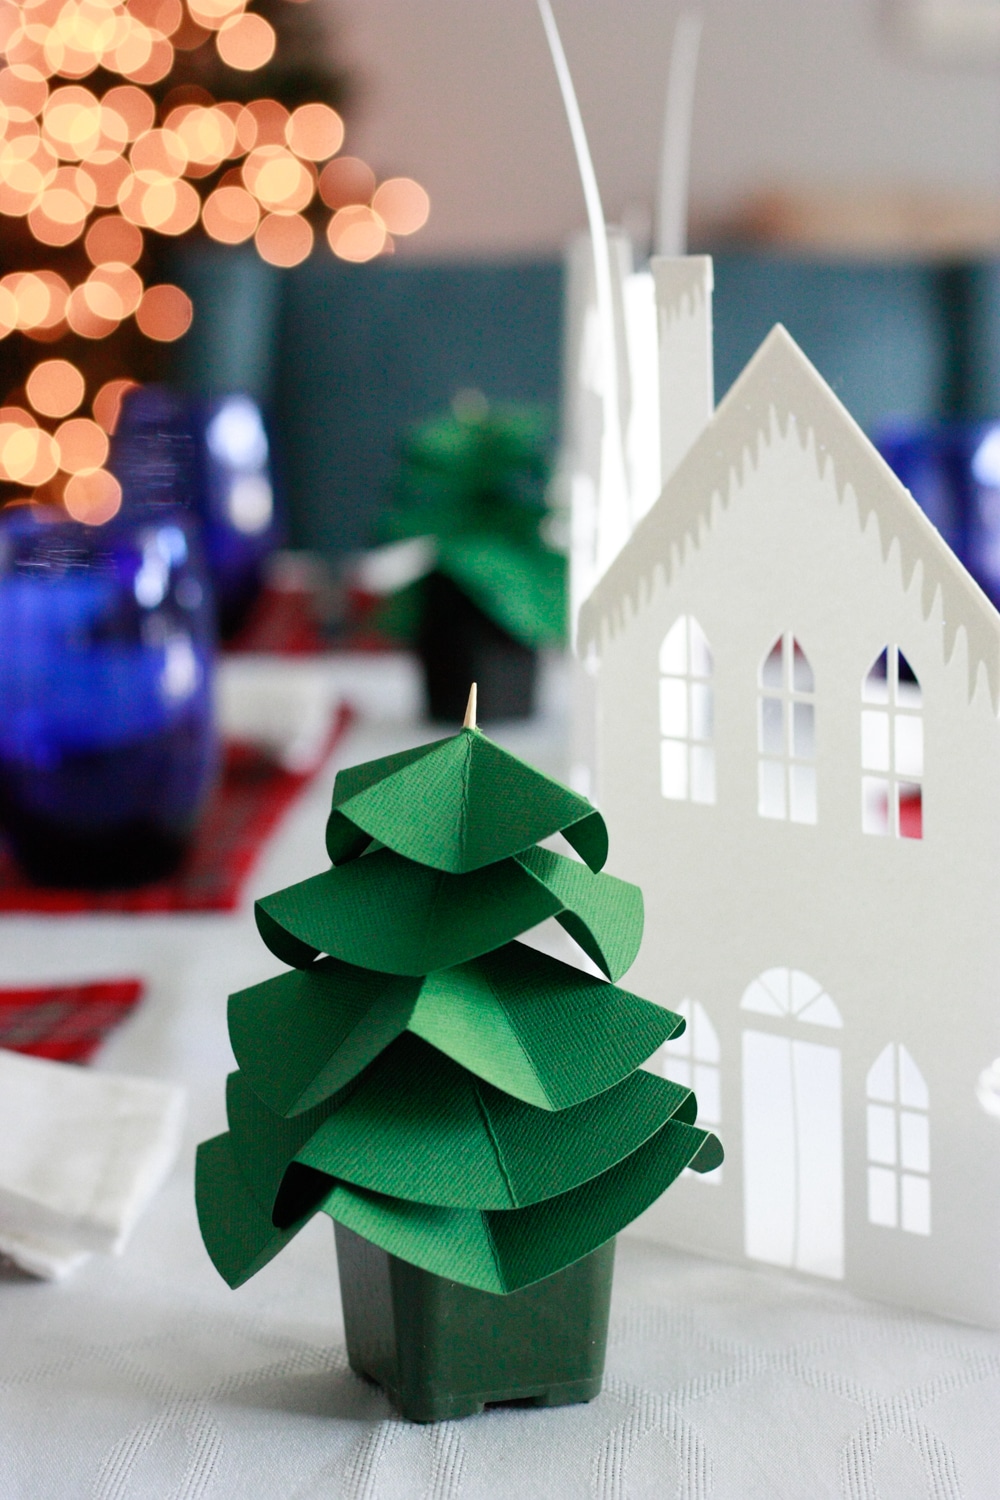
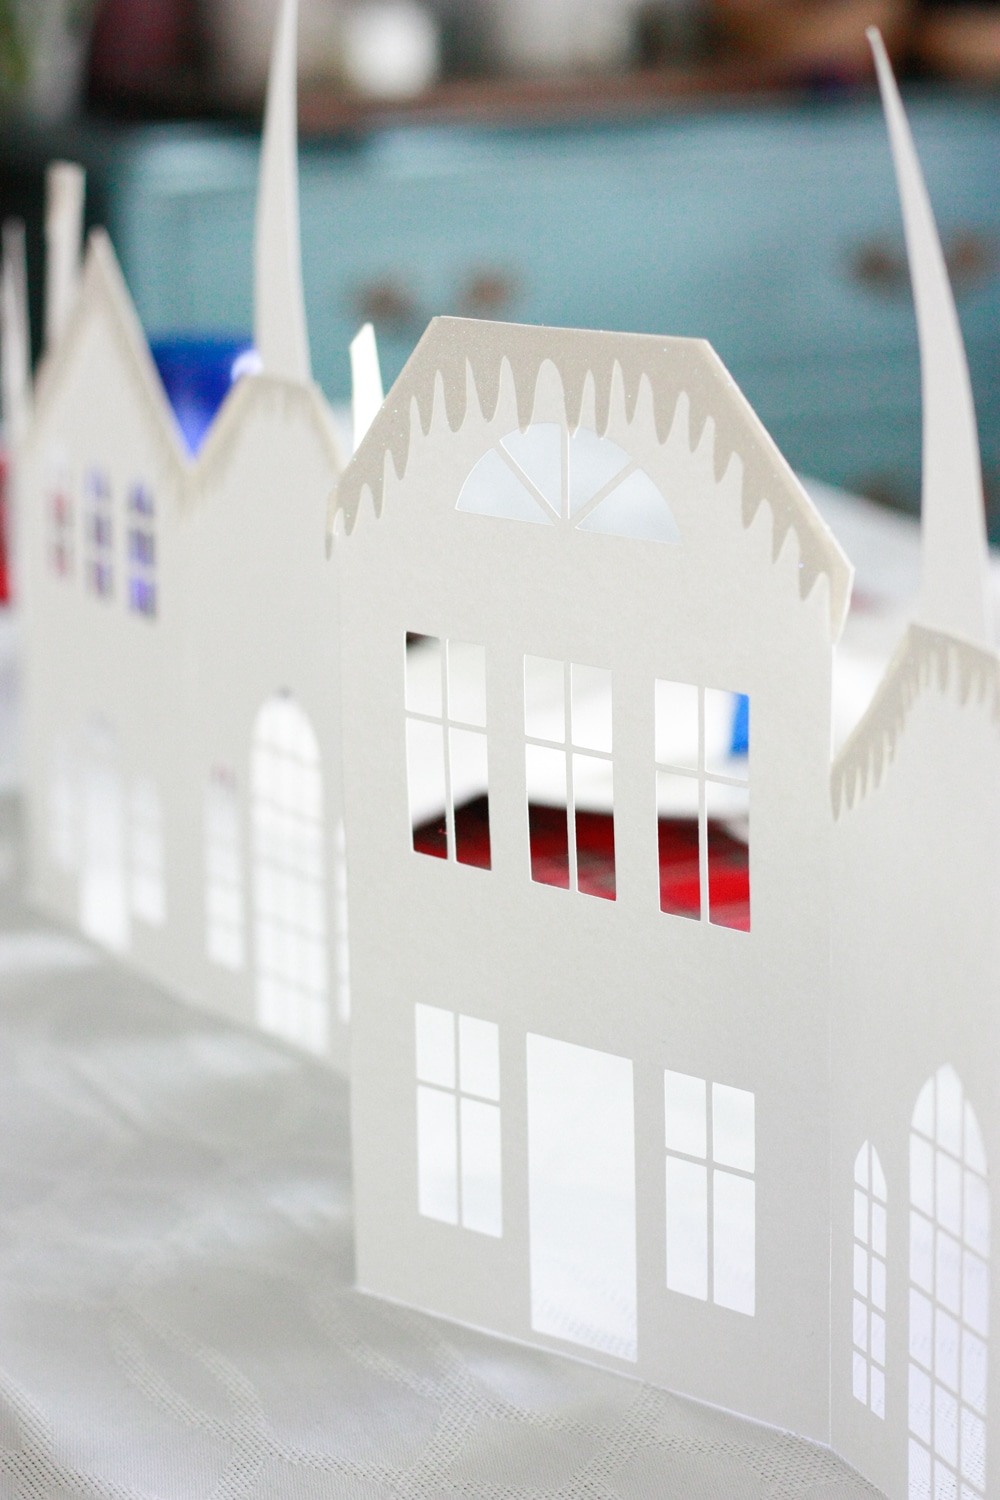
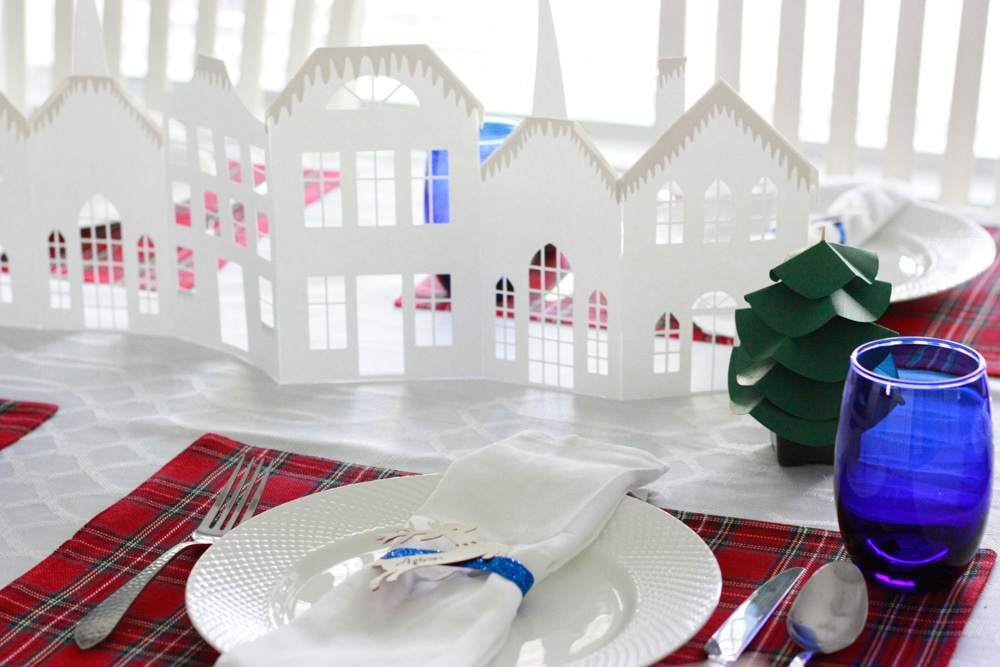
Christmas Village: Simply open them in Design Space and send to your Cricut! I skipped the velum for the Christmas Village, and used clear tape so this could be viewed from both sides. Skip the glitter, and simply cut the last mat from glitter cardstock!
Christmas Tree Circle: For the Christmas Tree Circles, I cut from Spring Green and Forest Green cardstock, then I hand folded them instead of using a scoring device.
Place Settings for Holiday Dinner:
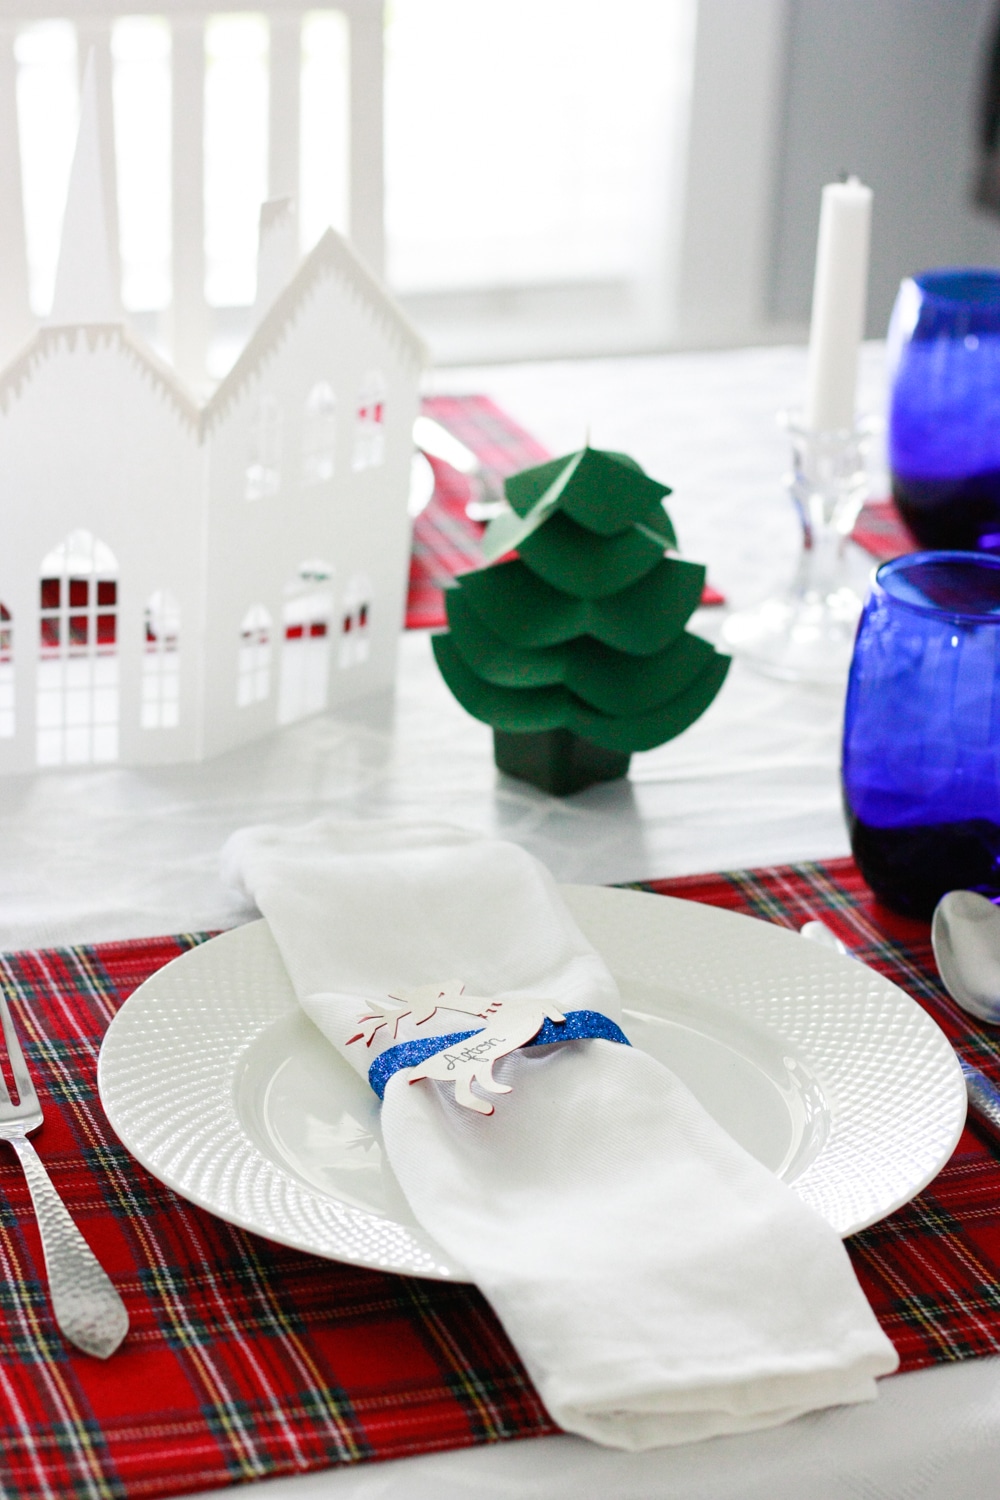
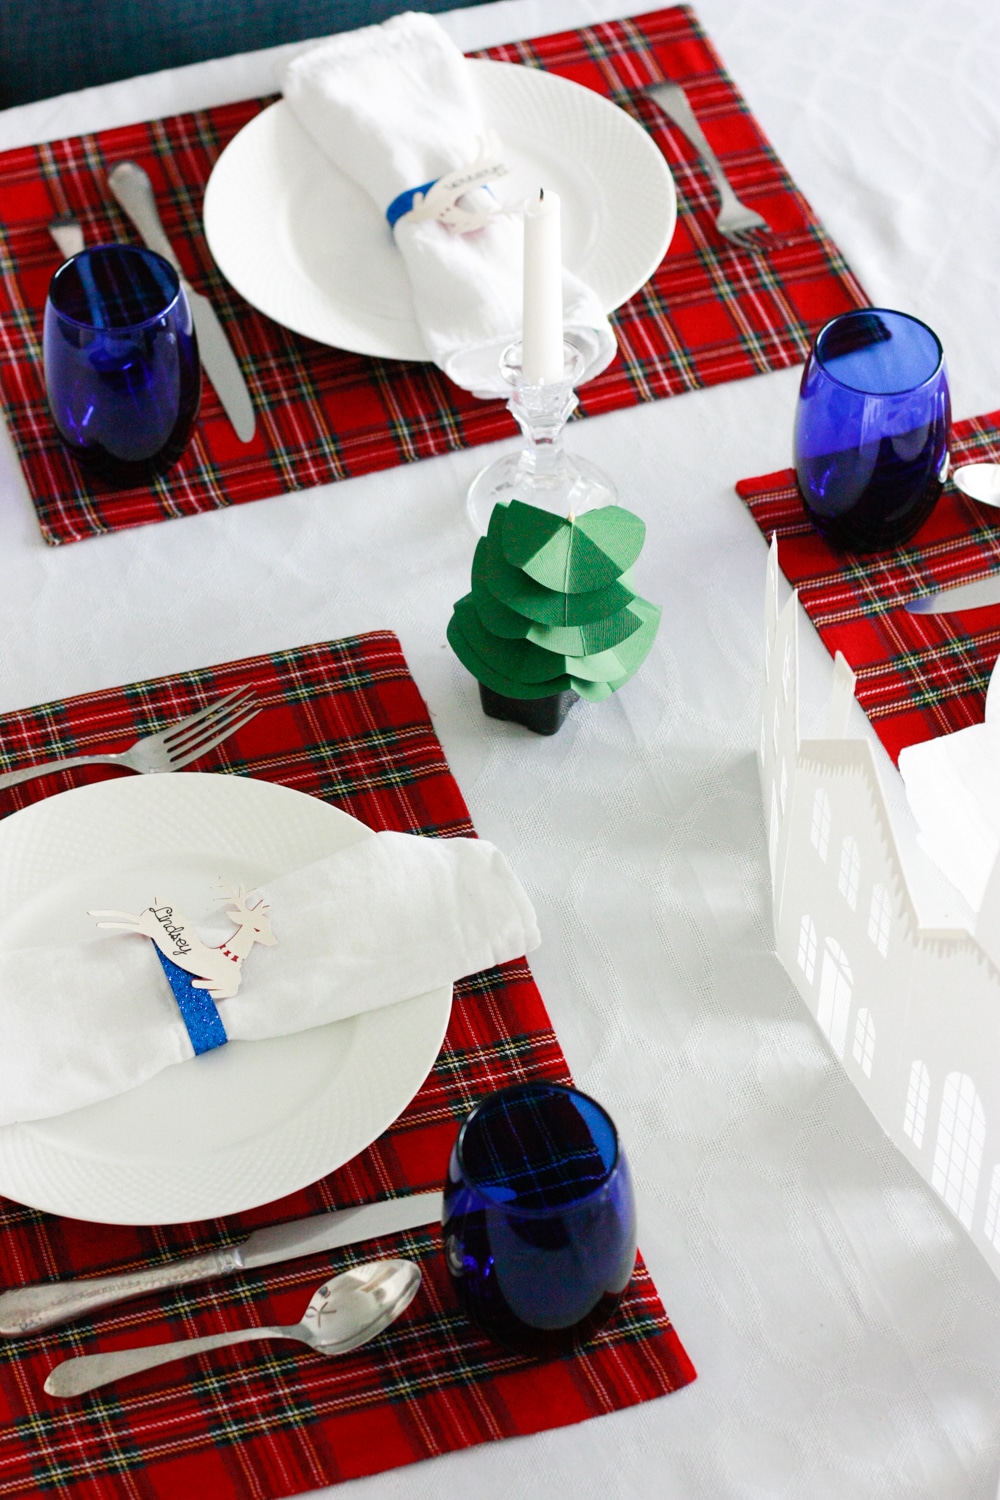
Napkin Rings: I cut a long, thin rectangle from glitter card stock. The Blue Sapphire cardstock matched my blue glasses perfectly! After you cut, either staple or glue together to create the napkin ring.
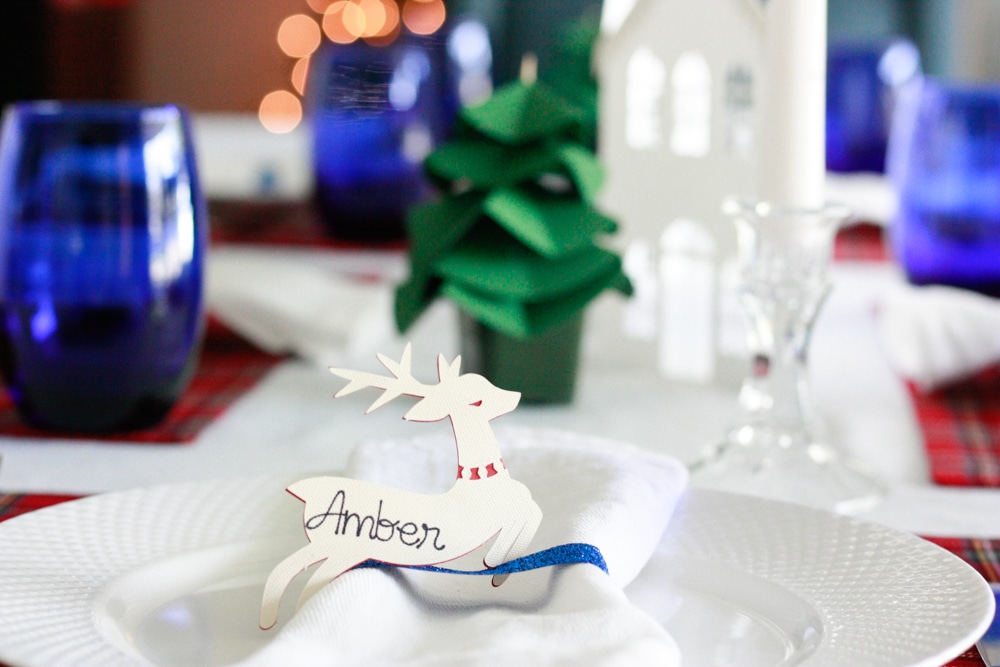
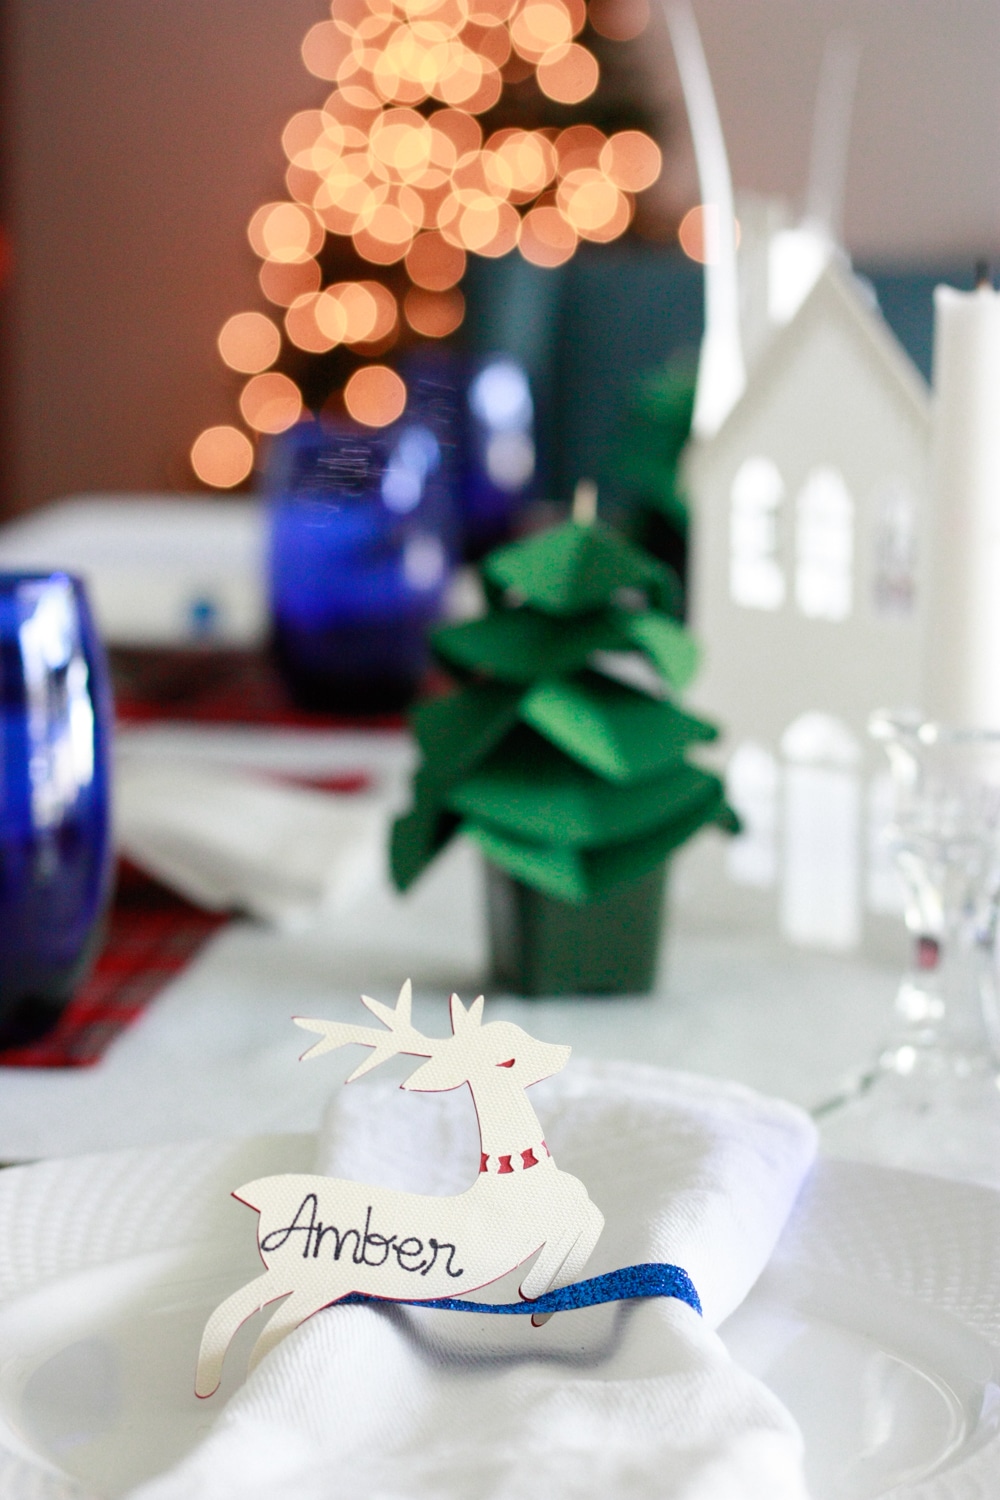
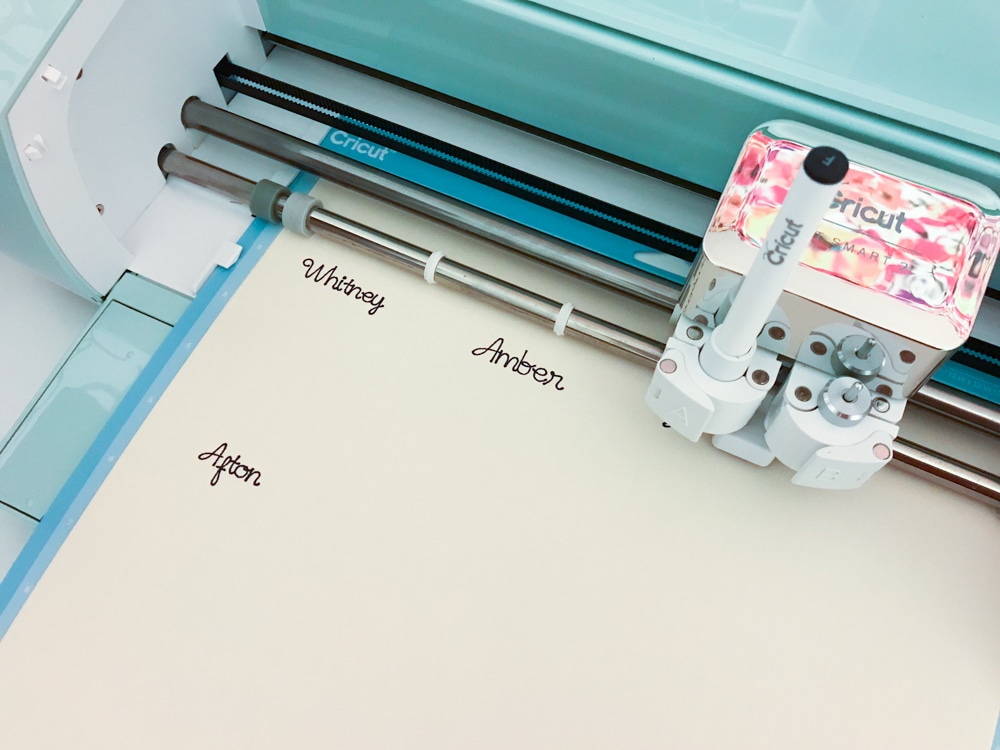
Reindeer Placecards: I used a Reindeer found in Design Space. To customize: open the file, ungroup/unattach the text, edit the name, then reattach and group.
[/one-half]
Having place cards on the table (even for family and friends) is an easy way to make everyone at your dinner party feel special. Taking the time to set a place individually for each person will make them feel welcomed and loved! You can use the Cricut Explore Air 2 to WRITE for you! So no worries if you don’t have the best handwriting 😉 Instructions for adding text to design space files can be found in this helpful video tutorial from Cricut.
So often the party ideas I find on Pinterest and throughout blog land are more juvenile or geared towards kids. For this party, I wanted more mature/sophisticated dinner party decor and was able to pull it all together easily thanks to Cricut!




Ginger Owens Arrington says
Your table looks fabulous. I love my Cricut Explore Air 2. My “list” of projects is so long.