Last updated January 2nd, 2020 at 10:03 pm
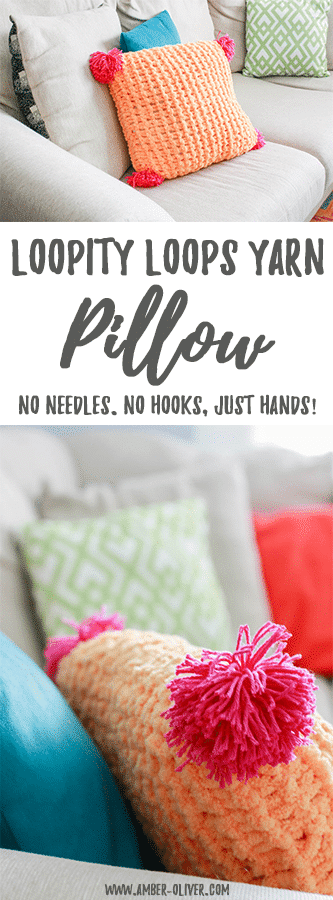
Try your hand at knitting – no needles, no hooks, ALL hands! This Loopity Loops pillow project was sponsored by JOANN!
Growing up we spent our summers with my Grandma Ruby. She lived in a tiny town that didn’t even have a stop light. My grandma and aunts loved what I now know as “junkin” but what I remember was a LOT of garage sales! Going to them and hosting them.
Long hot summers were full of old clothes and picture frames and lots of unique items sold for a quarter a piece. One of MY prized finds was a bag FULL of yarn. There were probably 50 or more little balls left over from large skeins so I had EVERY color! As a creative little gal, I was convinced I would learn to knit or crochet.
I’d started embroidery when I was like 7 – how hard could it be? Well, a few misshapen “oven mitts” later I gave up that goal. I never got very good with crochet or knitting and climbing trees with my brother probably sounded more fun back then.
Flash forward 20 years and I learned a super easy technique that doesn’t require knitting or crochet needles! I got to try Loopity Loops yarn and found it SO easy and fun! I started with a small project – a Loopity Loops pillow – but I’m excited to move on to a larger project soon!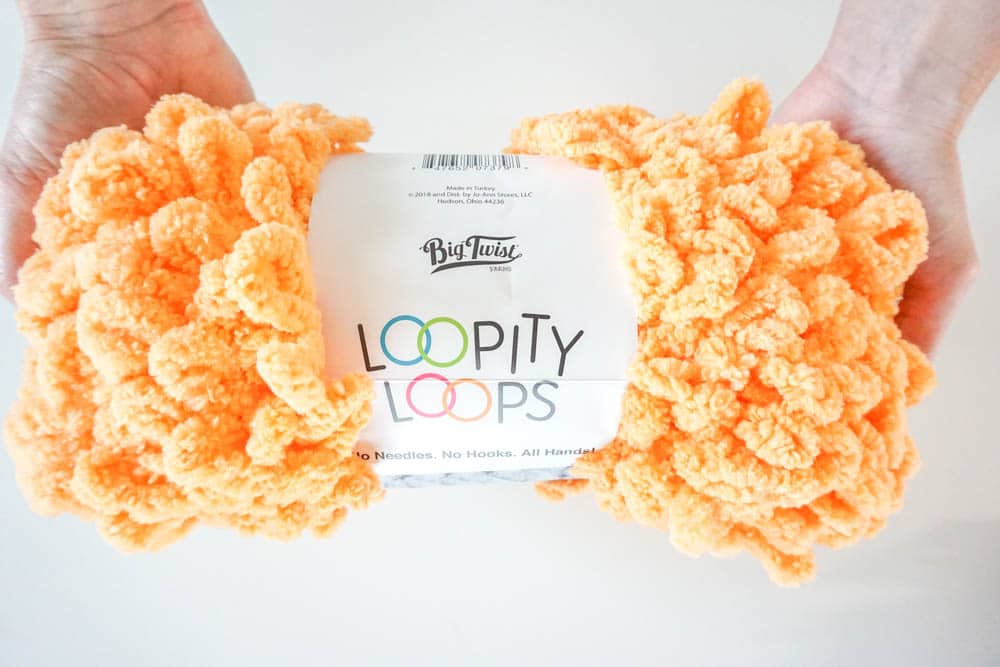
Loopity Loops Pillow
Try your hand at knitting and create a pillow from Loopity Loops yarn– no needles, no hooks, ALL hands!
Materials
- 1 ball Loopity Loops Yarn
- Scissors
- Coordinating yarn
- Two hands! ????
Instructions
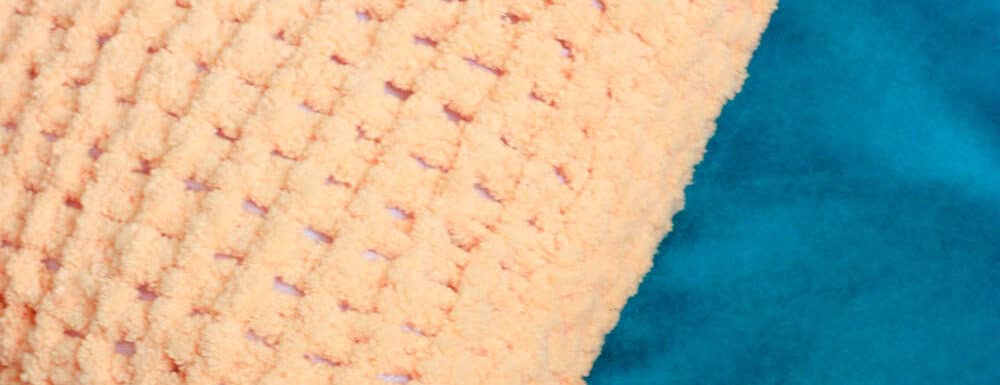
- Decide how wide you want your pillow and count out a number a loops – my Loopity Loops pillow was 20 loops wide.
- Working from left to right, pull the 21st loop (from ‘working yarn’) up through 20th loop (last loop of foundation row) from behind to create a knit stitch. Pull next loop from working yarn up through next loop of foundation row.
- Continue looping through until you are back to the other side. I then like to flatten them to keep everything neat and easy to see!
- Keep going until you’ve completed 20 rows (20×20 makes the perfect pillowcase!)
- After you’ve completed the last row, it’s time to bind off. Working in same direction as last row, pull 2nd stitch through first stitch. Pull 3rd stitch through 2nd stitch. Pull 4th stitch through 3rd stitch. Continue in this manner to end of row. Cut last loop to create a yarn ‘tail’. Tie to secure and weave in ends.
- Repeat the process to create both sides of your pillow!
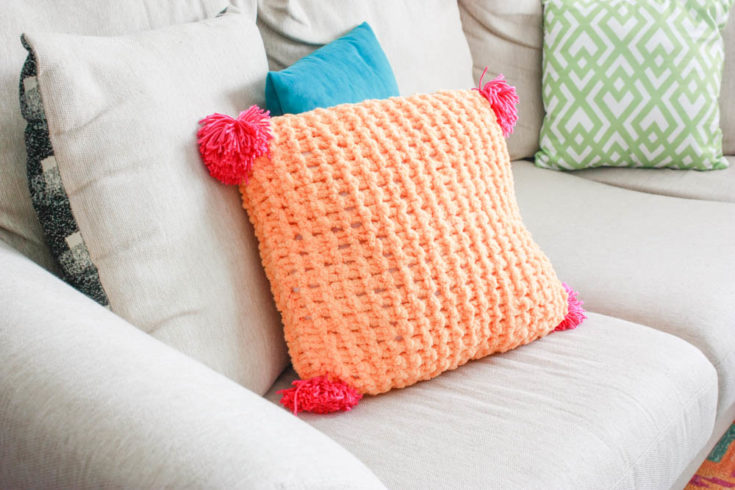
- To connect the front and back of our Loopity Loops pillow, I used yarn to sew the edges together. Nothing fancy, just weaving it around the edges and tied it off. I did 3 sides, added in a pillow form, and hand sewed the last side together.

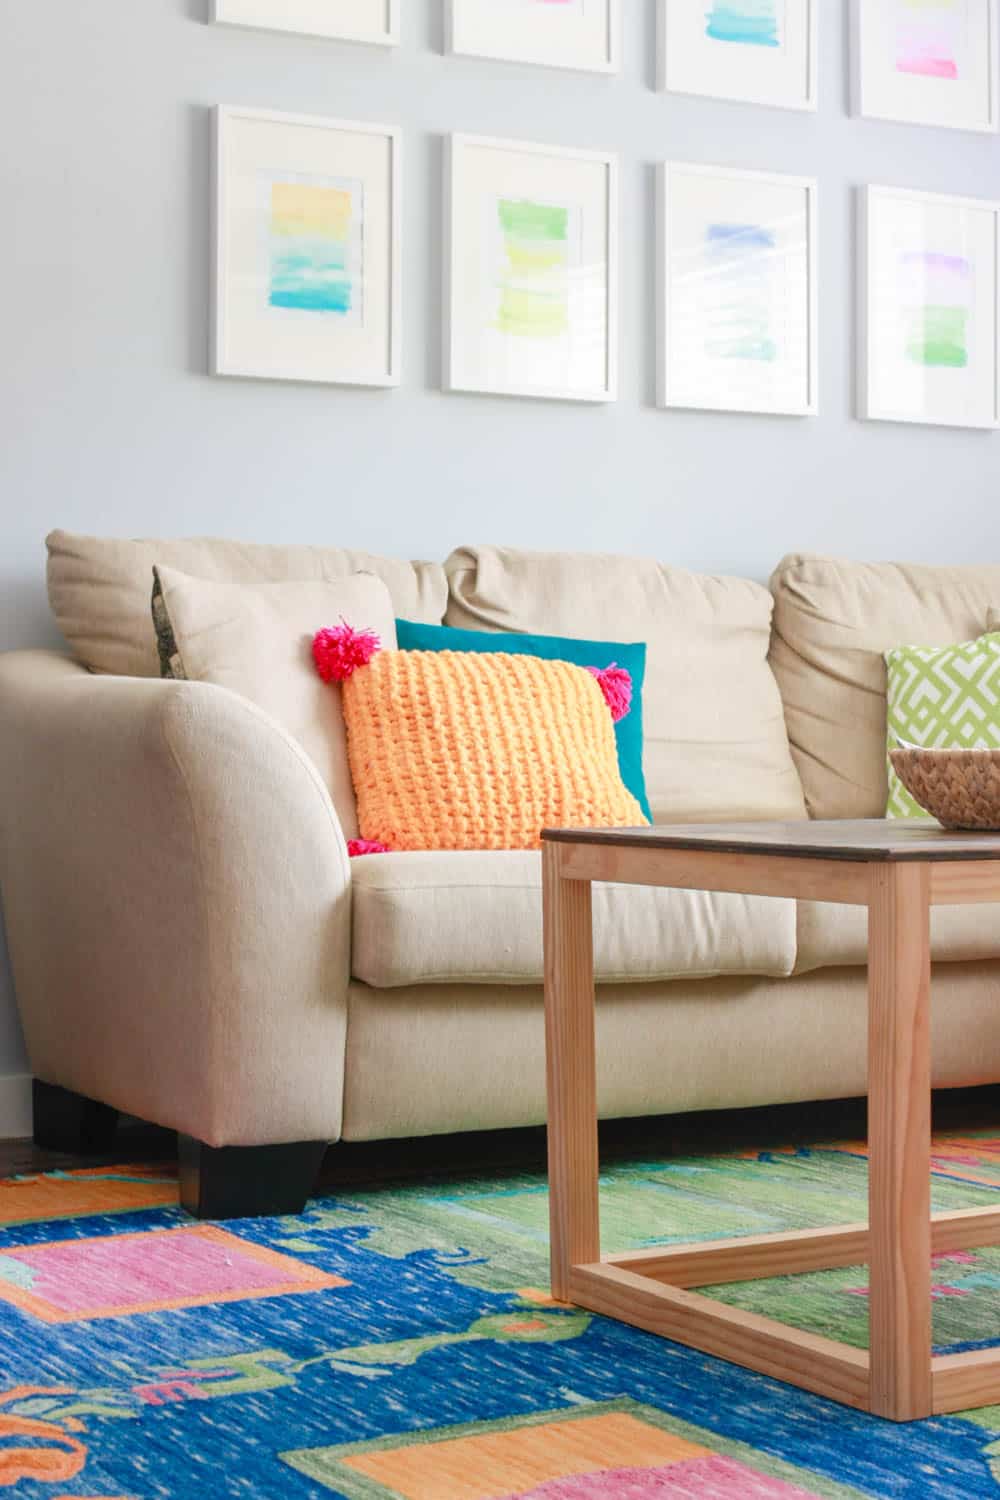
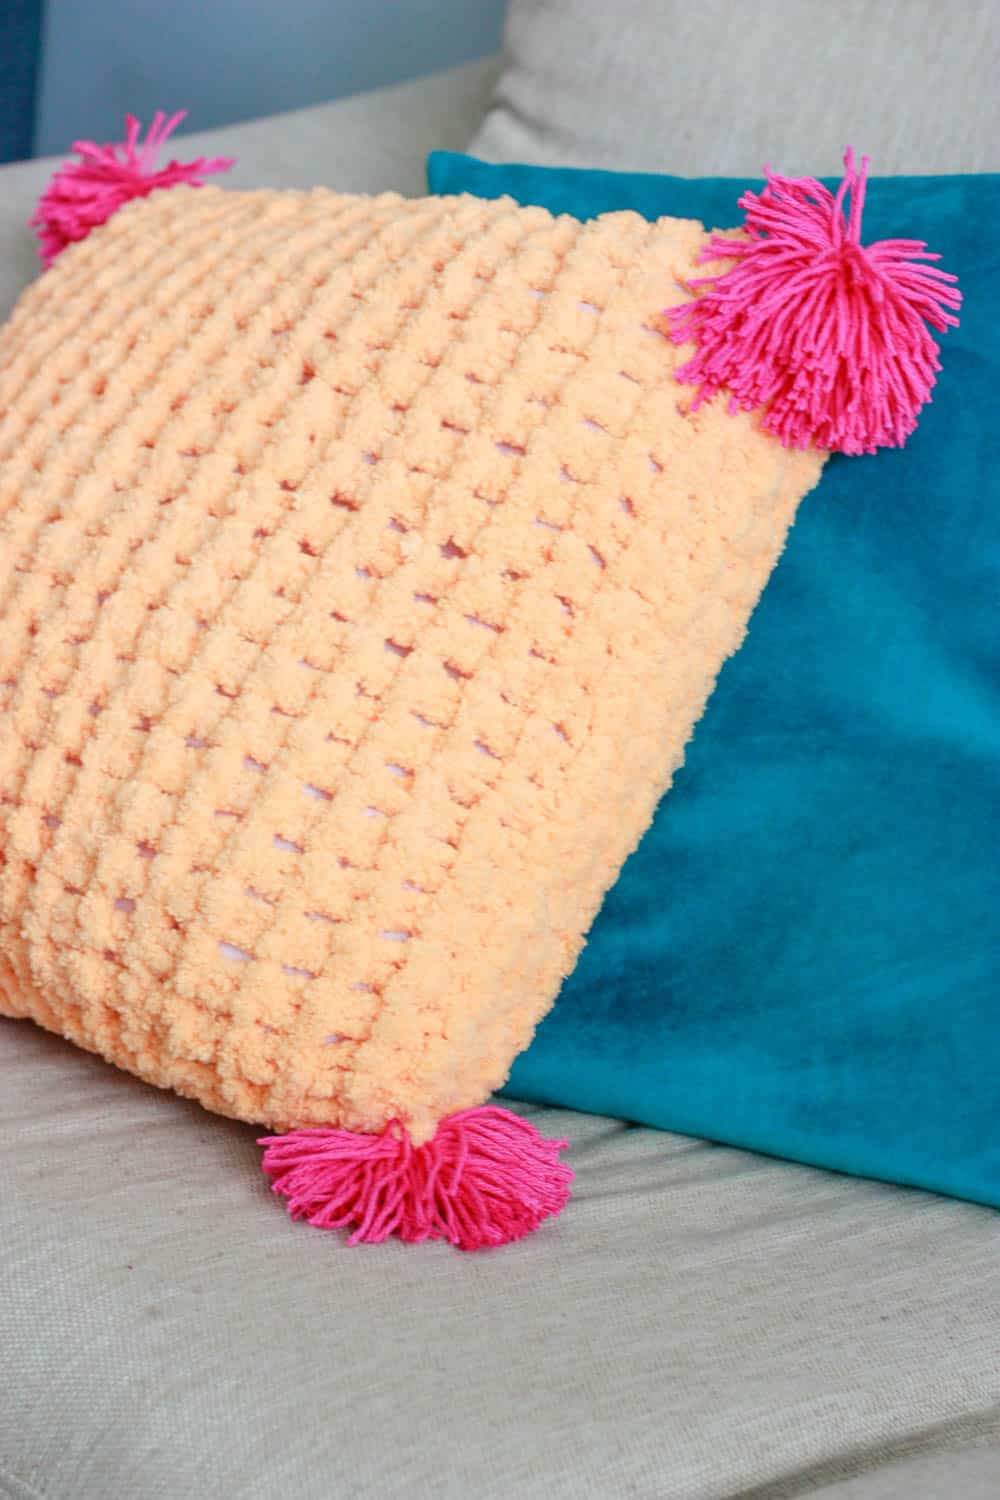
My finishing touch was to added adorable yarn pom poms on each of the corners. I had some super cute yarn colors left from my HAPPY bag, and considered doing multiple colors but ultimately decided on PINK! The orange and pink went perfectly with my living room decor!
Don’t forget to PIN for later!
Jeannette says
How do you keep the sides from curling
Amber Oliver says
I didn’t have that problem! I’ve made these pillows and several blankets! 🙂
Cindy Noori says
So how much could I charge for the round loop yarn pillows requiring 2 balls of yarn?
Amber Oliver says
Not sure.. I usually get the yarn for around $7 with sales and coupons!
Corinna Sapko says
What size pillow form did you use for this pattern?
Amber Oliver says
Hi! It’s 20×20 🙂
Karen says
How many rows and foundation loops will I need for a 16 x 16 pillow form?
Amber Oliver says
My guess would be 16 (since it took 20 for this on a 20 inch pillow). Your best bet is to hold it up to the pillow before beginning to make sure it’s wide enough 🙂