Last updated August 19th, 2022 at 02:53 pm
This project is sponsored by JOANN!
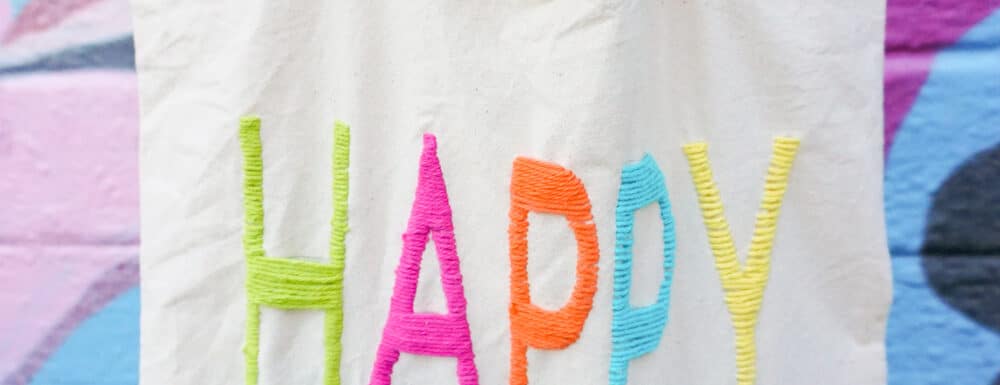
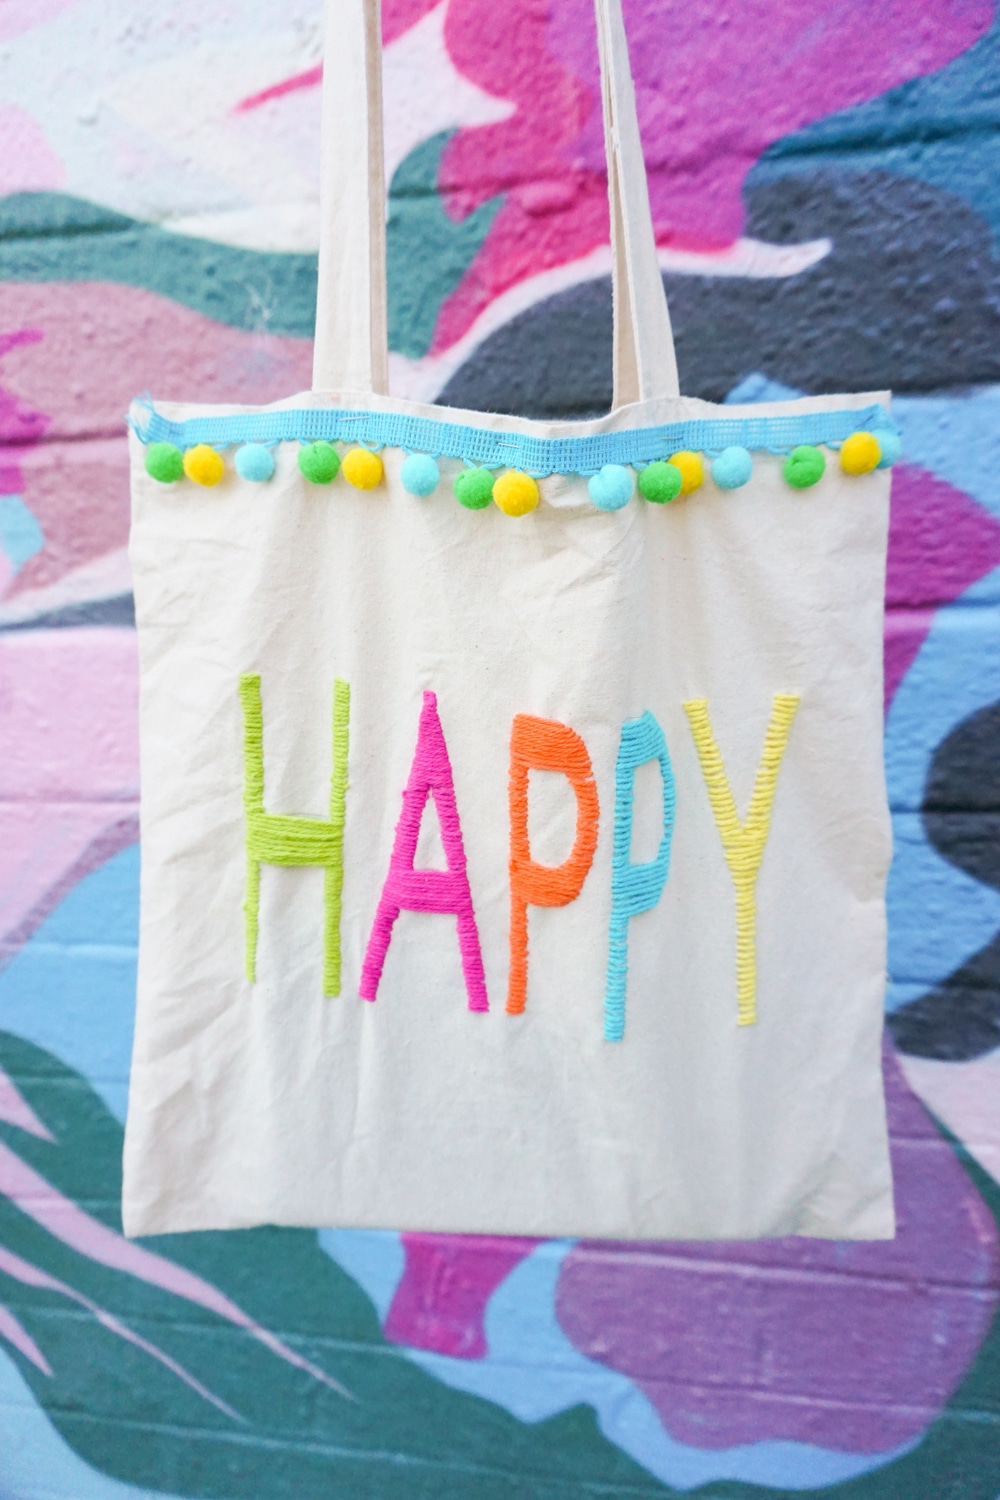
If you’re happy and you know it, clap your hands! The beautiful spring weather and colorful blooms have me feeling inspired and happy. What better way to convey that than with a bright and colorful HAPPY bag!
Can you use yarn for embroidery? YES! I tried an easy embroidery with yarn technique to create this fun tote bag. This is an easy hand stitching project that is great for someone who is new to needle crafts.
Using yarn instead of embroidery thread makes this project much quicker than a traditional embroidery project! You can pick up all the supplies you need for this project and JOANN and finish this project in one afternoon.
Yarn Embroidery
How to Embroider Letters with Yarn!
Materials Needed:
Tote Bag (A heavy canvas or duck cloth works best!)
Yarn in assorted colors
Embroidery Hoop
Needle
Scissors
Stencil
Pencil
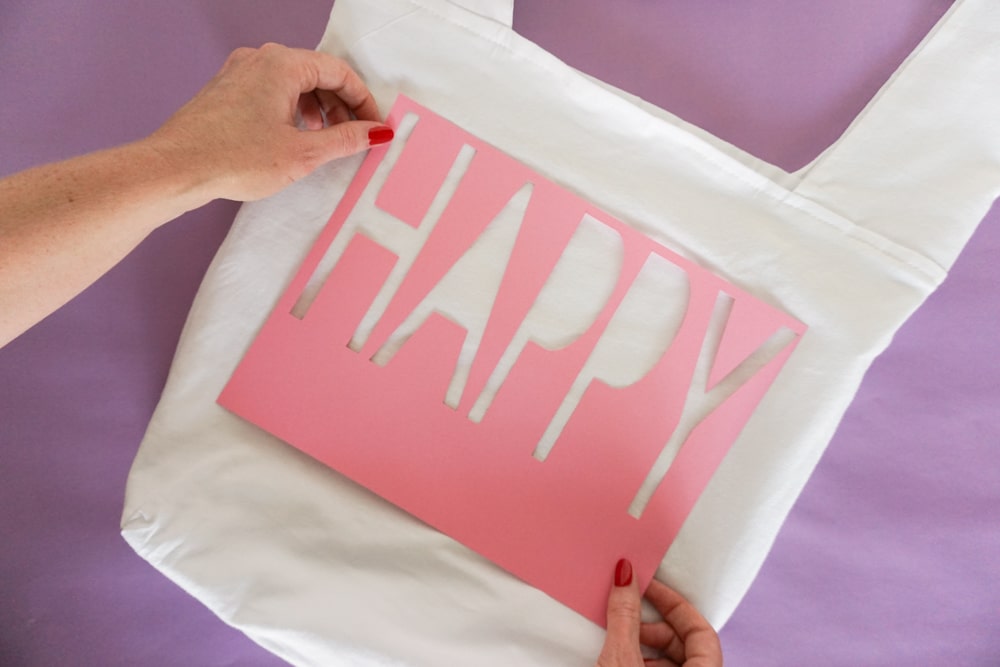
Step 1: Start by stenciling the word you want to embroider on the bag. I used my Cricut to cut out the words quickly and easily, but you could also use a stencil from JOANN or cut a design from Microsoft Word. I will say, having a Cricut makes things so much easier!
Love Cricut crafts? Get creative with these super easy, and fun to make, DIY Cricut crafts and home decorating ideas. There are 28 different projects to see!
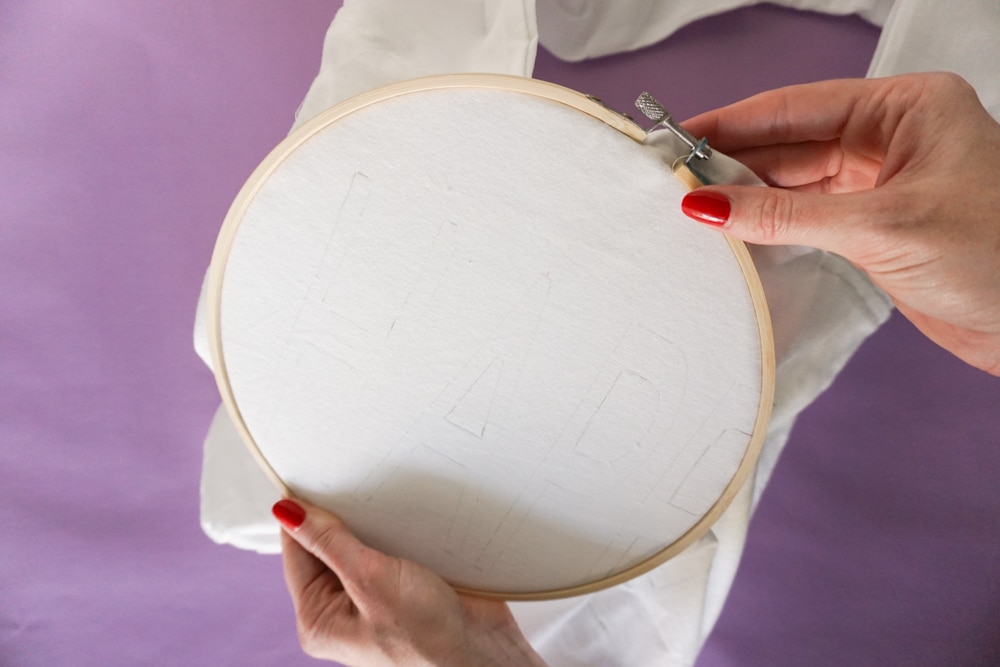
Step 2: Put your material in your embroidery hoop and tighten it.
Step 3: Cut an arm’s length of thread and knot one end. I found an arms length is a good amount because if you get too long, it will tangle easily and if it’s too short you have to continually re-thread your needle.
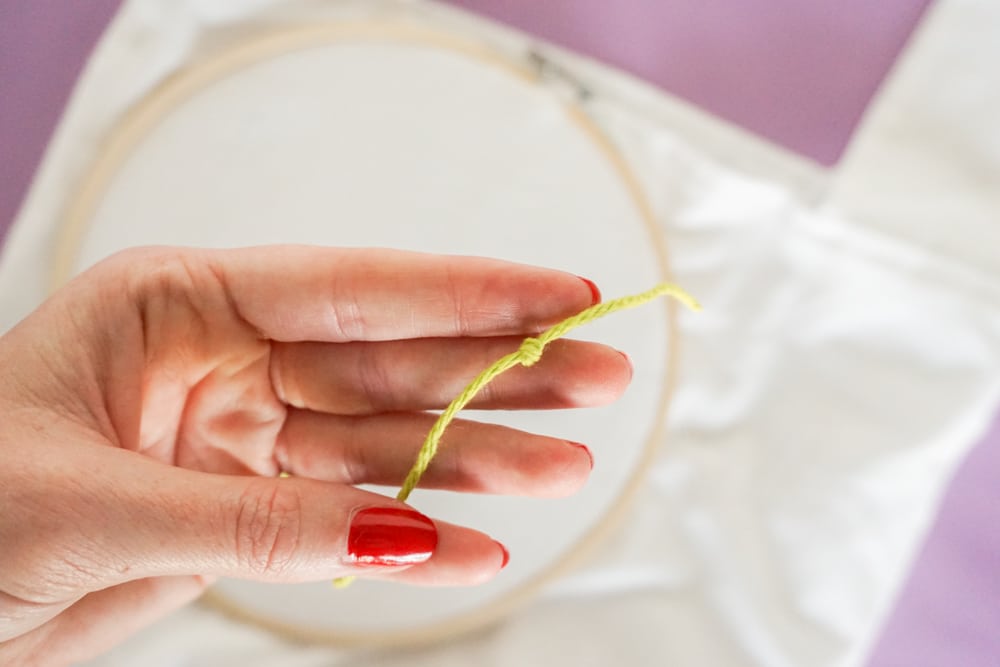
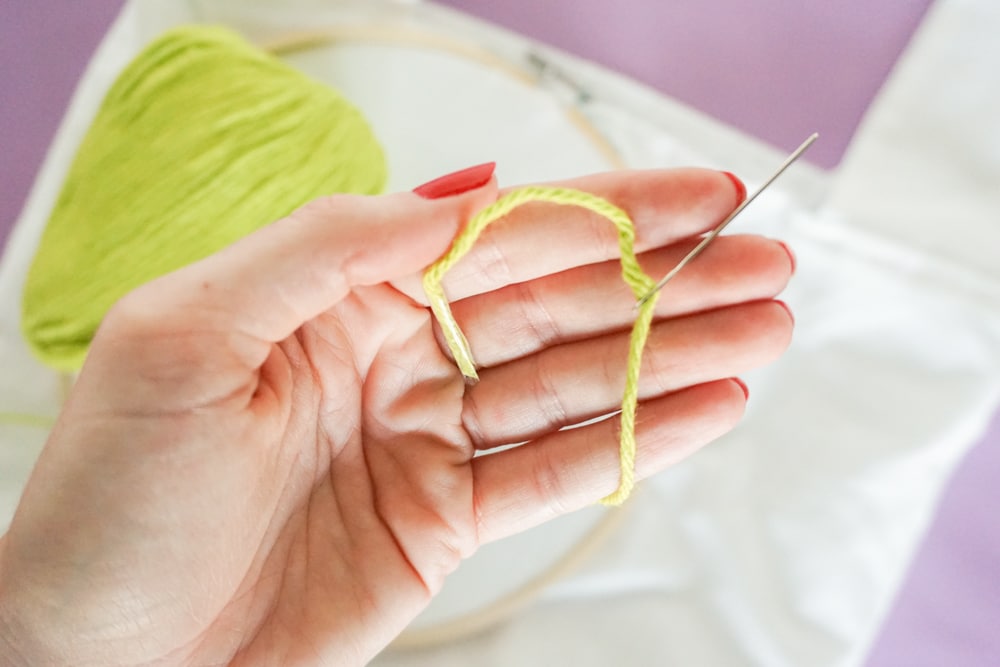
Step 4: Thread your needle (I used tape on the end to get it through the eye of the needle!) You’ll need a larger needle with a good size hole so you can get the yarn through.
Step 5: Start at the top corner of your first letter and come up from underneath.
Step 6: Pull the yarn all the way through until your knot catches, then stick the needle back through on the opposite side of where you just came.
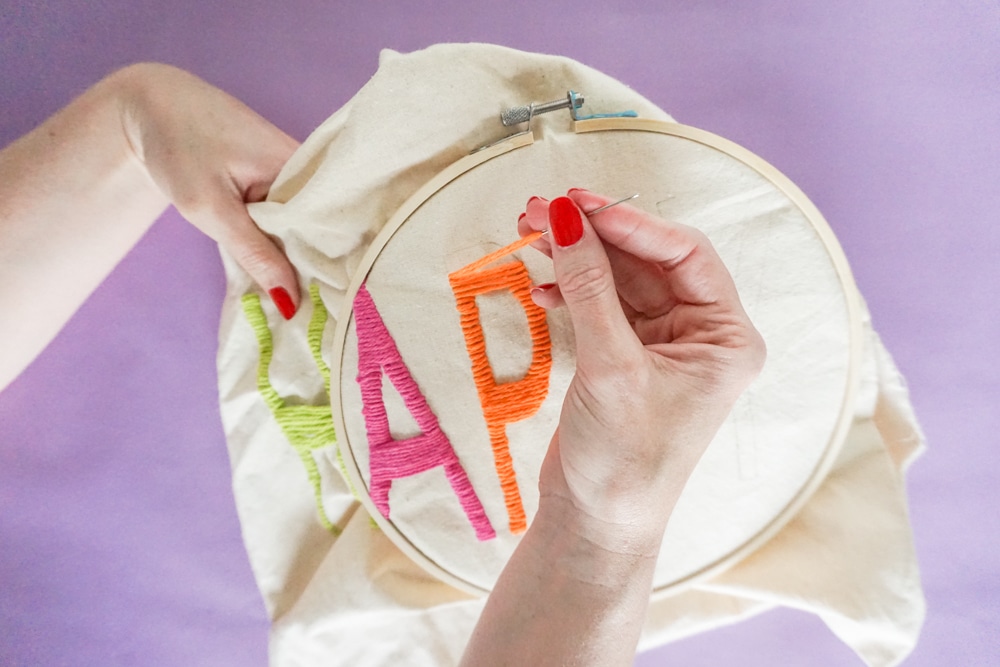
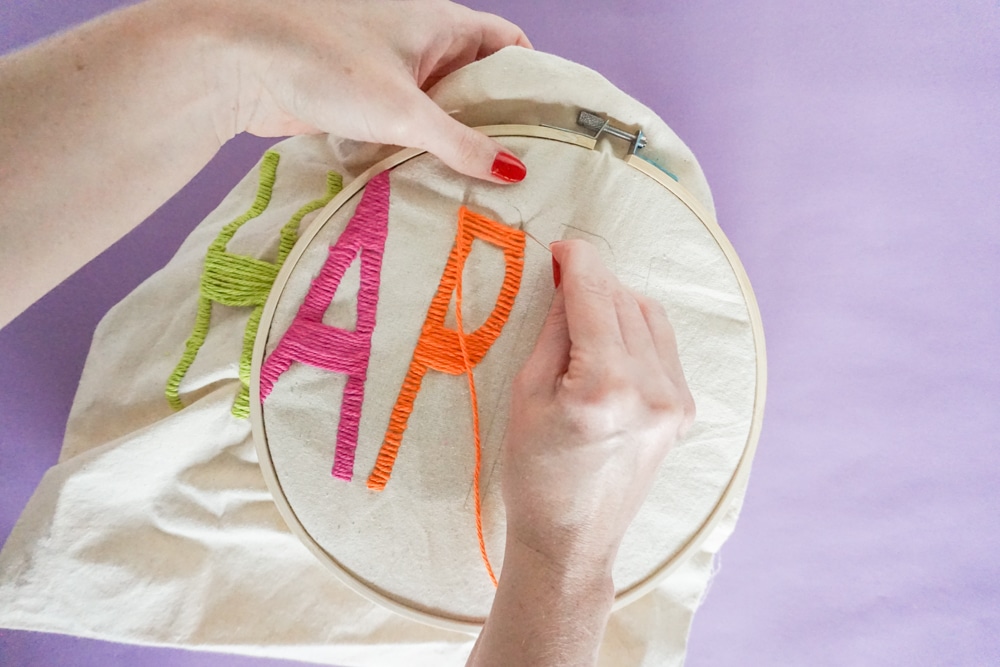
Step 7: Continue this all the way down, keeping your lines as straight as possible!
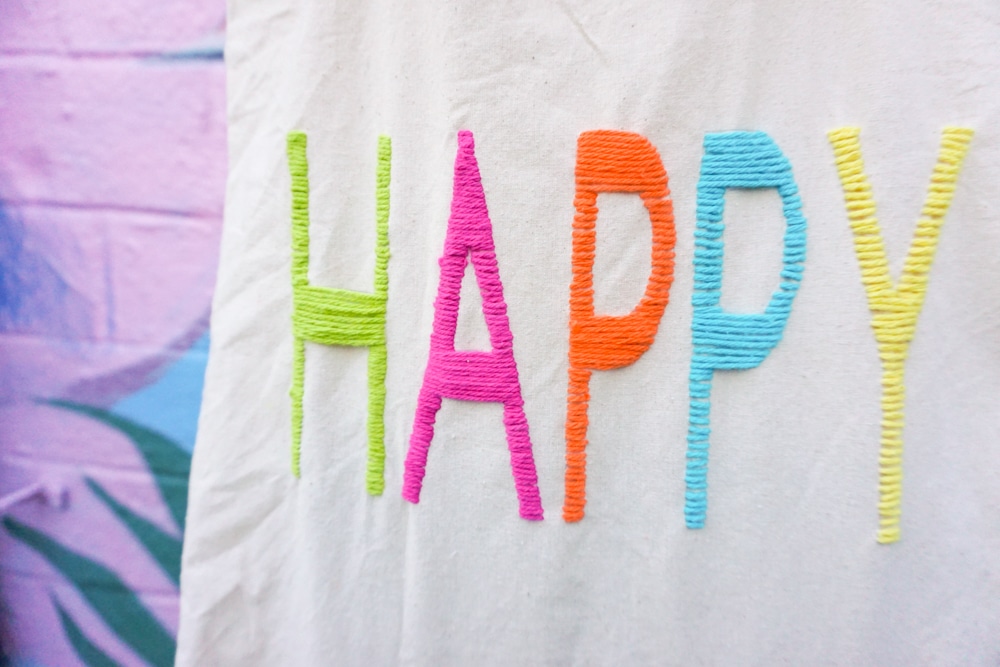
When working on areas like the A, I went straight across and down until I reached the top of the middle section. Then I continued down the left side of the A, jumped back up and did the right side, then continued on the section that goes all the way across. The main concern is that your lines stay straight!
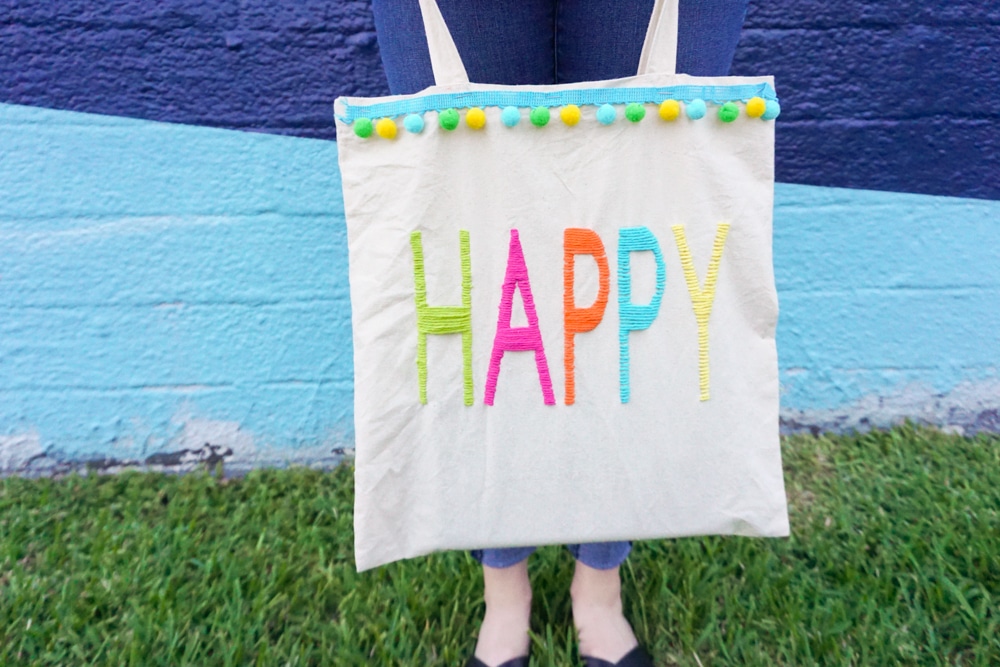
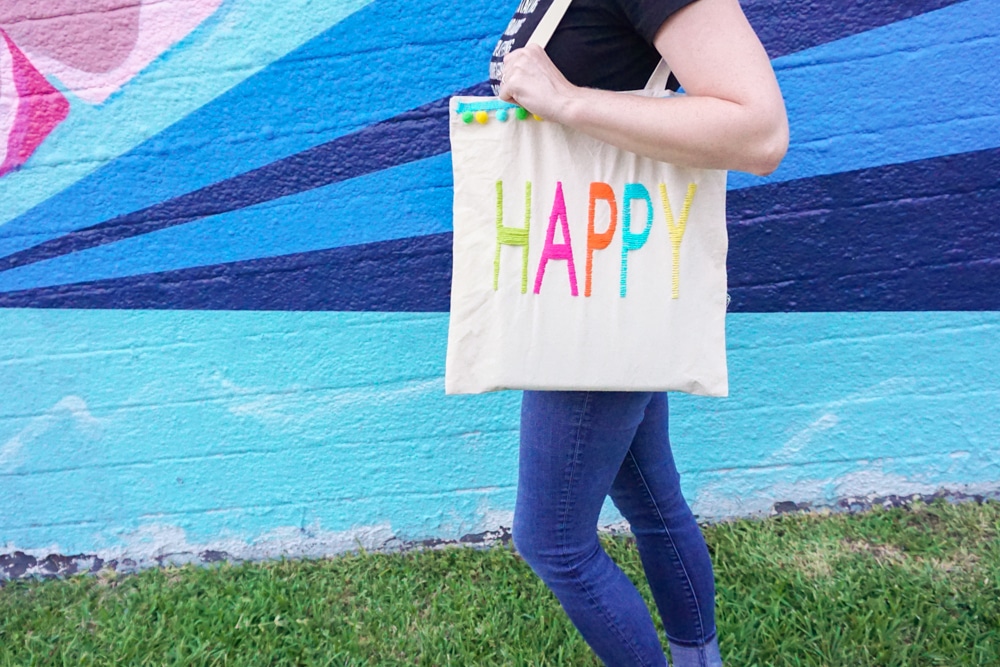
It’s also important to note that with this type of “cheaters embroidery” that uses yarn, it’s very important to choose a heavy cloth. I started with a bag that was made of a jersey/t-shirt material and it was WAY too stretchy and thin.
Because the yarn is so thick, you need that heavy-duty fabric to hold your stitches! A canvas bag worked perfectly for this project and made it easy to embroider letters with yarn!
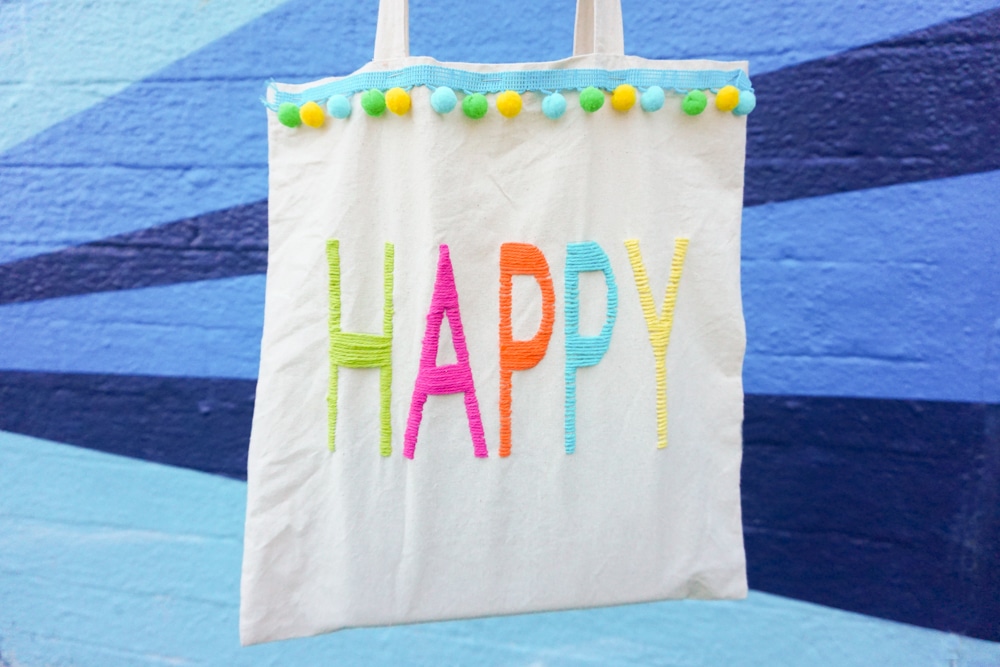
The great thing about this yarn embroidery project is how adaptable it is! Try this yarn embroidery technique on different materials to embroider letters on just about anything: pillow cases, coin purse, cosmetics bag, etc. and customize with your own word or name! This would even make a great gift idea 🙂 Another cute gift idea is this DIY wooden bookmark. I’ve got a 100s of projects to inspire you!
Click here to check out my other fun craft projects by vising my crafts archive!
Don’t forget to PIN for later!
Yarn Embroidery: How to Embroider Letters (A HAPPY DIY Tote Bag)
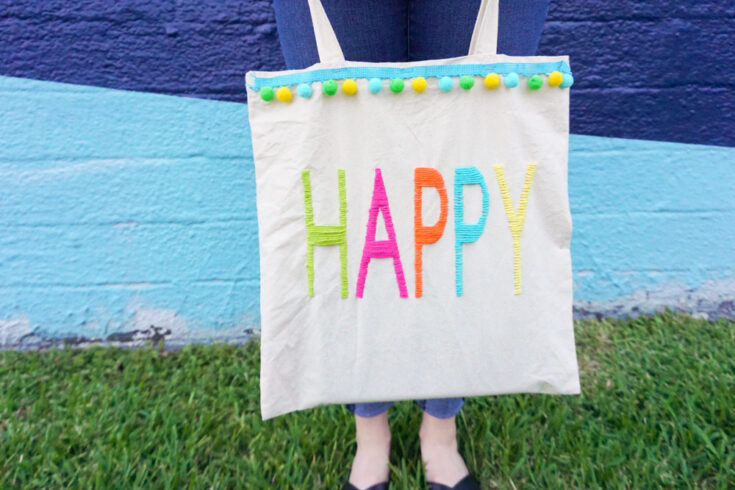
Learn this easy embroidery with yarn technique to create this fun tote bag. This is an easy hand stitching project great for someone who is new to needle crafts.
Materials
- Tote Bag
- Yarn in assorted colors
- Embroidery Hoop
- Needle
- Stencil
- Pencil
Tools
- Scissors
Instructions
- Stenciling the word you want to embroider on the bag.
- Put your material in your embroidery hoop and tighten it.
- Cut an arm’s length of thread and knot one end.
- Thread your needle.
- Start at the top corner of your first letter and come up from underneath.
- Pull the yarn all the way through until your knot catches, then stick the needle back through on the opposite side.
- Continue this all the way down, keeping your lines as straight as possible
- Enjoy your beautiful tote bag!
Love DIY projects? Be sure to stop by our archives!



Leave a Reply