Last updated October 25th, 2022 at 01:13 pm
Looking for the best way to put lettering on wood? Learn how to transfer letters to wood and make a huge custom wooden sign quickly and easily!
Have you ever had someone ask for a favor as soon as they find out you’re good at something? “Oh you’re a doctor? Can you take a look at…” I know I’ve been guilty of this!
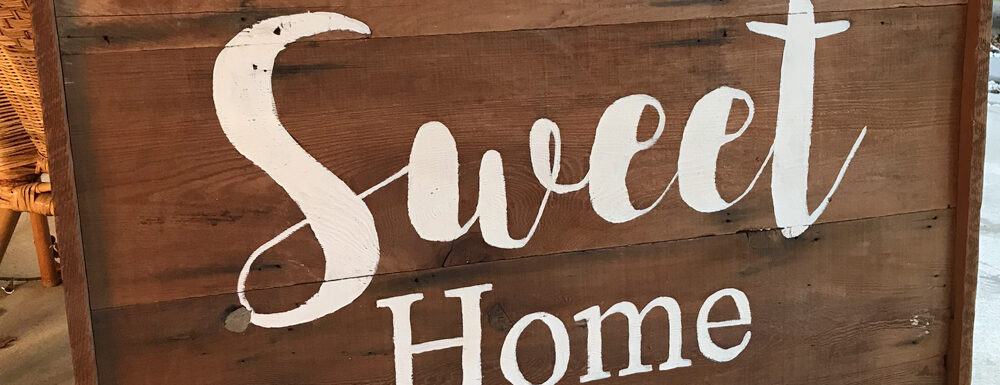
I love when I’m asked to help with a DIY or craft project. We run out of projects and ideas for our own home, so when someone wants help I’m always quick to volunteer. I was recently contacted to paint a large custom wooden sign for a TV SHOW!
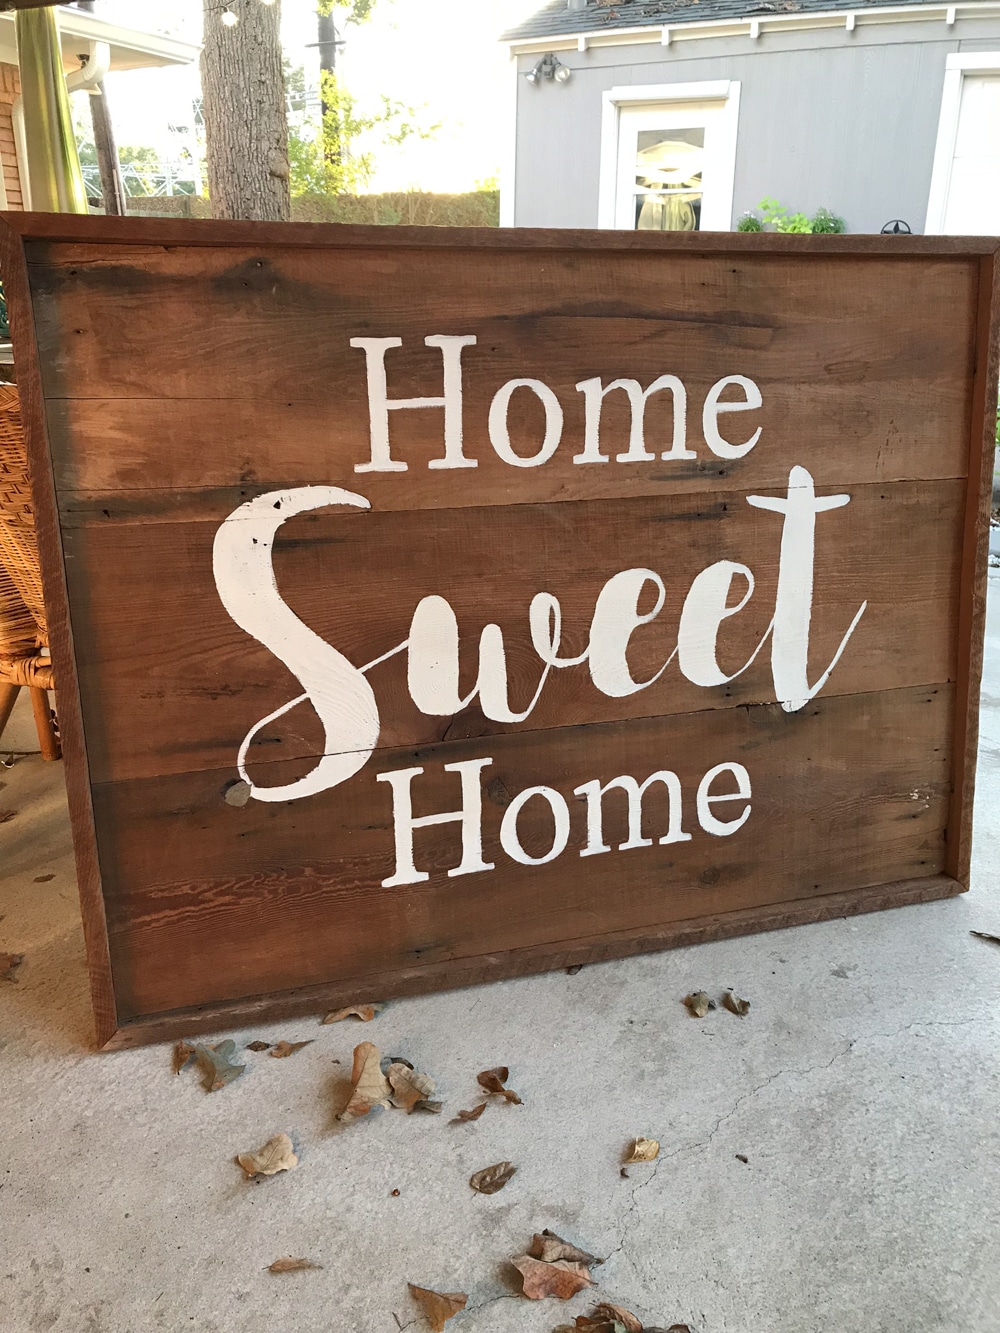
They were doing a renovation on a home in the Houston area and needed a custom wooden sign with a quick turnaround time. I thought about using my Cricut to create a large stencil (or even cut the letters out and use vinyl lettering), but ultimately I used a different method to transfer printed letters to wood and it worked BEAUTIFULLY!
How To Transfer Printed Letters To Wood
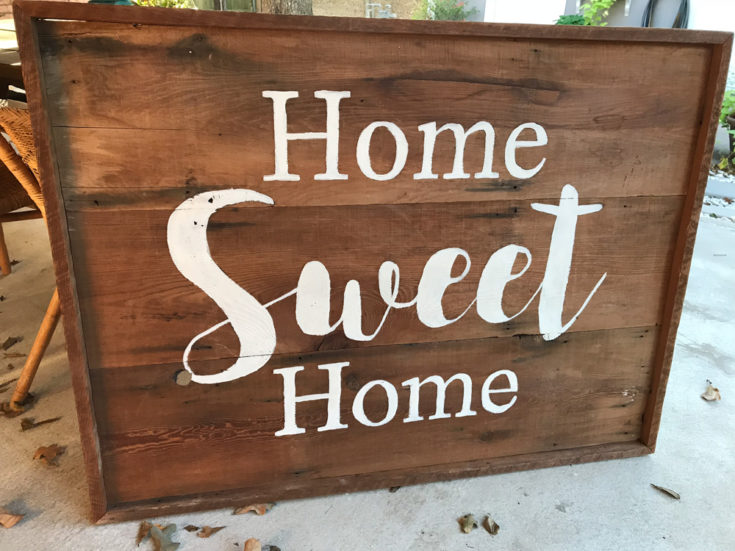
Learn how to transfer printed letters to wood and make a HUGE wooden sign!
Materials
Instructions
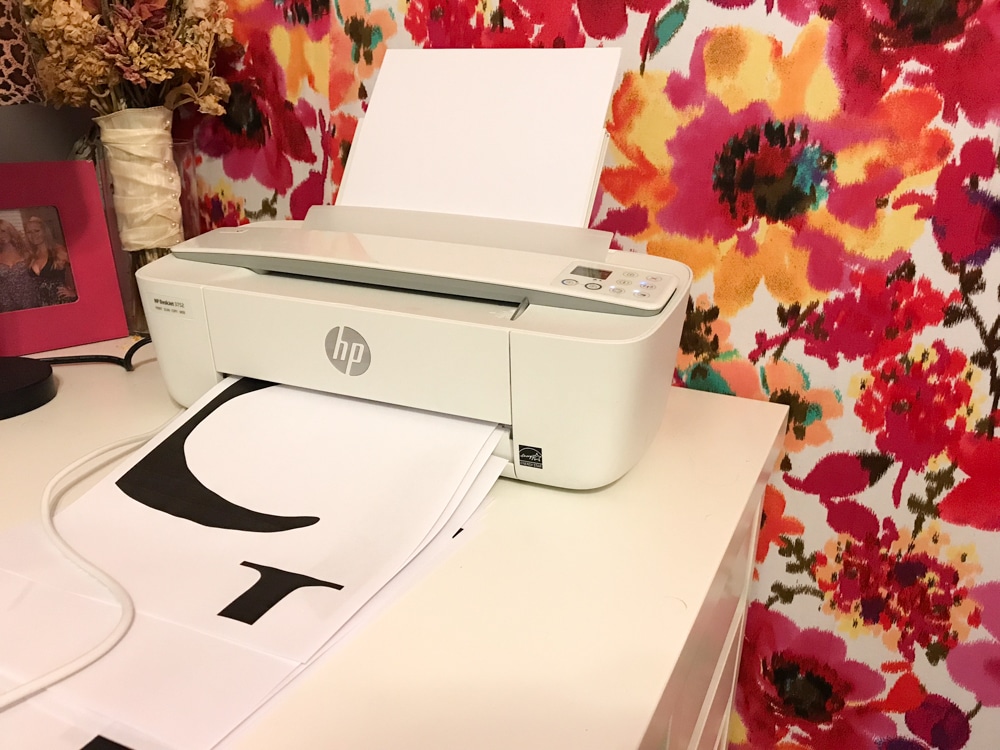
Come up with your design in Photoshop or Microsoft Word. Photoshop is best, but this can totally work with Microsoft Word! After you’ve laid out your design, FLIP it, and print it TILED to PDF. I used these instructions.
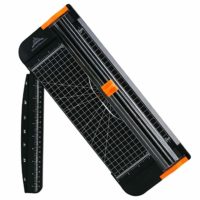
Most printers won’t go all the way to the edge so paper slicer to trim off the excess quickly and easily. You could free hand this with scissors but you really want that perfectly straight edge. 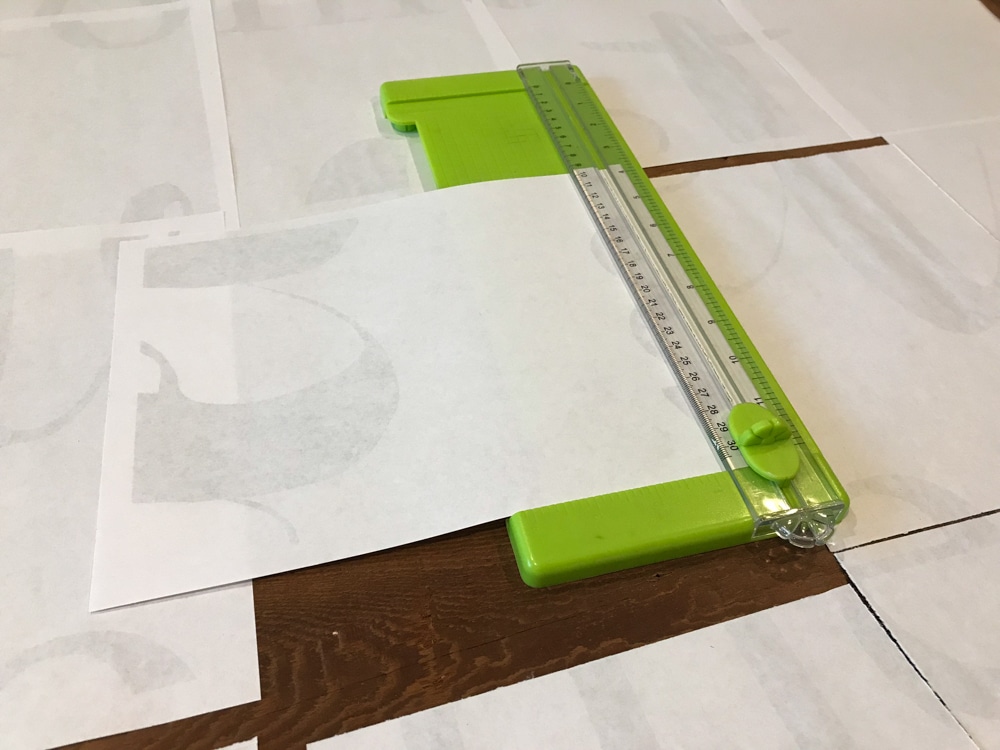
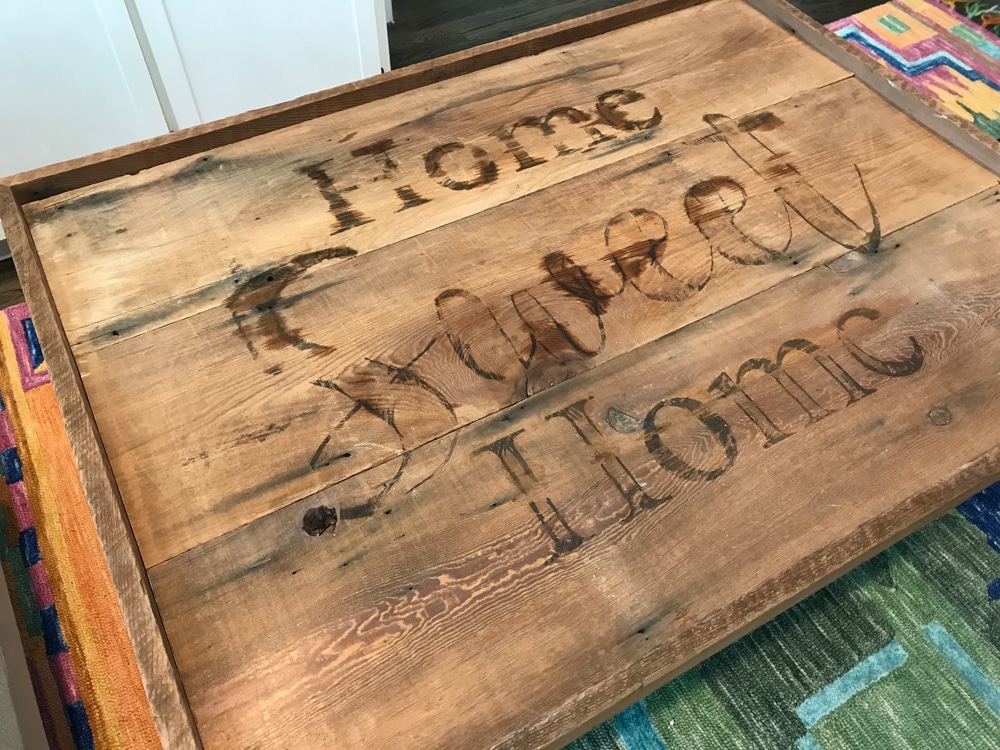
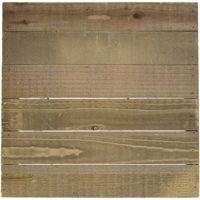
For the next step, work on one section at a time. Dip a paper towel in water and dampen the paper with a little water. Use a fat, rounded marker lid to gently rub over the design. The pressure and dampness will transfer the printed letters onto the wood!
Paint your design! Go slowly and carefully and add a second coat of paint if needed. Havin the final design hand painted with all the little detail is what makes for one of a kind wood pieces! mv_img id="15777"]
Notes
Paint options: you can use a variety of different paints. For this project I used acrylic craft paint because it's what I already had and wanted to use white paint. You could also use any leftover latex paint you might have! A paint marker or acrylic paint pens would also work really well but if you're making a huge sign, it could be more expensive.
I don't think the type of wood really matters as long as you have a smooth flat surface to work with. You can use new or old wood - it's really just personal preference.
Recommended Products
As an Amazon Associate and member of other affiliate programs, I earn from qualifying purchases.
Here’s the final result! I’m not sure if this is going in a living room or a dining room but it would look beautiful in either! It was my first time making a sign this LARGE and I had so much fun doing it! I hope you’ll continue reading this whole post because I have methods to share with you for making wood signs.
Looking for more inexpensive wall art? Try this tutorial using wood shims! We’ve also rounded up almost 30 easy DIY cricut crafts and home decorating ideas!
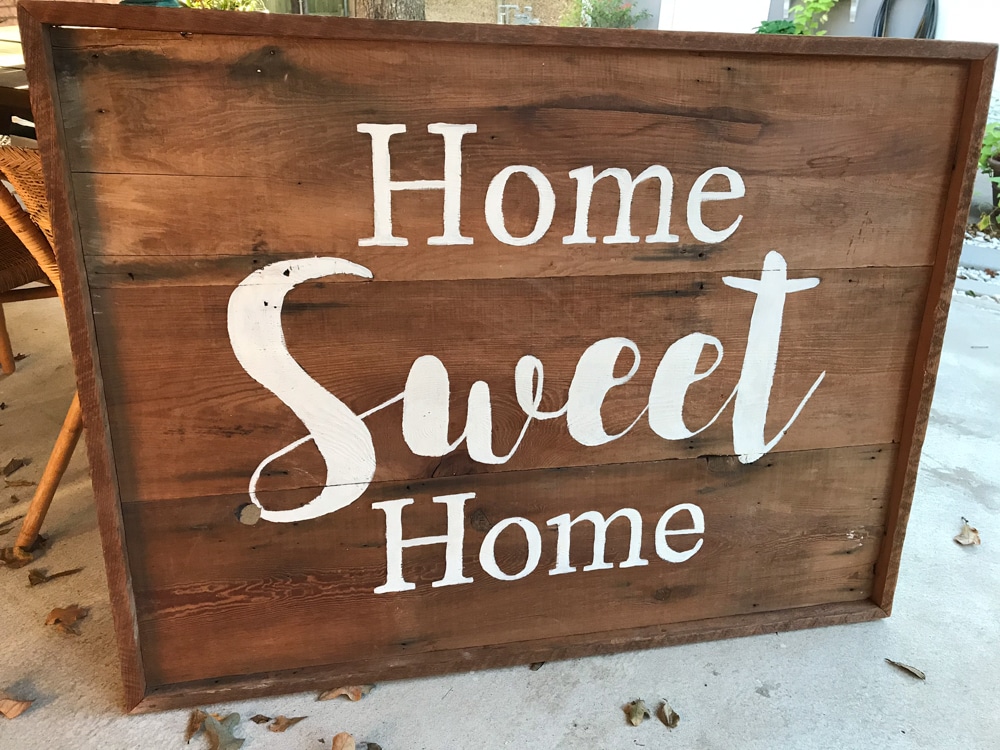
It’s much easier to transfer letters to wood than trying to free hand the design and you can use some beautiful fonts to create your own custom wooden sign quickly and easily! If you’re more of a visual learner, check out the video tutorial from my YouTube Channel below to see how to transfer printed letters to wood. I also shared a video on my Facebook page and people LOVED it!
How To Create A Custom Wooden Sign Video Tutorial
Other ways to make DIY Wood Signs (the best way to put lettering on wood)
This turned out to be a beautiful sign! There are a lot of options though if you are wanting to make a custom sign and there really isn’t a best way to put lettering on wood. Any of these options are great choices – it mostly depends on what supplies you have and what look you are going for.
Cricut or Silhouette machine
This method uses an electronic cutting machine to cut vinyl lettering. You use transfer tape to put the vinyl letter directly onto the sign. In addition to using adhesive vinyl, you can also use heat transfer vinyl. HTV will stay on even better than permanent vinyl. Vinyl signs are probably the quickest and an easy way to make but there is additional costs involved – those machines and vinyl aren’t cheap! You also waste quite a bit with the excess vinyl.
Contact paper
This method also uses a cutting machine. You use the contact paper as a stencil. My friend Chelsea has a great tutorial for this and why it’s important to use mod podge. She uses a Silhouette Cameo. You could also use an exacto knife but that would take a really long time for a sign this size!
Freezer paper
For this method you start with piece of wood with a smooth surface. Design your sign on the computer and before printing, affix freezer paper to a sheet of paper and print directly onto it. Just make sure you mirror your design. You then immediately flip the paper over and press onto your piece of wood. Use a squeegee or a credit card to rub the design with light pressure. Once finished you can distress it if you’re wanting a rustic look or making farmhouse signs. You can also make an outline of the letters or fill in freehand with paint.
Transfer paper
This method is exactly like the freezer paper method above! You use an inkjet printer and transfer paper to get your design onto the wood to make the diy signs.
Carbon paper
With this you spread carbon paper over your work surface then place your printed design on top of it. You then trace the design and it imprints onto wood. You then go back and paint. This is also a great way transfer your designs to wood.
I hope this project inspires you to create your own wood sign! If you found this post helpful or if you have questions, please drop me a comment below!
Love DIY projects? We have 100s of tutorials to share and inspire you!

Merry Graff says
It seems that would take a huge amount of printer ink, is there a way to just outline the letters?
Amber Oliver says
Yes, just use a different font 🙂