Last updated September 16th, 2019 at 05:36 pm
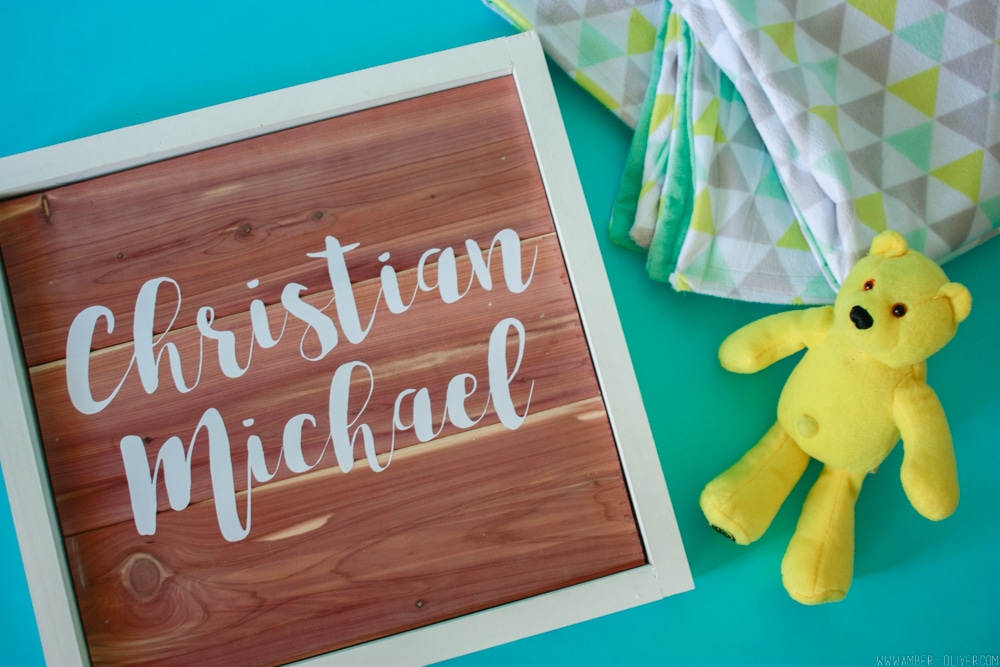
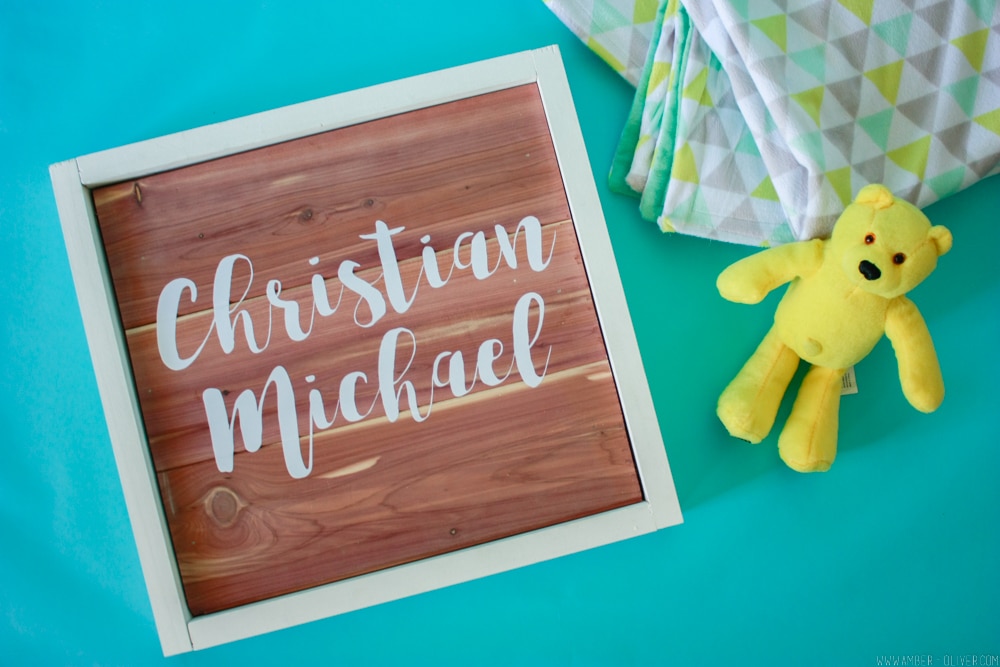
Now that this darling DIY Wood sign has been gifted, I can finally share the “how to”! I have a brand new baby nephew and wanted to make him something custom for his brand new little baby room. (His room used to be MY room!) After we put in our cedar closet a few weeks ago, we had a bunch of scrap cedar planks. I decided to put them to good use with this DIY wood sign:
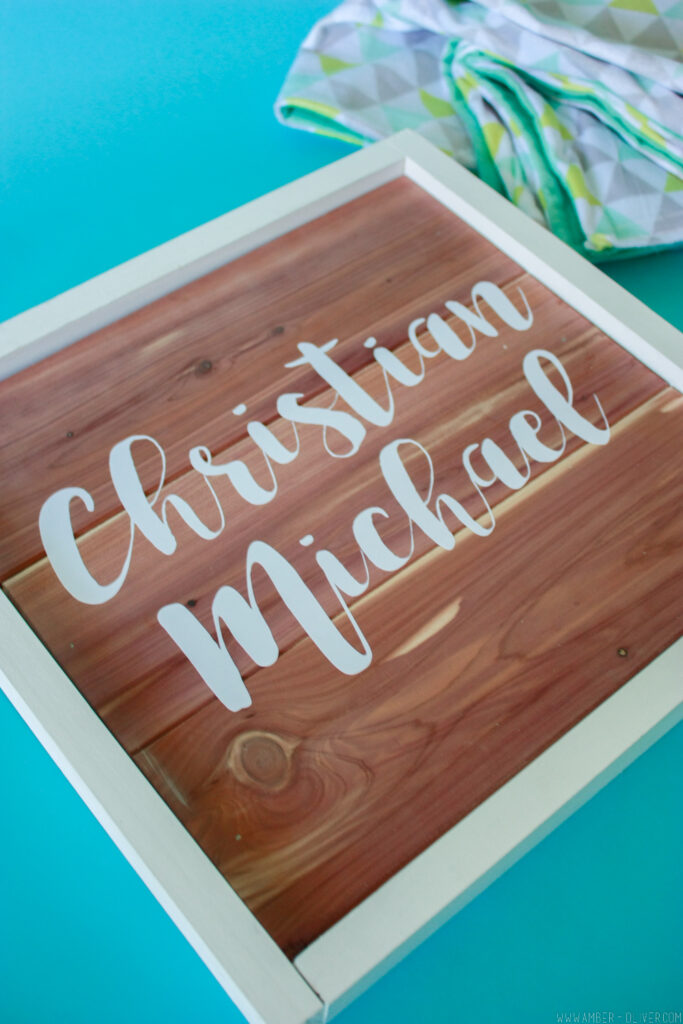
DIY Wood Sign
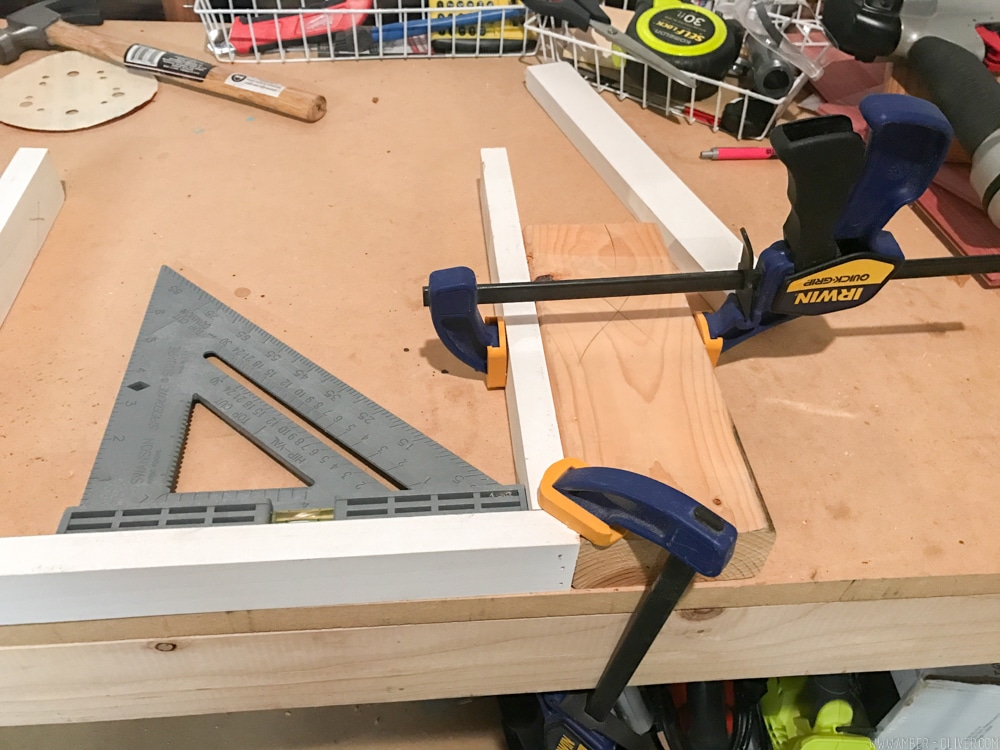
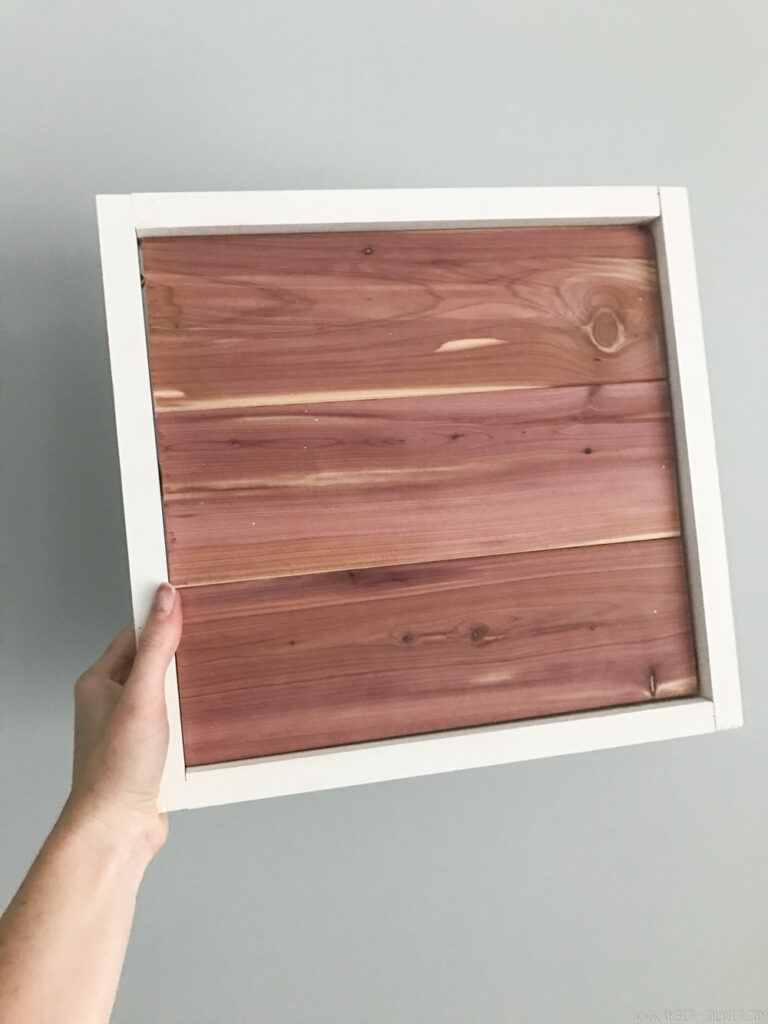
I actually made this entire project out of scrap wood! First I cut 3 pieces of scrap cedar to the desired width.
For the back, I used a square piece of 1/4 in. Purebond plywood.
I then attached the cedar to the plywood with a brad nailer.
After that I added a wood frame with some scrap pieces of 1″ x 1/2″ trim board. I used the speed square and a scrap piece of 2×4 to square up the corners.
Lastly, I sanded the trim board and painted the frame.
I was surprised at how heavy this piece was! I made sure the leave a lip on the back with the trim board so it could easily be hung up on the wall.
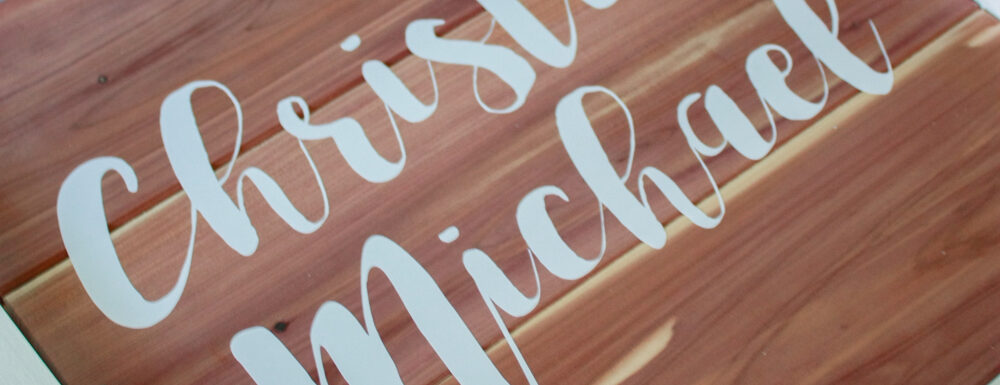
After the frame was assembled, I created a vinyl cut out of my nephew’s name in the Cricut Design Studio. You could customize this with any name or a quote/saying. You could also paint on the words if you don’t have a cutting machine! (Although I can’t recommend the Cricut enough!) **Affiliate link**
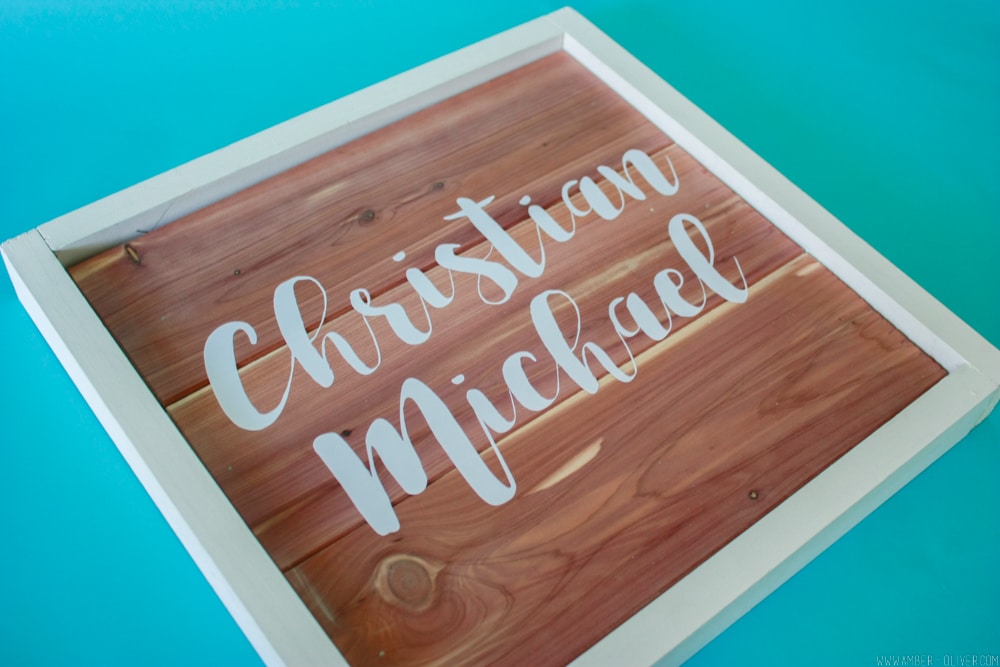
This an easy project and a great way to use up your scrap wood – especially if you decide to install a cedar lined closet! These cedar planks are grooved to they fit together easily, but you could put this together with any scrap wood pieces. Though, the cedar is a beautiful wood!

Leave a Reply