Last updated April 30th, 2025 at 01:04 pm
Want to transform a muddy or unused backyard space? With a shovel, a rake, and a little elbow grease, you can learn how to lay a patio with pavers in one weekend. This simple, beginner-friendly project is perfect for small backyards and a great no-water alternative to a lawn.
After solving the drainage issue in our backyard, we decided to build a new patio using pavers. Every time it rained, we ended up with standing water, muddy shoes, and patchy grass. So we grabbed some concrete pavers and rocks and got to work! Instead of hiring a contractor, we learned how to put down pavers ourselves — saving money and creating a low-maintenance backyard space we actually use.
UPDATE: In 2025, after our home addition project, we installed turf in the backyard and this area was updated with new pavers! Check it out!

How to lay patio pavers video:
This DIY patio project doesn’t require expensive tools or concrete. Whether you’re laying patio stones, concrete pavers, or natural stone, the process is the same — and surprisingly doable for a weekend warrior. The proper way to lay pavers starts with prepping the base and ends with a beautiful, long-lasting surface.
We installed our patio pavers directly over dirt — no cement required. With the help of a tamper, some gravel, and a clear layout plan, you can create a backyard patio that drains well, looks great, and costs way less than hiring out.
Please note: it’s always a good idea to call before you dig! Have your utility lines highlighted with marking paint. You should know where all your lines, drains, and wires are in your outdoor areas!
How To Lay Patio Pavers
Let's build a DIY paver patio in a few simple steps! This project shows you how to lay patio pavers on dirt to create a DIY paver patio extension or stand alone area for your yard without pouring a concrete slab. Gather your paver materials and let's get started!
Instructions
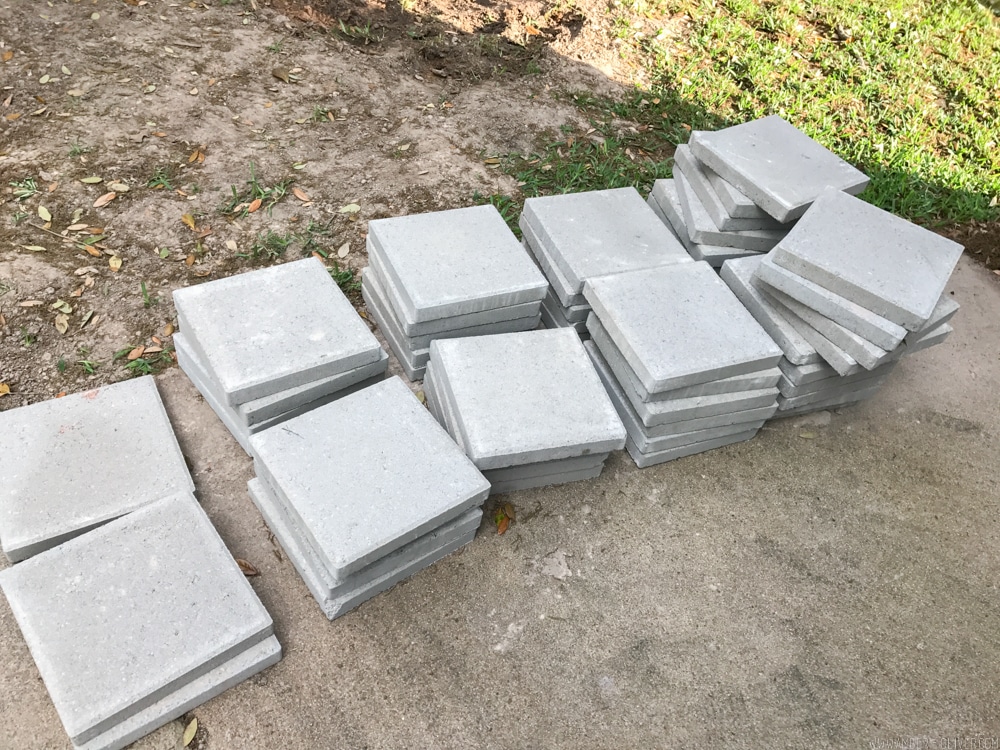
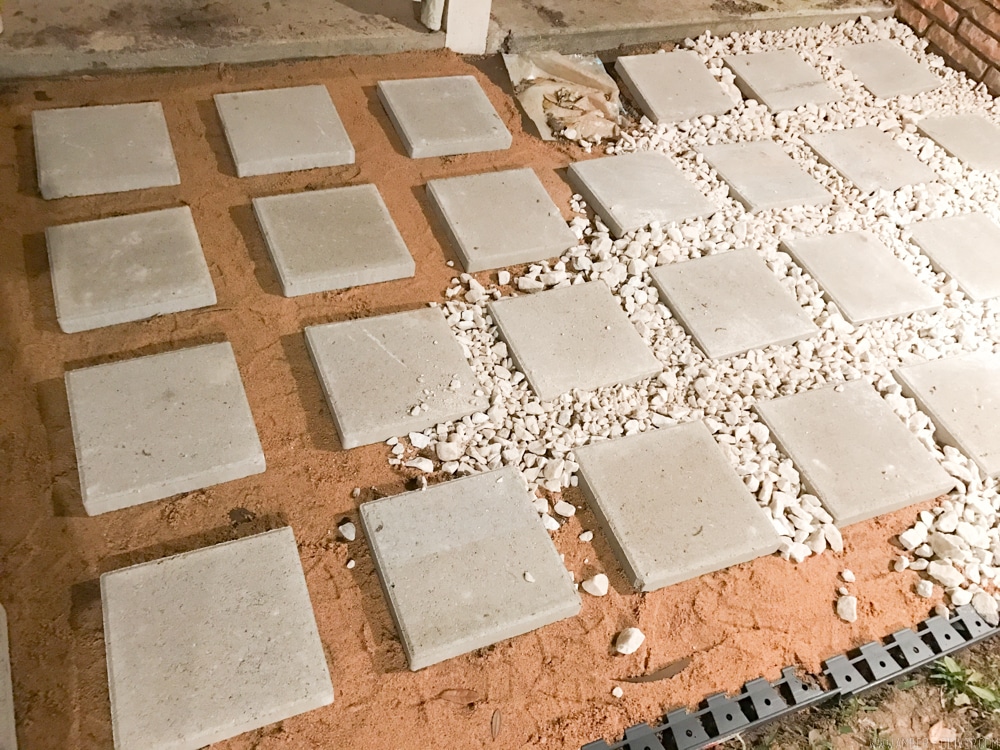
- Before your you begin your paver installation, measure your area square footage and purchase supplies. There are different size stones, so decide which works best for you. Just like there are different types of pavers, there are also different sizes and colors for the “filler” rocks. We opted for the larger white rocks as I liked the color and figured the larger stones wouldn’t get kicked around as easily. Your choice depends on the type of paver you use.

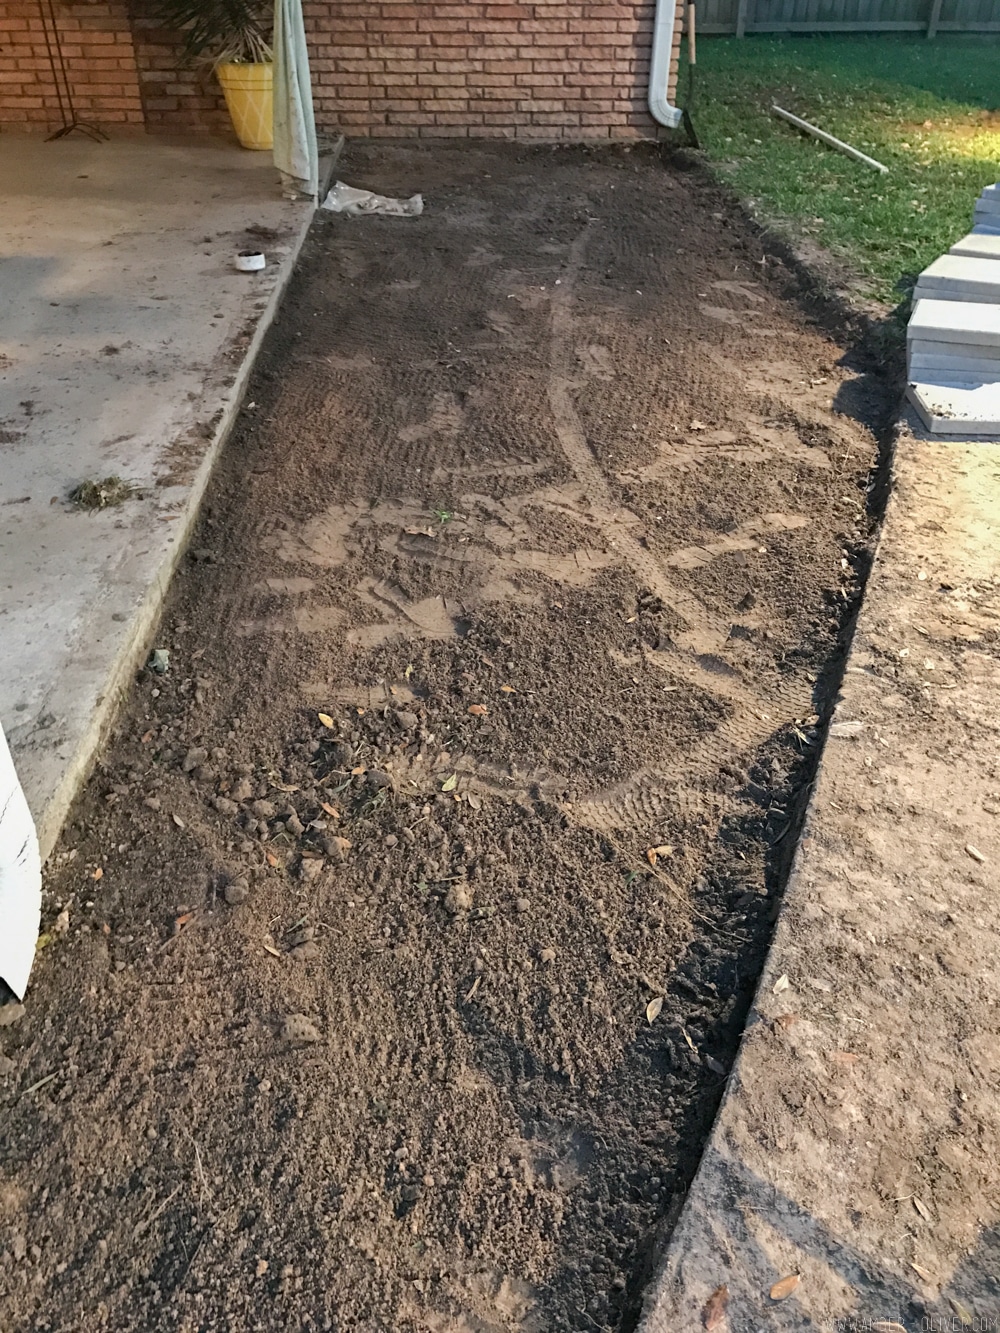
- Dig out and level the area. You’ll want to dig deep enough that the paver stones will be flush with the grass. For us, this was about 2 inches.

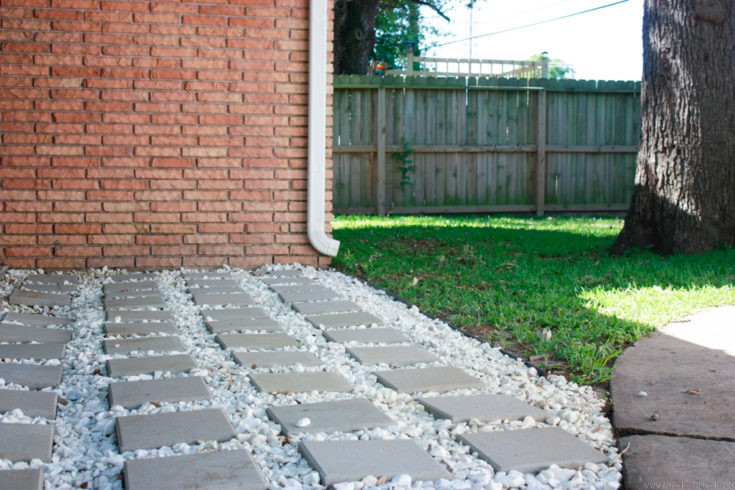
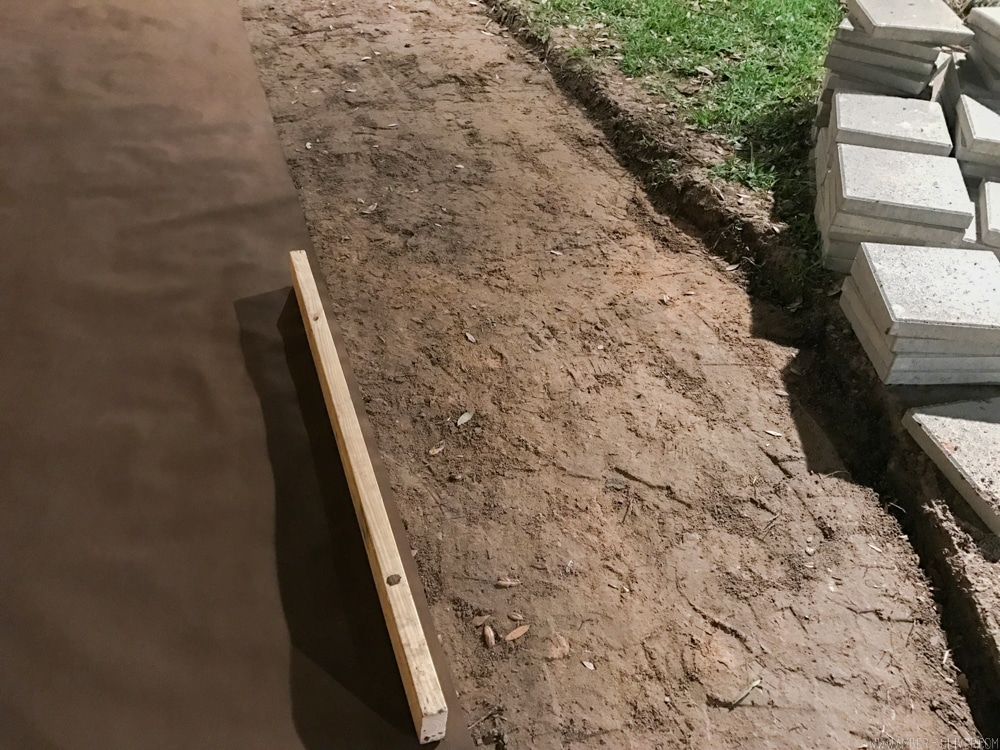
- After you’ve dug out the area, you need to make sure it's either level or properly angled. We have PVC pipes and a drain near our DIY paver patio so we made sure the area was sloped toward the drain. If you don't have this obstacle, just make sure the area is level. We used a long 2x4 to help check larger areas since we only had a small level.
- Now it's time to tamp the dirt, and add a weed barrier. You'll be VERY glad you did this - don't skip this step!
- If your new paver patio is next to grass you will want to use paver edging. This will help keep the base materials in place. Use a rubber mallet to install this.
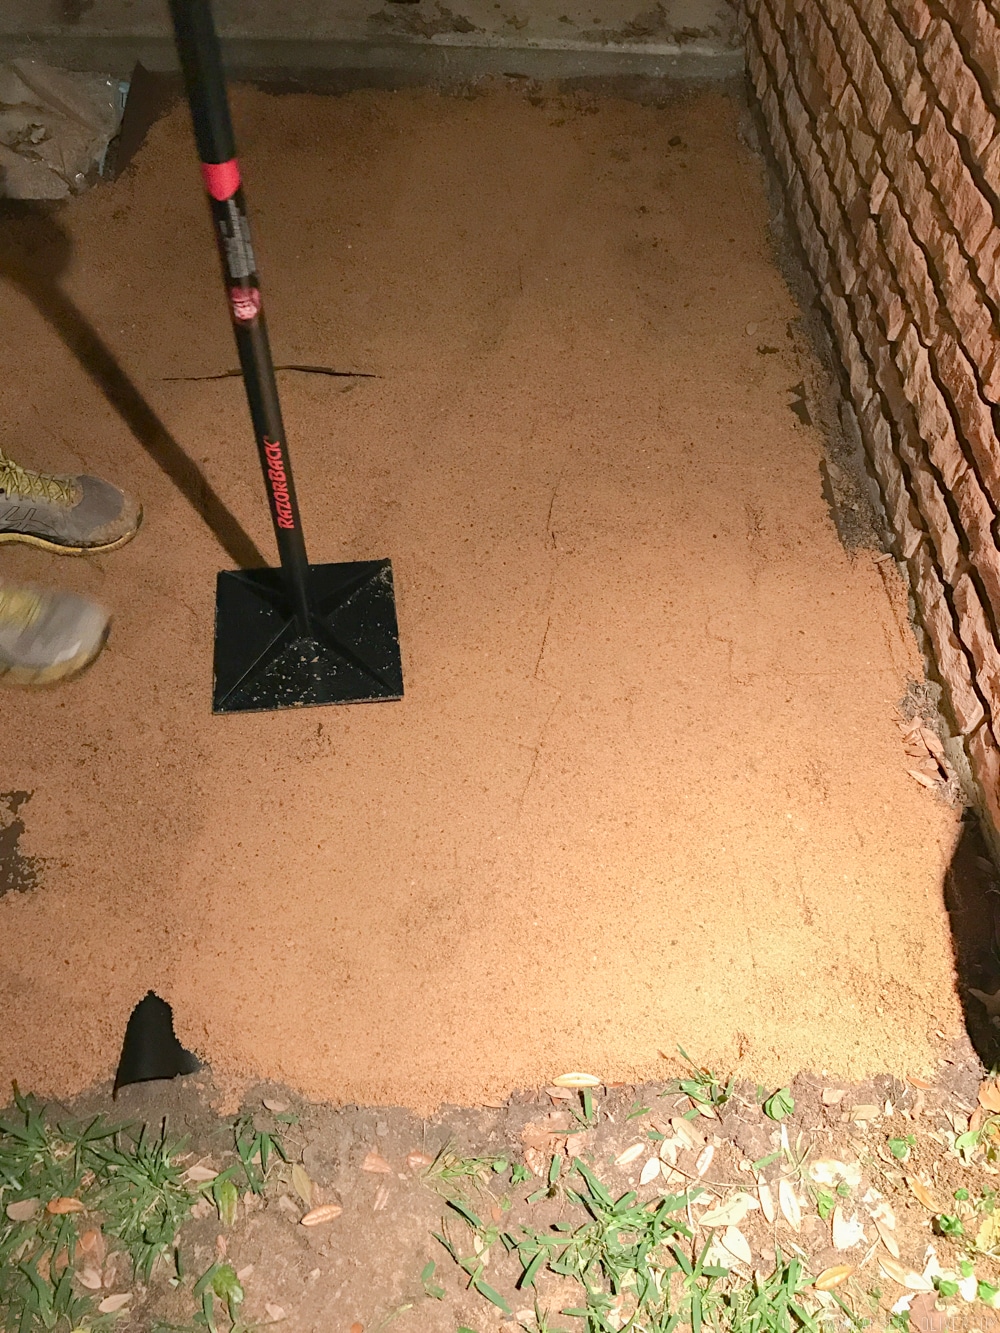
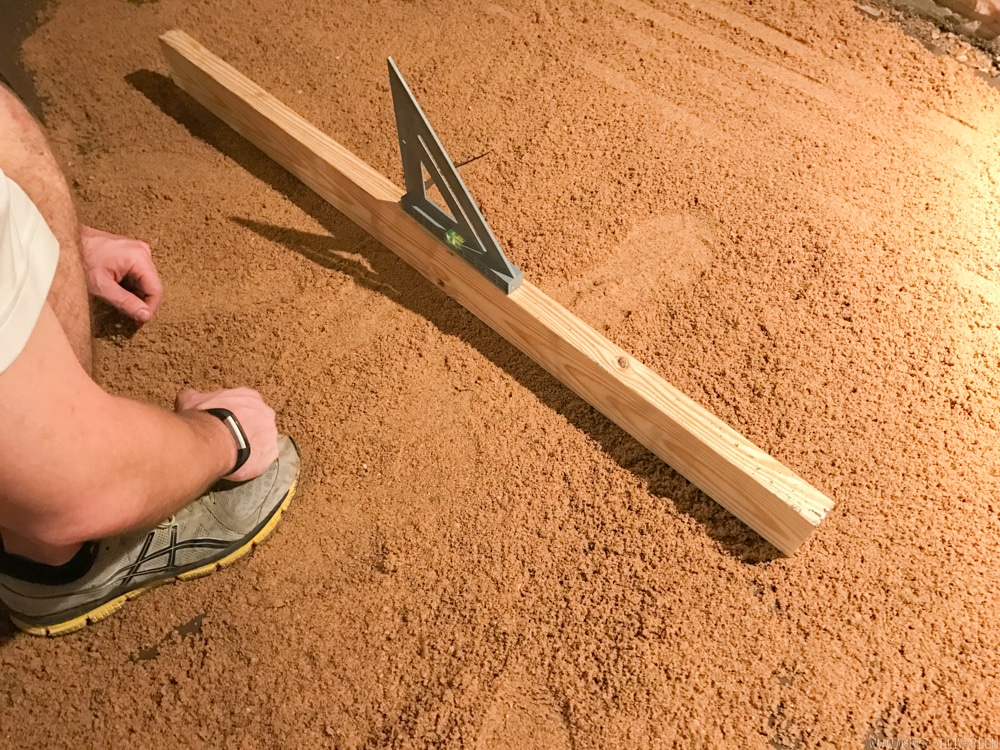
- Next, add paver sand, level, and tamp again to ensure a smooth surface to lay the paver stones. You'll want about 1-inch layer of sand on the flat surface.
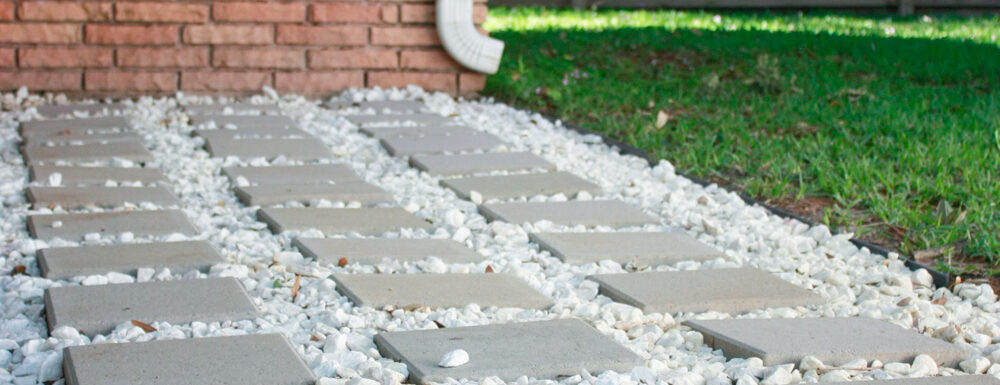
- After the sand layer is prepared, you can carefully add the patio paver stones. After the paver stones are laid the final step is to fill in with rock (the last layer) to hold them in place. This is easier to do with a push broom. We also used landscape edging to hold the rocks in place.
How to Install Pavers Over Dirt
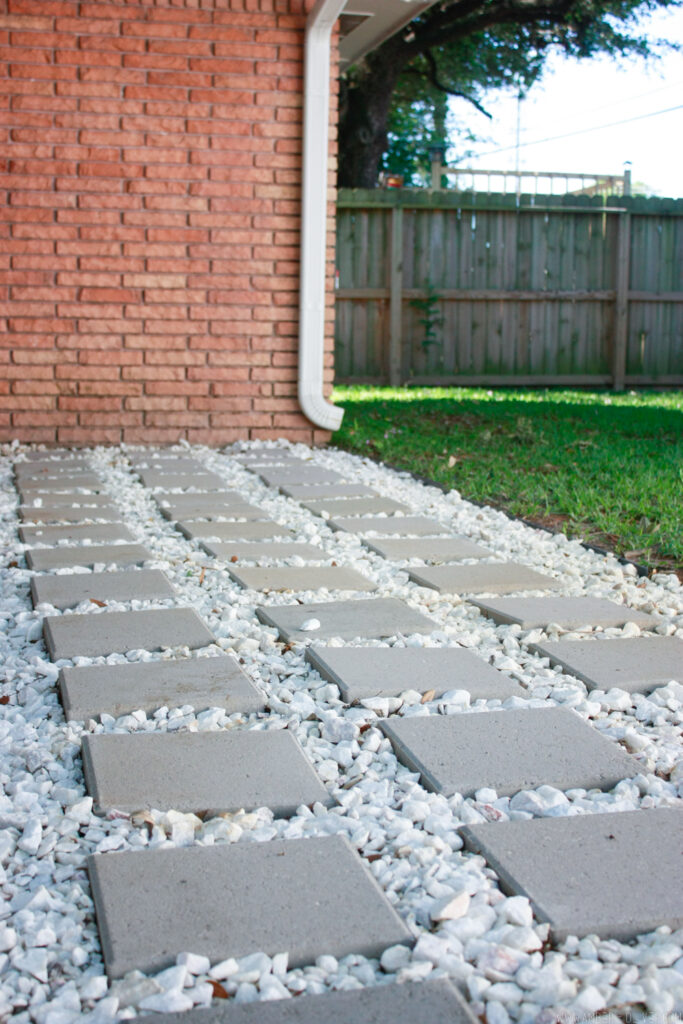
One of the most common questions we get: “Can I install pavers right on dirt?” And the answer is yes — with a few prep steps. To lay pavers over dirt the proper way, you’ll need to level the ground, tamp it down, and add a layer of gravel or sand to help with drainage. We skipped the concrete base and still ended up with a sturdy, long-lasting paver patio that survives our Texas rainstorms like a champ!
These patio paver stones were the perfect solution to our backyard problems. We’ve had several heavy rains since installing them and the drainage is working properly and the concrete pavers and rocks prevent the ground from getting muddy and messy!
The the base material is the same even if you use a different pattern for your patio. The cost for your project depends on the square feet and if you have a large or small patio. You could use clay brick, brick pavers, or stone pavers to create a natural stone patio. No matter what paver design you go with, you’ll save money doing this yourself!
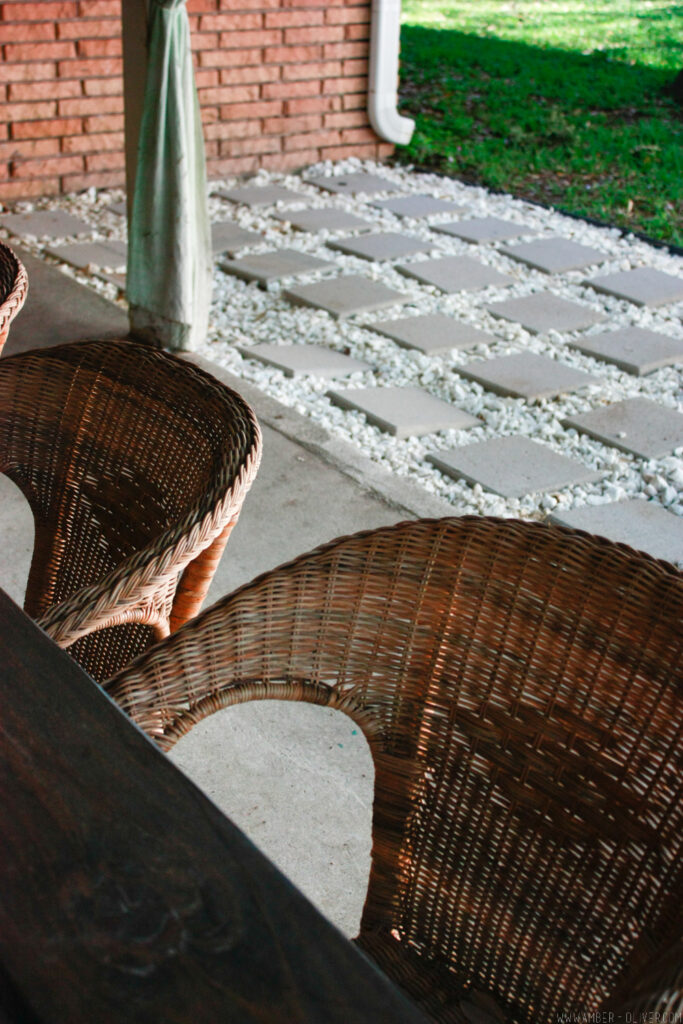
This project is great for problem areas like we had around our porch, and could easily be expanded for small backyards as a practical no-water alternative to a lawn.
Doing this yourself is great way to keep down the paver patio costs. All your hard work will be worth it when you can spend the money you save on other backyard features! Maybe put it towards a hot tub or an outdoor kitchen!
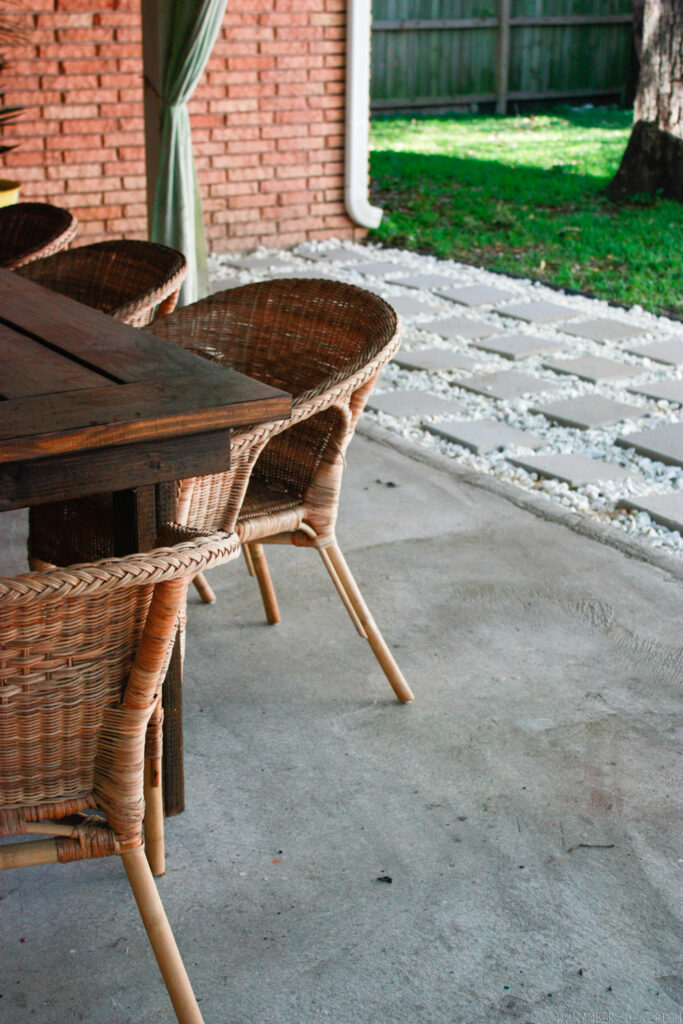
Now that it’s been a few years, I can confidently say this paver patio holds up great. I pull the occasional weed and use a leaf blower to keep the surface clear after mowing. That’s it! It’s one of the easiest backyard updates we’ve ever done — and it still looks great today.
Want to make your DIY patio project even easier? Shop online and pickup in store OR have the items delivered:

OUTDOOR PROJECTS ARCHIVES
View our collection of outdoor projects
Reed F says
I recently updated my backyard with some beautiful patio pavers that my family and I have been loving! It was a project that I had wanted to do for a while, but I was always on the fence about how to go about it. Thankfully, I found this blog post on how to lay patio pavers, and it was such a lifesaver! It was so well written and easy to follow that I was able to complete the project on my own in no time. I was a bit apprehensive about the process at first, but this post was so informative and helpful that I was able to tackle it without issue. I learned so much about the process of laying pavers, and it was great to have a step-by-step guide.