Last updated March 21st, 2023 at 04:49 pm
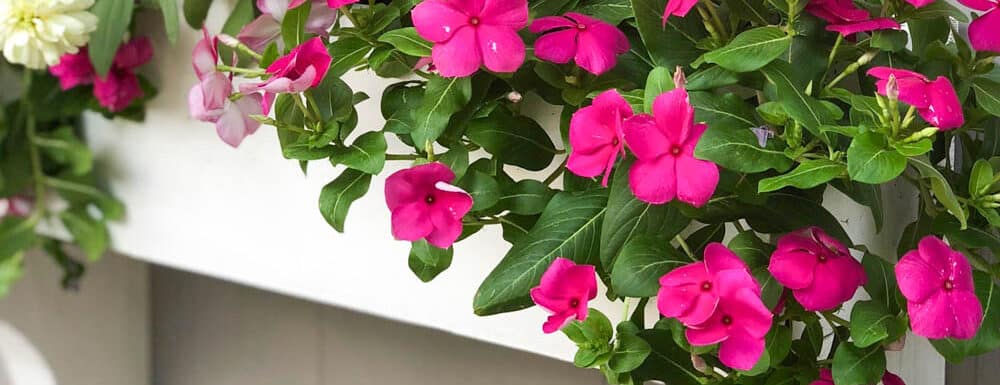
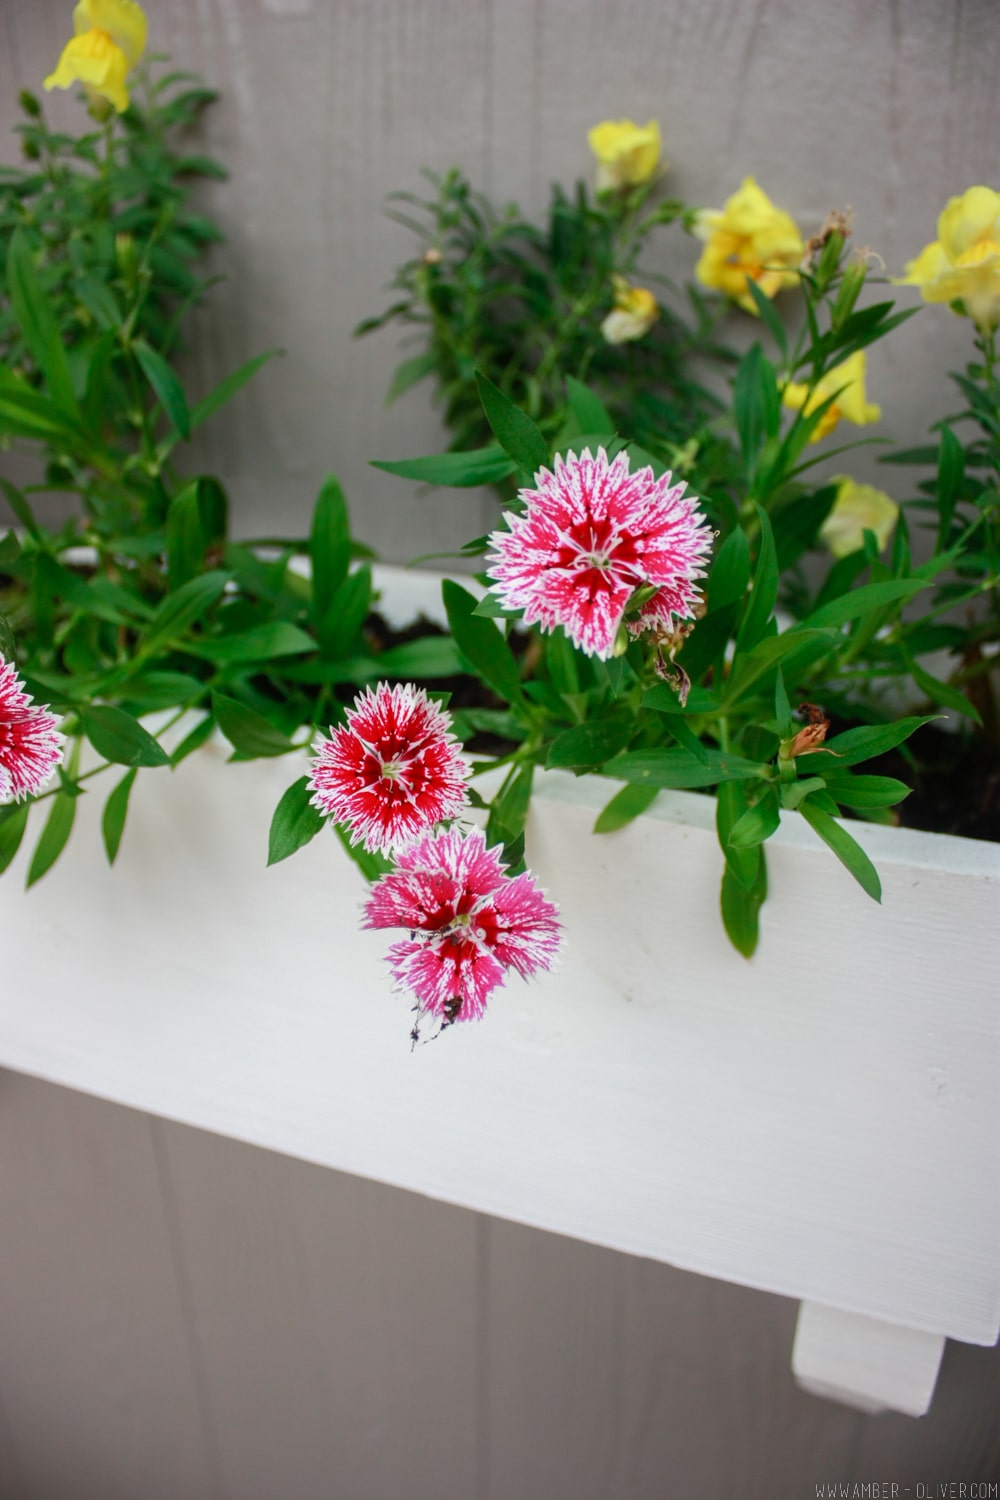
The perfect way to add some seasonal color outside your home is with window boxes. Make your own DIY flower box in under one hour!
We are well into springtime now. You’ve traded in the hot chocolate for lemonade and you’re ready to tackle those outdoor projects! The perfect way to add some seasonal color to the outside of your home is with window boxes. Make your own DIY flower box in under an hour with just a few materials and tools.
DIY Flower Box
Materials
Instructions
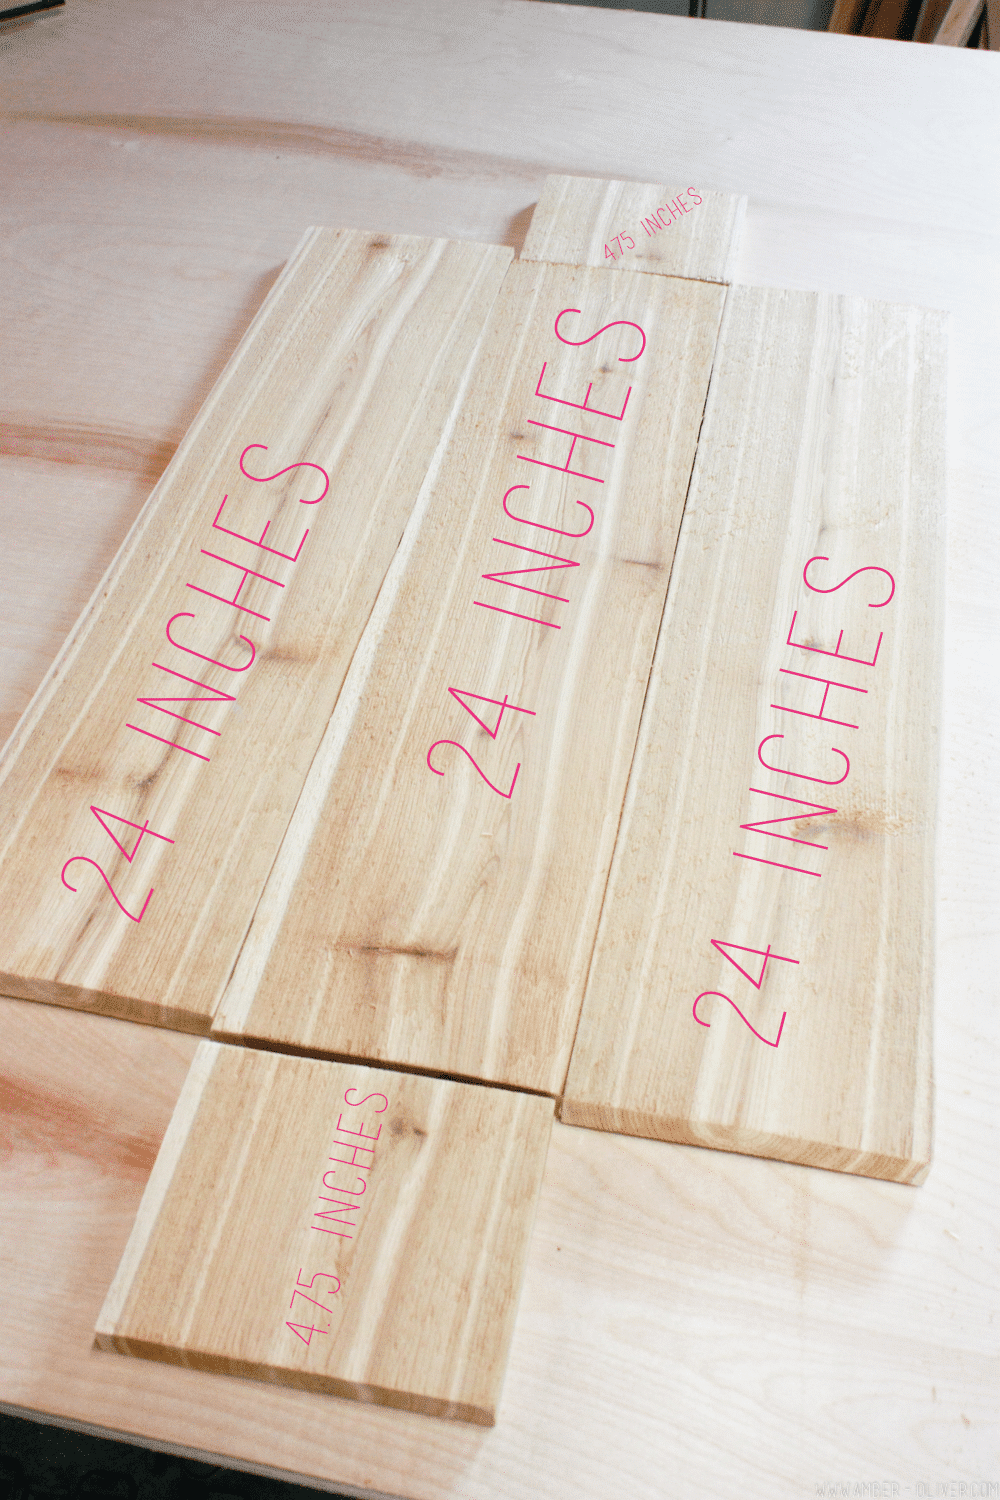
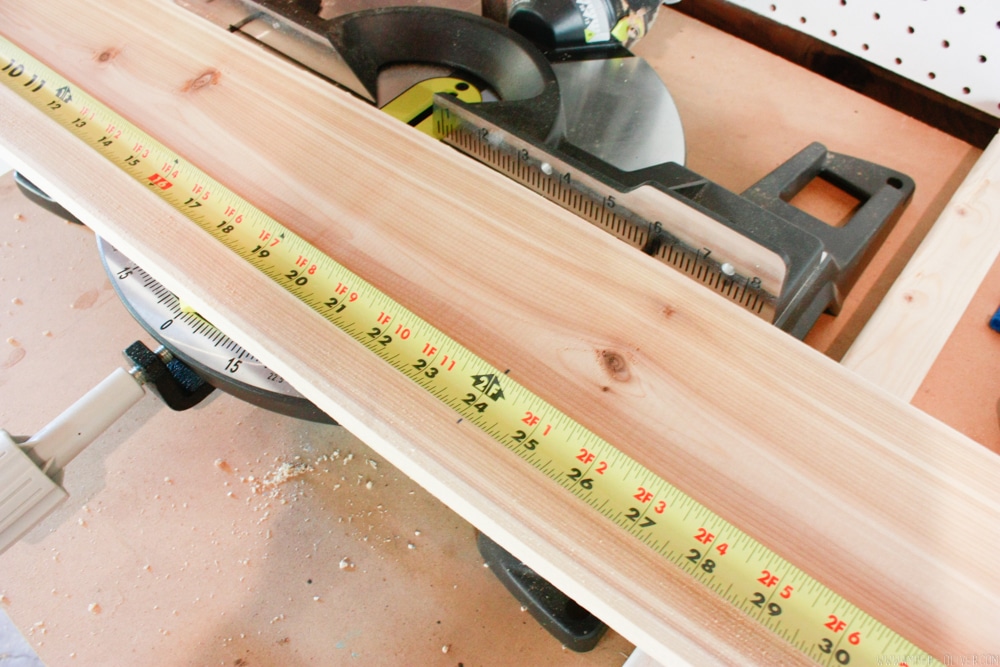
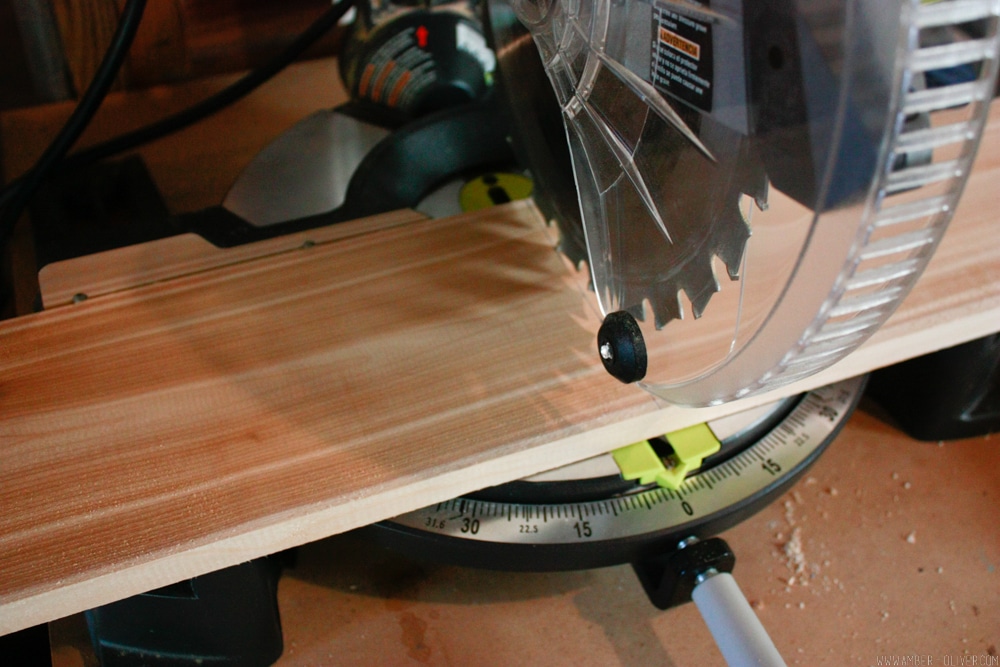
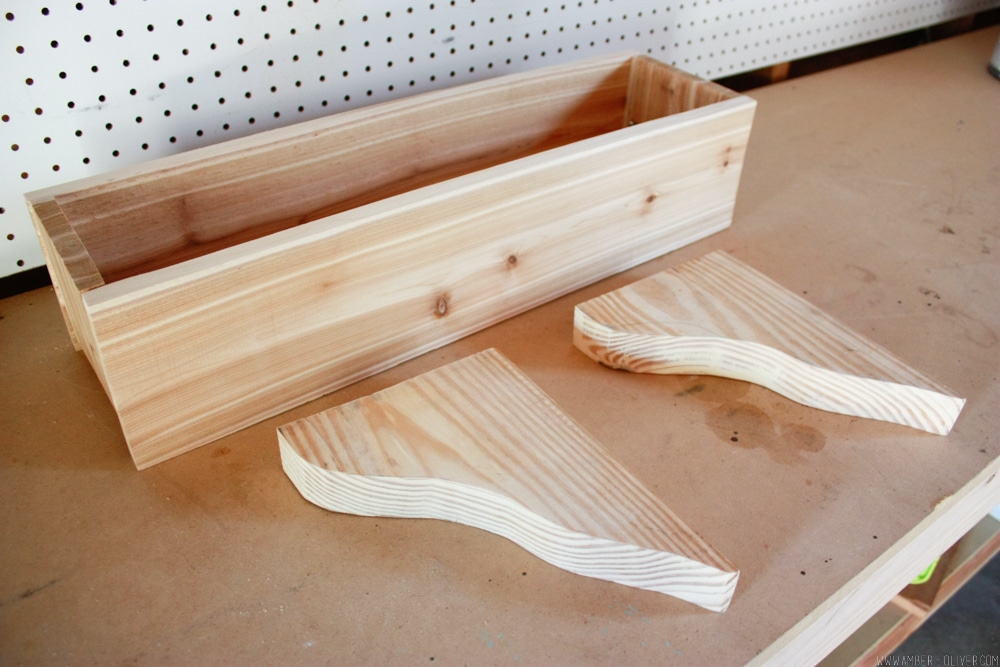
- Measure and cut the 1×6 to build the box. You will make 5 cuts on the 1×6 board:
3 cuts at 24 inches
2 cuts at 4.75 inches

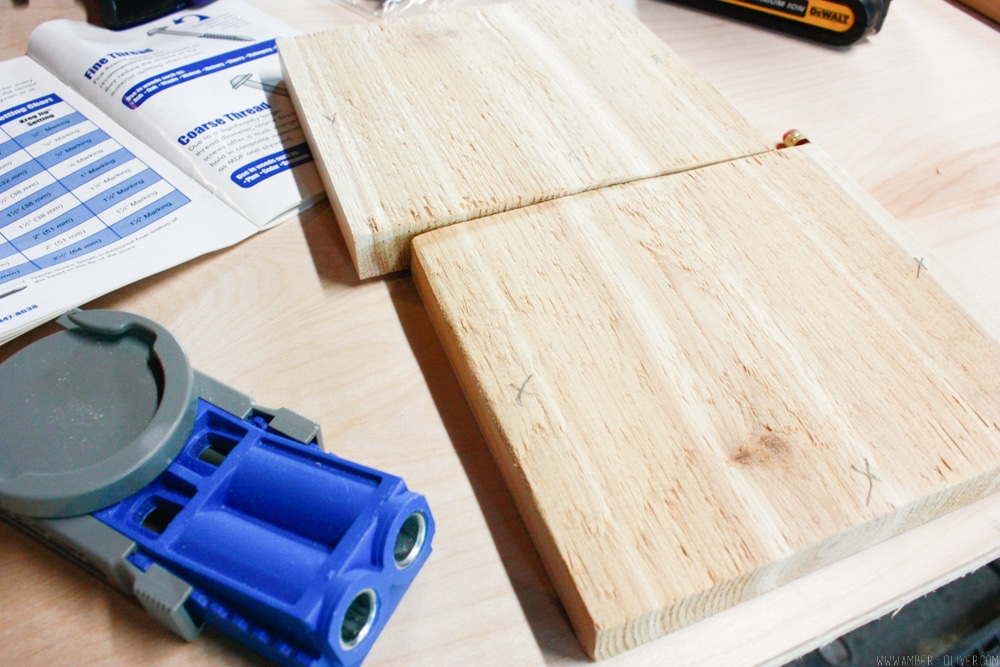
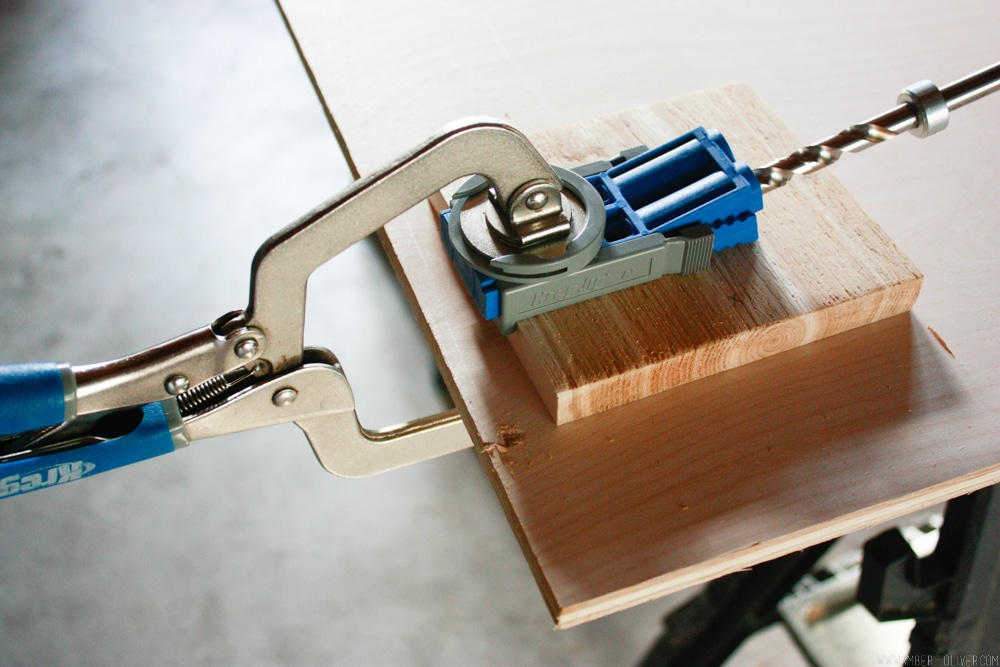
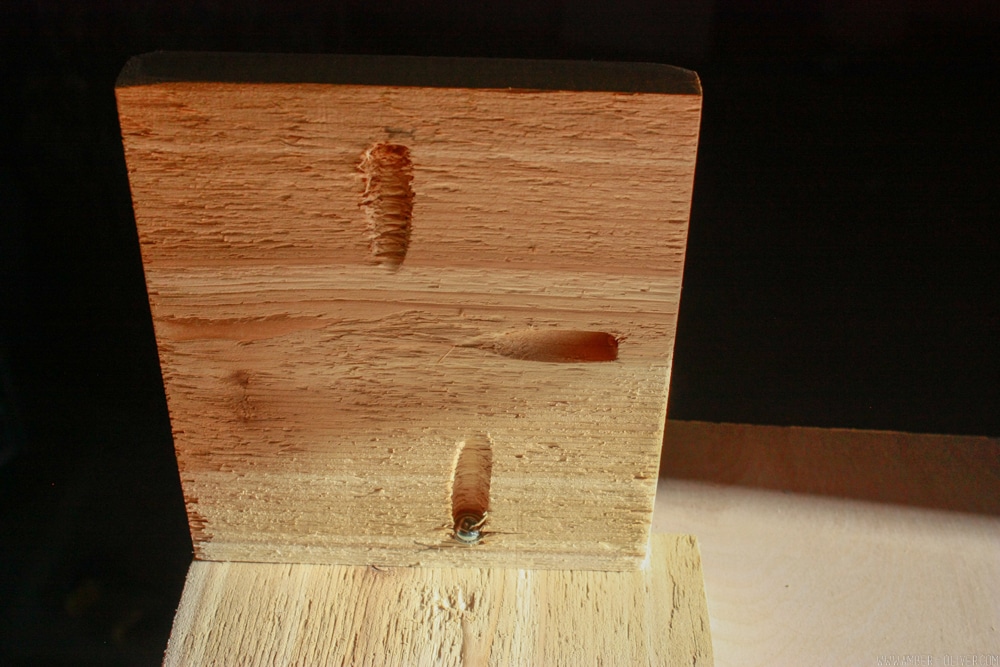
- Drill pocket holes. You’ll drill 3 holes in the two small side pieces using the Kreg Jig set for the width of the wood. Drill the pocket holes on the 2 sides and the bottom of the side pieces:
- Attach the side pieces into the front and back pieces (2 of the 24 inch sections) with the 1 1/2 inch screws. Make sure the pocket holes at the bottom of the side pieces point toward where the bottom of the box will be. To attach the second side piece, I used a piece of scrap wood and a clamp to make sure the side was flush with the front.
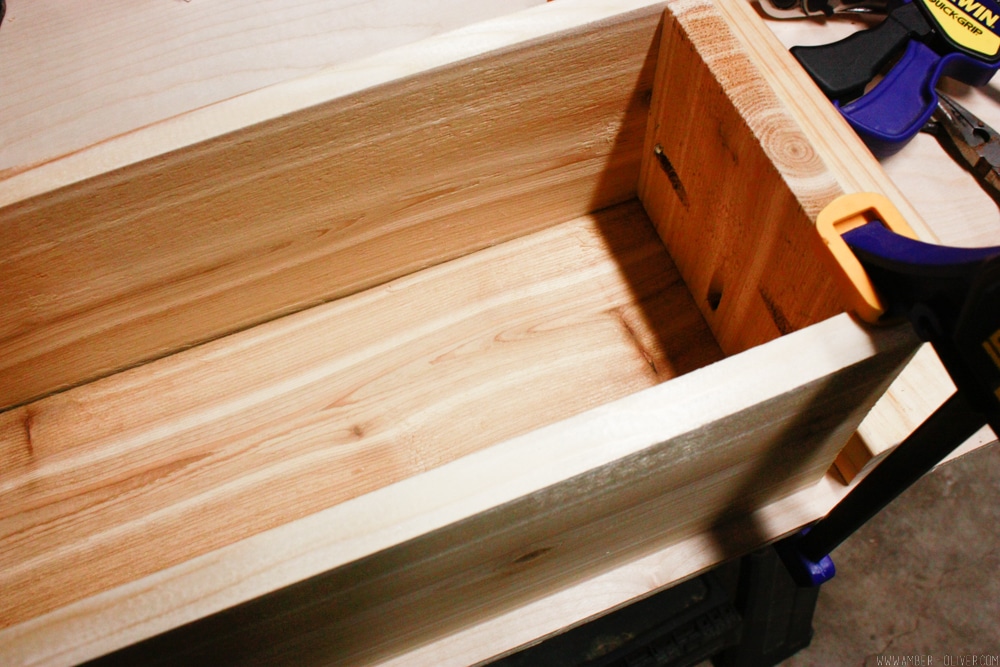
- Place the box on top of the bottom piece and drill down to attach the sides, front, and back to the bottom board using the 1 ½ inch Kreg screws.
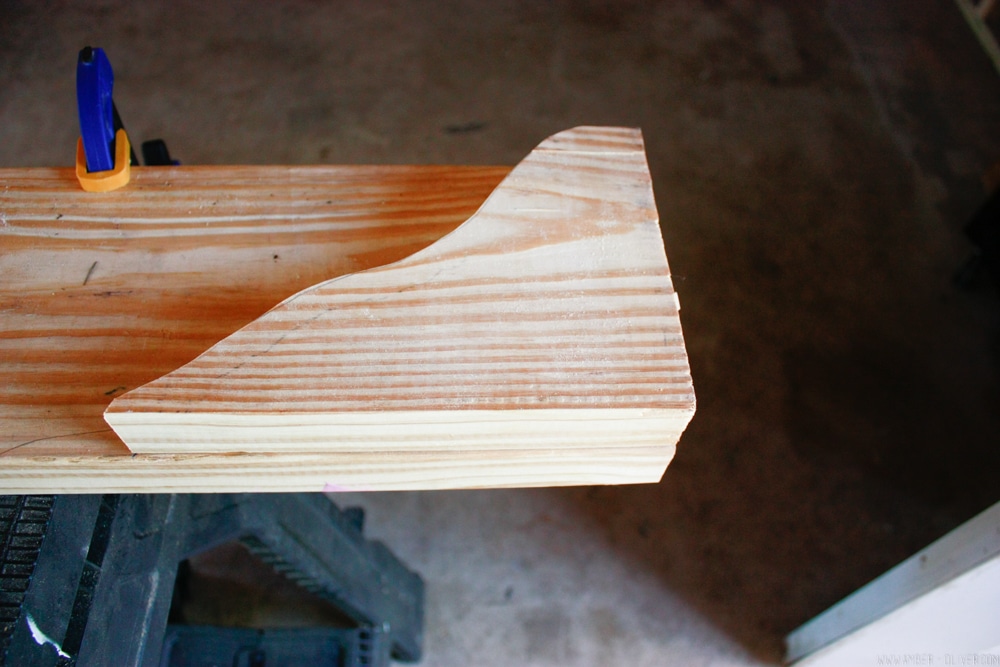
- You can purchase corbels or cut your own. I cut mine from a 2×6. I free-handed the design, cut it, then traced it to create the second one. Cut out with a jig saw or scroll saw, which ever you prefer!
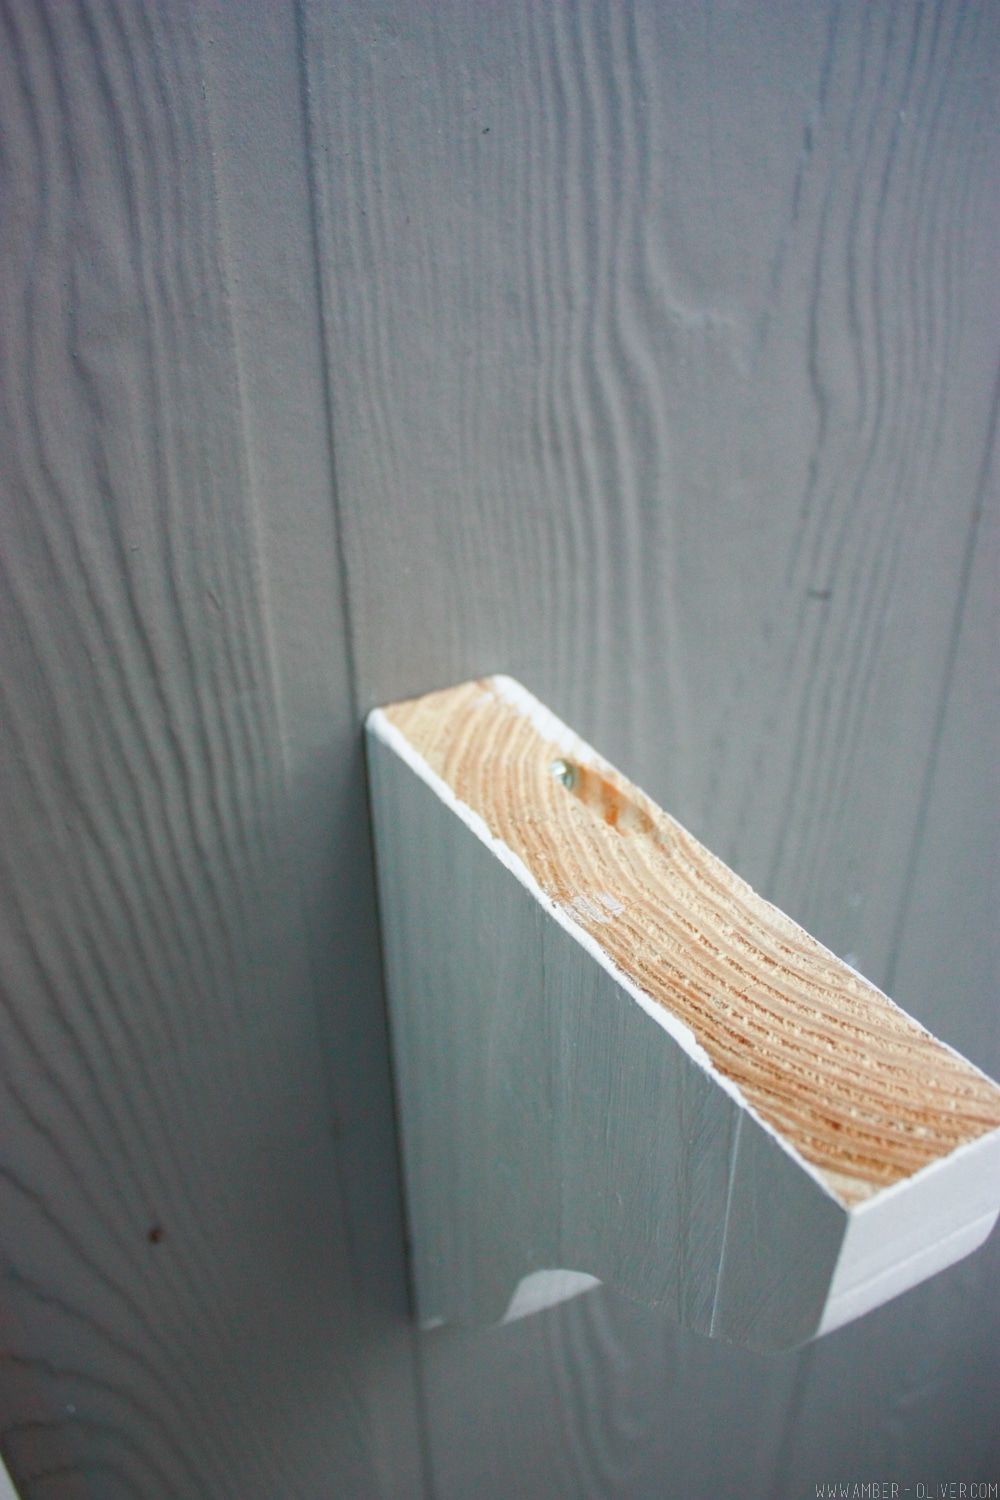
- Drill a pocket hole on the top of each corbel. You may have to get creative with the clamps for the Kreg Jig depending on how long yours are!
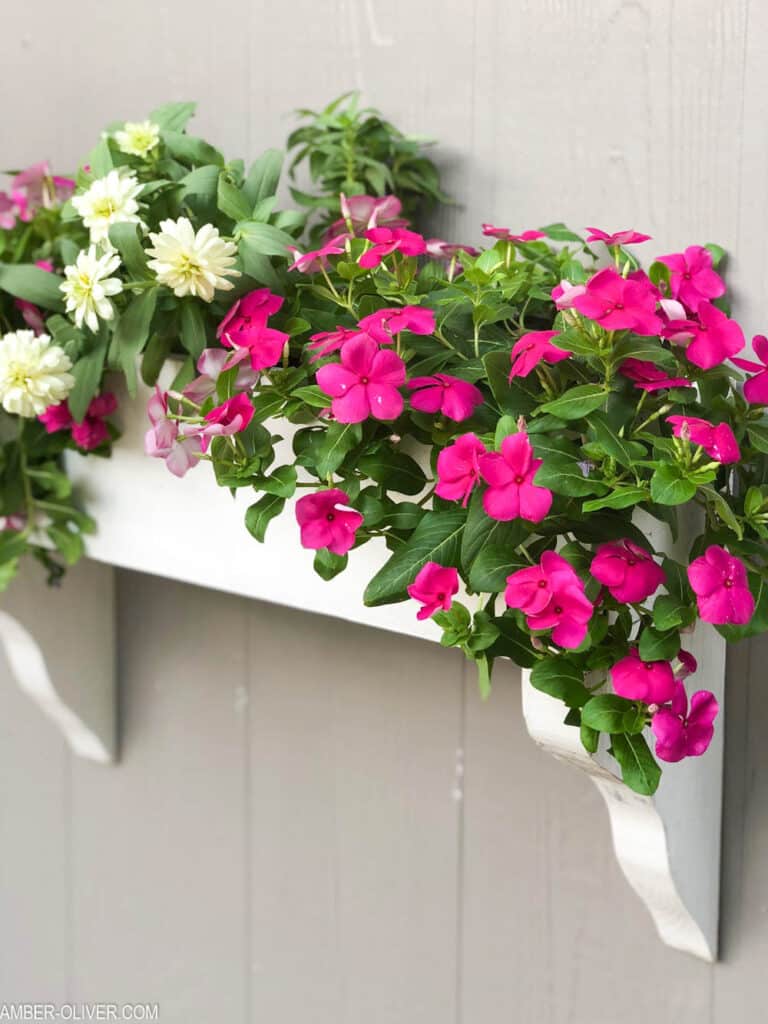
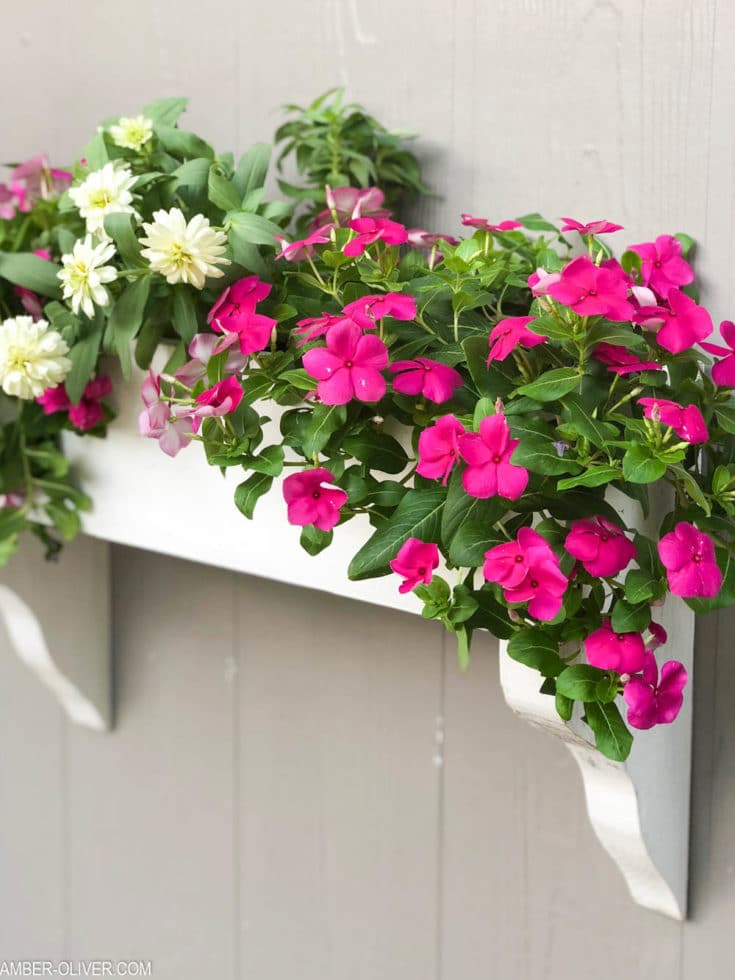
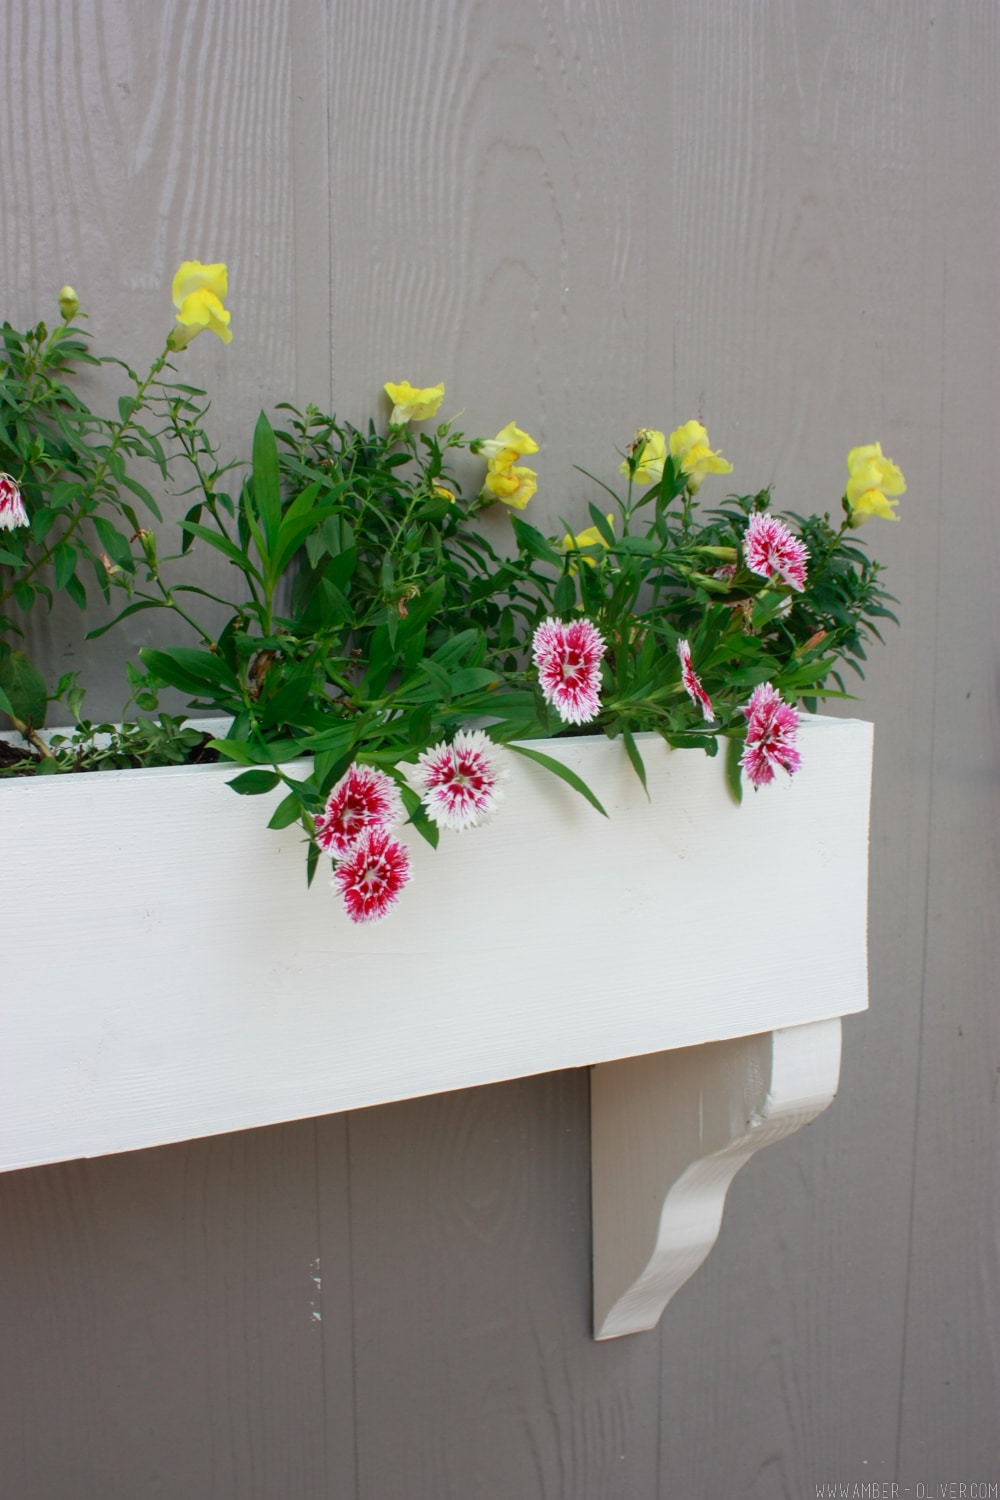
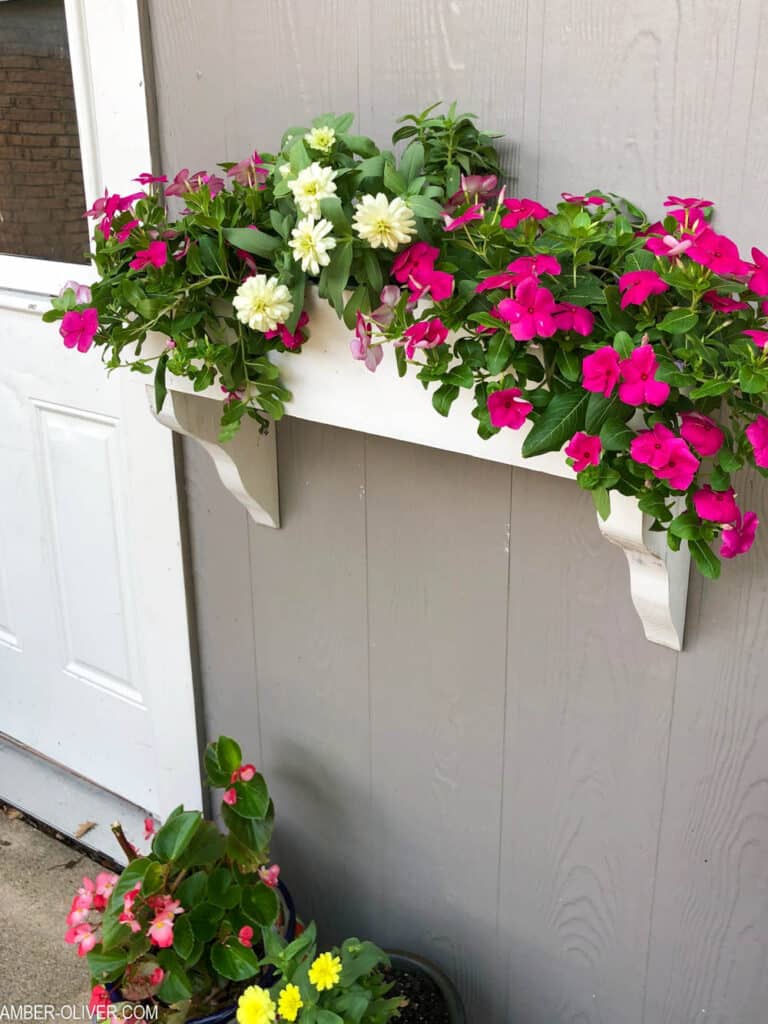
- After painting, I mounted my DIY flower box on the front our our garage. If you are hanging on brick, you’ll need a masonry drill bit and screw. The pocket hole on top of the corbel makes it easy to attach.
 To attach the second side piece, I used a piece of scrap wood and a clamp to make sure the side was flush with the front.
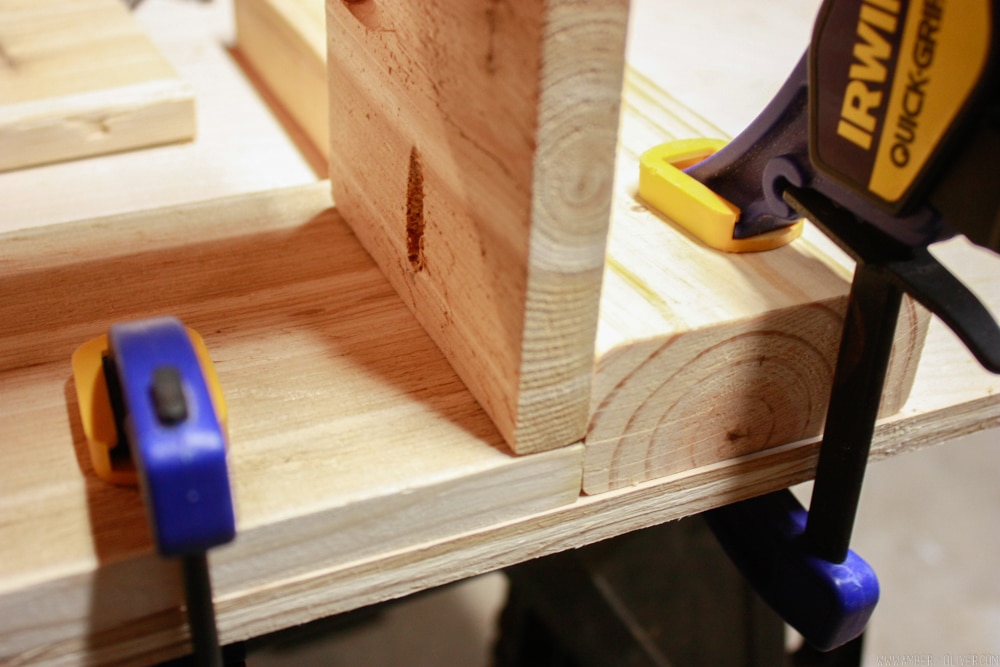
Notes
Boards are usually purchased in a minimum of 8 foot sections. You will only use about 2 feet of the 2×6 so if you’re making more than one DIY flower box, you’ll need extra 1×6’s (1 per box). If you don’t have a Jig Saw or Scroll saw you can skip the 2×6 and purchase corbels instead of making your own.
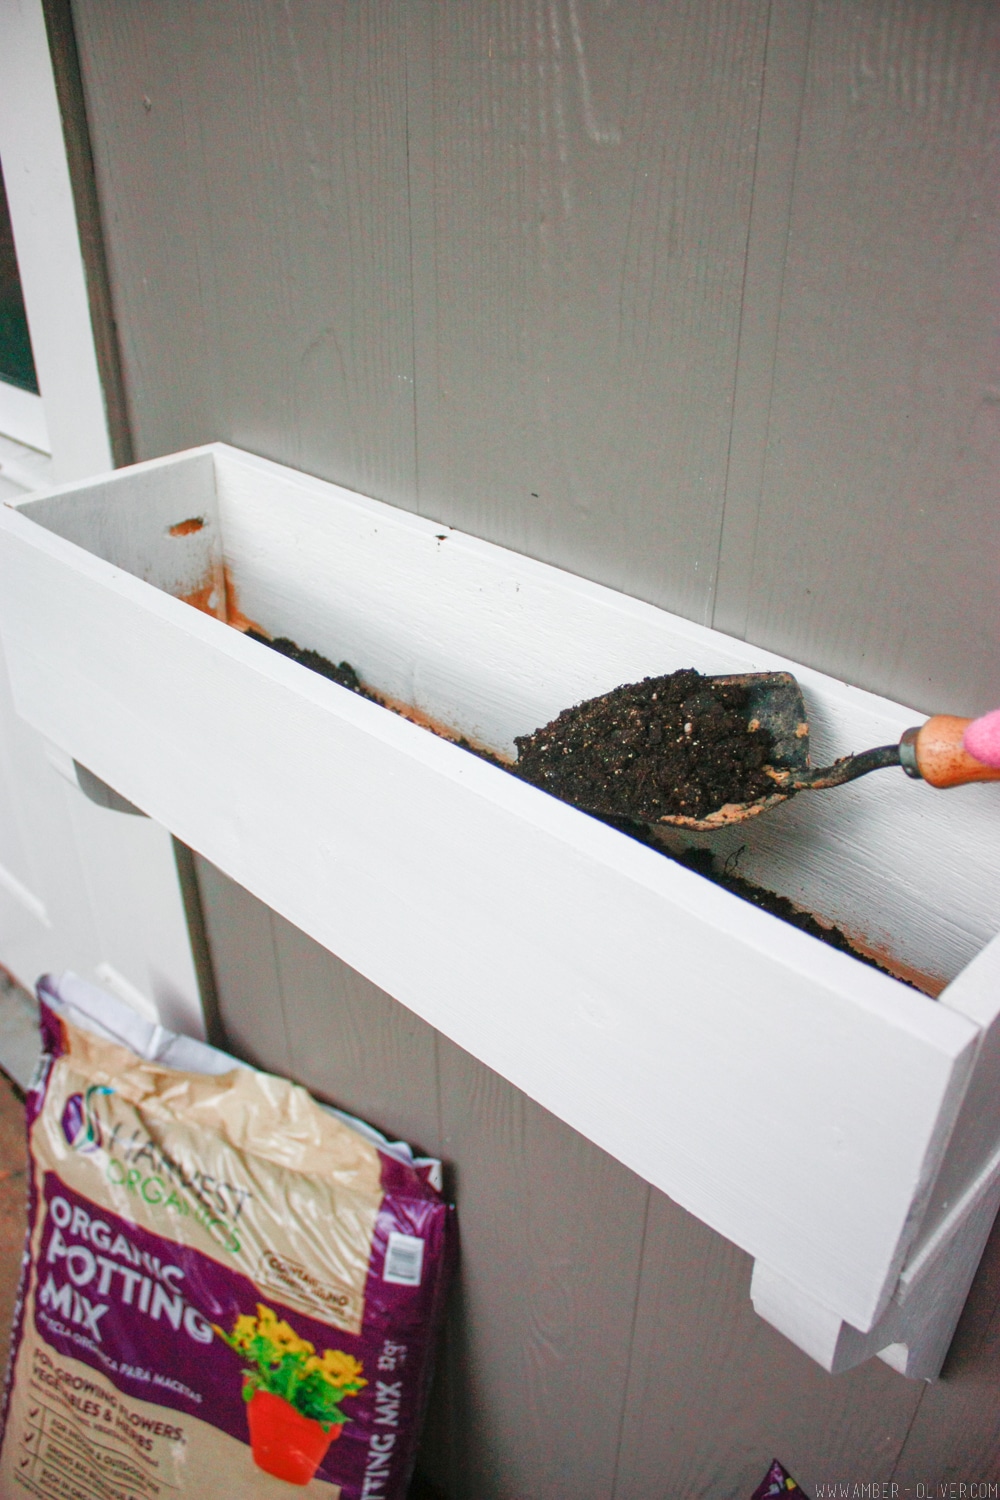
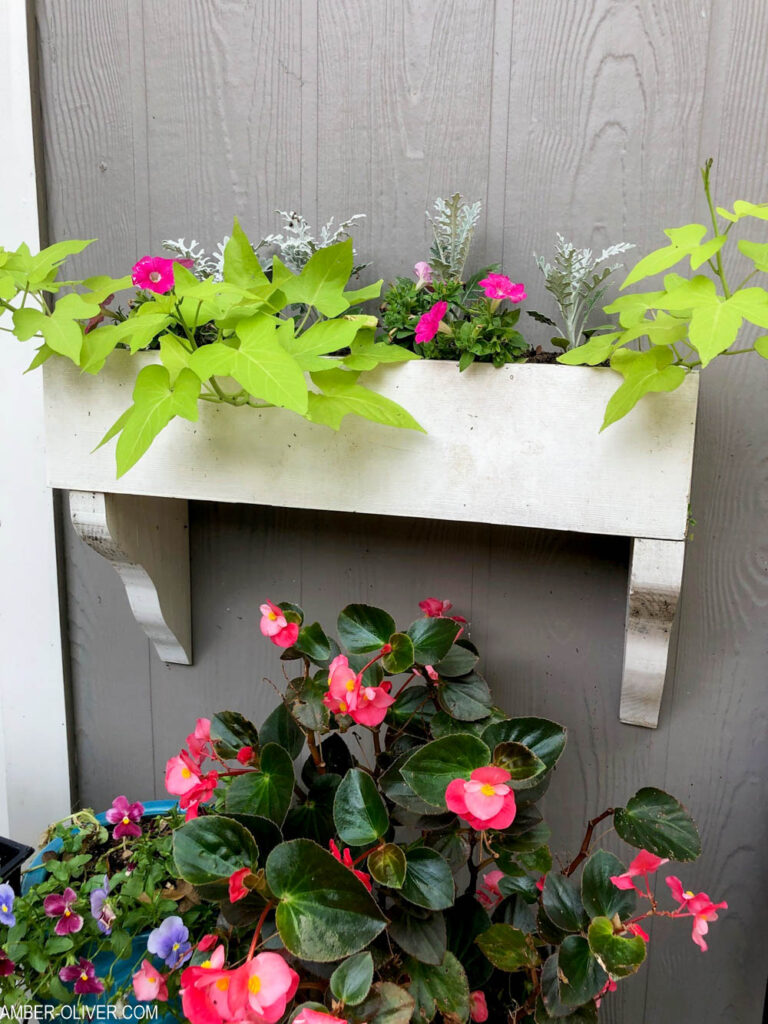
After your box is built and mounted it’s time to fill with soil and plant! I used Harvest’s Organic Potting Mix. Fill your box about a 1/3 of the way, add your plants, then fill in the rest of way with the Harvest’s Organic Potting Mix.
“Clean dirt” is an oxymoron but this potting mix is free of added chemicals, pesticides, and preservatives – so it really is clean! Not only does this quality soil help your plants grow, it helps the environment too 🙂
I have a few more garden projects planned this season, including a DIY raised bed garden and a rolling planter box with trellis that will cover our unsightly electrical boxes. For each of these projects I also plan to use Harvest’s organic soil.
I’ve grown to love gardening and surprisingly I love to get my hands dirty! Gardening makes our world a greener, healthier, and more livable place. It’s important to use products in your home that keep these goals in mind.
I choose to use Harvest products because they are working to create a more sustainable planet. Harvest is the largest processor of yard and food waste in North America, managing to keep nearly 2,000,000 tons of waste from ending up in landfills. We can all do our part to improve our planet!
YOU’LL ALSO LOVE:
DIYFan says
This is one of the nicest DIY woodworking tutorials I’ve seen. Great project for beginners! Keep it up!