Last updated July 30th, 2024 at 09:41 pm
Learn how to make adorable boho DIY macrame coasters in this easy, beginner friendly tutorial.
If you’re looking for a fun and creative way to add some personality to your coffee table, then these macramé coasters are the perfect project for you. Not only are they easy to make, but they’re also a great way to use up some of those extra cords you have lying around your craft closet.
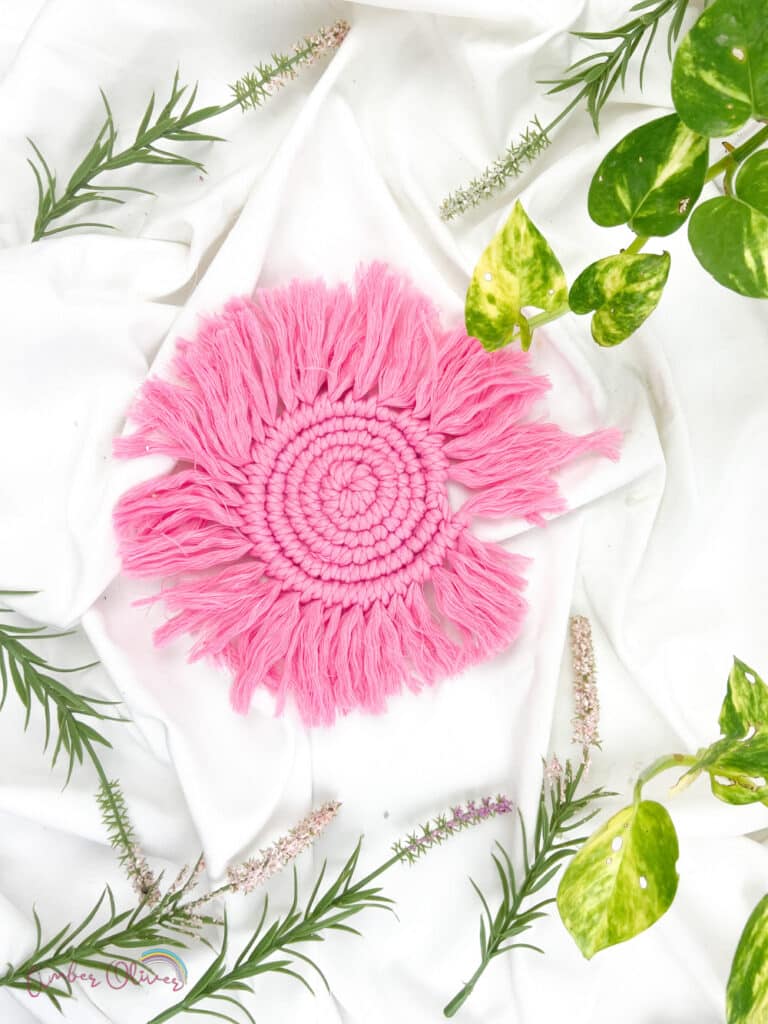
These make great handmade gifts for the holidays! I love a craft I don’t have to go out and purchase anything for! You most likely have what you need for this cute macrame coasters project on hand already!

Macramé Coasters
To get started, you’ll need the following supplies:
- Six rope yarns with a length of 26 inches each
- A comb
- Scissors
- Our video tutorial (if you’re new to macrame)
Before we begin, it’s important to note that we’ll be using double half hitch knots (DHH knots), lark’s head knots, cow hitch knots and reverse lark’s head knots in this tutorial. If you’re new to macrame, we recommend watching a video tutorial to familiarize yourself with these knots before proceeding.
DIY Macrame Coasters
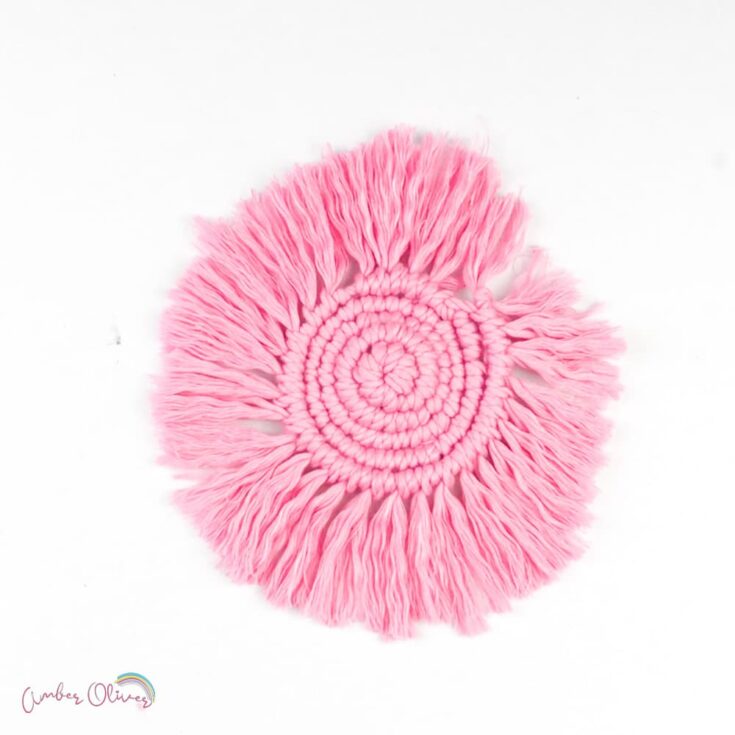
Materials
- Rope yarn
Tools
- Comb
- Scissors
Instructions
- Prepare six rope yarns with a length of 26 inches each.
- Begin by making a circle with one length of cord/yarn.
- Take a length of cord and fold in half with a loop in the top. Bring that through from behind on the starting circle and pull tight.
- Continue this with the 4 remaining lengths of cord. These are the lark's head knots!
- Pull the ends of the starting circle to tighten and straighten out and all the cords.
- Now begin making the double half hitch knots. Bring the first cord over the one next to it and wrap behind and through the loop you create. Do this twice.
- You then continue around, using the cord you crossed over as your next working cord.
- Continue working around until you have the desired size coaster.
- Cut the cords around the coaster a little longer than you want your fringe.
- Comb out the cords with a comb.
- For the final step, Trim the fringe to your desired length and you're finished! Your coaster is now wonderfully done! Great job!
Tips for Macrame Coasters
As you work your way through the tutorial, you’ll notice that the cord length will vary. Some cords will be shorter than others, so don’t worry if your coaster has a large gaps. Just add in another cord with a lark’s head knot. See our video tutorial to watch how to add in new cords.
When you reach the end of the strings, you’ll want to cut the excess cord. The hardest part is over! You’ve now got a basic coaster shape.
The last thing you do is make the fringe. To do this, take the bottom loops of the coaster and tie them with a reverse lark’s head knot. Then take the end of the cord and tie it to the first loop of the closest lark’s head knot. Finally, trim the fringe to your desired length and you’re done!

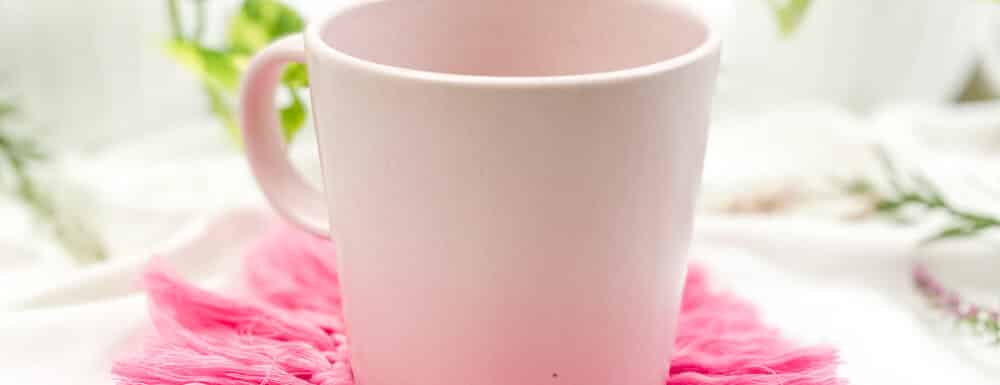
These cute DIY Macrame Coasters are a great addition to any living space and are a perfect way to add a natural element to your home decor. They’re also very easy to make, even for macrame beginners. Plus, you can customize them in different colours and patterns to match your living room decor.
If you find your coasters are sliding too much, you may want to add something to stop that. I love Fiber-Lok Non-skid Backing for projects like this! You paint it on the back of the coaster and it will stay in place!
If you’re looking for a more advanced macrame project, you can try making a mug rug. Or you can try experimenting with different cord lengths and knotting patterns. The possibilities are endless! We have other Macramé tutorials you can browse or check out our Crafting archives to get inspired!
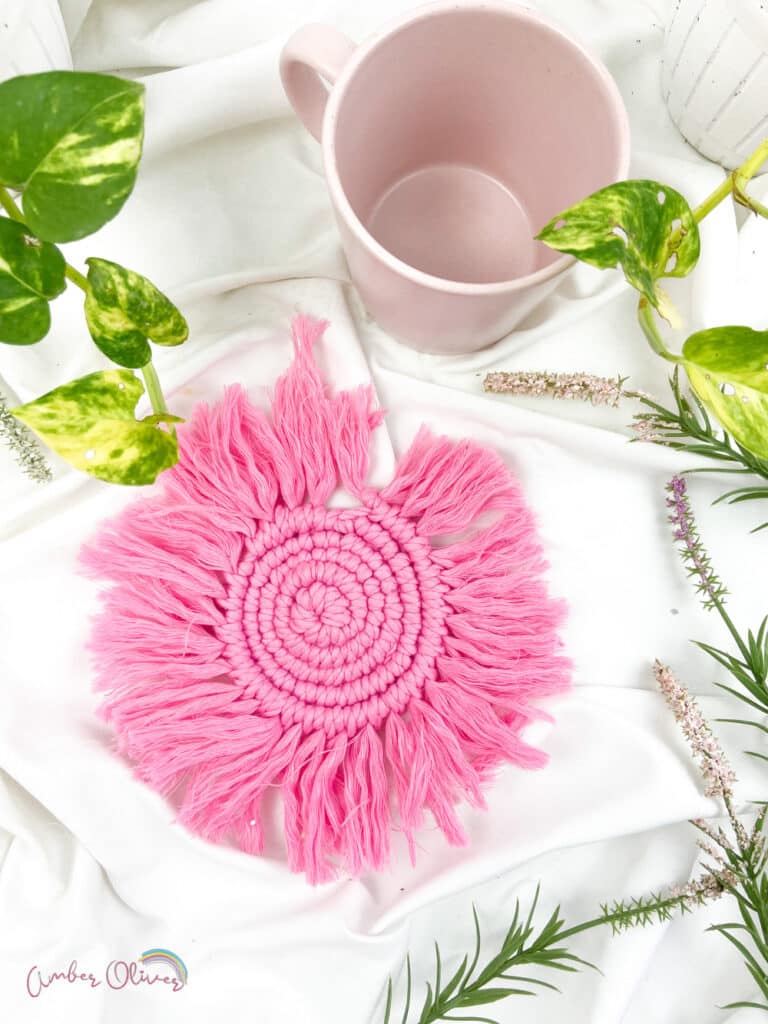
If you have any questions or need any help, feel free to reach out. And don’t forget to share your finished DIY coasters with us! We love seeing the creative ways that you use our tutorials to add a personal touch to your living spaces.
These macrame coasters are a great DIY project that can be done with minimal supplies and at a low cost. They make great handmade gifts and are a great way to add a touch of boho to your home decor. We hope you have fun making these coasters and that they become a great addition to your living spaces. Happy knotting!



Leave a Reply