Last updated August 6th, 2023 at 10:41 pm
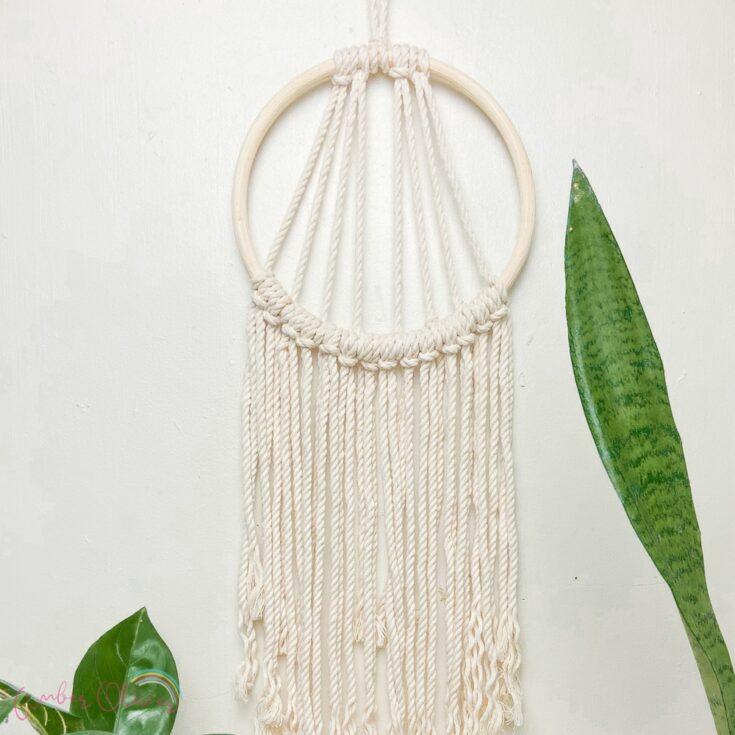
Learn how to make an easy DIY macrame wall hanging! This simple macrame project is great for beginners!
Welcome to the world of macramé! In this post, we will be walking you through the steps of creating a beautiful macramé wall hanging. It will add a touch of boho flair to any room in your home. Whether you’re a beginner or an experienced crafter, this tutorial is perfect for learning the basics of macramé. Start here and then you can begin experimenting with different knots and patterns.
What do you need to make a macrame wall hanging?
When creating your boho macrame wall hanging, keep in mind the overall size and design of your piece. You can use tape to mark the center cords. Then use basic shapes like rows of square knots to create a symmetrical design. If you’re feeling creative, you can also experiment with more complex patterns and different knots.
Before we begin, you’ll need to gather a few basic supplies: macrame rope, a macrame ring or rod, and scissors. You can find macrame cord at most craft stores, or online. Cotton cord is a popular choice for macrame projects because it’s sturdy and easy to work with. If you’re using a wooden dowel or rod, make sure it’s the right size for your project.
Easy DIY Macrame Wall Hanging
This easy DIY project is a great way to try the art of macrame! This first project will teach you basic macrame knots and these simple knots will create your first macrame piece!
Step 1: Assemble your materials. Start by measuring and cutting a length of cord for your craft. You’ll want to use enough cord to create the overall size of your piece. Keep in mind that you can always add more later if needed.
Step 2: Join the ends of the cord together by folding it in half. This will create a loop at the top of your cord. This will be the starting point for your macramé knots.
Step 3: Working from the front, take the folded loop over the top of the rod or ring, then down behind it, leaving the loop facing downwards. This is called a lark’s head knot and is one of the basic knots used in macramé! Learn these simple knots and you can create lots of DIY projects!
Step 4: Pull the two cut ends of the cord up and through the loop, then tighten to secure the knot. This is the foundation of your wall hanging and will be the starting point for the rest of your knots.
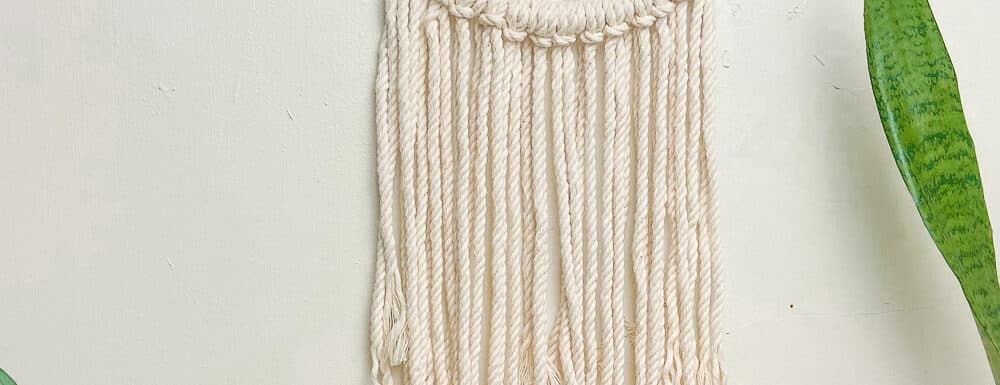
Step 5: Secure both ends of the cord by tying them to the ring or rod. Make sure to leave spaces in between the knots. This will create the unique texture and design of your wall hanging.
Step 6: Fill in the spaces between the knots by adding more lark’s head knots. You can also use double half hitch knots for a different look. Repeat steps 2 to 4 for the process.
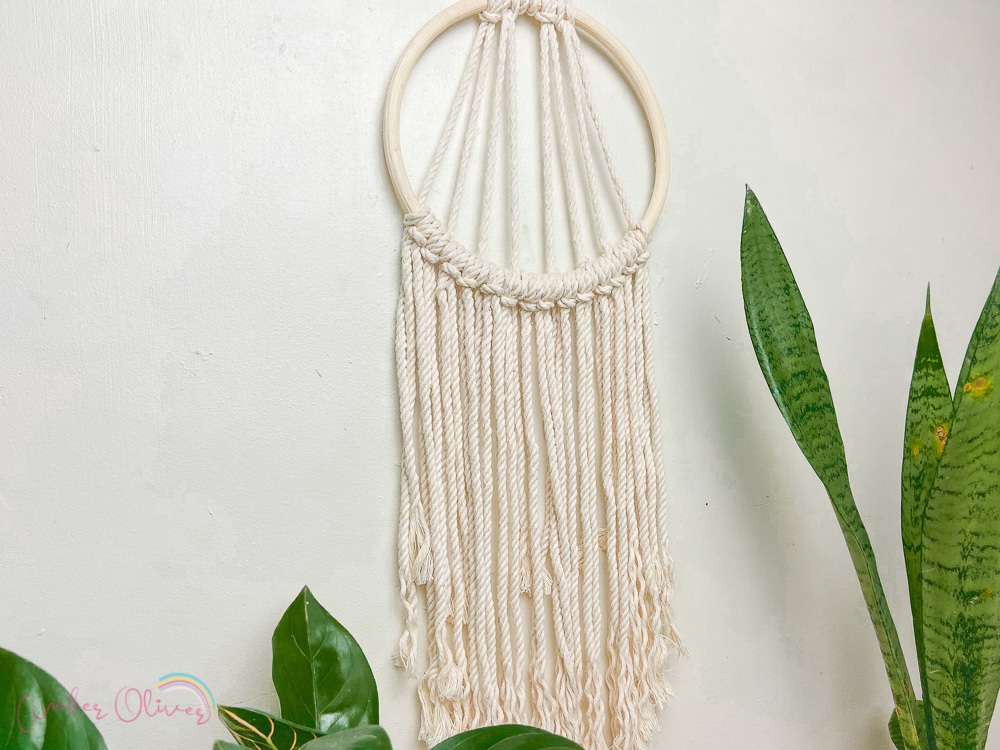
Step 7: Finish your craft by making a hook out of macrame cord. Use this to hang your wall hanging on the wall.
All about Macrame
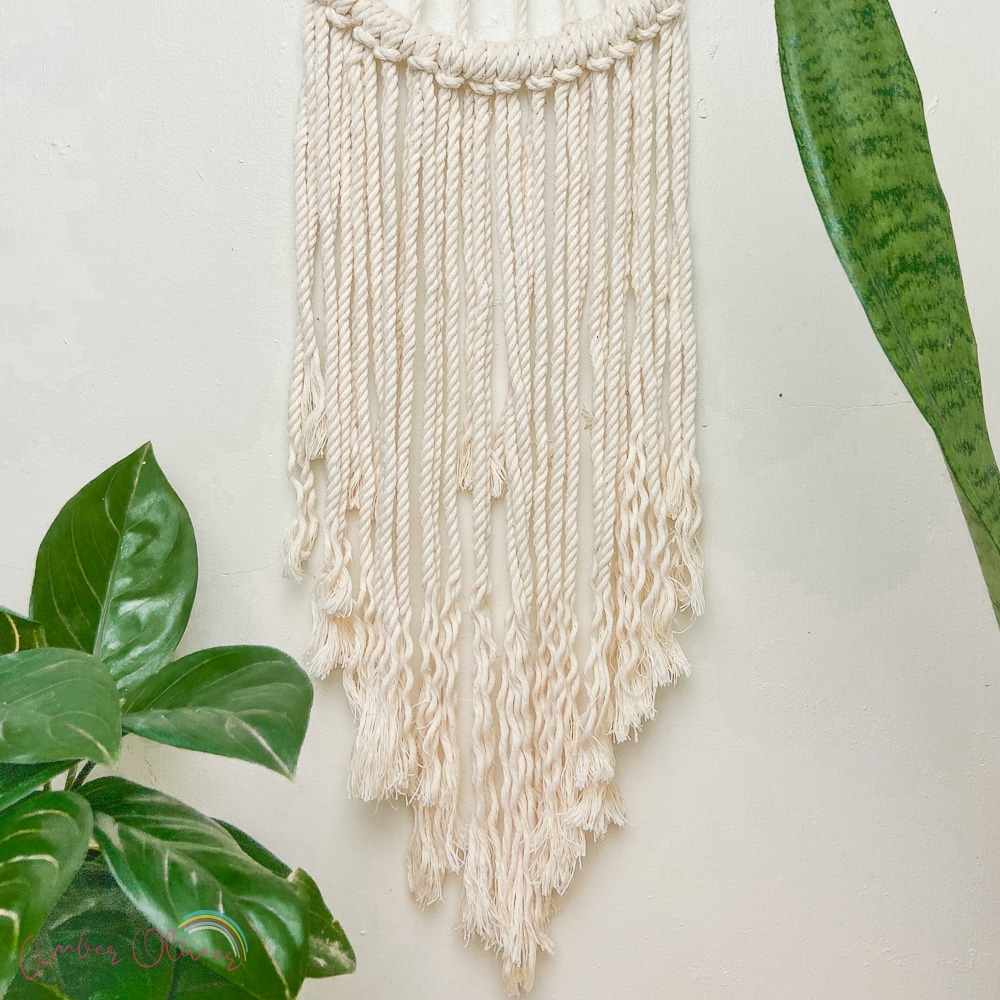
One of the best things about macramé is that it’s incredibly versatile. You can use different colors, patterns, and knots to create a wide variety of designs. If you’re feeling adventurous, you can even try incorporating smaller pieces of rope or yarn into your wall hanging for added texture.
One of the easiest things you can do with macrame is to create a simple wall hanging like we’ve done with this project! Start with a basic lark’s head knot and then use double half hitch knots to create a pattern. You can experiment with different colors and patterns to create your own unique wall hanging.
Macrame plant hangers are another popular project. They’re super easy to make and you can experiment with different knots and patterns to create your own unique design. You can use a piece of driftwood or a dowel rod for the top of your hanger. Another idea is to add a splash of color with silk flowers.
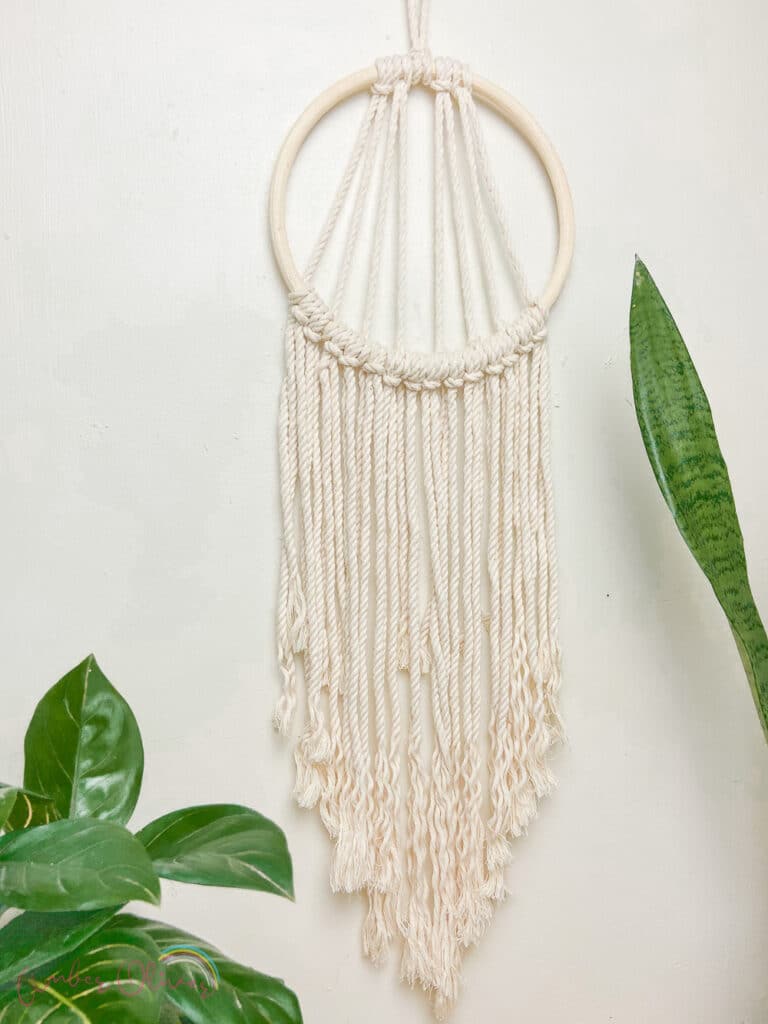
DIY macrame wall hanging is a perfect addition to any home decor. With a little practice and some basic supplies, you can create beautiful pieces of textile art that will add personal touch to any room in your home. Whether you’re looking to add a statement piece to your living room or looking for a unique way to display plants in your guest room, macrame wall hangings are a great option.
Macrame Wall Hanging
Learn how to make an easy DIY macrame wall hanging! This simple macrame project is great for beginners! #easycrafts #macrame
Materials
- Macrame cord
- Macrame ring/rod
- Scissors
Instructions
1. Assemble macrame cord, macrame ring/rod and scissors. Start by
measuring and cutting a length of cords for your craft.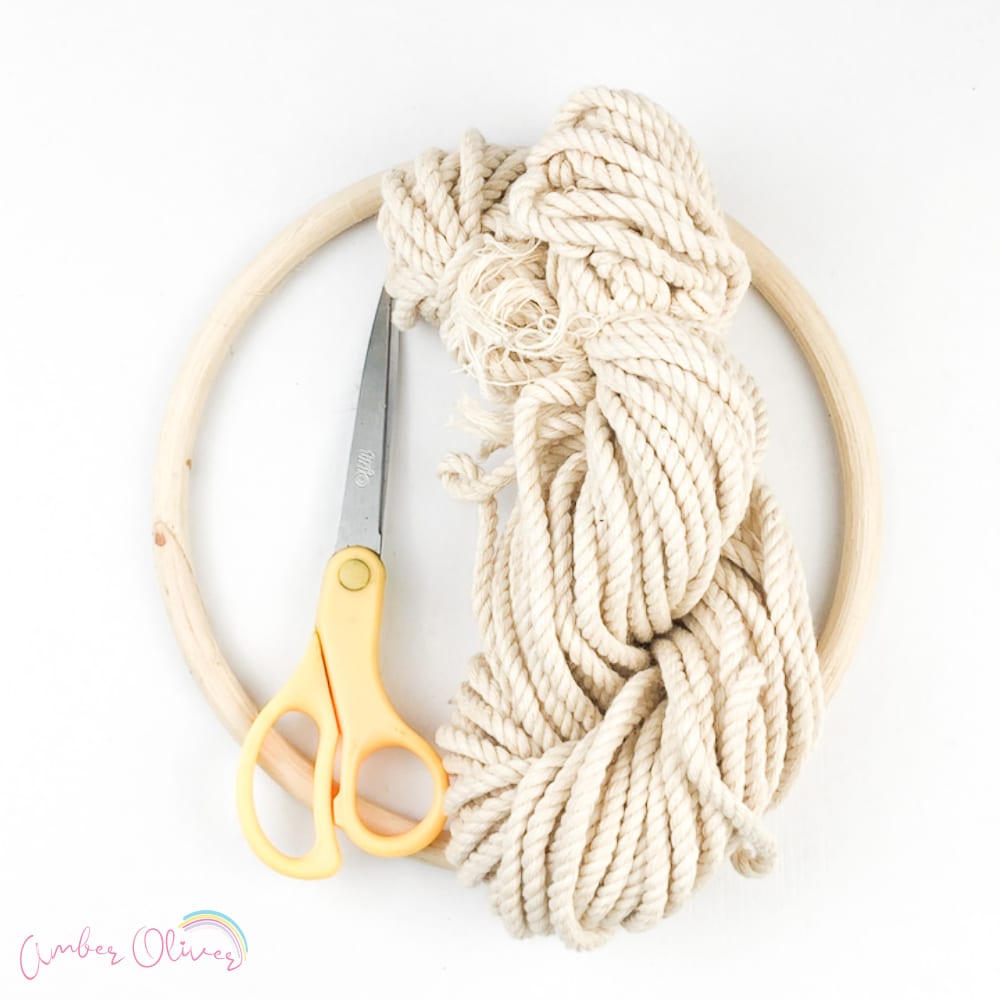
2. Join the ends of the macrame cord together, folding in half.
3. Working from the front, take the folded loop over the top of the
rod/ring, then down behind it, leaving the loop facing downwards.
4. Pull the two cut ends of the cord up and through the loop, then tighten
to secure the macramé knot.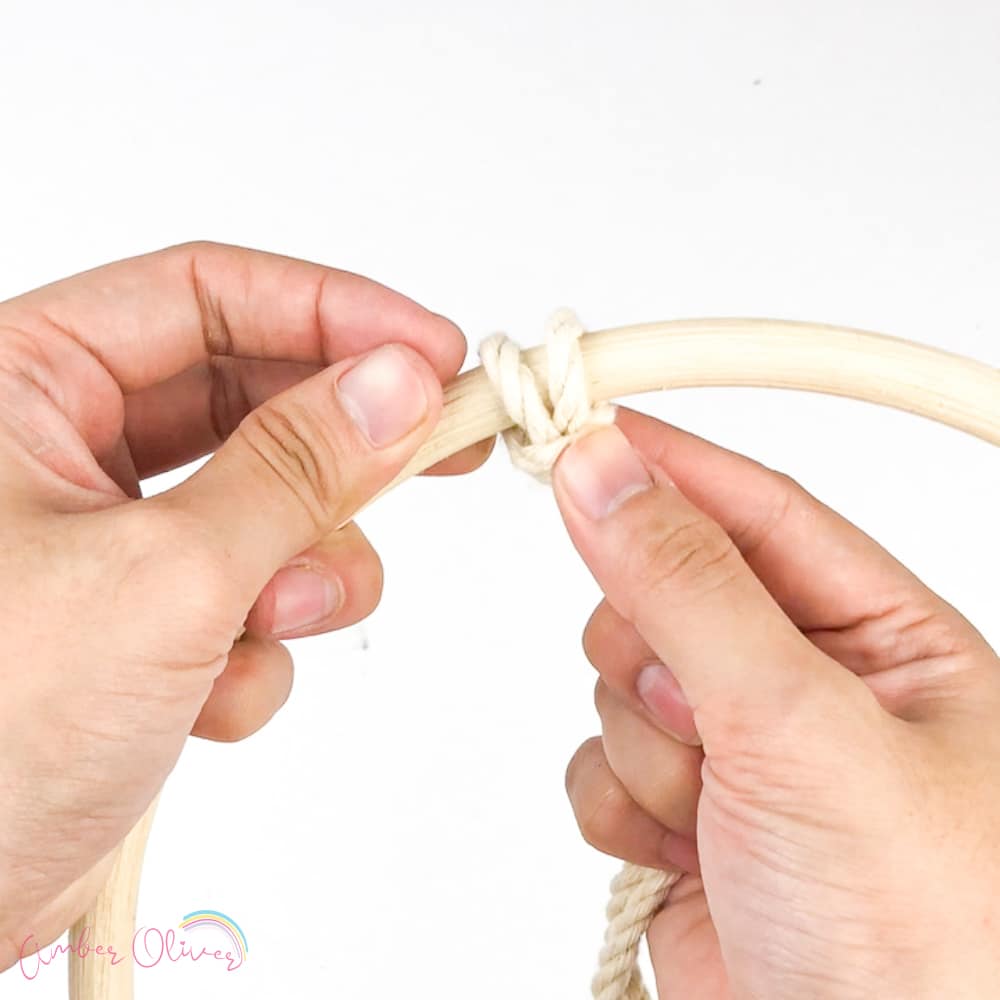
5. Secure both ends of the cord by normally tying to the ring/rod. Make
sure to leave spaces in between.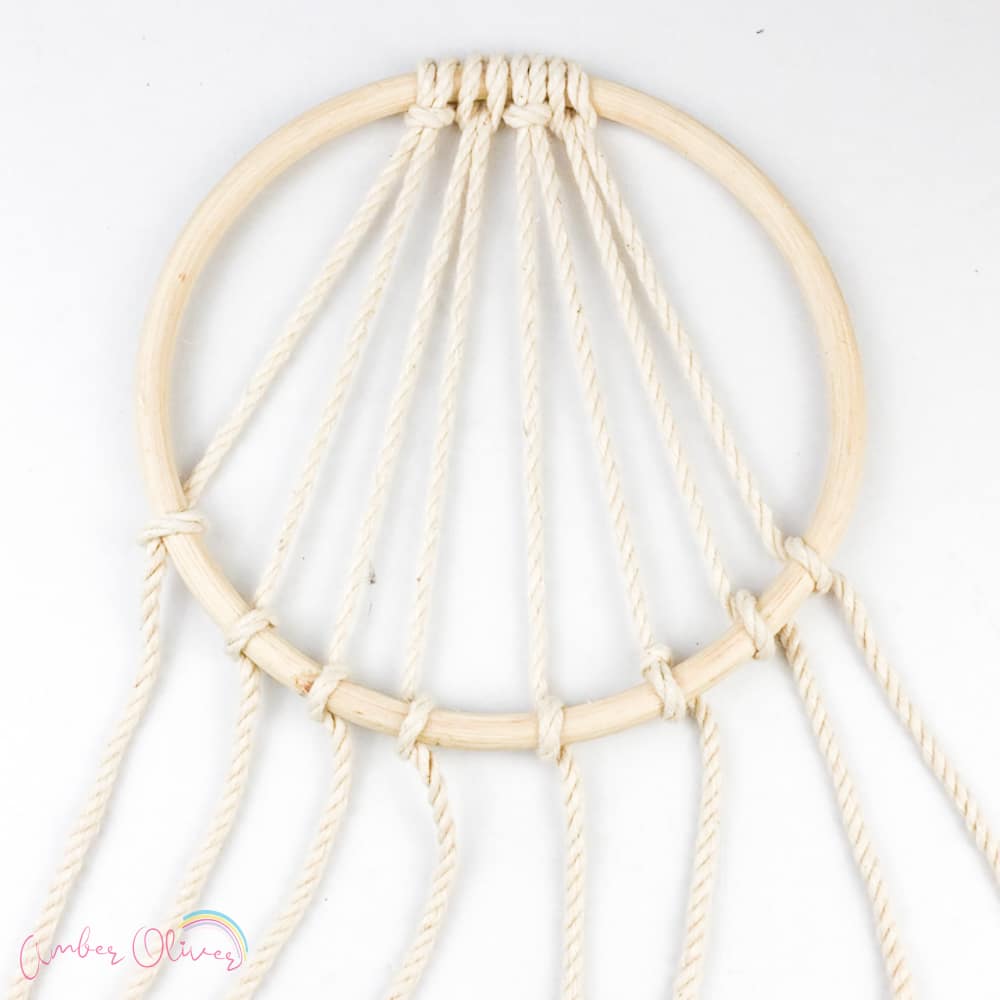
6. Fill the spaces in between by adding macrame knots. Repeat steps 2 to 4
for the process.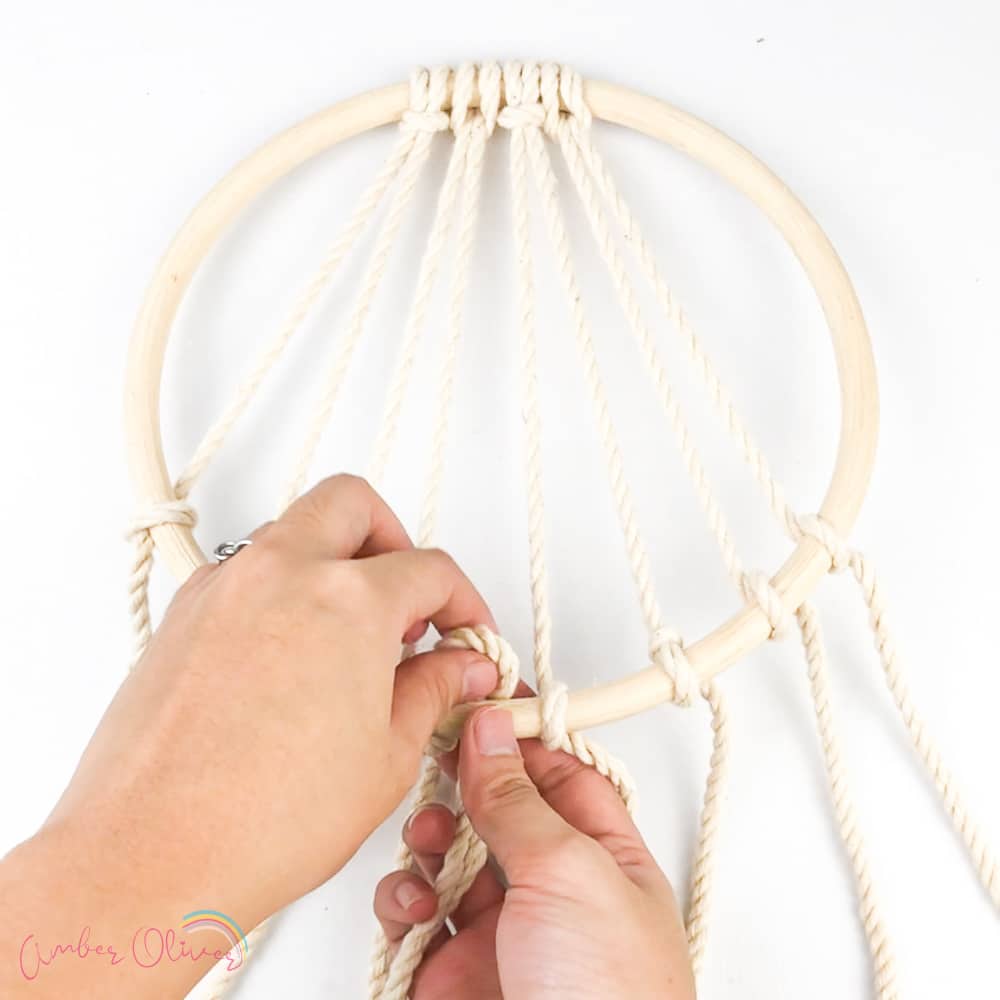
7. Finish your craft by making a hook out of macrame cord. 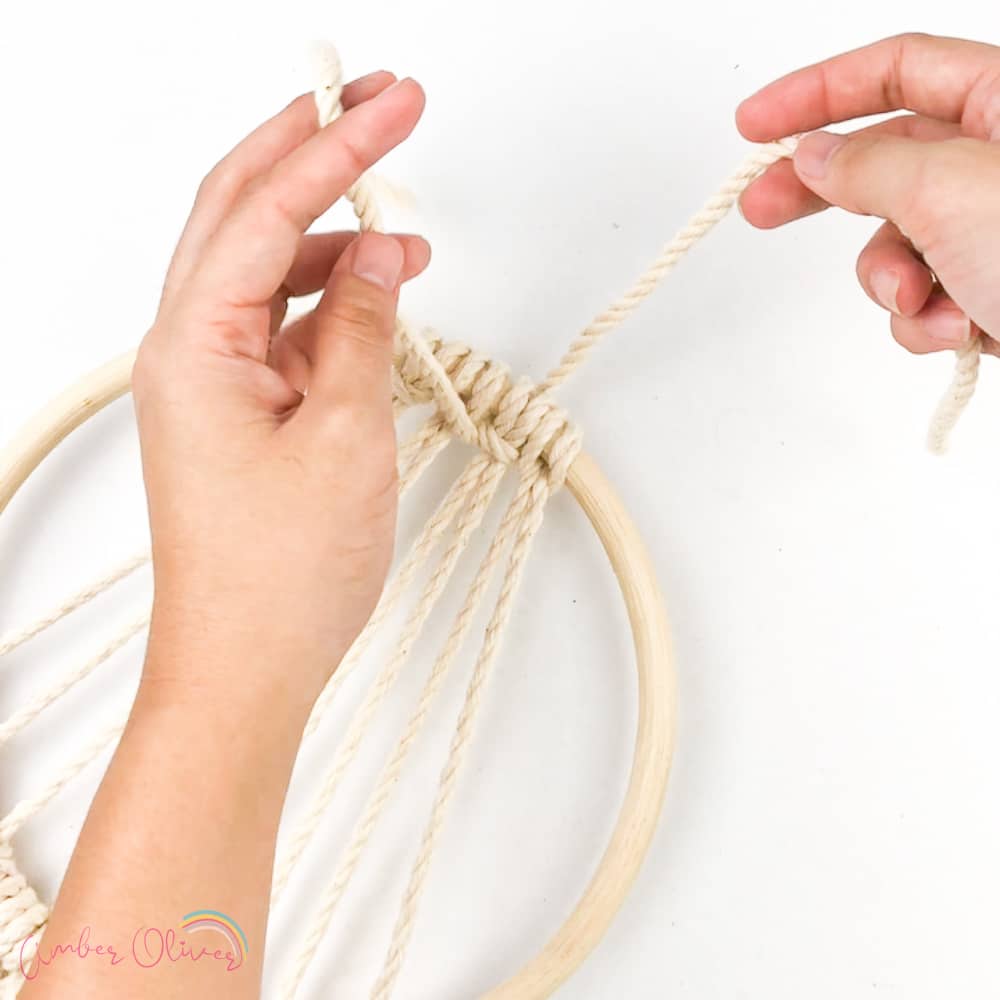
Shop Macrame Kits

Keep in Mind about Macrame
As you work on your macrame wall hanging, don’t be afraid to make mistakes. Macrame is all about trial and error, and the more you practice, the better your skills will become. Remember to take your time and enjoy the process!
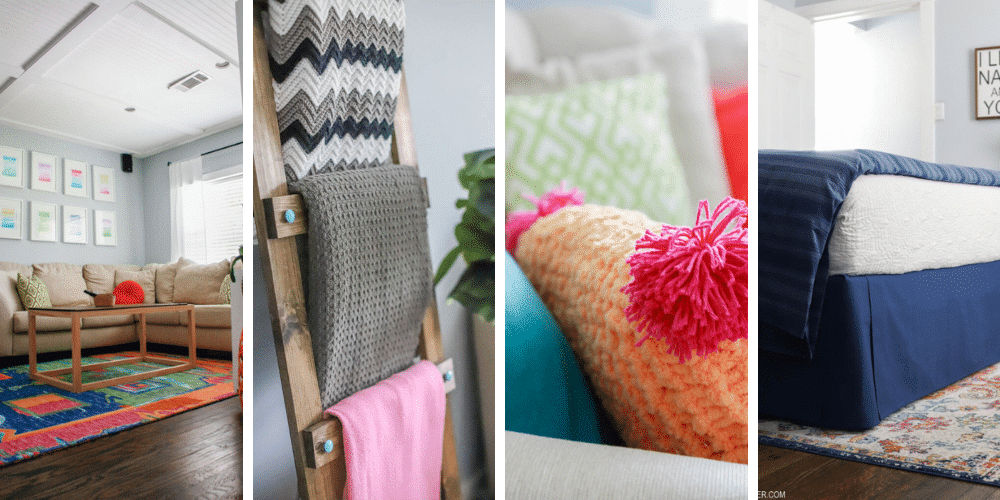
When you finished your macrame wall hanging, you can hang it on your gallery wall. It could also be a single statement piece in your living space. It will add bohemian flair to your home decor and it’s a perfect way to show off your macrame skills.
If you’re looking for more macrame inspiration, be sure to check out some of the many macrame designs available online. You can find different ways to use macrame for personal use or home interior design. There are a lot of different things you can make with macrame, from plant hangers to wall decor. It’s a lot of fun and perfect for the holiday season.
HOME DECOR ARCHIVES
View our collection of home decor posts.
Leave a Reply