Last updated August 8th, 2022 at 02:57 pm
Use resin to create a unique DIY mail holder that can easily be customized to fit the style of your home office!
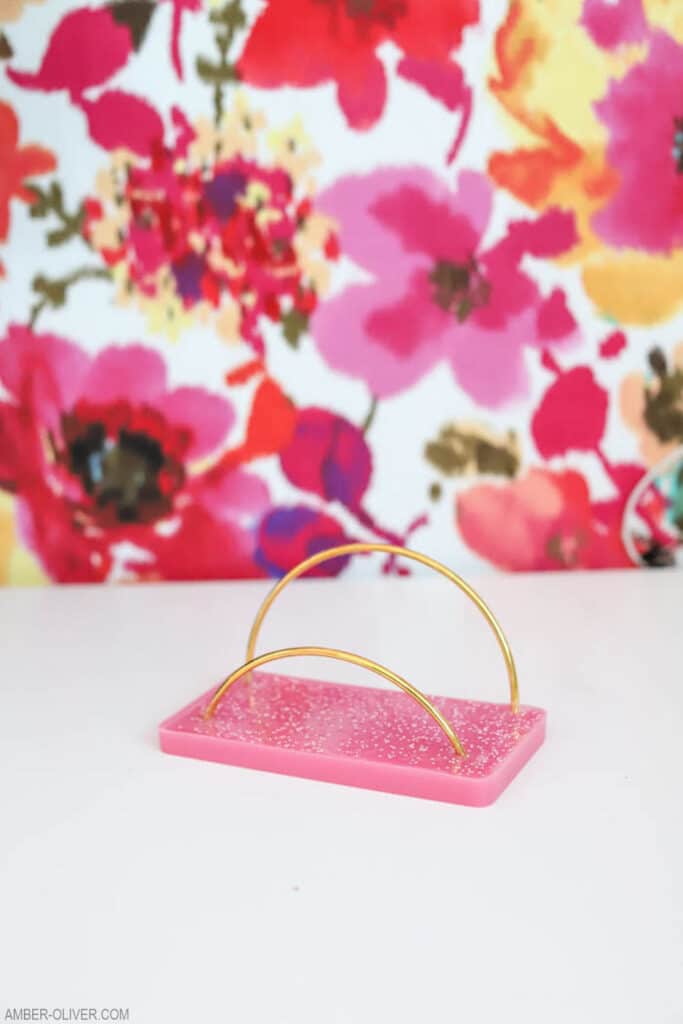
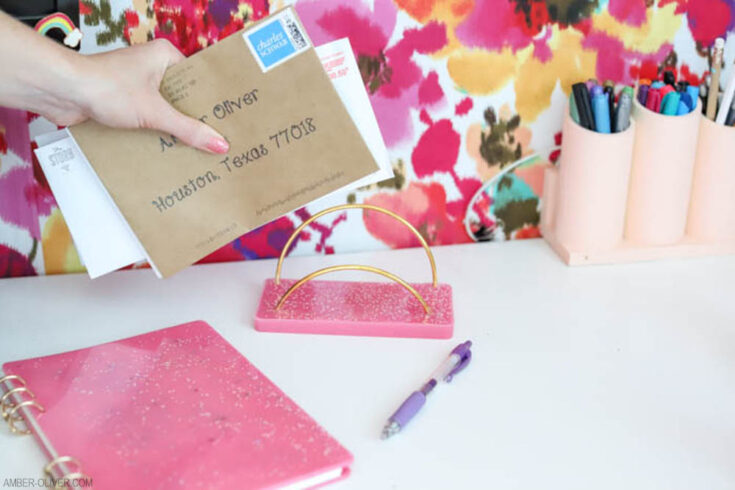
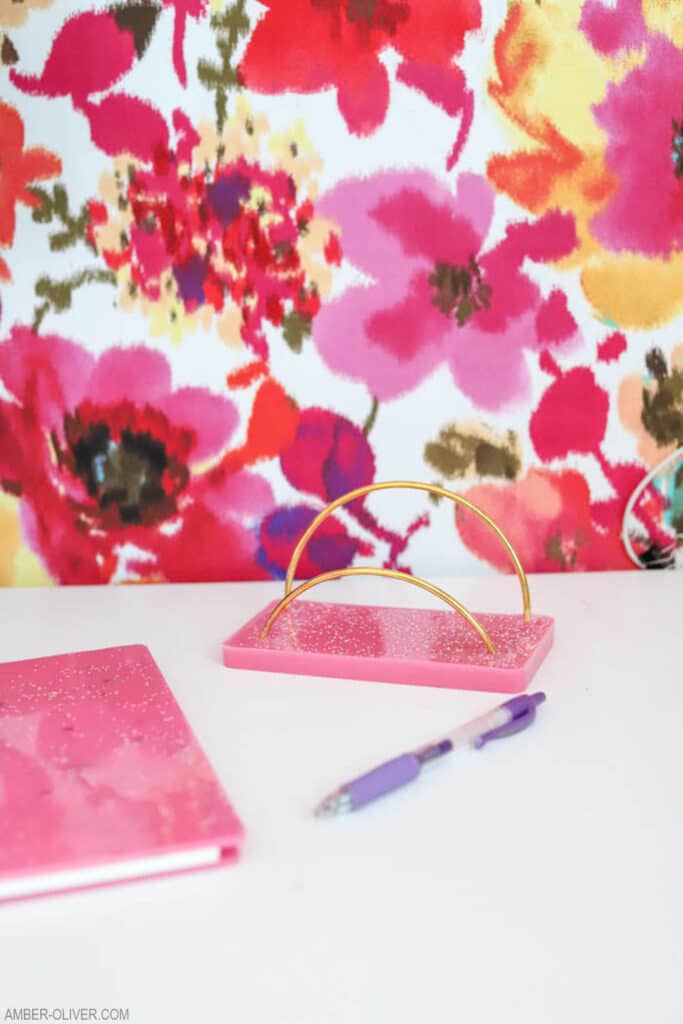
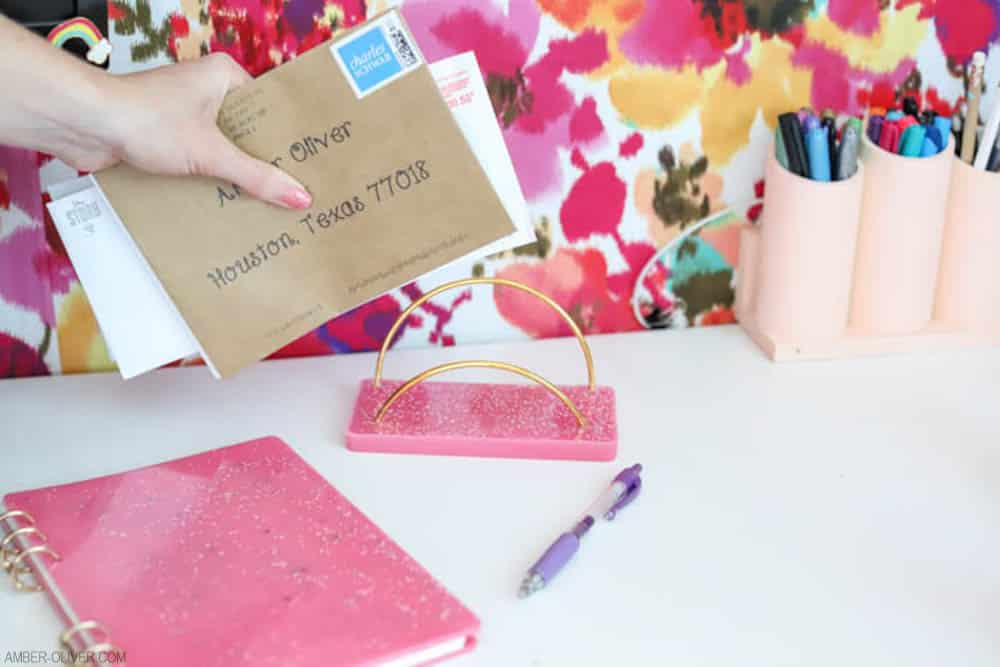
After making adorable DIY notebook covers from resin, I wanted to create more matching desk accessories! I created a beautiful diy mail holder out of the same pink and glitter I made my notebooks with. The gold rings were absolutely perfect for this project!
DIY Mail Holder
Materials
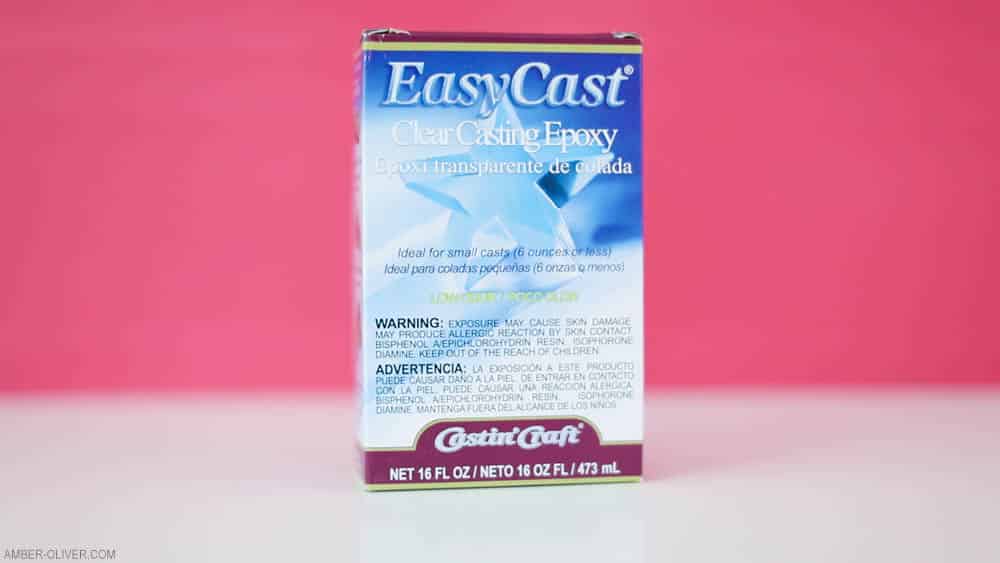
- EasyCast Clear Casting Epoxy
- Acrylic Paint in the color of your choice
- Rectangle Mold
- Mixing Cups
- Stir Sticks
- Metal Ring (cut in two pieces!)
Instructions
- Prepare the resin. This is a multi-step process so make sure you don't start mixing until you are ready to do the whole process from beginning to end!
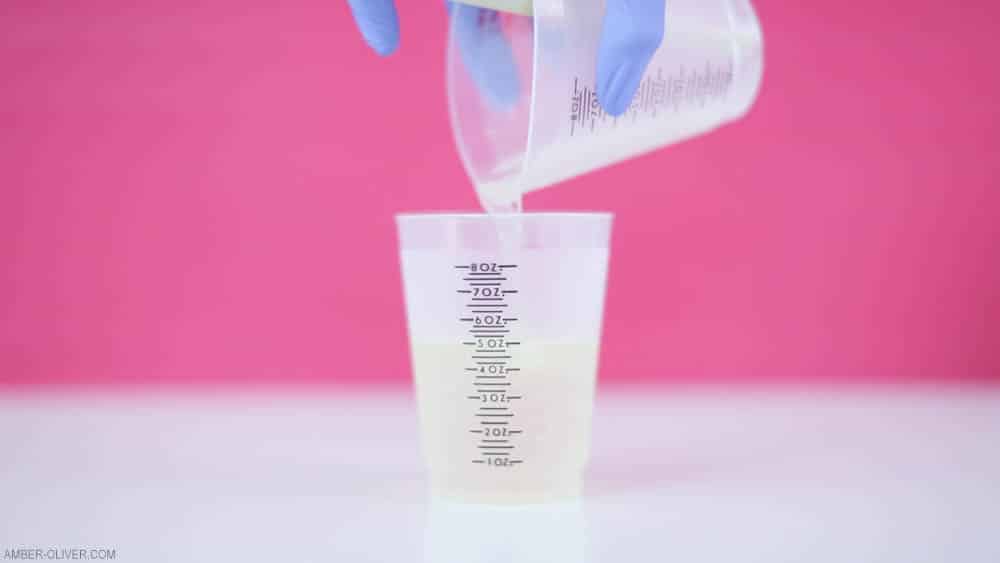
- Mix EQUAL parts of the hardner and the resin. Be as precise as possible!
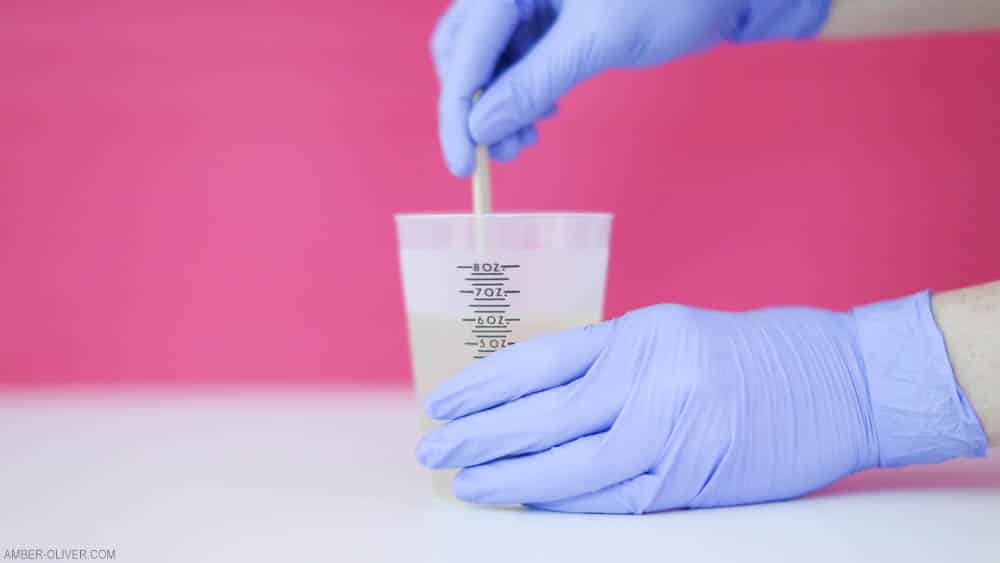
- Slowly stir for 2 minutes (be sure to scrape the bottoms and sides) then pour from the first cup into the second and mix with a new stir stick for one additional minute.
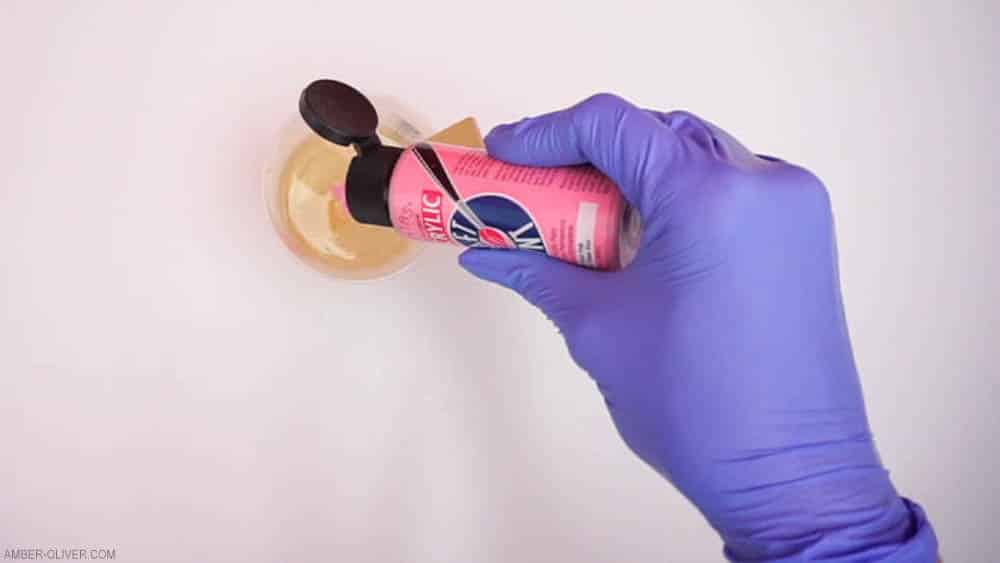
- Add in just a couple drops of acrylic paint in the color of your choice - just a little goes a long way! You can also stir in glitter!
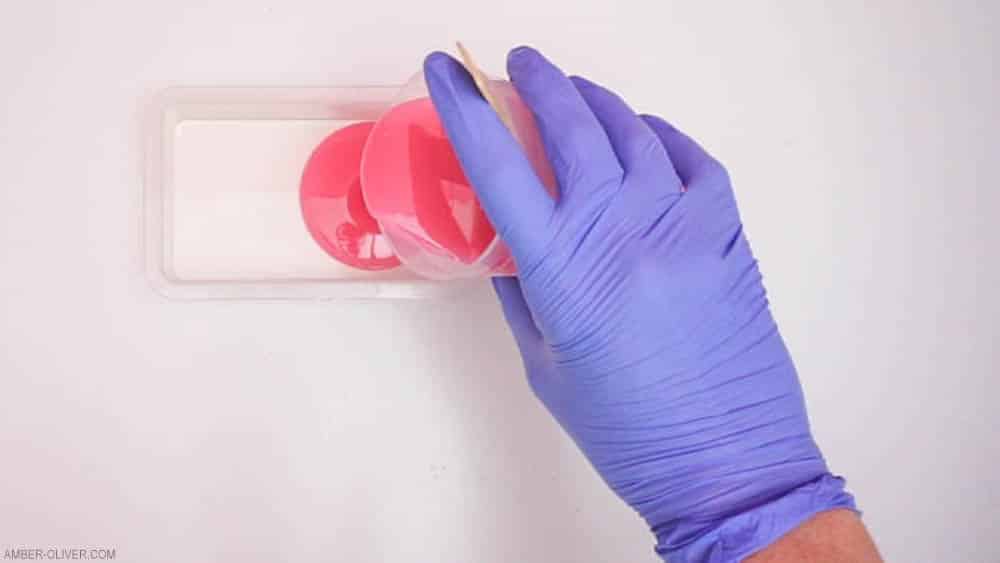
- Now pour into your rectangle mold (make sure you are working on a LEVEL table!)
- Cut your metal rings so one is 2/3 of the ring and the other is 1/3 or so. No need to measure just make sure one side is smaller.
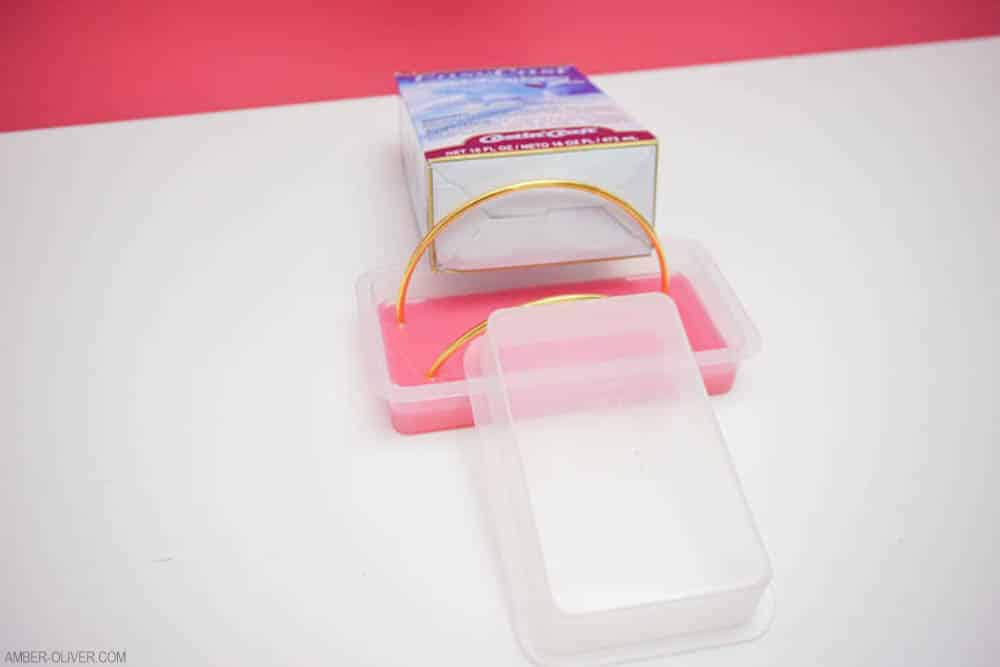
- Insert your 2 pieces of the metal ring into the resin, spacing them evenly apart. You’ll need items for the rings to lean on so they will stay upright while the resin cures.
- After your resin has cured, you can gently remove from the mold. Sand around the edges if you have any kind of "lip".
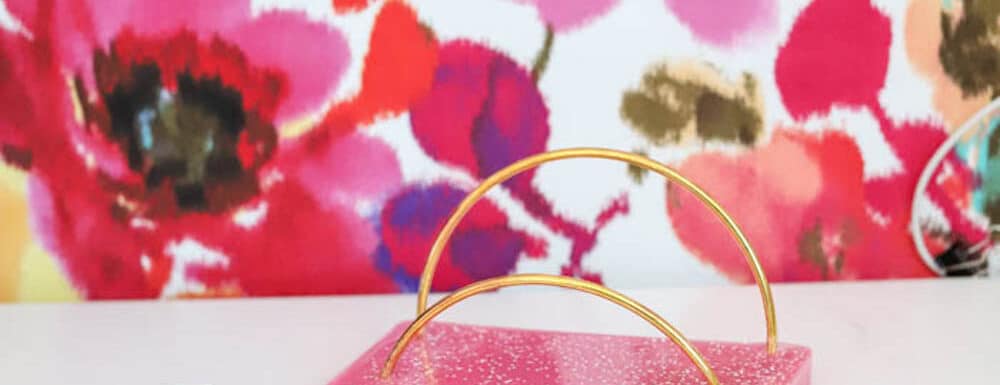
I absolutely love how this DIY mail holder turned out! I’d picked that metal ring up from the craft store months before thinking I would use it for some sort of wreath craft. It ended up working perfectly for this project. I used heavy duty wire cutters to snip the metal ring into two pieces.
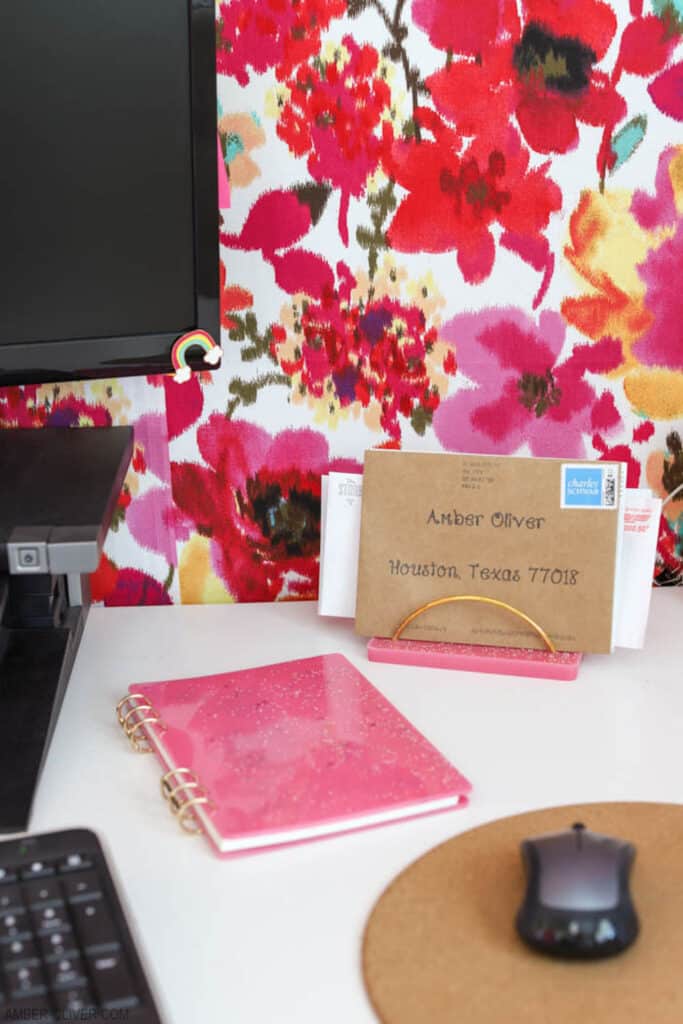
You may find it helpful to let your resin set up a bit before inserting the metal rings. This will help them stay upright as everything dries fully. If the edges of your rings aren’t perfect, don’t fret. They will be covered by resin so you won’t even see them!
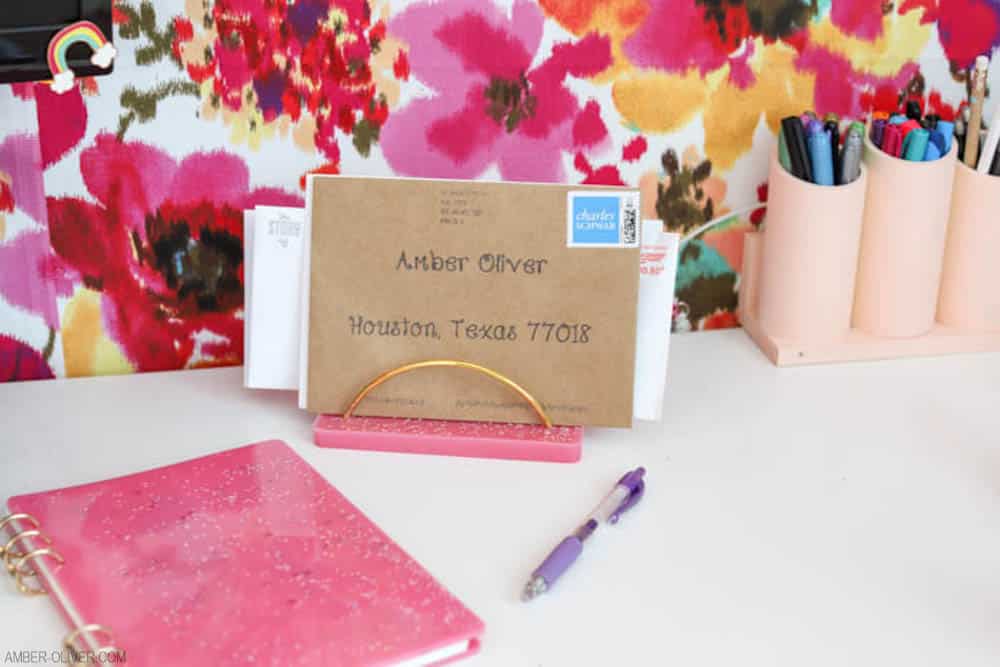
I love how this looked on my desk in front of my gorgeous DIY floral wall! You can obviously use whatever color will work best in your space but you can also customize the size! I used a small rectangle mold and just one metal ring, but you could get rings in different sizes and a larger mold to create even more slots on your DIY mail holder!
Are you new to working with resin? I’ve created a shopping list that has everything you need to get started (plus some really cool resin molds to inspire you!). Stop by my Amazon storefront and tag me on Instagram or drop a comment below if you recreate this DIY mail holder!

Leave a Reply