Last updated October 19th, 2022 at 12:49 pm
This project is sponsored by JOANN! Organizing baking supplies is easy with cork tiles, command hooks, vinyl labels, and a beautiful craft paper to line the cabinet.
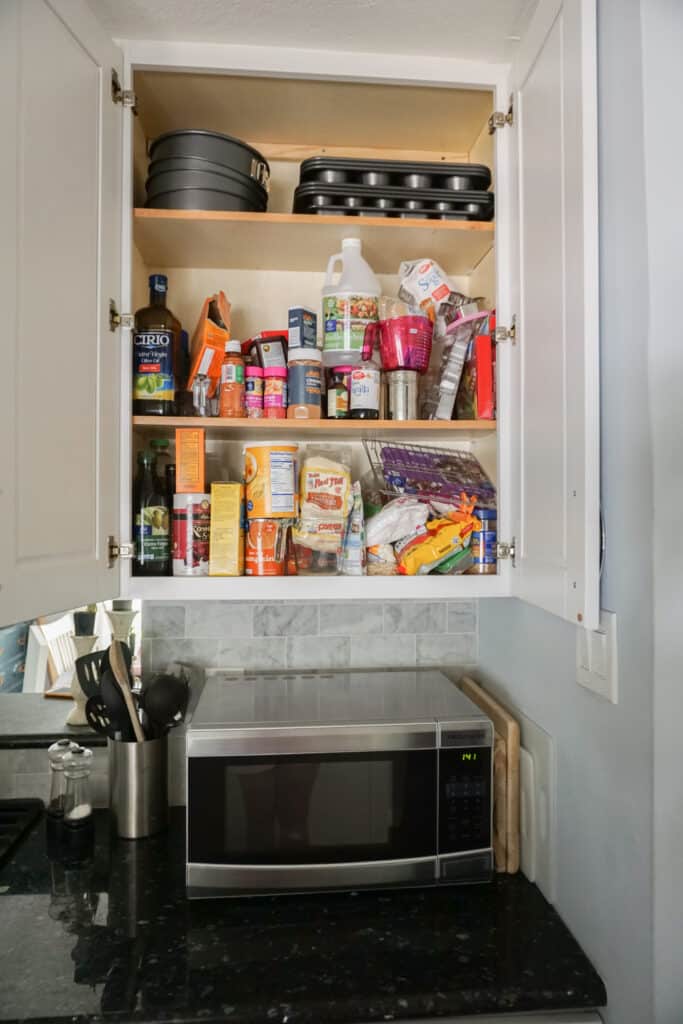
I pride myself on having a tidy home. I’m always really excited when someone comments on how clean or organized my home is. Imagine how embarrassed I’d be if you all could see inside my baking cabinet! It’s probably the least organized place in our entire home. I needed help organizing baking supplies so I made a quick trip to JOANN and came home ready to get started!
Before organizing baking supplies:
I originally wanted to do use fabric to line the back of the cabinet just like I did in my craft room. You can see my DIY fabric wall here (that amazing fabric is also from JOANN!)
But while I was browsing the aisles, I found this super cool craft paper that’s new at JOANN. I couldn’t beat the price and the print was exactly what I was looking for so I decided to give it a go! I also picked up some command hooks, cork board, and vinyl then headed home to get to organizing!
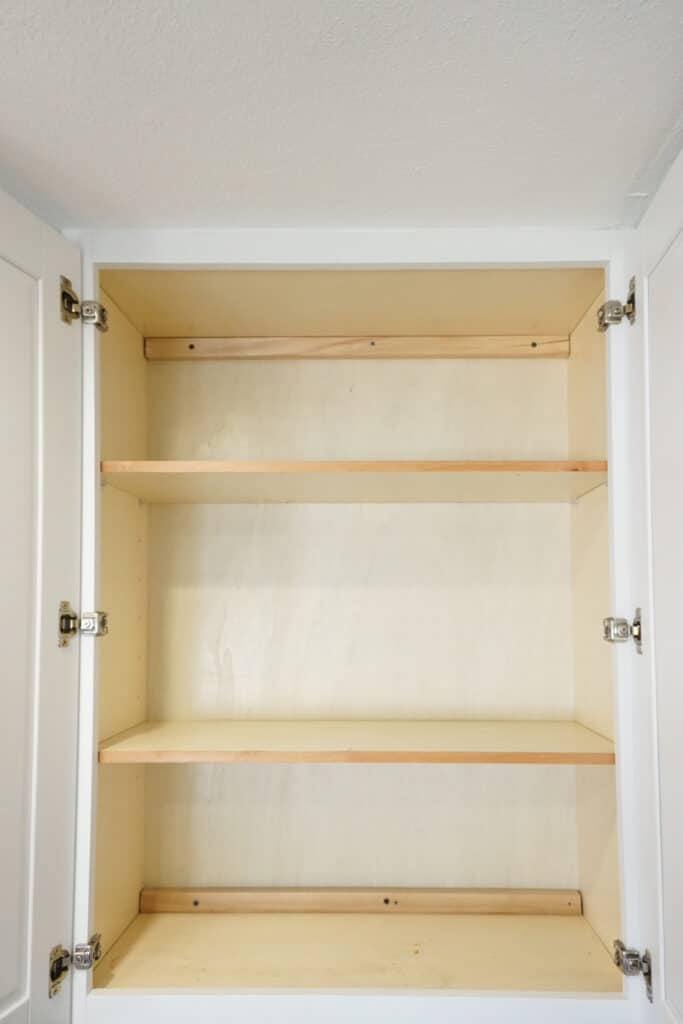
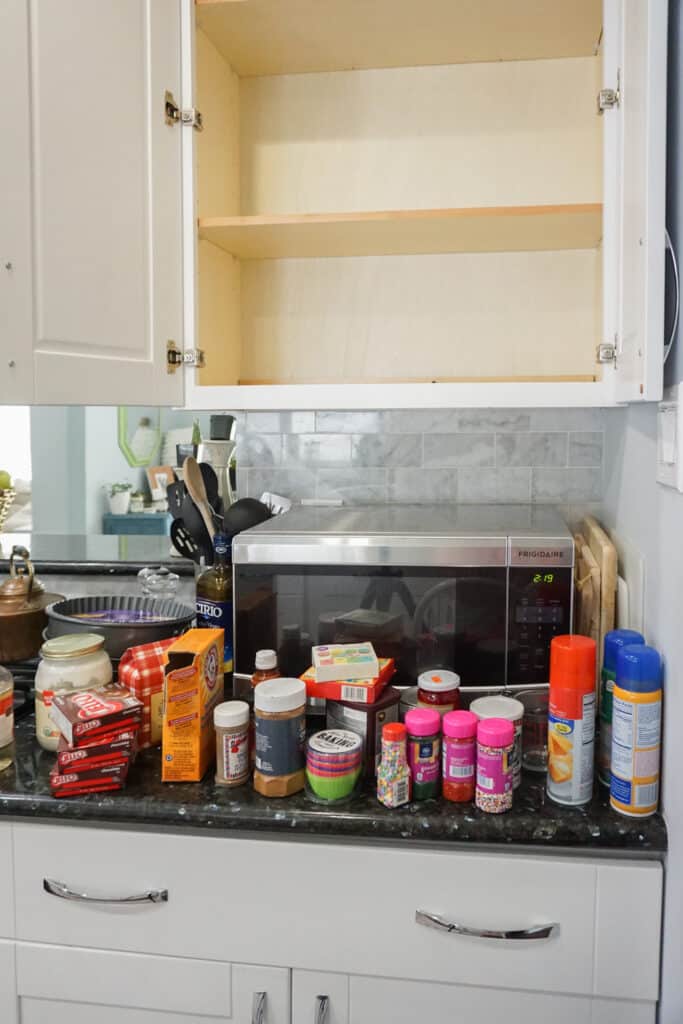
To actually make this space functional, my first step was to CLEAN! There was actually a lot of stuff in this cabinet that should have been thrown away a long time ago. If anything was past expiration or had been left open, it went straight to the garbage.
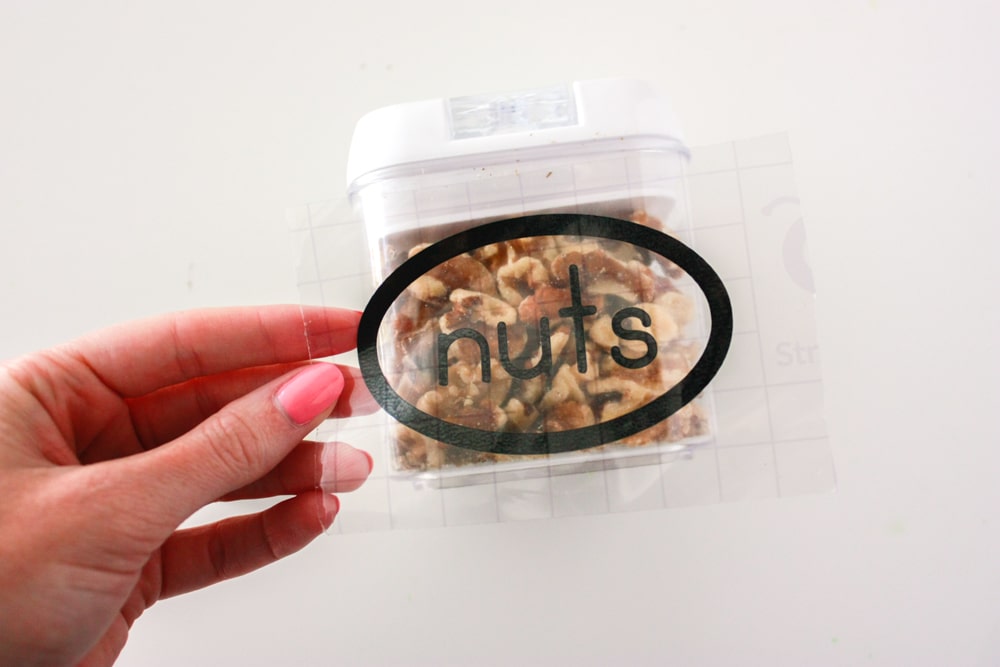
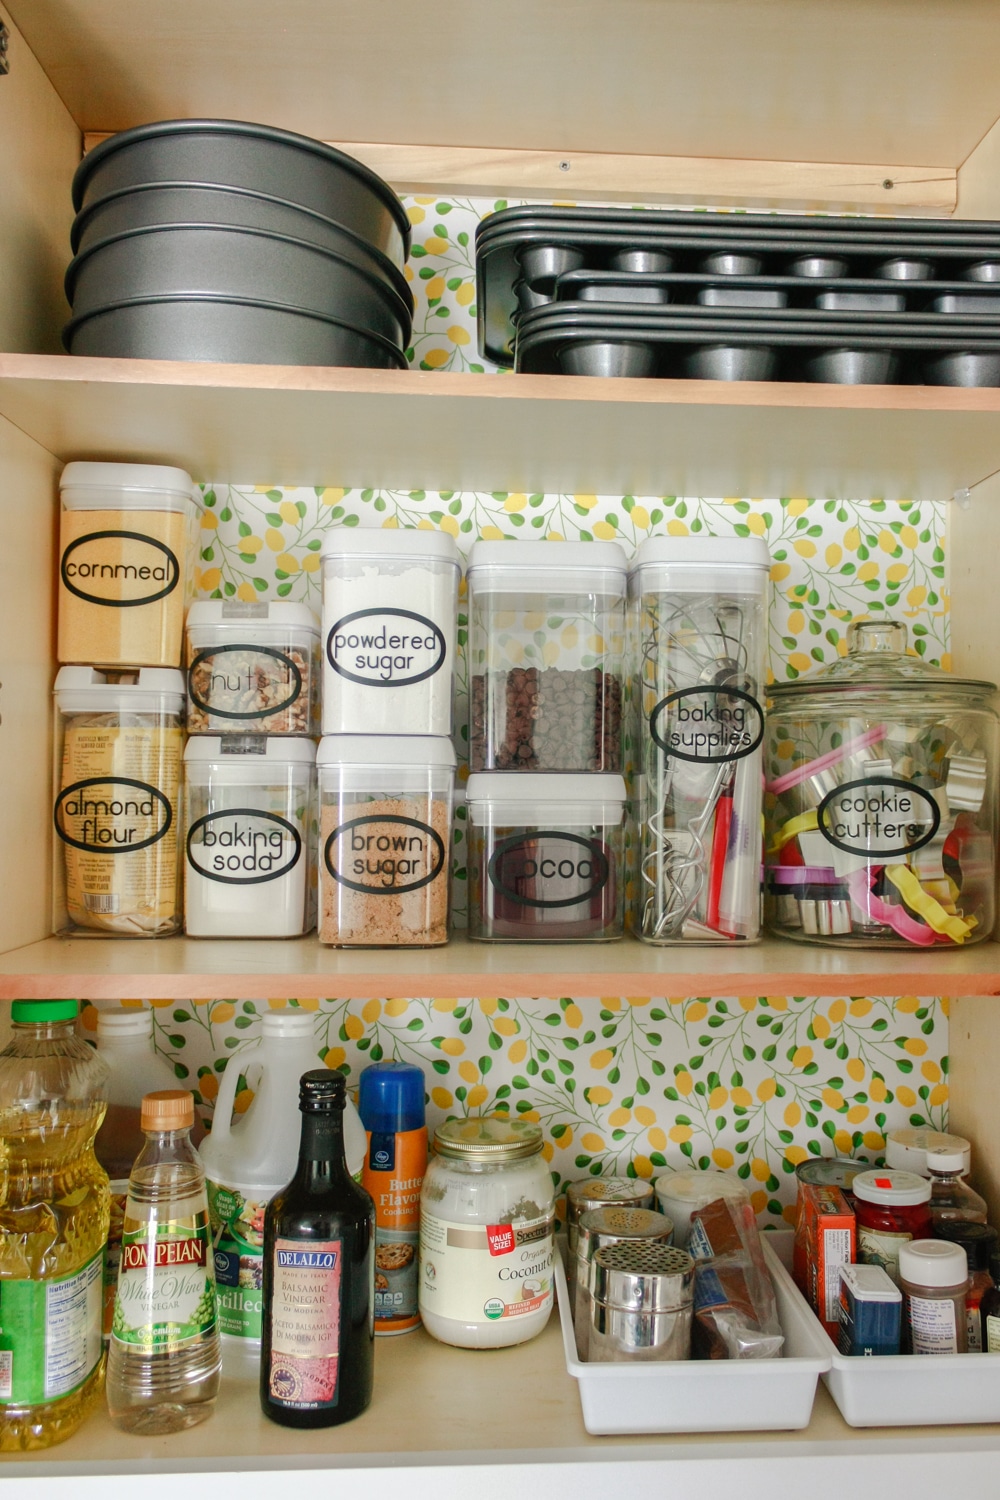
This help me cut down on a lot of unwanted items that were needlessly taking up space. I’d purchased some airtight storage containers so I was able to throw away boxes and get nuts, chocolate chips, brown sugar, etc. all in their own easy to see containers. Plus they were stackable which made everything take up a lot less space. I used vinyl cut outs (you can get your own here for free!) to label each of the canisters.
Need a little help organizing your pantry, refrigerator, or freezer? This free Food Inventory Printable will help plus prevent food waste!
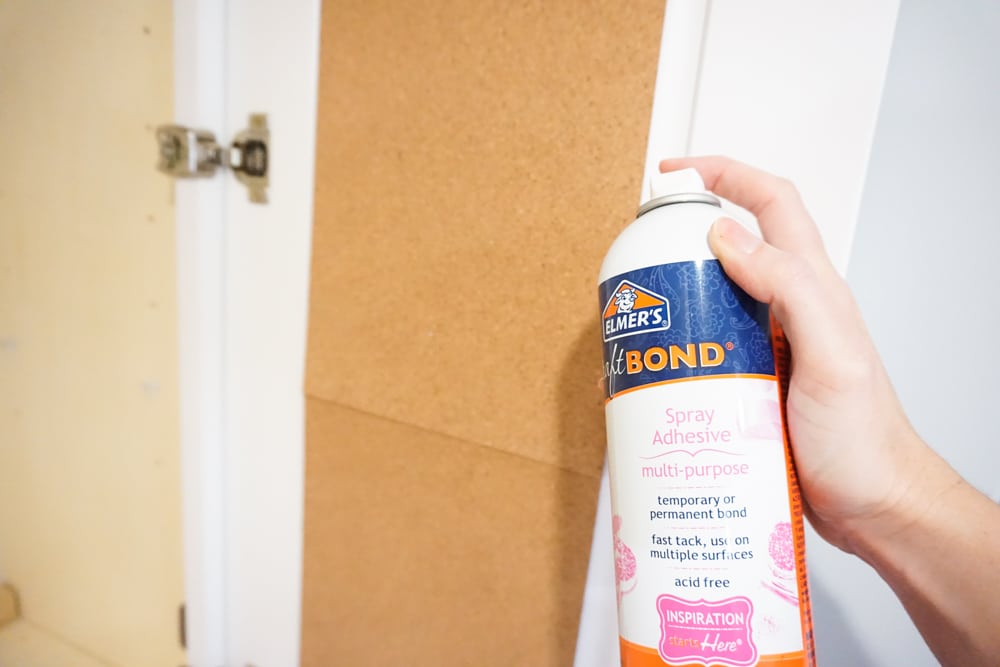
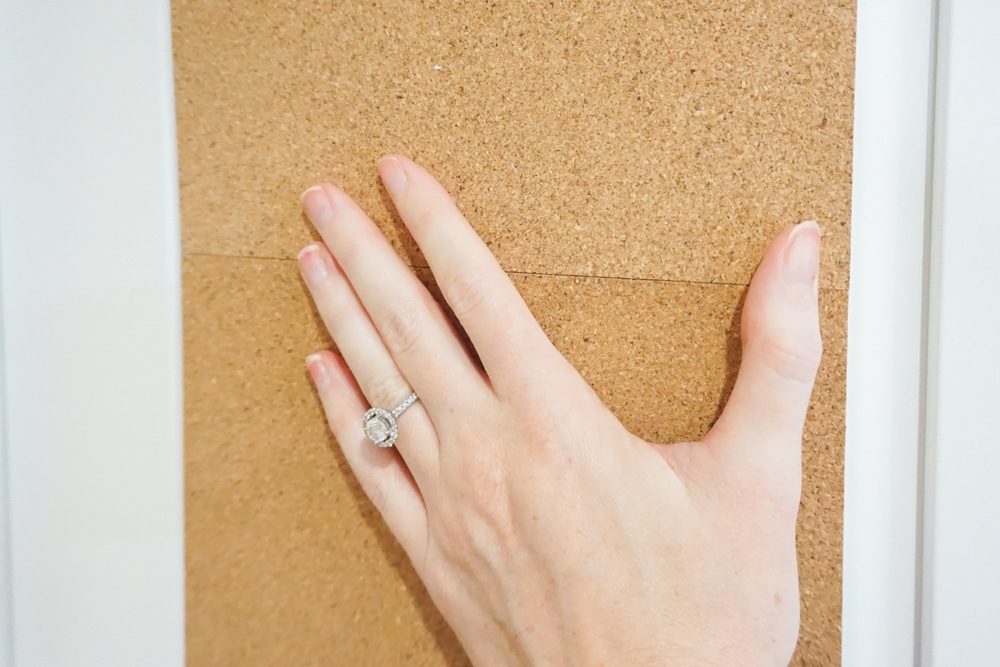
After I’d cleared the cabinet and everything had an appropriate container, I was able to get started organizing baking supplies. The first thing I did was put up cork board tiles on the insides of the doors. Now I had a place to pin up recipes and notes!
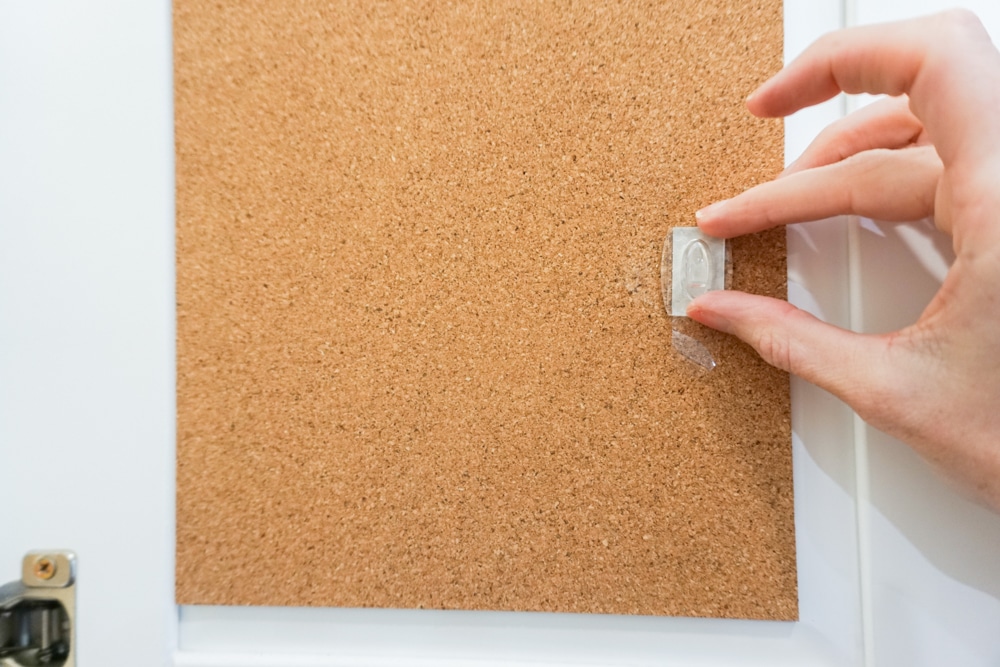
Next, I used Command Mini Clear Hooks to hang up my measuring cups. These were previously all stored in a drawer, but hanging them up made them easier to see. By placing the hooks onto the cork tiles, the sound of the cups moving when the door was opened was muffled.
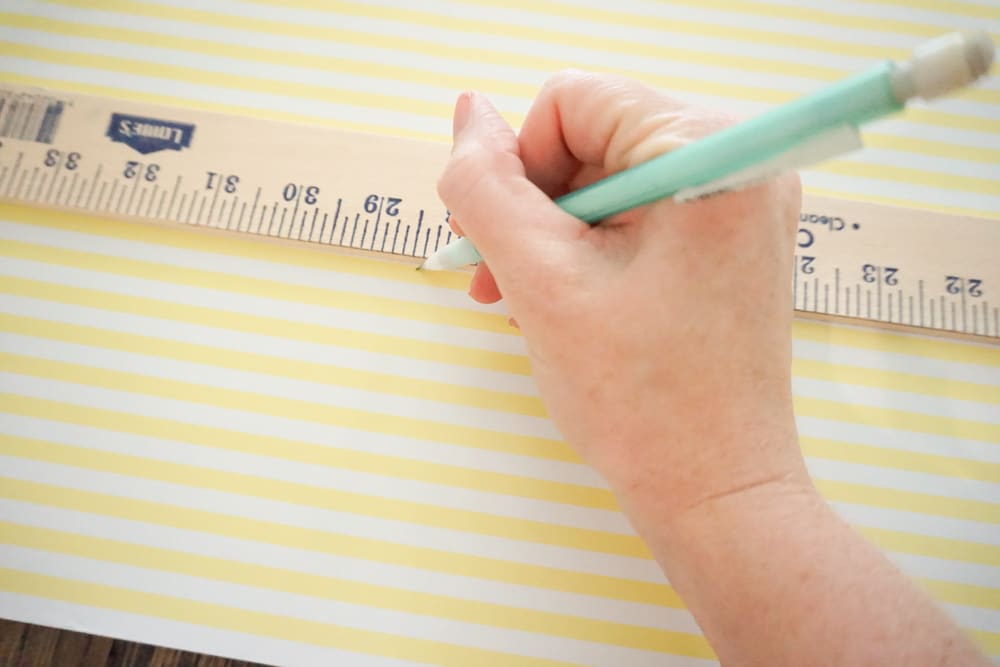
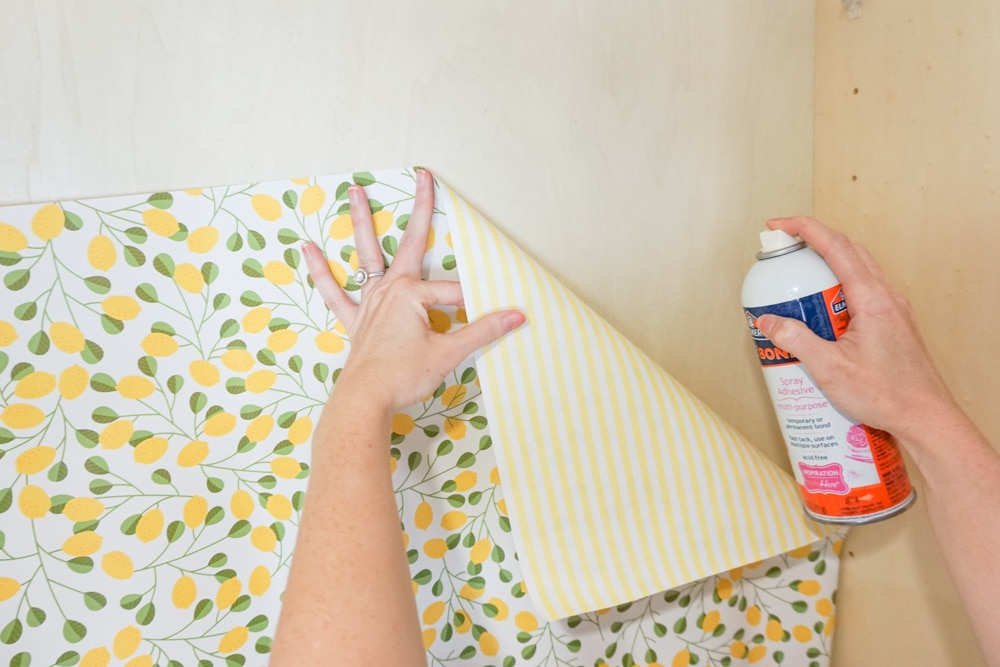
Now it was time for the showstopper change – the new lined cabinet! I used the Park Lane: Yellow Stripe and Lemon doubled sided paper roll and it looks AMAZING!
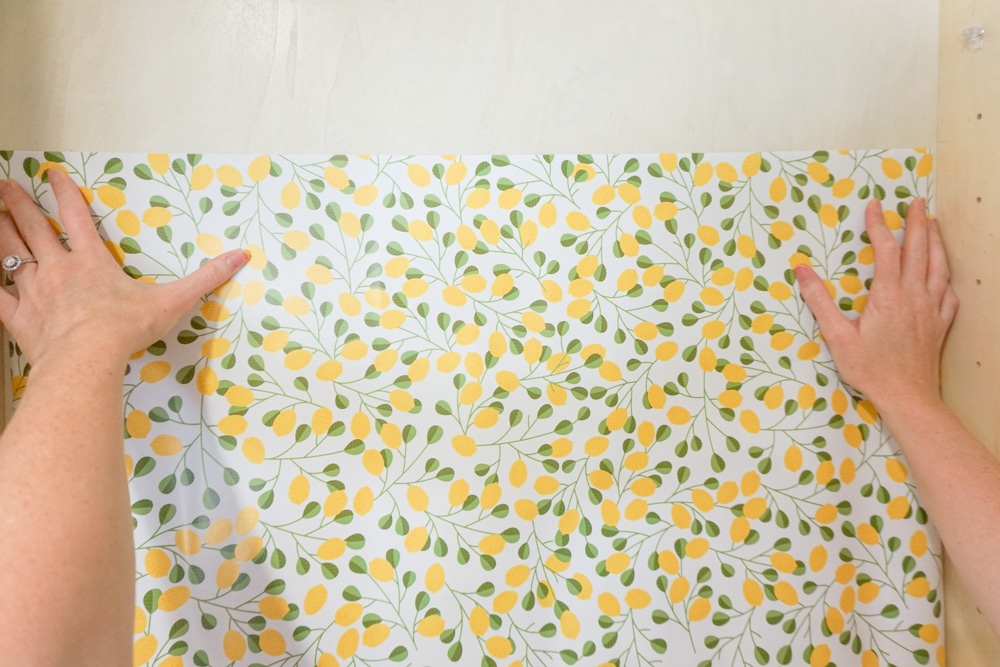
I was so glad I found this new project paper as it came in the perfect size, it had a beautiful print, it was heavy duty enough, and was easily applied with spray adhesive! It will also be easy to remove someday.
I used Elmer’s Craft Bond to adhere to the wall – the same thing I used for my DIY fabric wall. I absolutely love the print and how easy it was to apply.
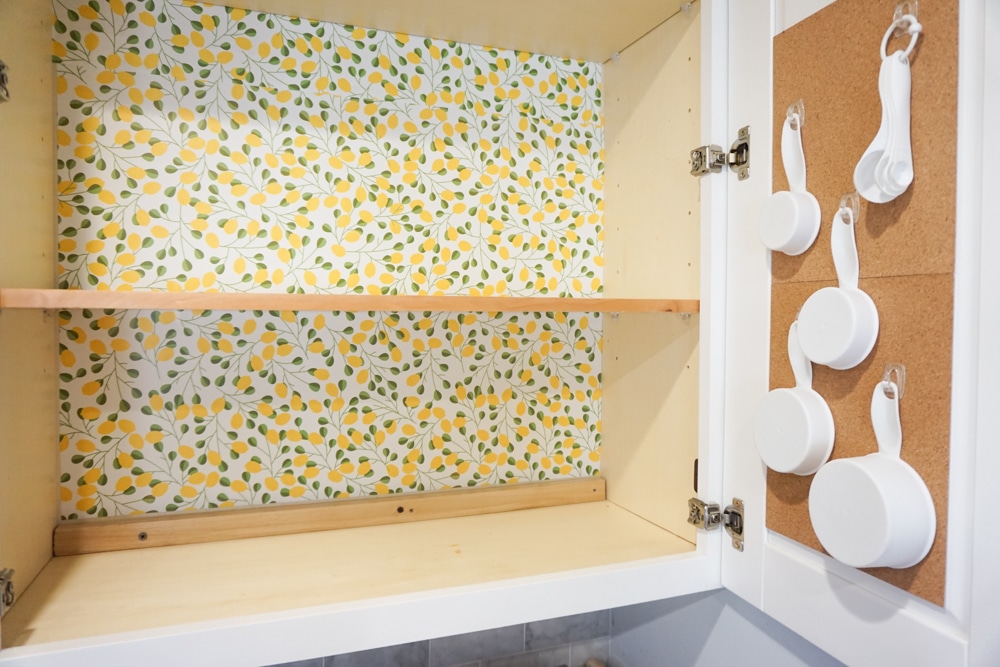
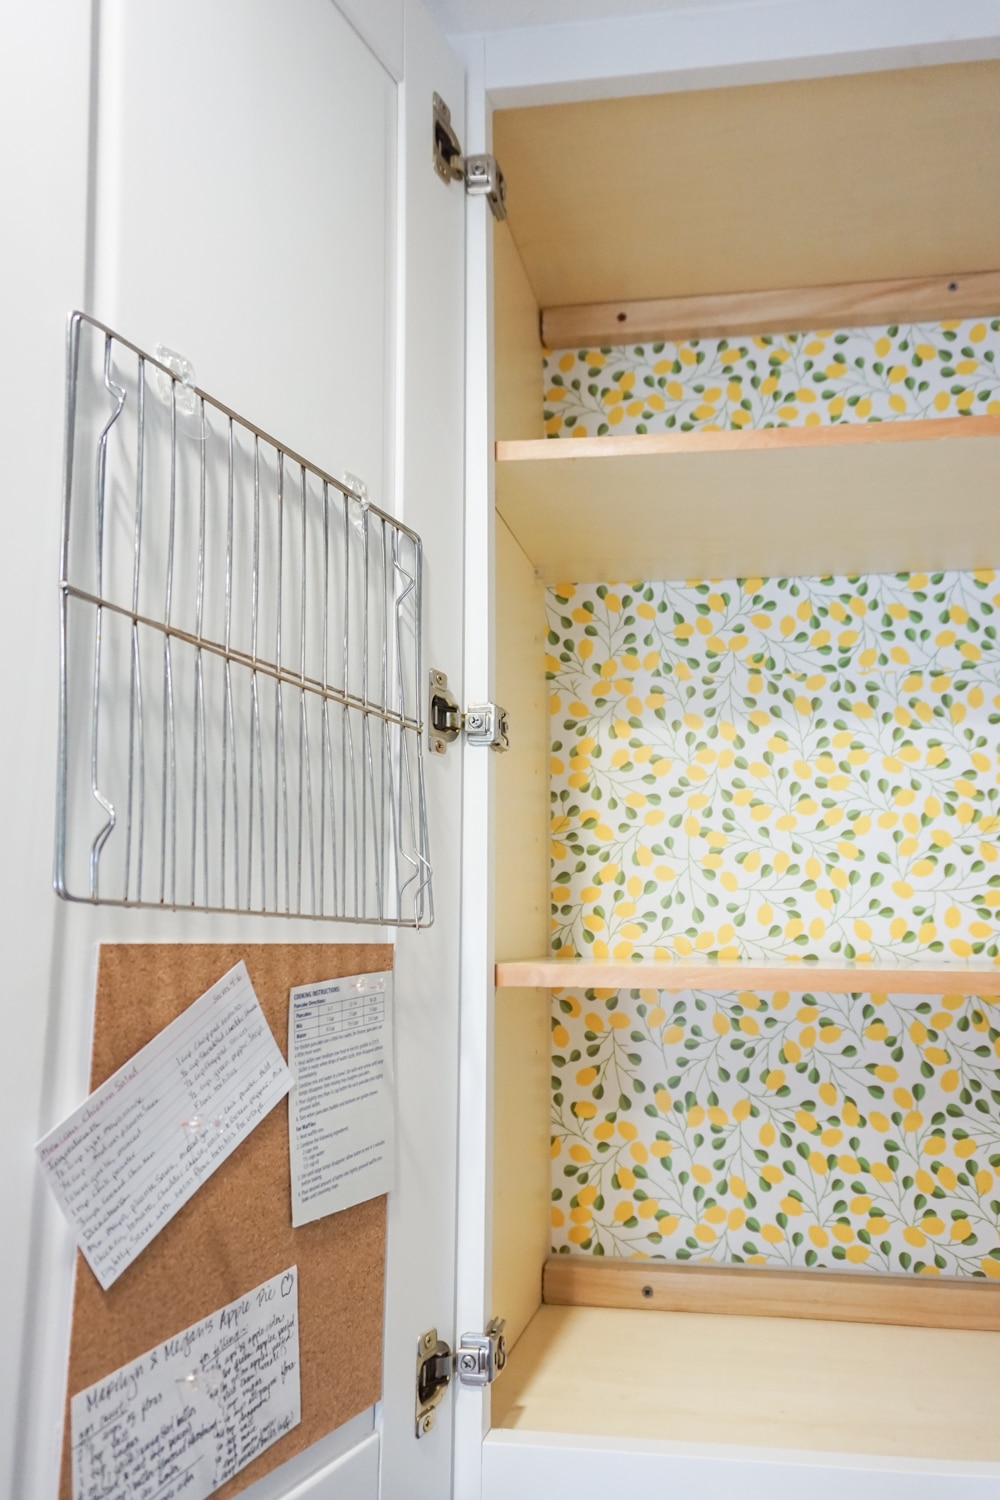
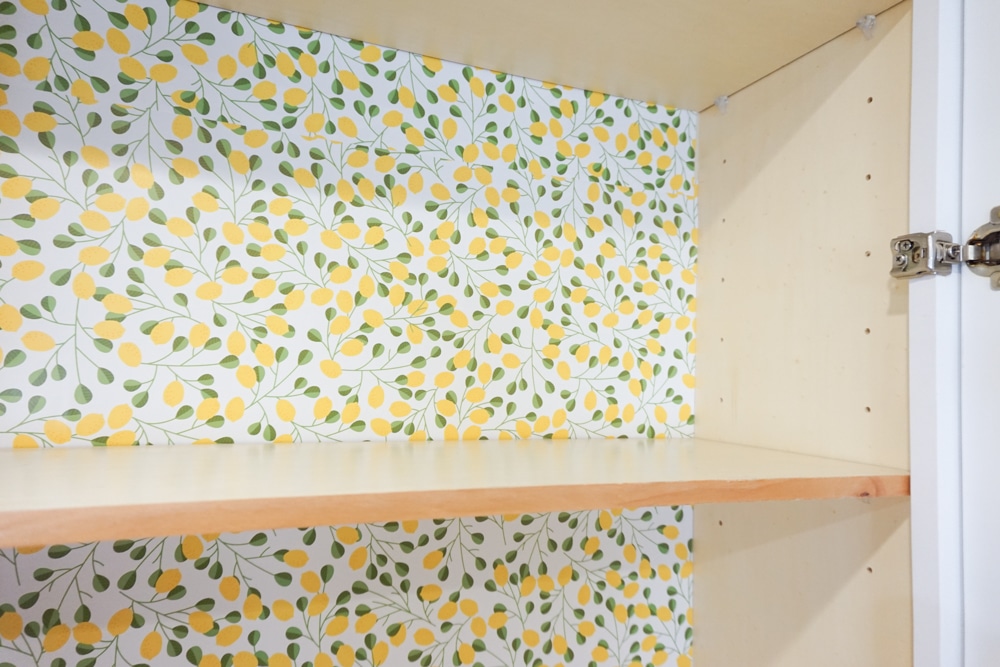
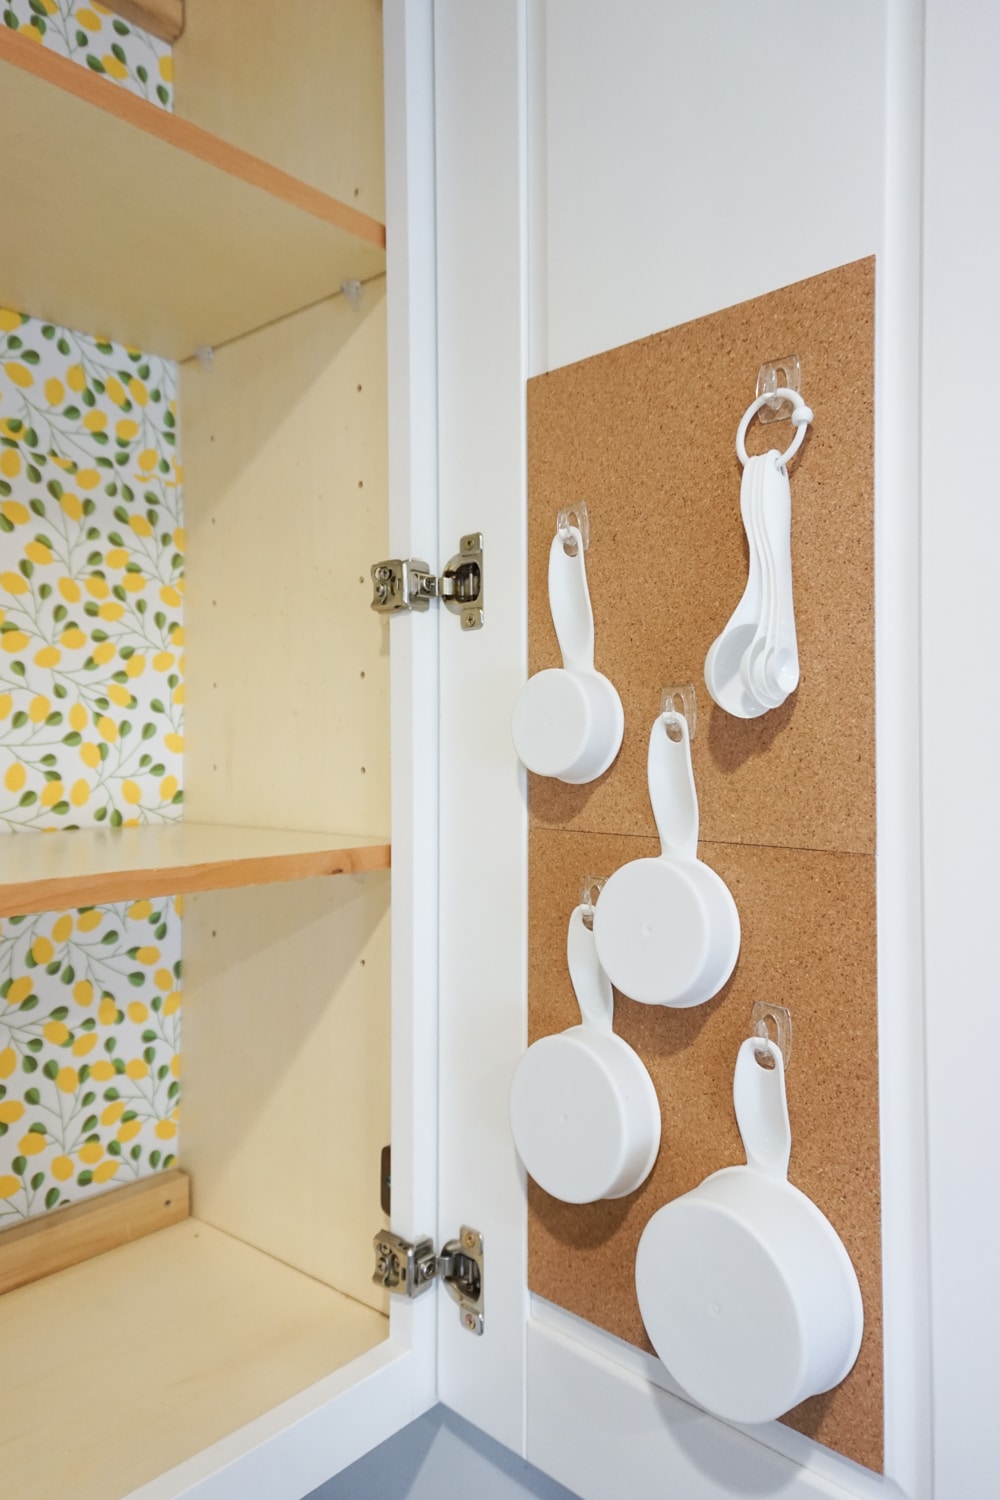
The finished cabinet look so beautiful – I absolutely adore the little yellow lemons! I still have a bit left over, and I’m trying to decide how to use the rest of the paper! It’s not quite enough to line the drawers below, but I might use the striped side on the edges of my drawers!
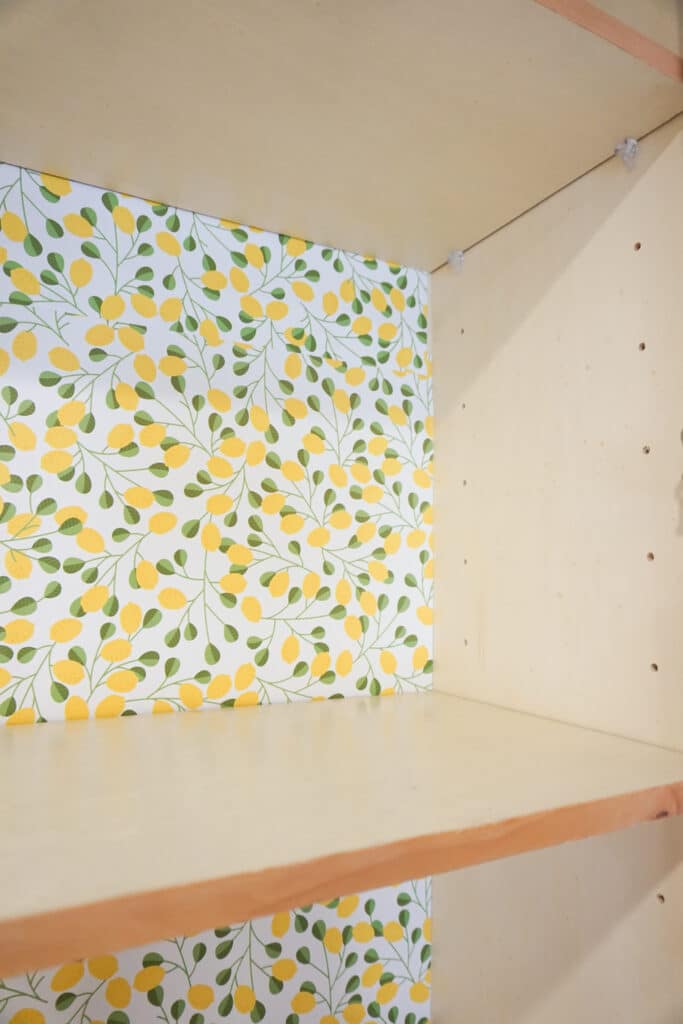
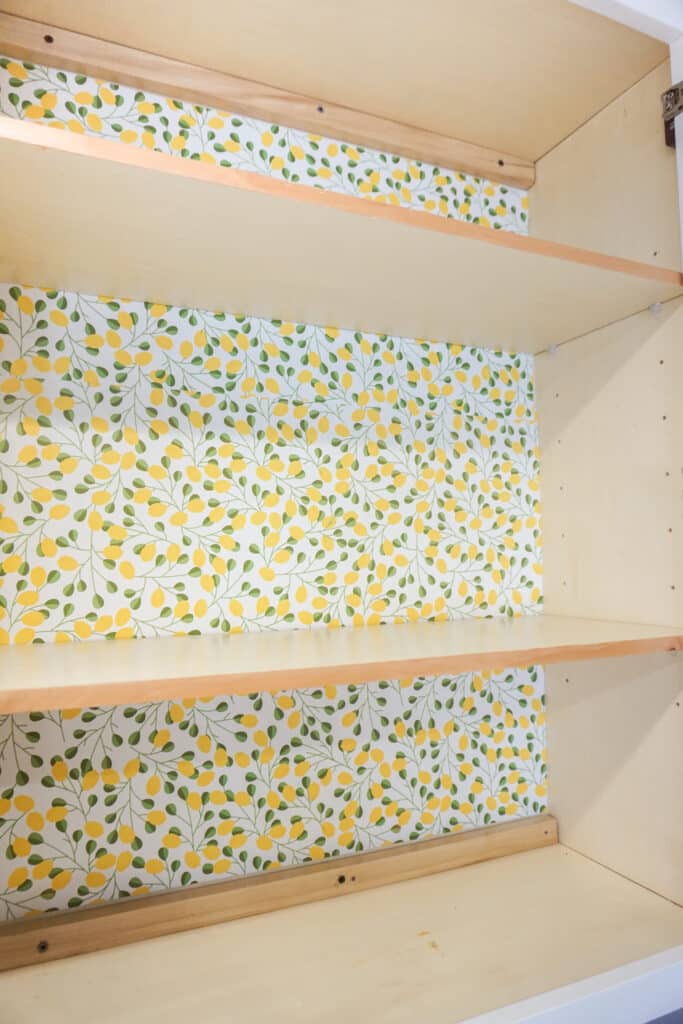
Everything I needed for organizing baking supplies was found at JOANN! While I used this adorable paper in my baking cabinet, you could easily use it in tons of places around the house!
Here are a few other places you could try it:
medicine cabinet
the pantry
As drawer liner
The back of the china cabinet
Looking for more organizing posts? Click here!
Don’t forget to PIN for later!


Leave a Reply