Last updated January 2nd, 2020 at 09:32 pm
When a love for sewing and woodworking unite: how to make a barn quilt with cedar planks from CedarSafe. This post is sponsored by CedarSafe.
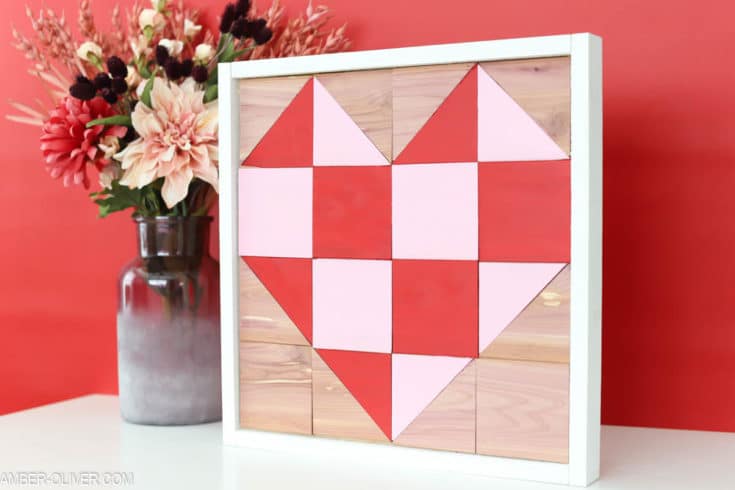
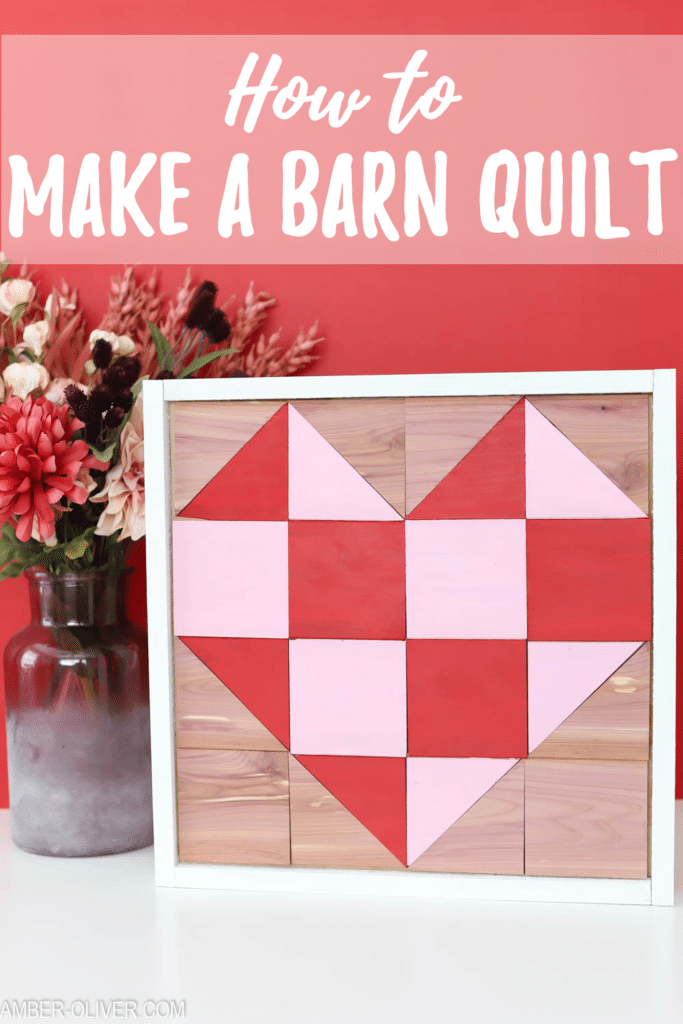
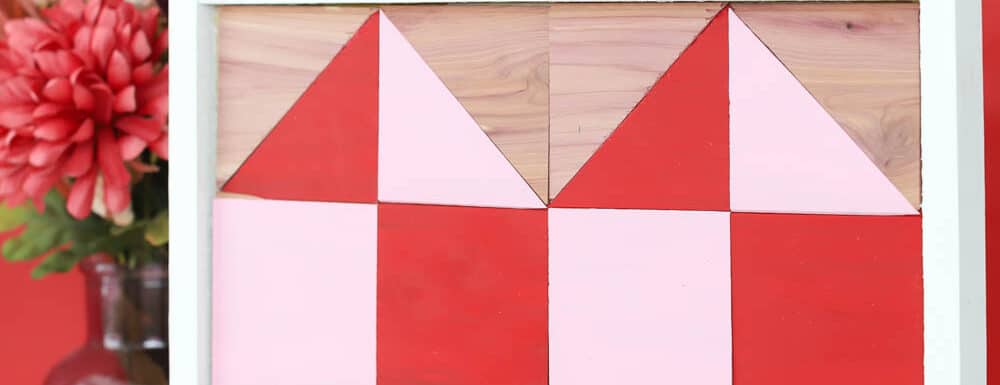
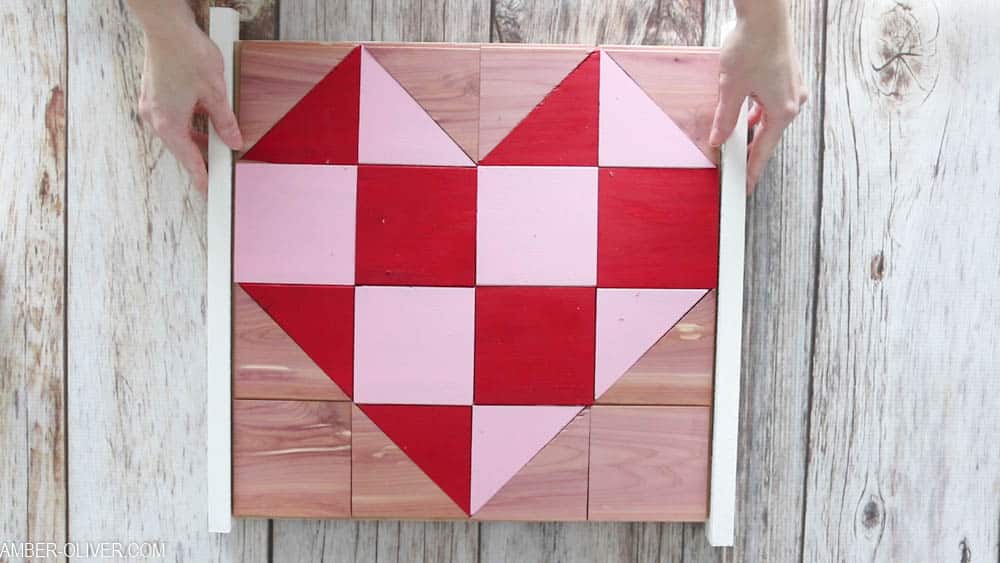
One thing I’ve always wanted to make is a quilt. I’m not much of a seamstress though and I don’t think I have the patience to see it through. But woodworking? Much more my jam. I like the feel of wood and like how easy it is to work with – no need to iron or worry about bunching it up. Barn quilts are the perfect union of the two: I get a pretty “quilt block” without having to sew! The hardest part? Deciding your pattern! There are so many different barn quilt patterns! I went with a simple heart design for my first attempt making barn quilts.
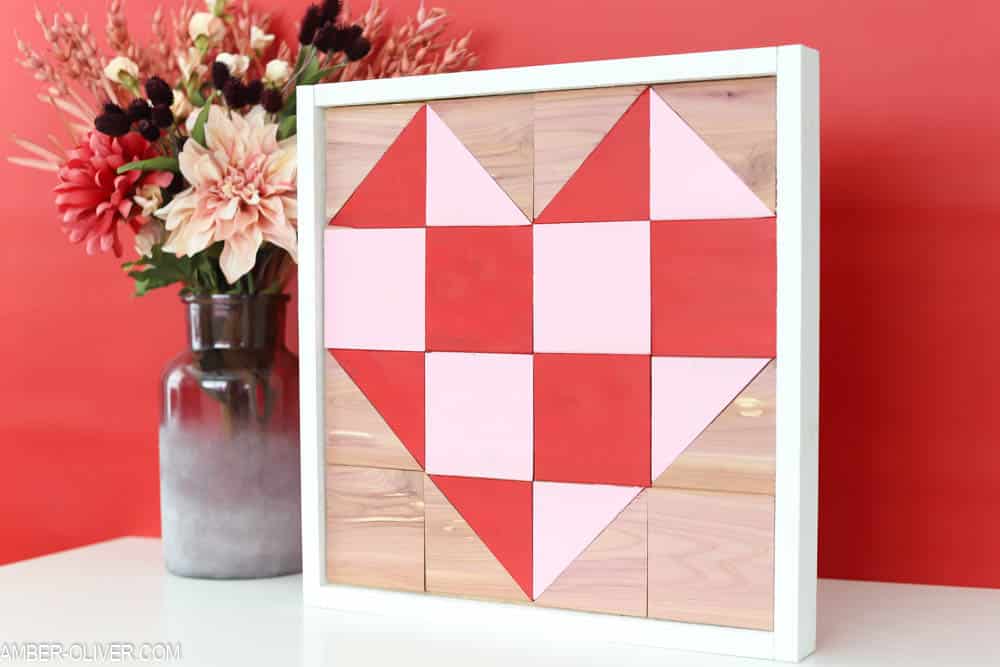
How To Make A Barn Quilt
Materials
Tools
Instructions
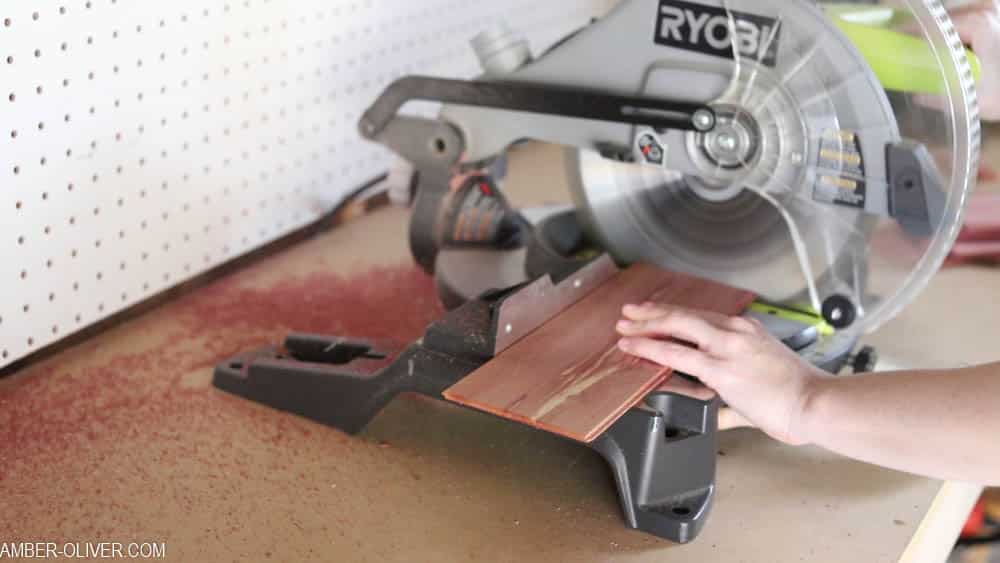
- Cut cedar planks into squares.
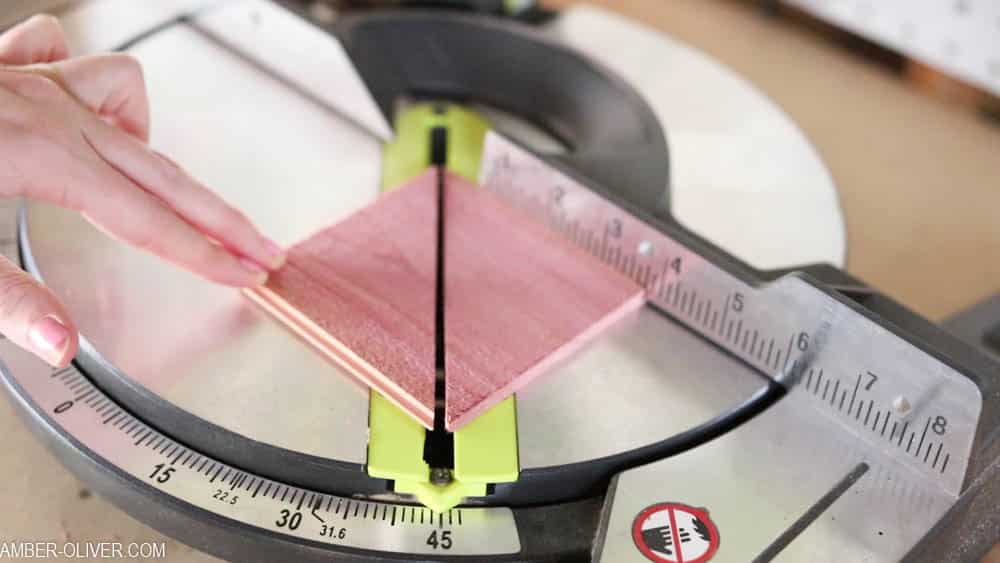
- Adjust the miter saw and cut at 45 degrees. Separate out the cross cuts. Don't worry about re-adjusting the blade, just flip over the squares that are cut at the opposite angle.
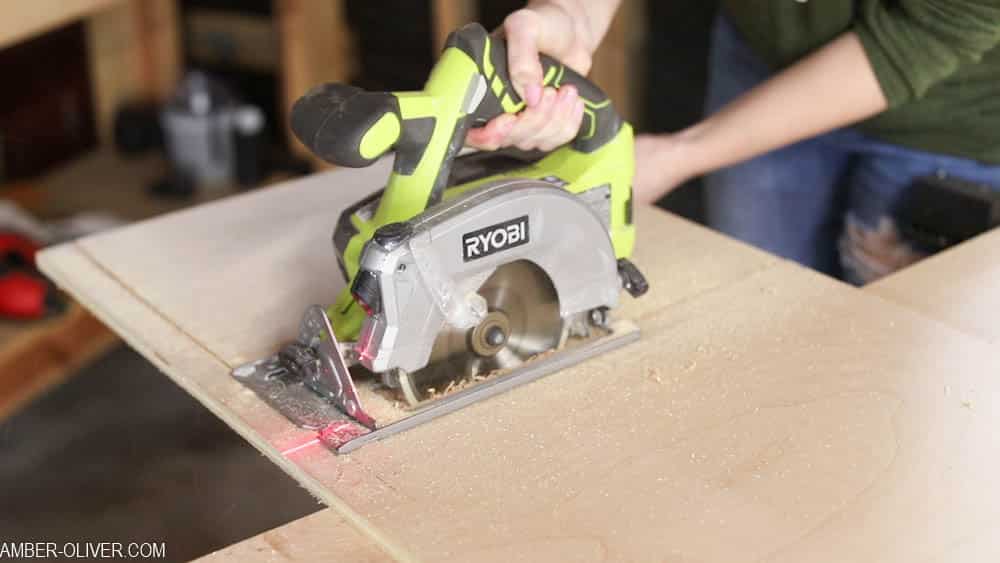
- Cut your back board. Lay out your design and to get the exact measurements you'll need.
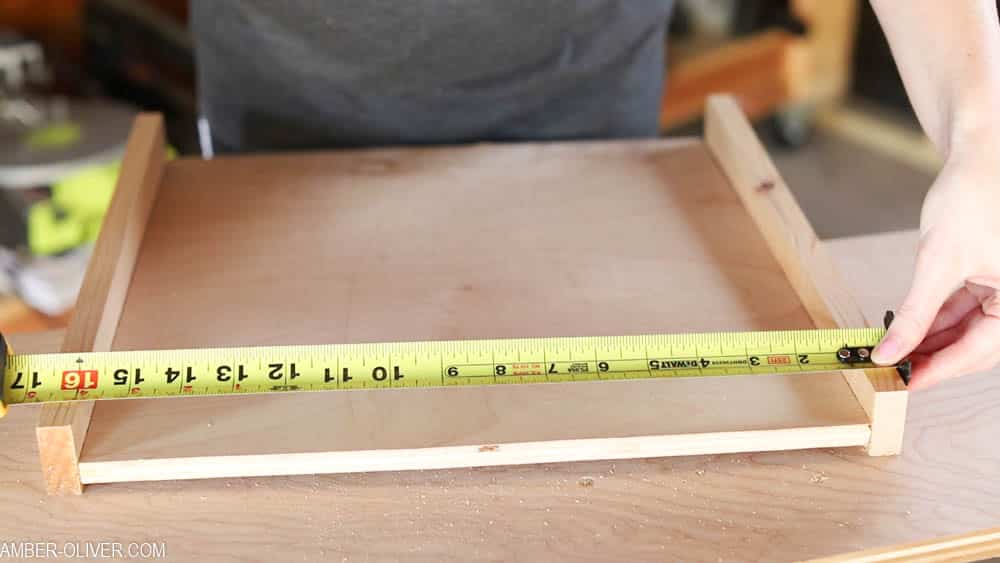
- Cut the 1x2 trim boards. Keep it simple: cut two sides the length of the back board, then measure with those in place.
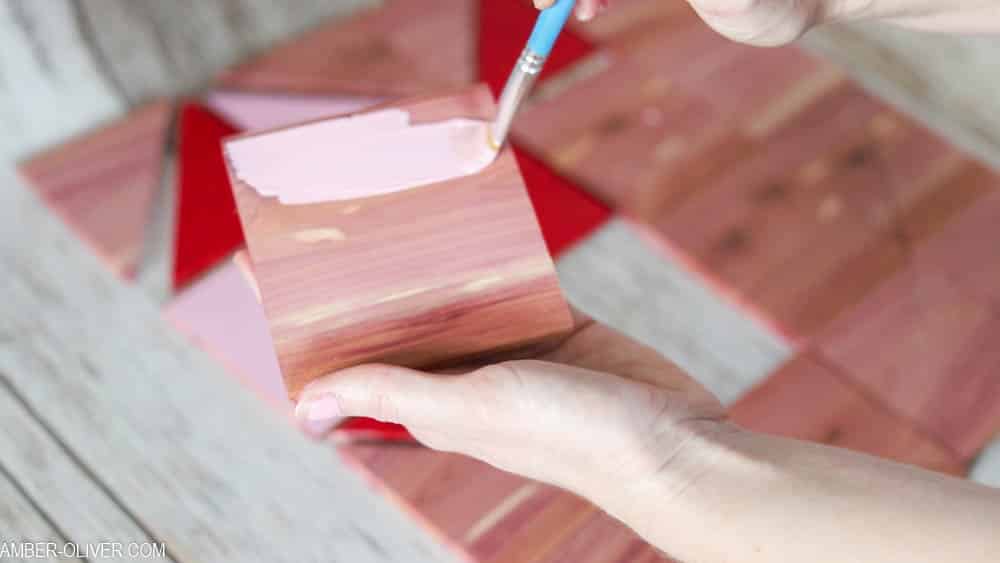
- Paint your pieces and trim.
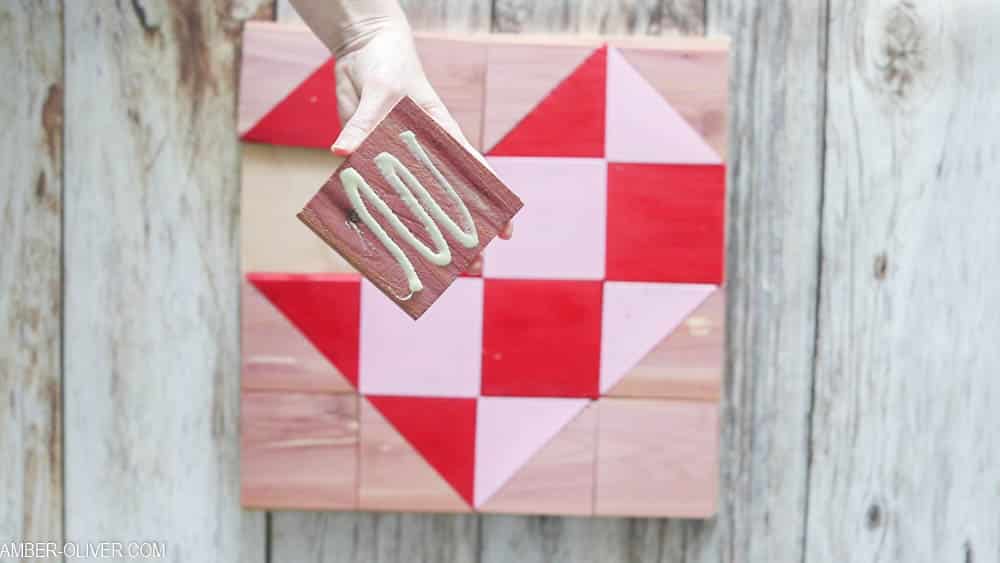
- Assemble your design then carefully glue in place onto the back board.
- Lastly, add your trim boards. I used a scrap piece to raise the back board before adding the trim to the sides and gluing into place.
Check out the video tutorial to see how to make a barn quilt!
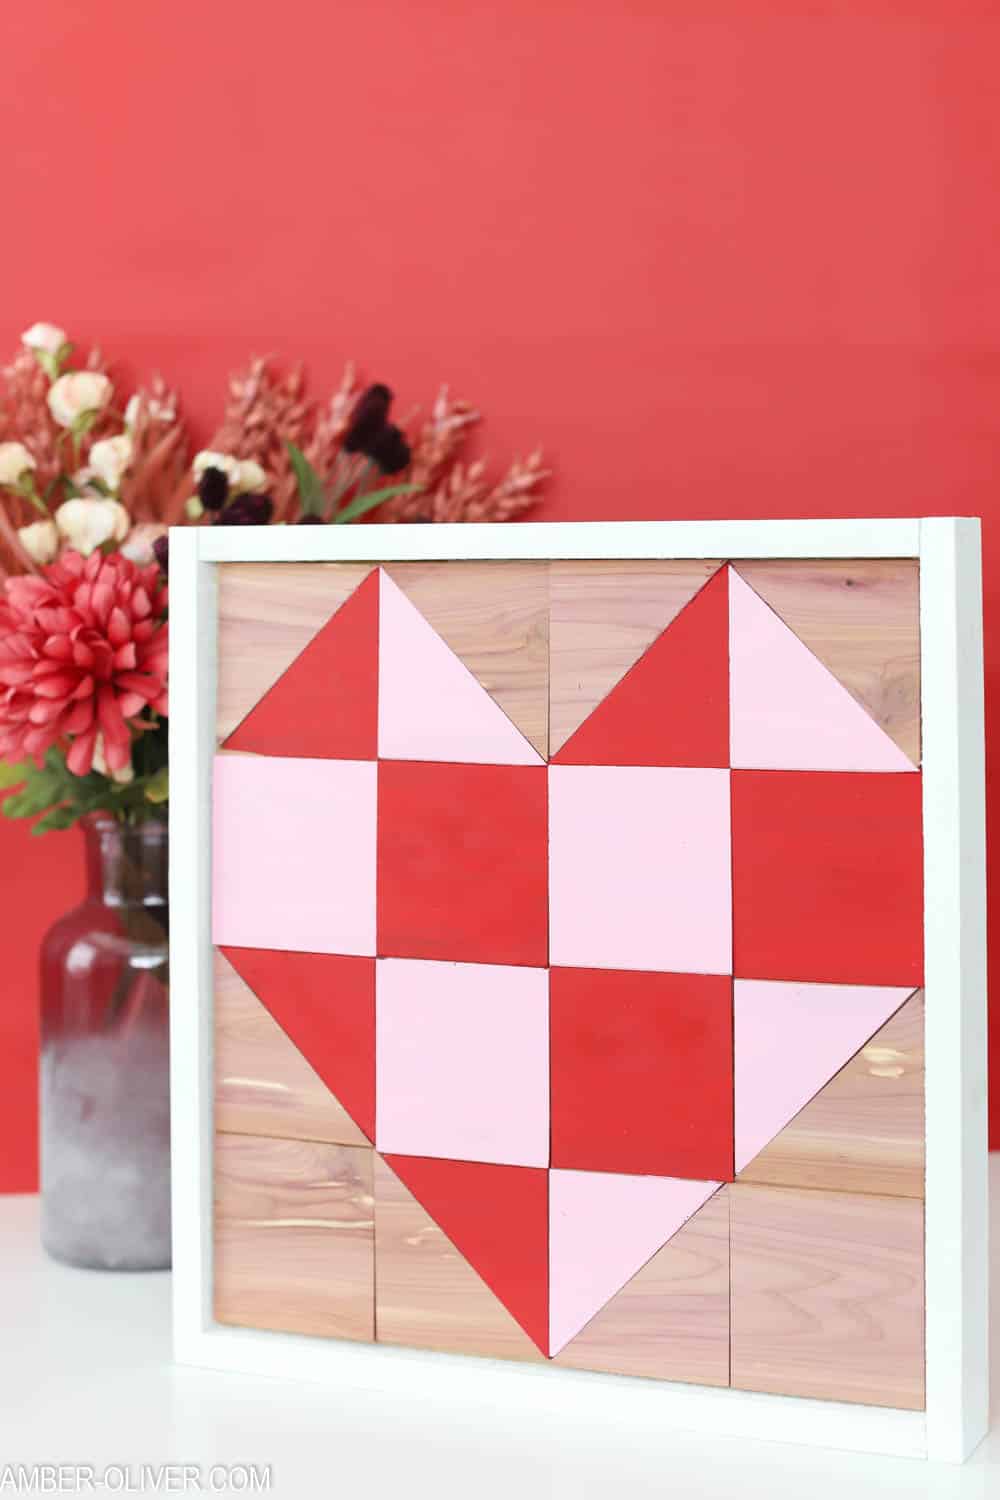
The tongue and groove planks from CedarSafe connect together easily and make this project easy to complete in just a few hours. The possibilities for these barn quilts is endless! You can make one as small or as large as you like and the simple designs are so fun to create! You could grab a box of these cedar planks for about 30 bucks and get creative! If you need a few more project ideas, check these out!
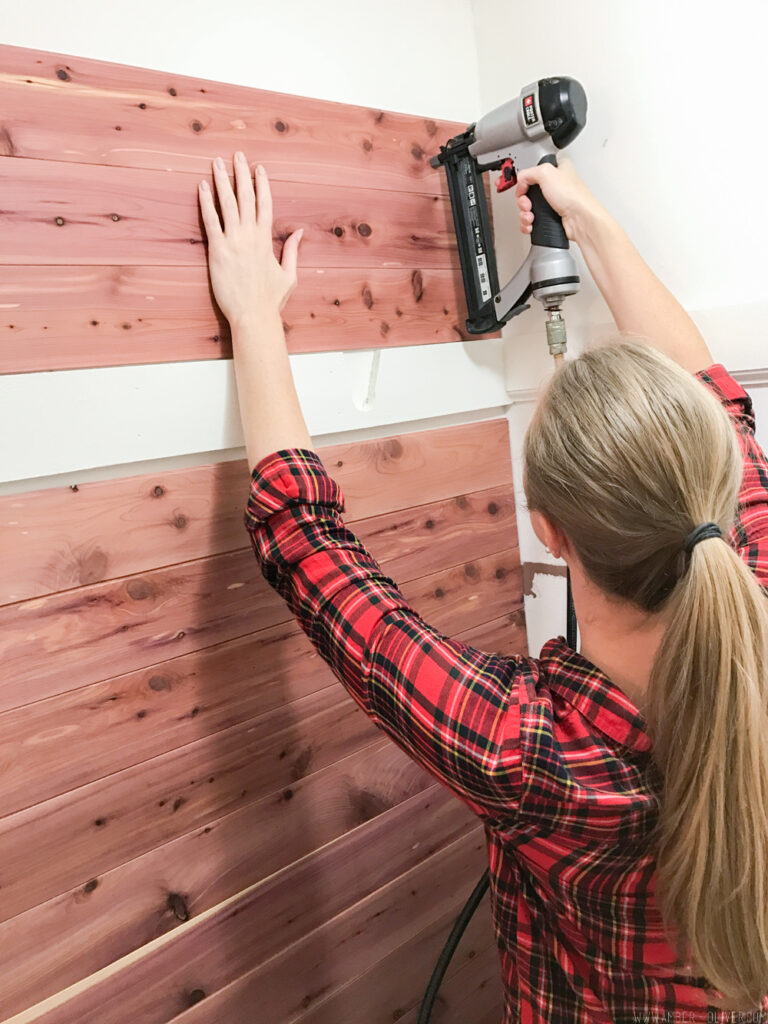
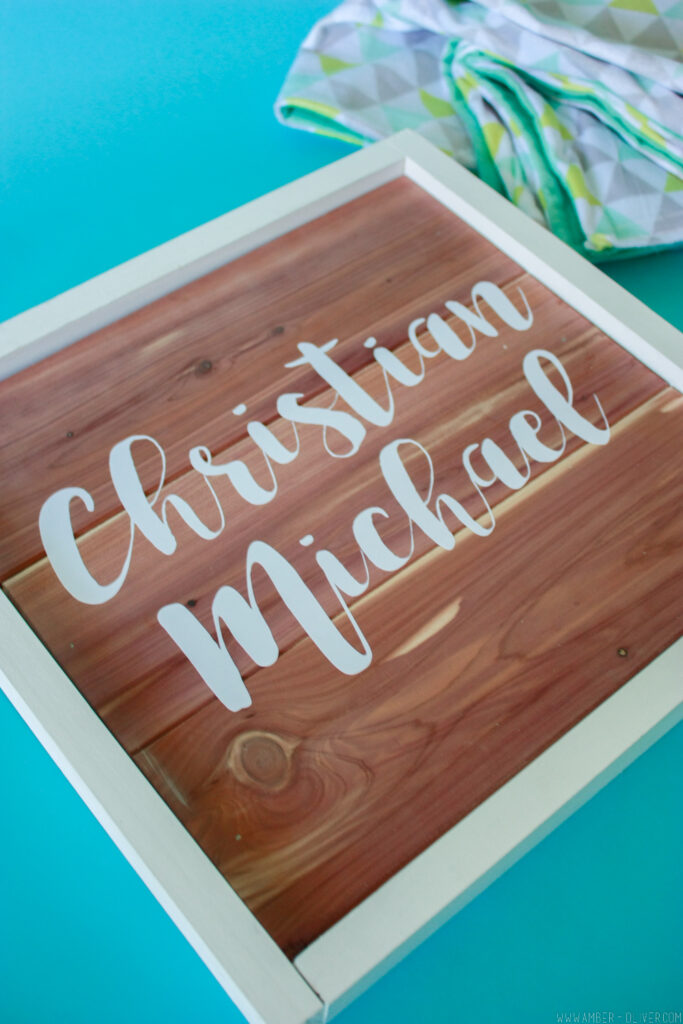
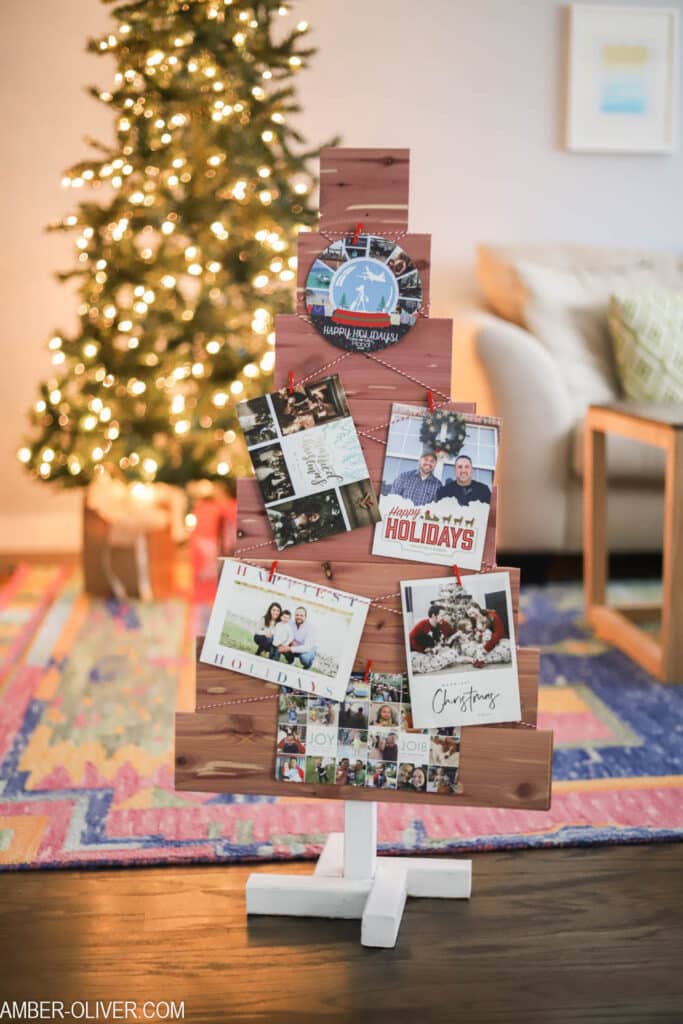
Cedar Lined Closet Cedar Sign Christmas Card Holder
Cedar Lined Closet | Cedar Sign | Christmas Card Holder
Don’t forget to PIN for later!

Leave a Reply