Last updated April 12th, 2024 at 03:43 pm
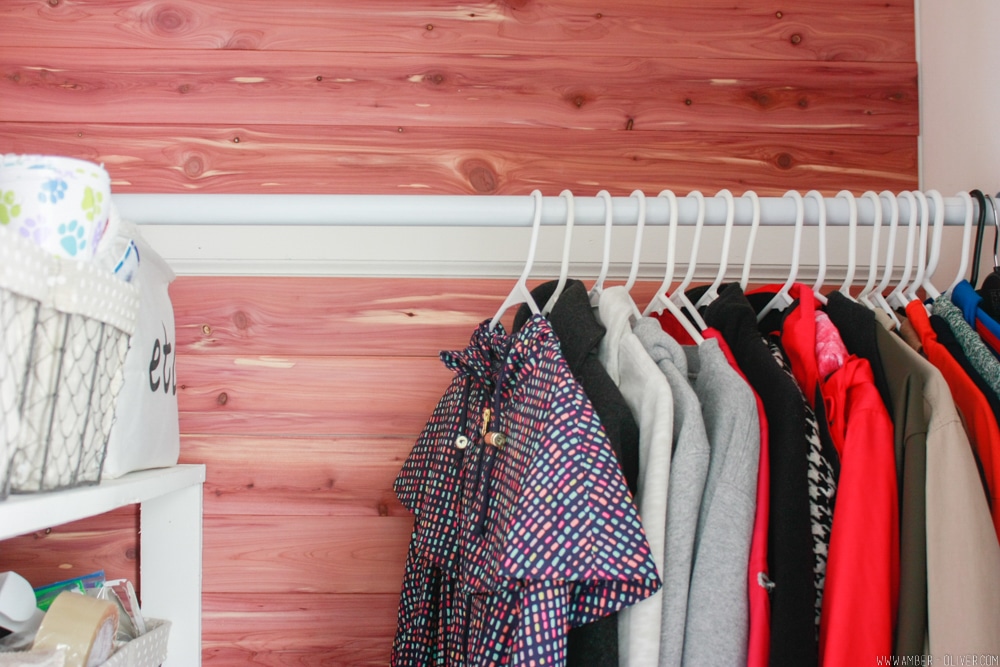
Cedar is not only beautiful, it naturally repels moths, cockroaches, and silverfish. Lining a closet with cedar is a simple way to implement this material in your home. Let me show you how to do a DIY cedar lined closet.
I feel like my to-do list is never ending. (Most people can probably relate!) I actually have multiple to-do list going at once. I have my everyday to do’s and I also have a long list of home to do’s. This project let me check an item off my super long home to-do list – we gave our linen closet a makeover!
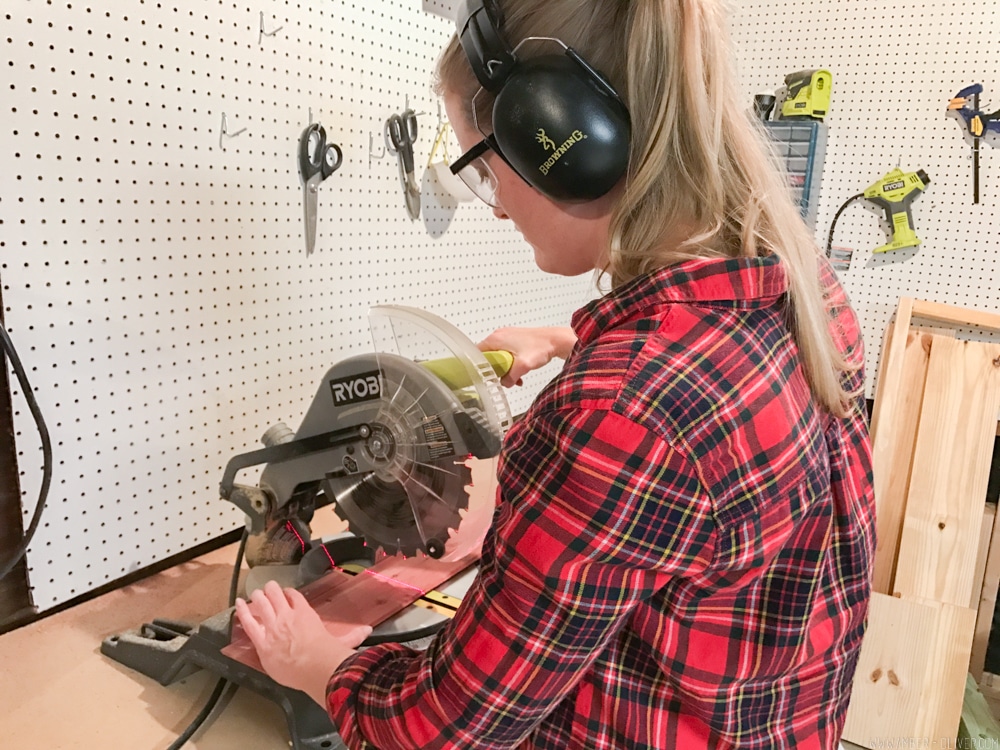
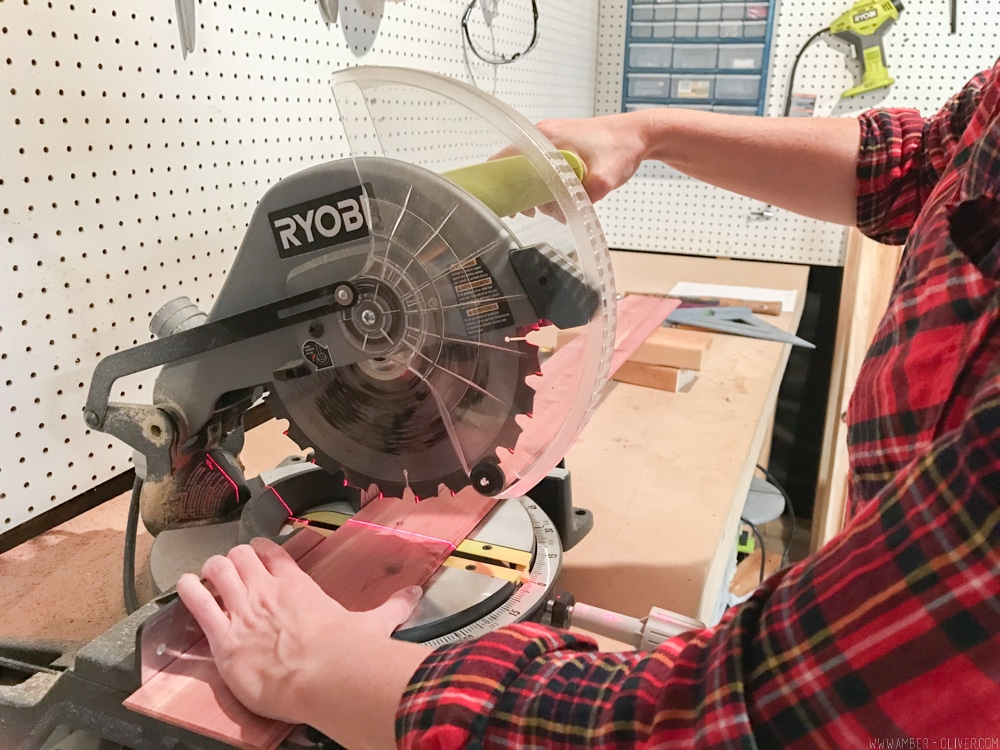
When looking for closet ideas, I kept coming across cedar planks and was reminded of the cedar chest my mom had growing up. I met the folks at Cedar Safe last summer and we teamed up to show you how easy it is to do your own DIY cedar lined closet! The only tools needed are a miter saw and a finishing nailer.
DIY Cedar Closet Lining
Step 1
Measure your space.
Step 2
Purchase the correct amount of materials. Each box covers 35 sqft!
Step 3
Remove any shelving or bars in the closet. This wasn’t super easy for us as our shelves were built in, but we knew we didn’t want to have to make a bunch of long cuts to fit pieces in between the shelves. By removing the shelves, you’re able to cut your boards to the correct width and you should only have to trim the very top boards horizontally to fit.
Step 4
Cut your boards to the correct width. Start with one wall in the closet, and measure the next wall after you’ve mounted the first since it will take up about a 1/4 inch less when you have the planks on the adjacent wall.
Step 5
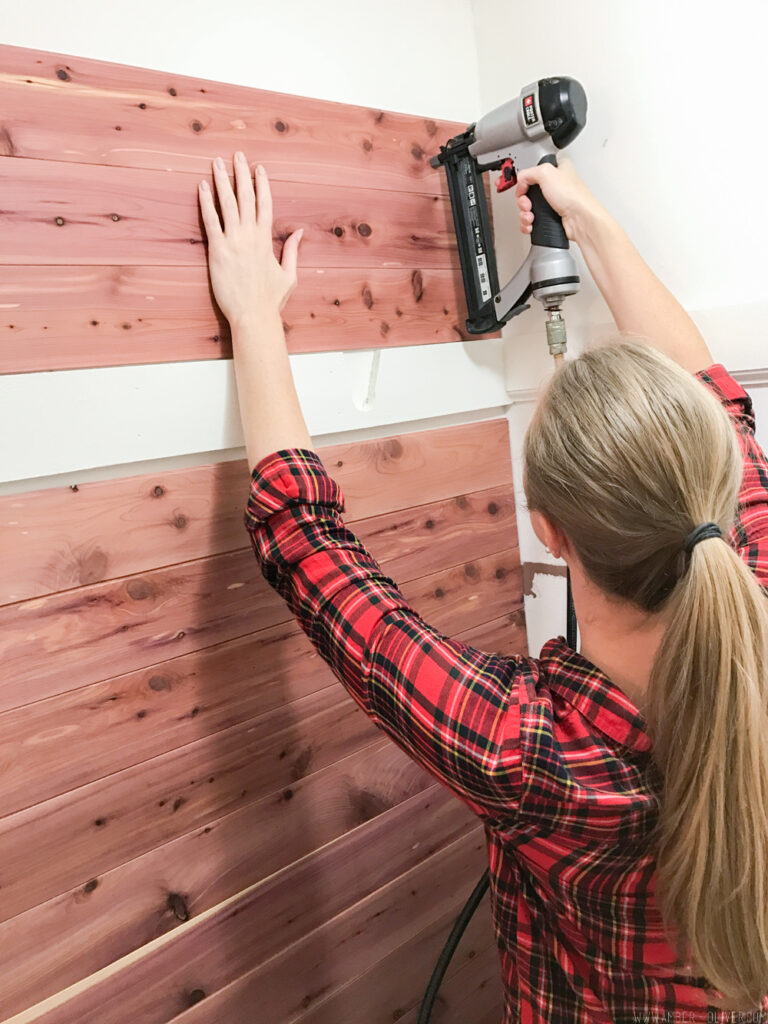
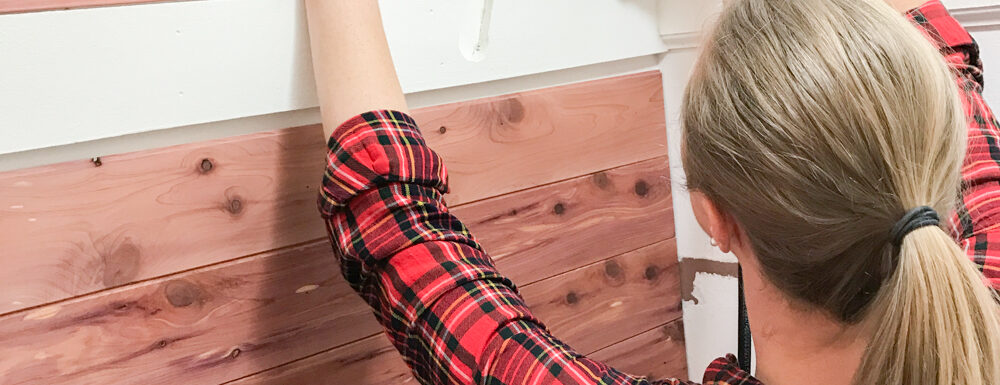
After you’ve cut the planks for your first wall, start mounting from the bottom up. The tongue and groove planks make this super easy! Simply nail in the bottom board, then slide the next board into place. Using a nail gun makes this process a breeze!
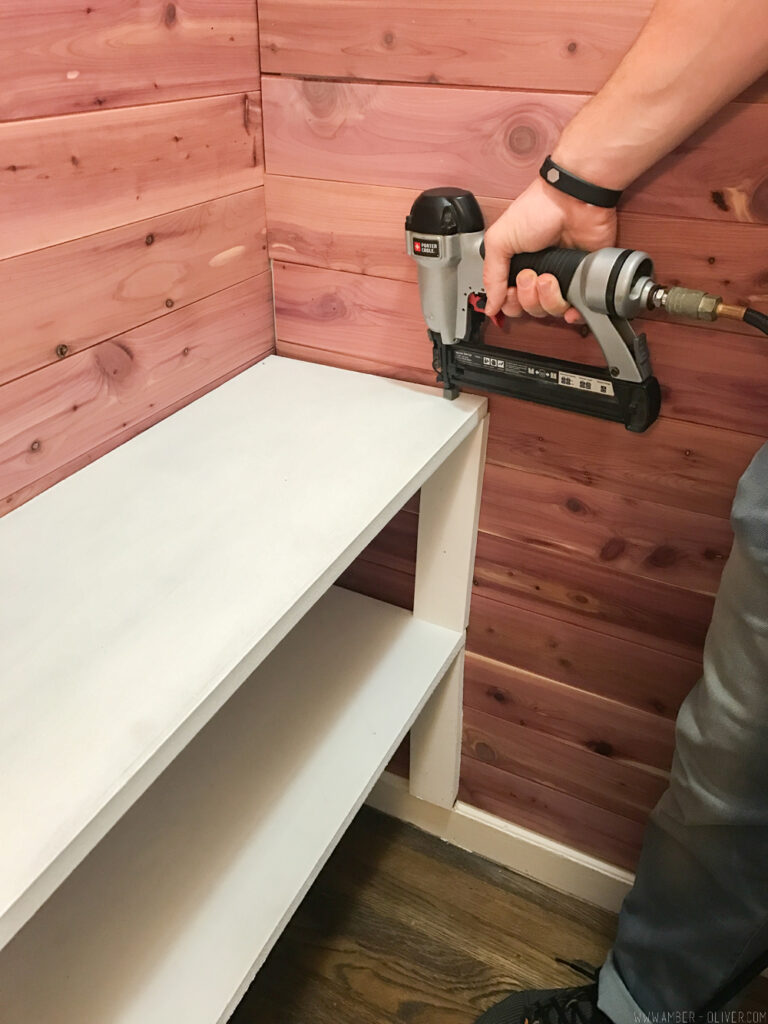
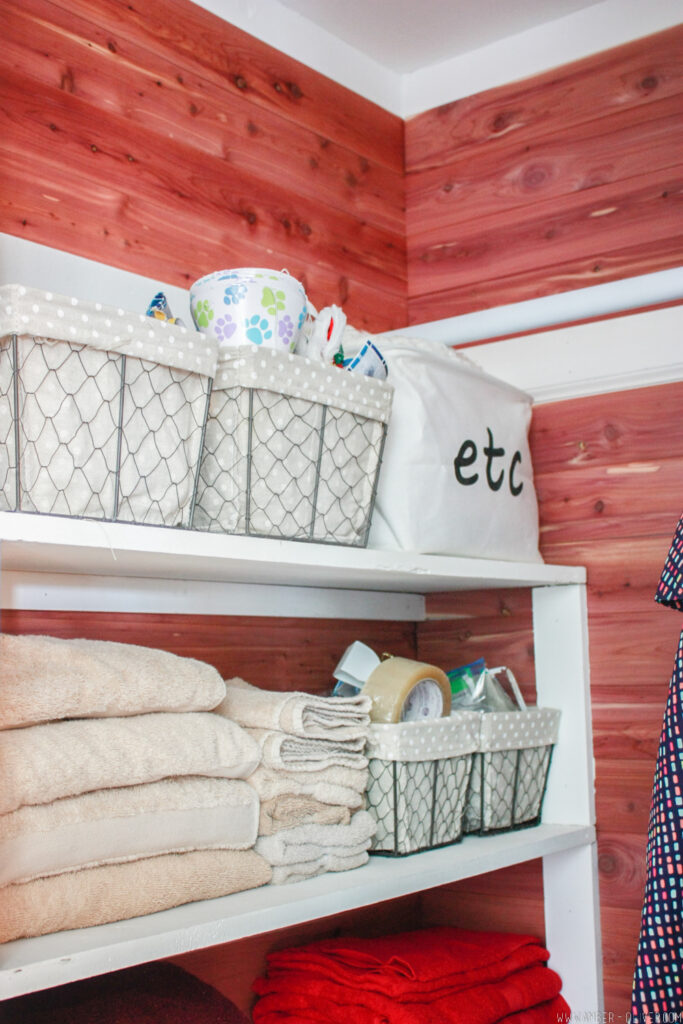
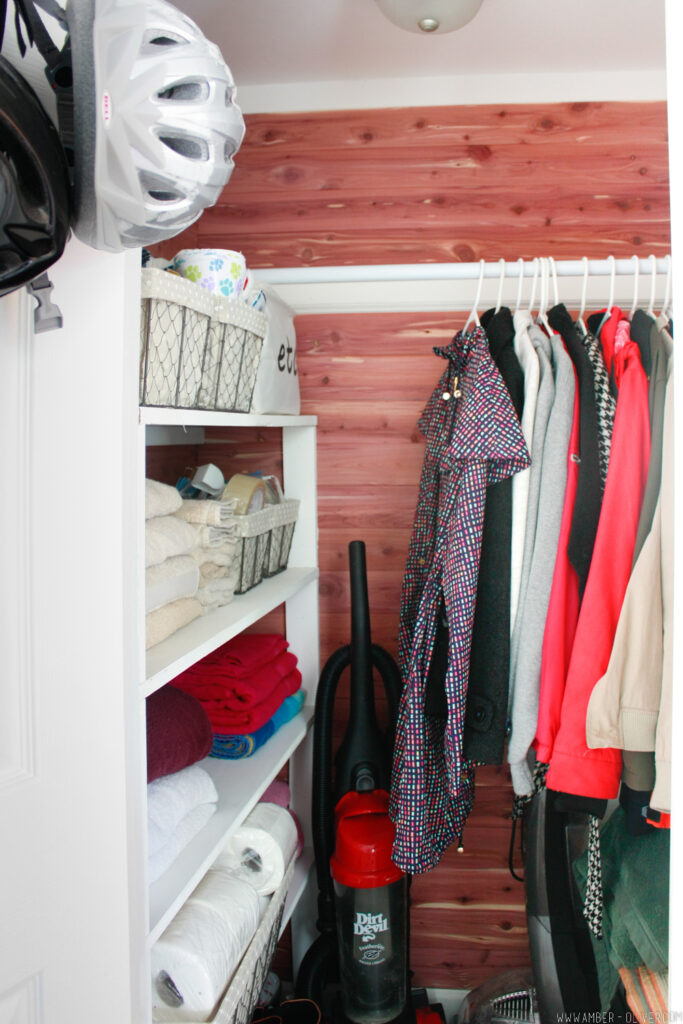
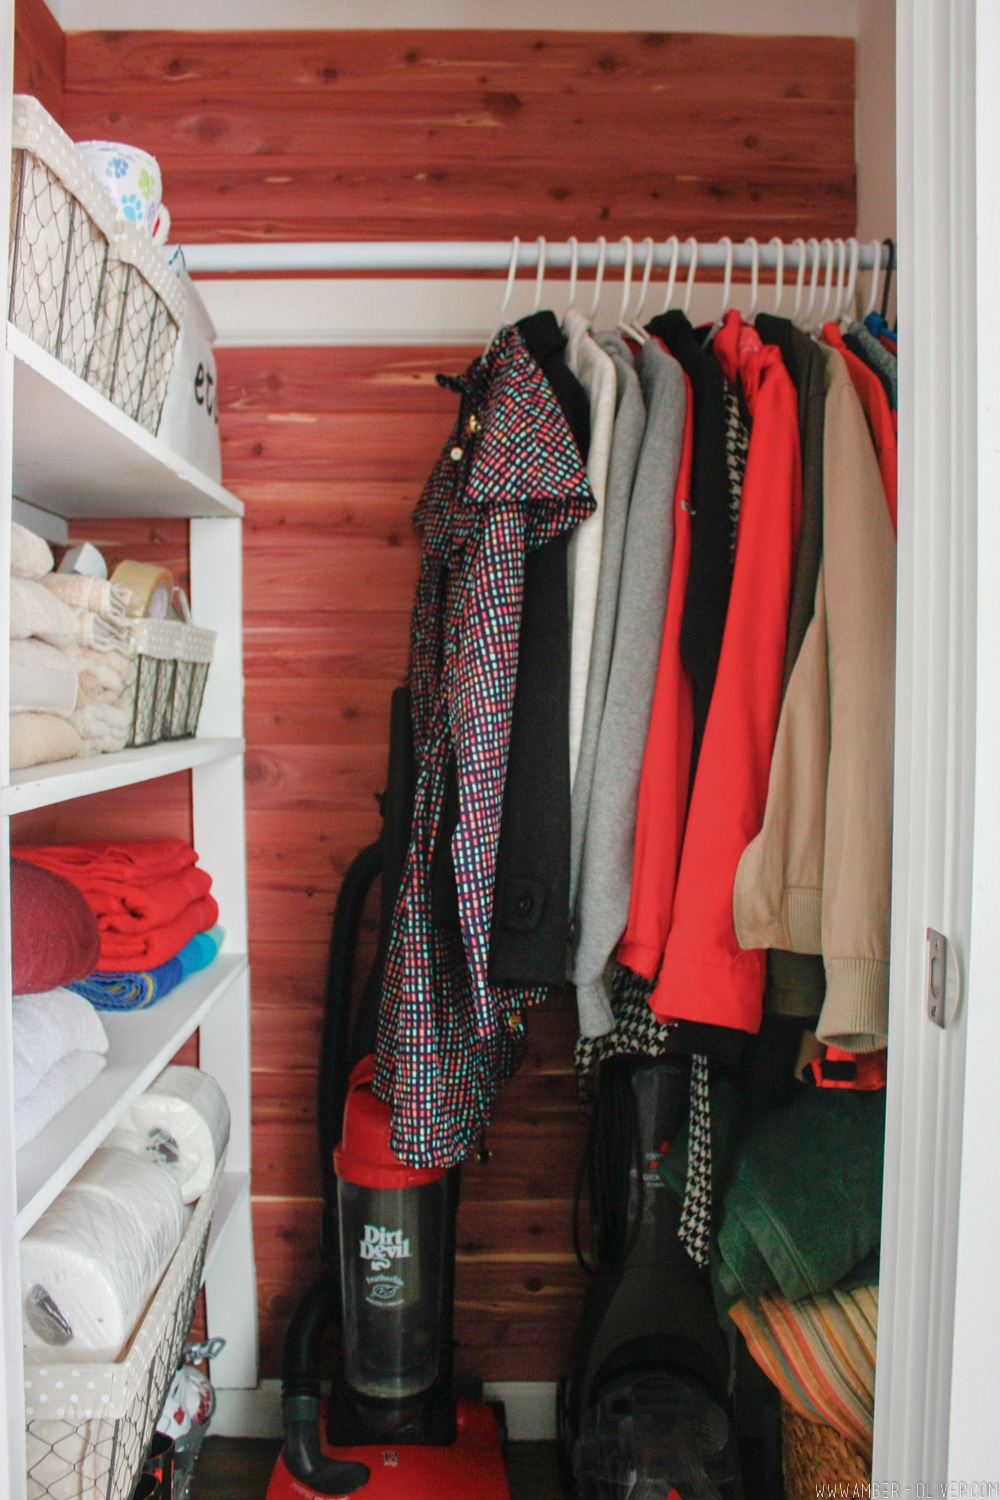
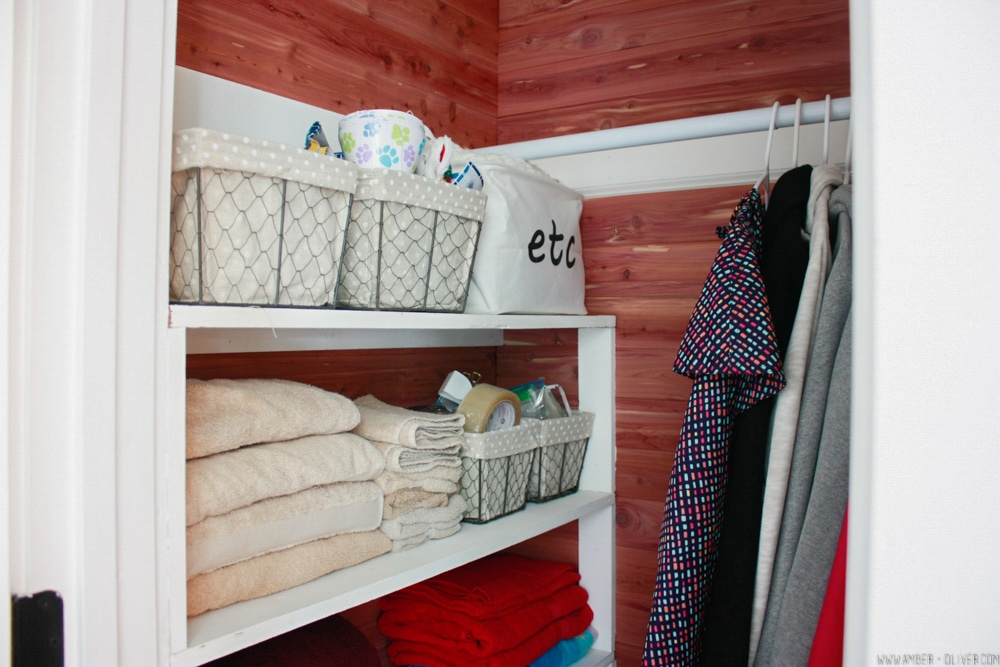
After all the planks are up, add your shelves back and remount the hanging bar. We were able to tackle the project in one afternoon – quick and easy cedar closet lining!
The cedar planks are not only beautiful, they naturally repel moths, cockroaches, silverfish, and mildew. We keep our extra towels and bedding in this closet, but we also store our coats and jackets here and now they are all protected from damage. Add this project to your to-do list: you’ll protect your clothing and also add value to your home with cedar closet lining!
DIY Cedar Closet
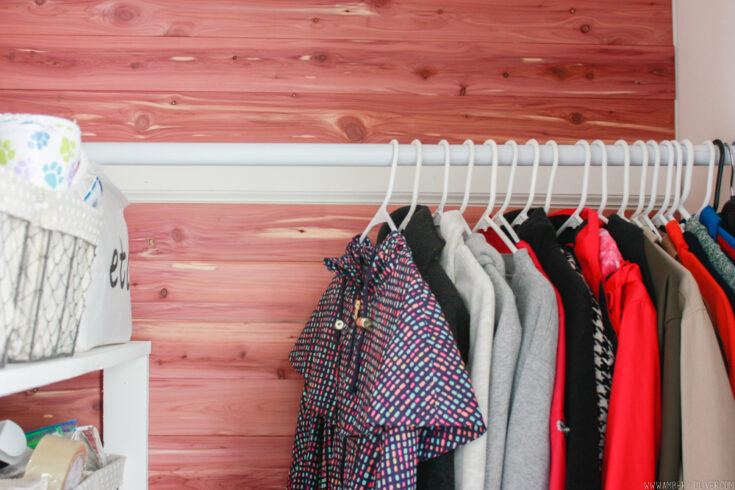
Cedar is not only beautiful, it naturally repels moths, cockroaches, and silverfish. Lining a closet with cedar is a simple way to implement this material in your home. Let me show you how to do a DIY cedar lined closet.
Materials
Tools
Instructions
- Measure your closet and plan for the amounts of cedar you'll need.
- Purchase the correct amount of materials.
- Remove any shelving or bars in the closet.
- Cut your boards to the correct width. Start with one wall in the closet, and measure the next wall after you’ve mounted the first since it will take up about a 1/4 inch less when you have the planks on the adjacent wall.
- After you’ve cut the planks for your first wall, start mounting from the bottom up. The tongue and groove planks make this super easy! Simply nail in the bottom board, then slide the next board into place. Using a nail gun makes this process a breeze!
- Return everything to the closet!
Notes
We didn't have a nailer when we did this project so we borrowed from a friend. I'd recommend getting a cordless nailer if you plan to buy!


Mary Coakley says
This is great at one time they were so popular hopefully you have set a trend.Its great to protect as you say,it was supposed to have a great scent too,you both did a super job.