Last updated August 19th, 2022 at 03:12 pm
This DIY card box was sponsored by Cricut. Handmade cards with a beautiful custom box to hold them makes an amazingly creative handmade holiday gift! The Cricut Scoring Wheel makes this project a breeze! The opinions and text are all mine.
I’ve been making cards for many, many years. In fact, a few years ago I made it my New Year’s resolution to send a birthday card to all of my friends and family. Scrapbook paper is one of those things that’s super easy to collect and I pick up a new pack nearly every time I visit JOANN (my craft store of choice).
When my mom gave me my first Cricut machine about seven years ago, I started using it to make cards and BOY was it a game changer! Fast forward to today and I now use the amazing Cricut Maker! I thought my original Cricut was cool but I had no idea how much better it would get.
The Maker has a revolutionary toolset the knife blade, scoring wheel and rotary blade to cut some crazy materials like wood and fabric and the scoring wheel make card making a breeze!
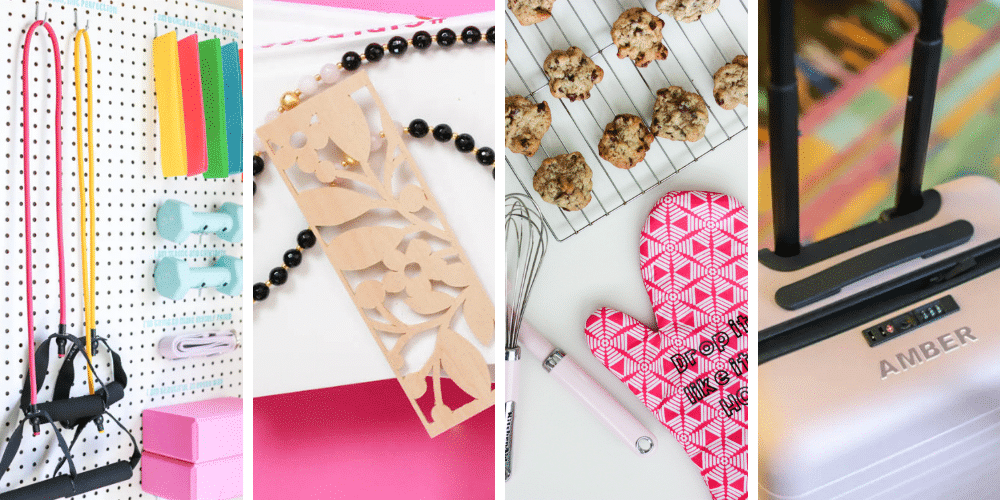
Don’t miss one of my most popular Cricut projects: custom DIY oven mitts! And my all time FAVORITE project: a DIY wooden bookmark!
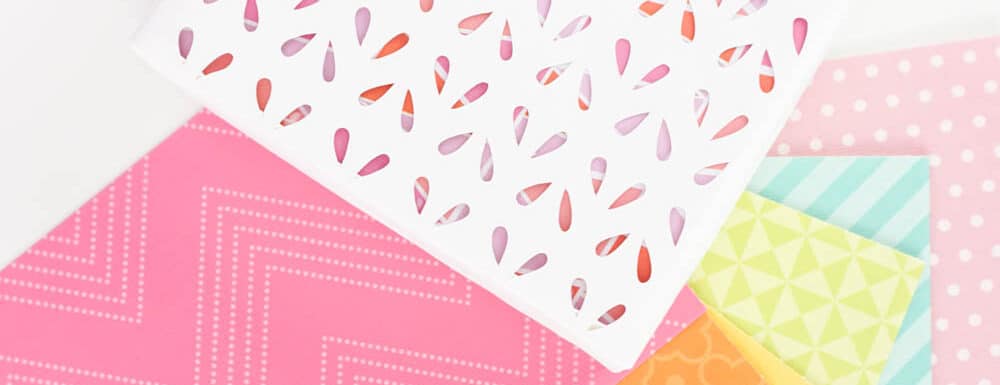
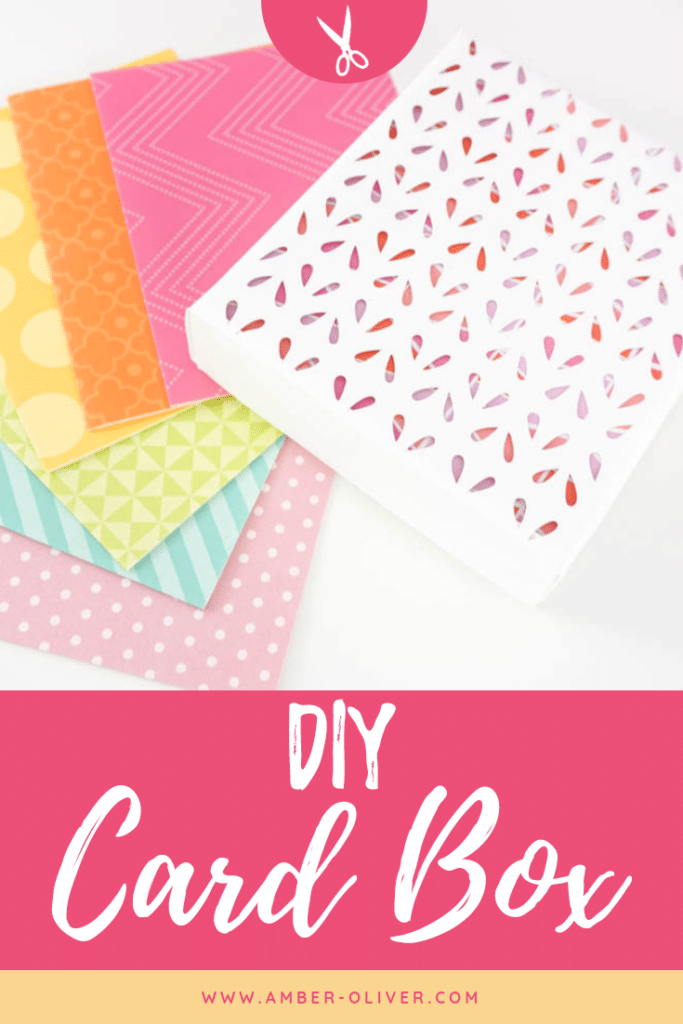
DIY Card Box

Handmade cards with a beautiful custom box to hold them makes an amazingly creative handmade holiday gift! The Cricut Scoring Wheel makes this project a breeze!
Materials
Instructions
- Open the DIY Card Box file in Design Space.
- Add cardstock to standard grip mat (I used a solid white cardstock for my box and a printed scrapbook page for the lid insert)

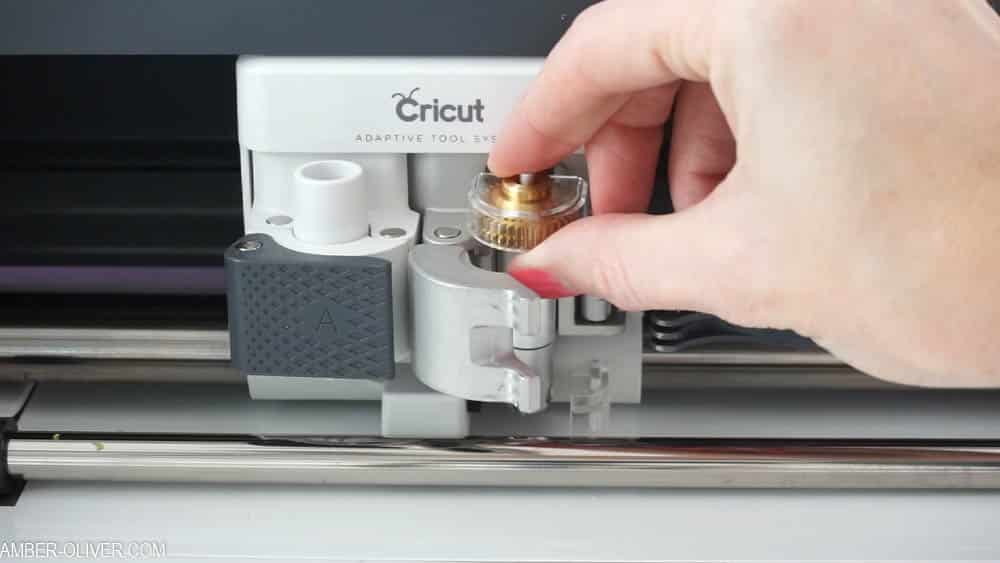
- Load the Scoring Wheel into the Cricut Maker.
- The Maker will first do the scoring on your box then prompt you to switch back to the standard cutting blade to finish.
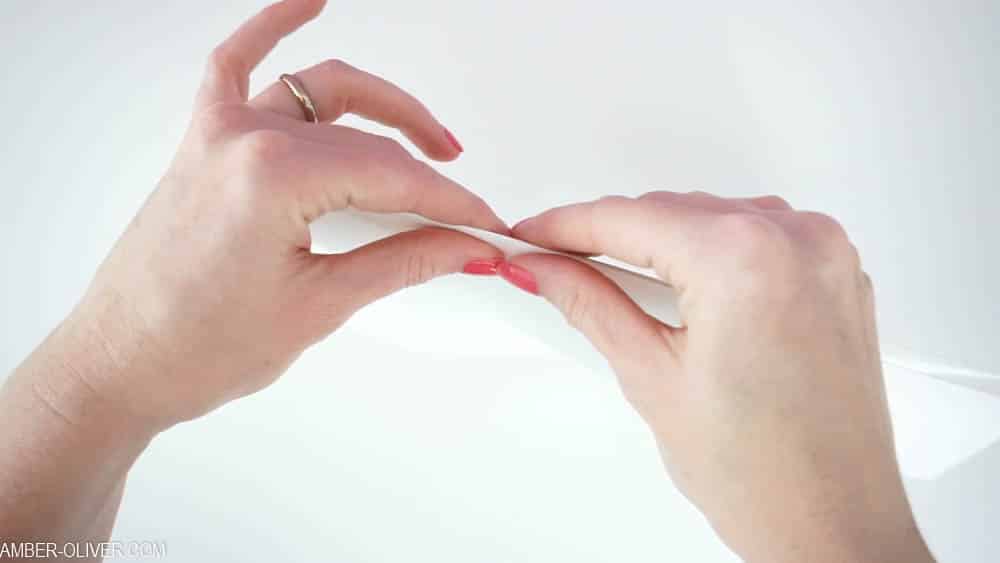
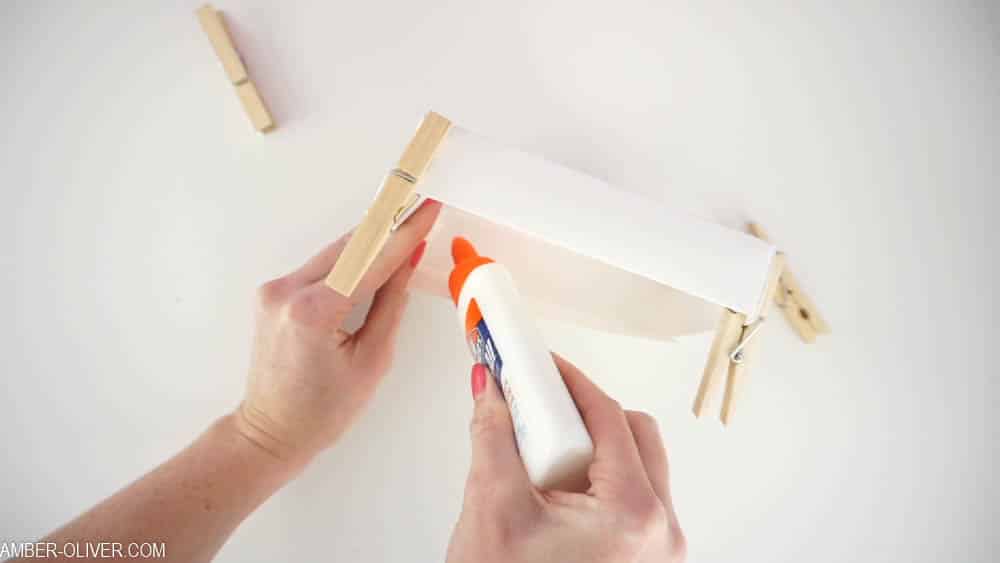
- After your design is cut, fold on all the score lines.
- Fold in the sides and glue in place to create the box that will hold the cards. Use clips if needed to help hold together.
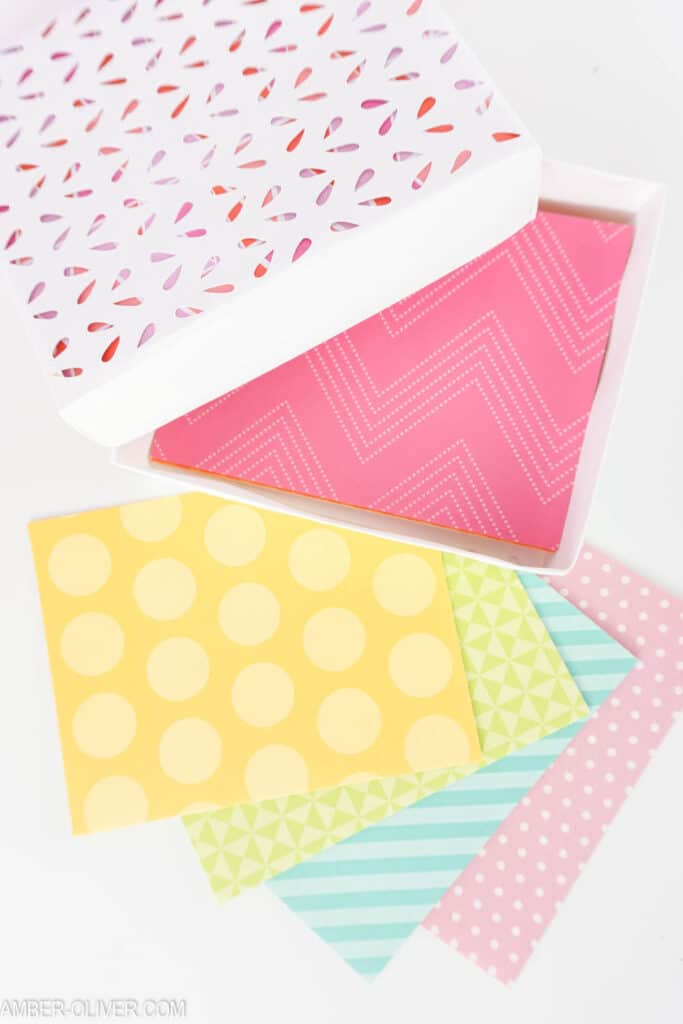
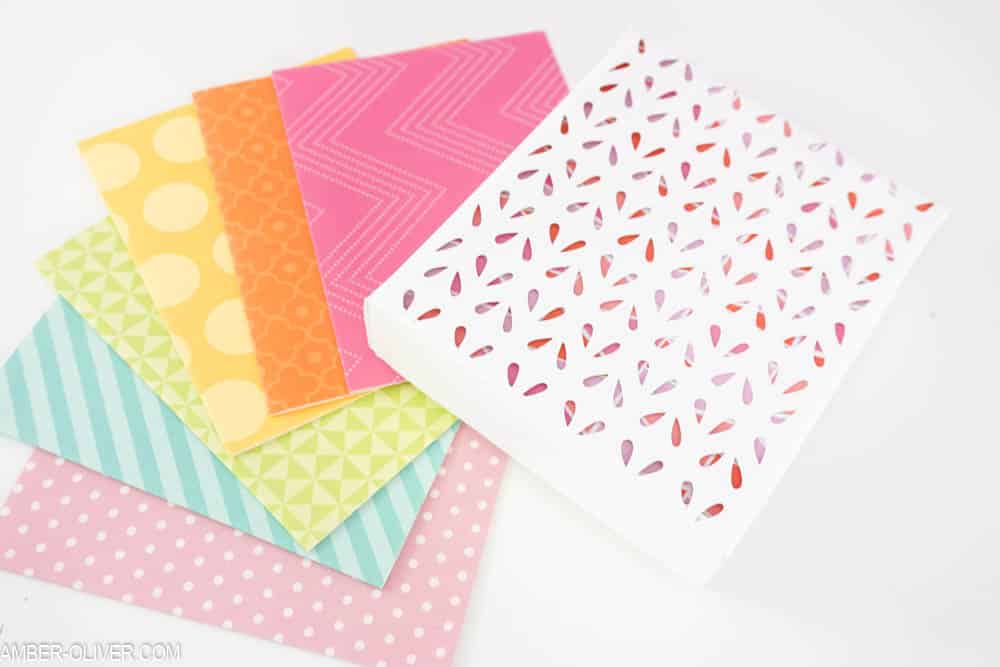
- After your box is created you can cut simple cards to fill the box.

Since I’ve always loved card making, I thought a sweet DIY holiday gift would be this DIY card box filled with simple handmade cards. I filled mine with simple, blank cards but with Cricut Design Space you can easily customize your cards with a monogram or seasonal greetings.
You can re-create this project quickly and easily by using my free Cricut cut files from Cricut Design Space as well as a ton of other easy Cricut projects!
Don’t forget to PIN for later!
This is a sponsored conversation written by me on behalf of Cricut. The opinions and text are all mine.
Love DIY projects? We have 100s of projects to inspire you!
CRICUT ARCHIVES
View our collection of Cricut projects!
Lara Winter says
I cannot find the DIY box project in DS. Can you provide a project #? Thanks so much!
Amber Oliver says
Hi Lara, try this! https://design.cricut.com/landing/project-detail/5bfdfb2680faa6062446f258