Last updated August 8th, 2022 at 03:03 pm
This post is sponsored by JOANN. Learn how to make fabric pumpkins to decorate this autumn!
I’ve never been a big shopper. I don’t love to go to the mall and I really don’t like trying on clothes. My guilty pleasure has always been the craft store! I love to grab a Starbucks Frappuccino and browse the aisle of my JOANN store!
I usually pick up odds and ends without having a specific project in mind – just like I did with these paper mache pumpkins I found on sale. I got them home and I used some scrap fabric from my home office DIY fabric wall to create custom fabric pumpkins! There are 1000s of fabric options at JOANN making it easy to customize your seasonal decor in any color and pattern you can dream of!
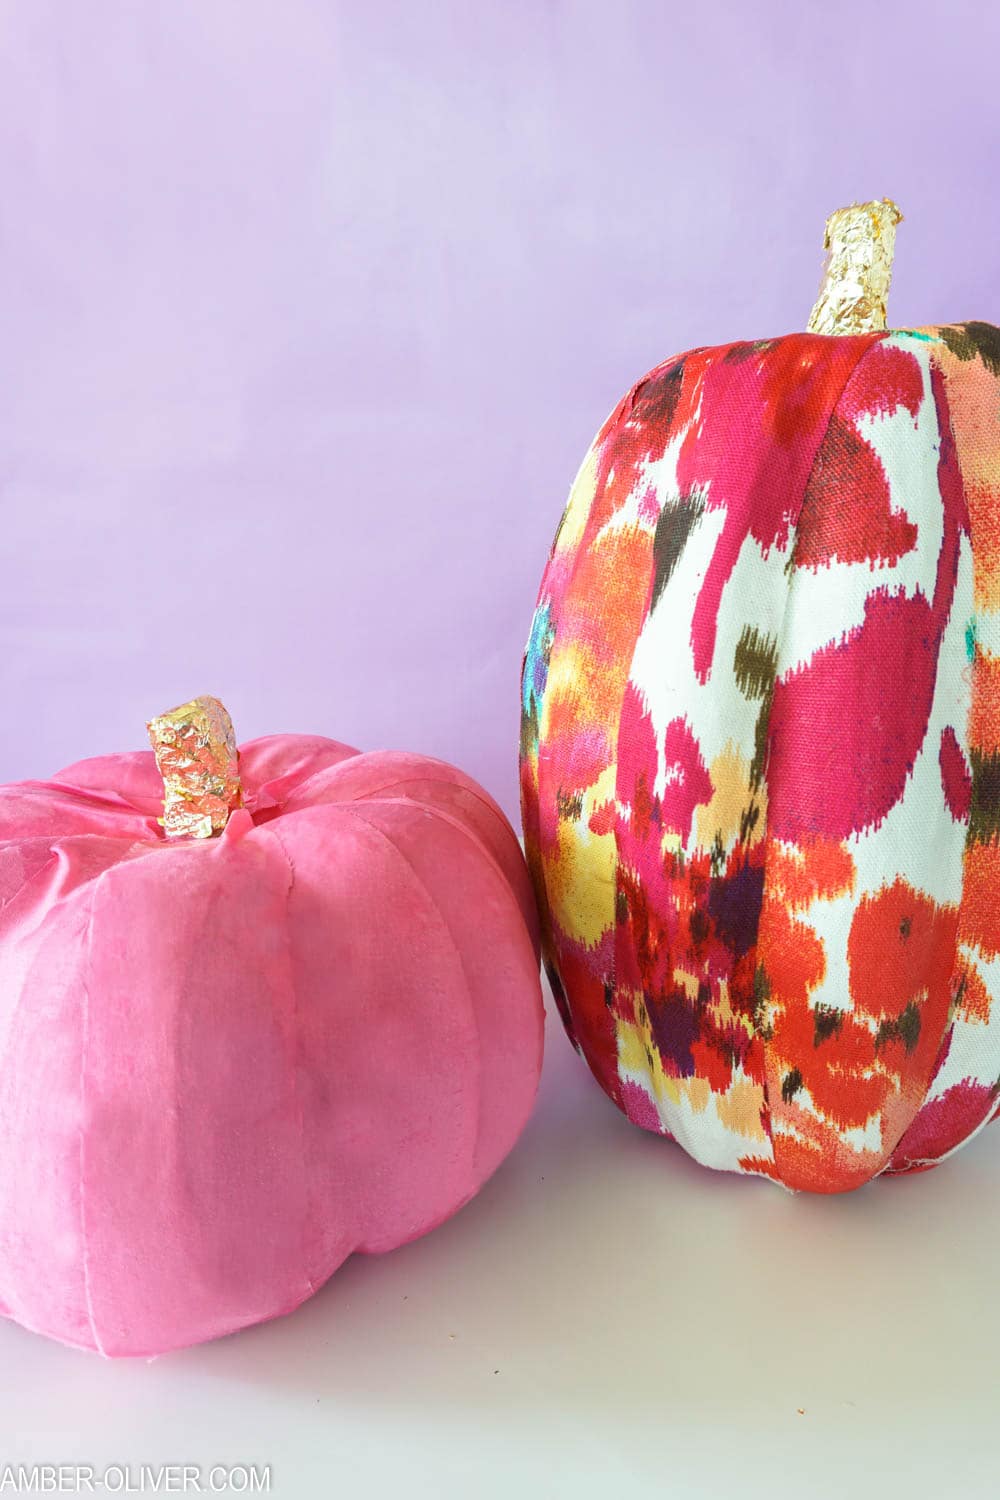
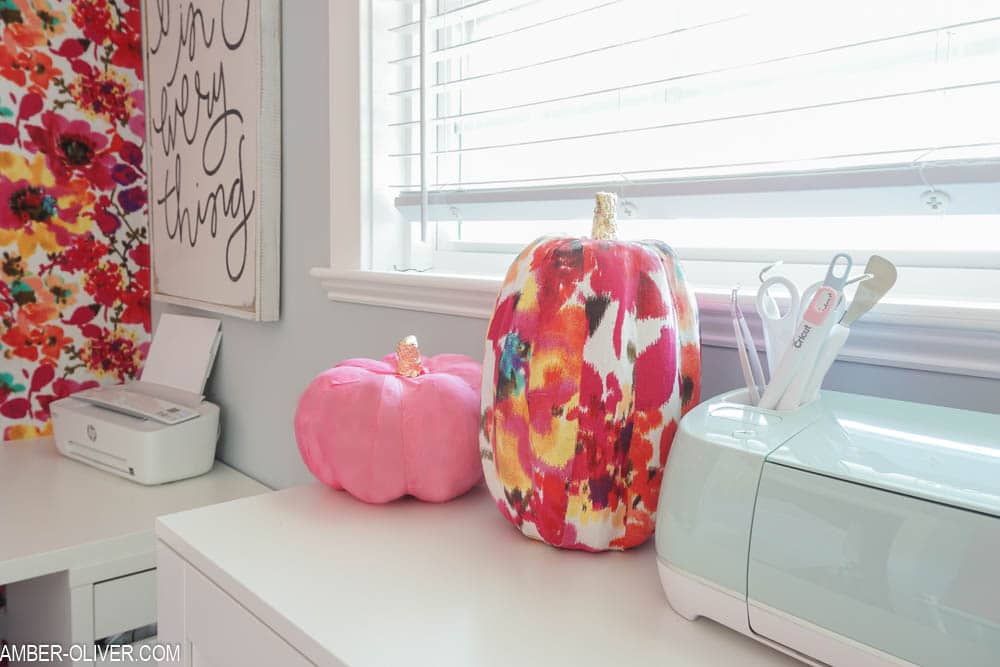
DIY Fabric Pumpkins
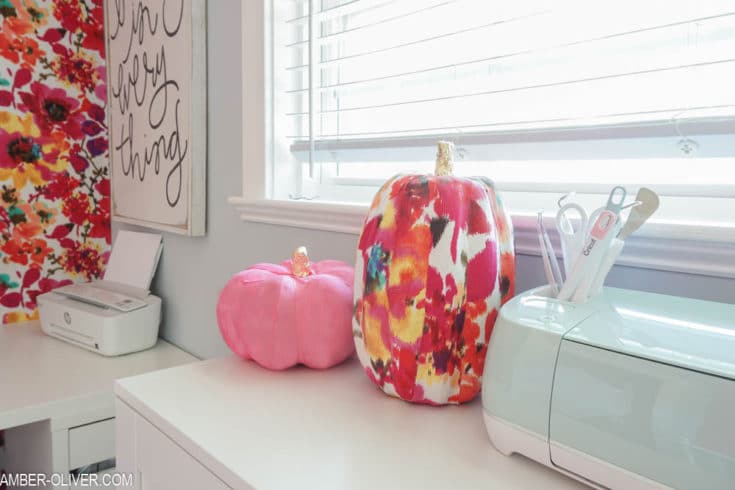
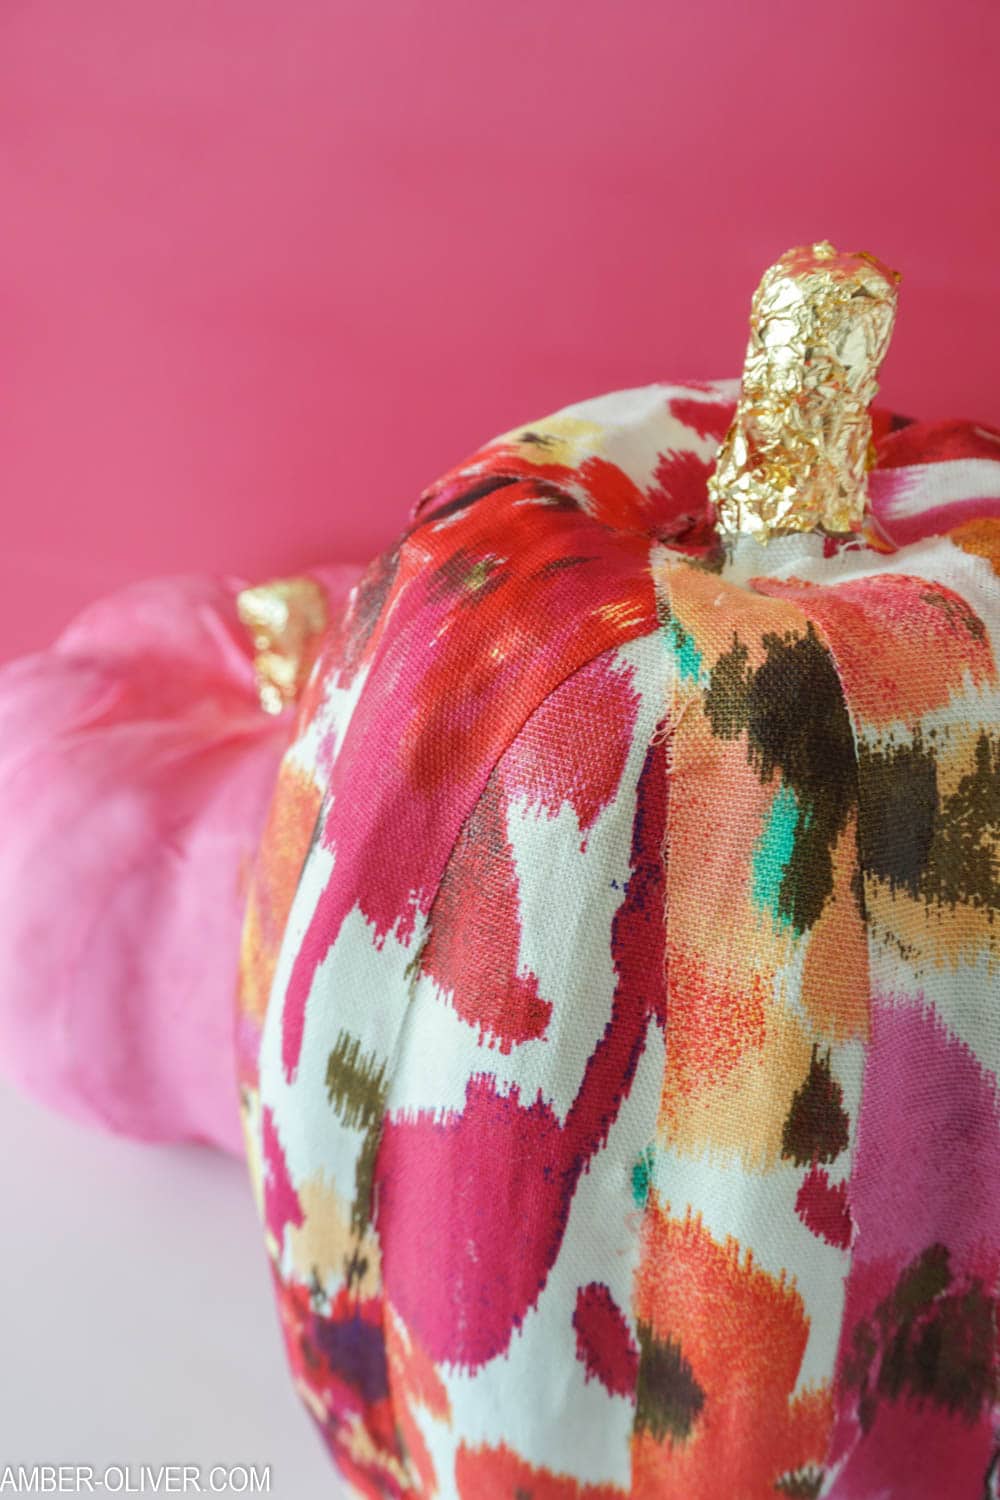
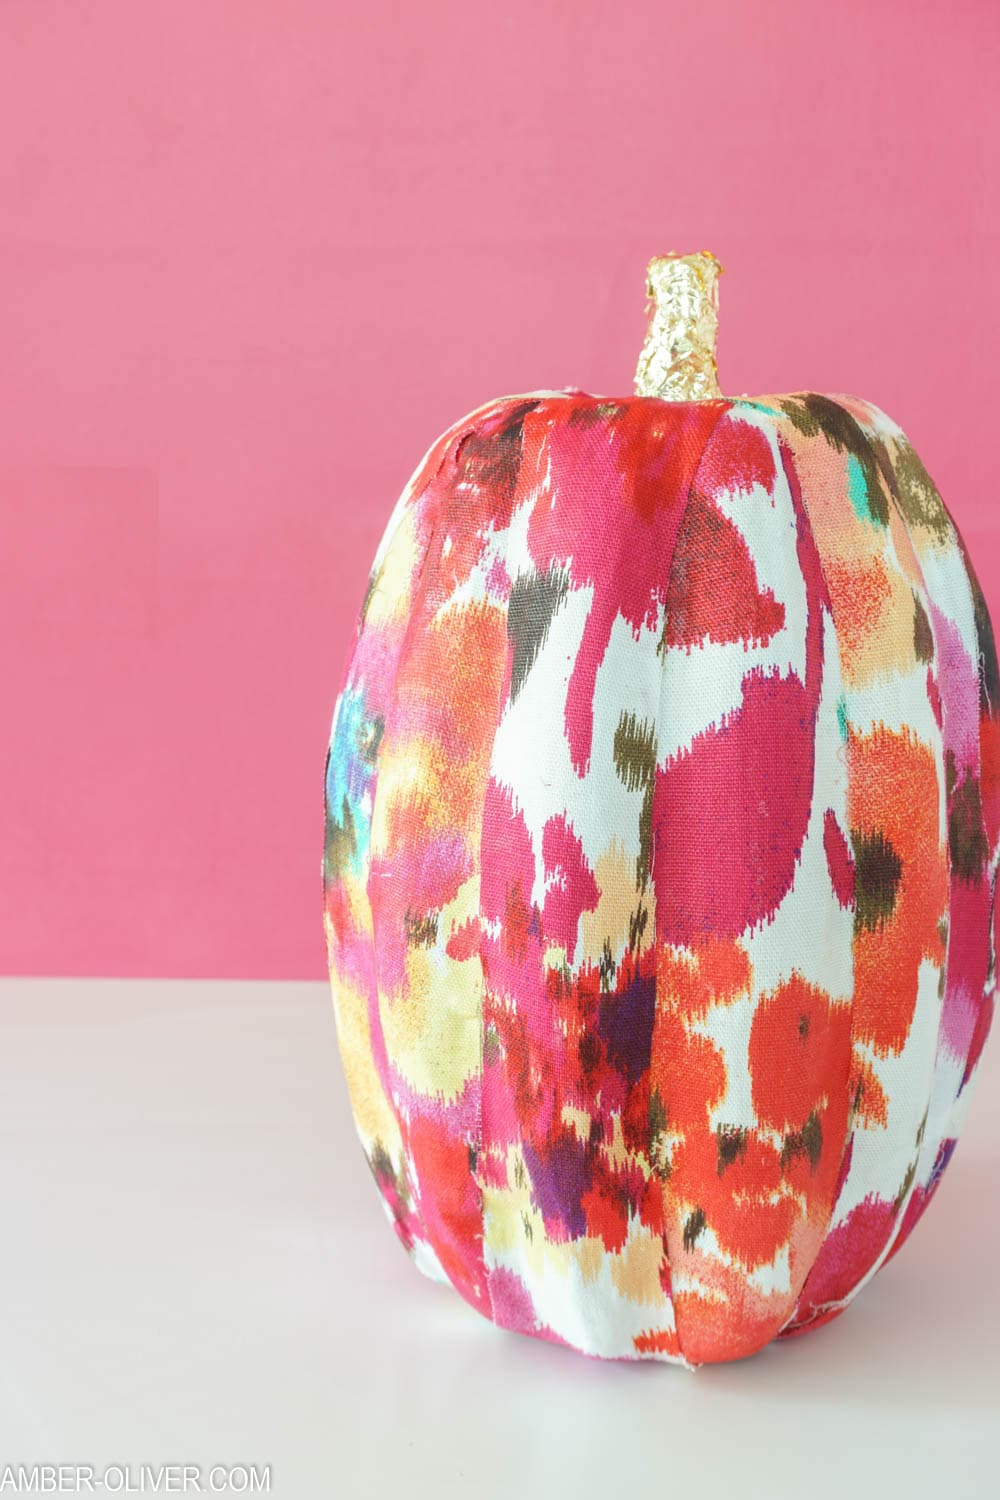
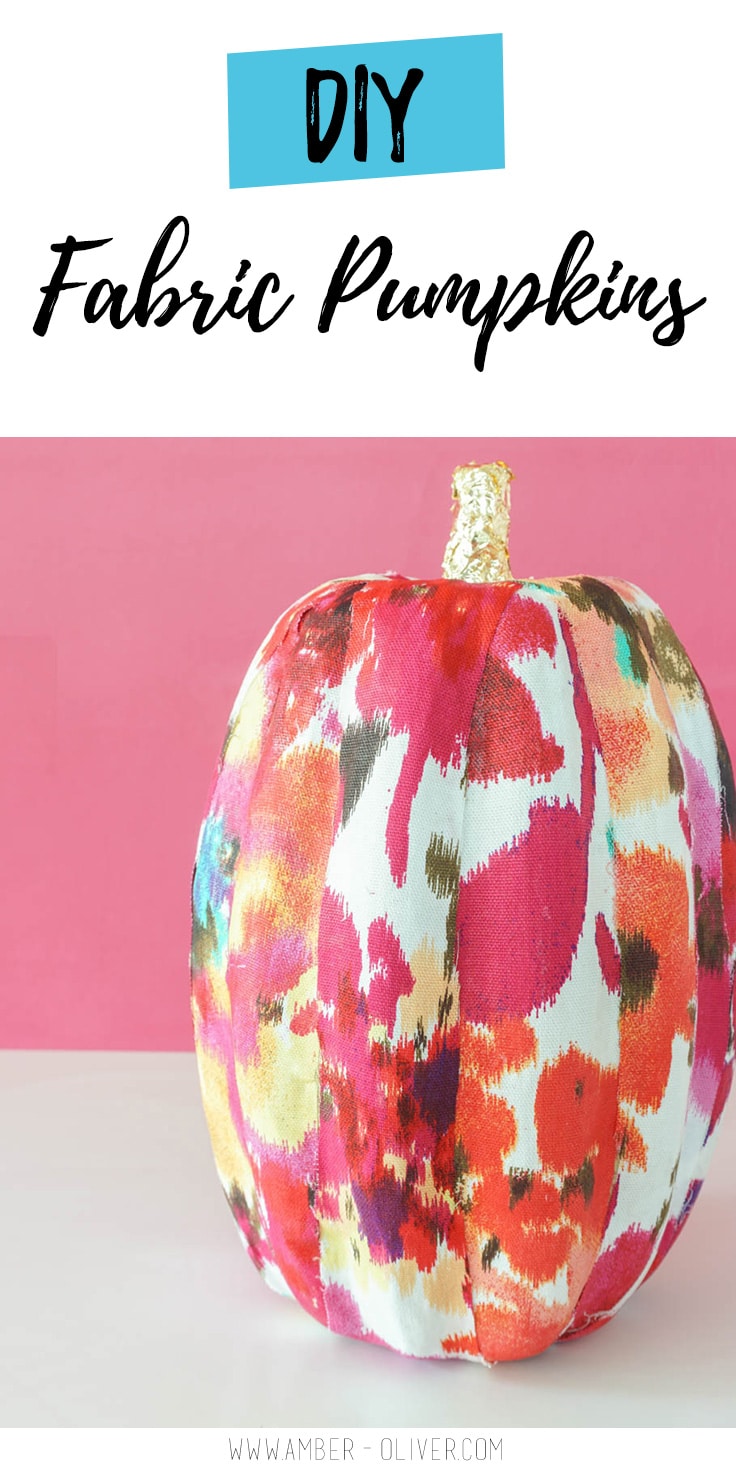
How to make fabric pumpkins - use your choice of fabric to cover paper mache pumpkins!
Materials
Instructions
- Cut fabric into strips - about 1 inch wide and long enough to cover your pumpkin from the stem to the bottom.
- Use a paint brush to brush on Mod Podge.
- Attach your first strip onto the Mod Podge. You may have to trim off the bottom if it's a little too long.
- After the strip is applied - brush the Mod Podge over the fabric. Use your fingers if needed to press out any bumps or folds in the fabric.
- Repeat the above steps until you've worked your way around the pumpkin!
- After you've covered the entire pumpkin, add one final coat of Mod Podge and let dry.
- Lastly, add Mod Podge to the stem and apply gold leaf for a beautiful, glam touch!
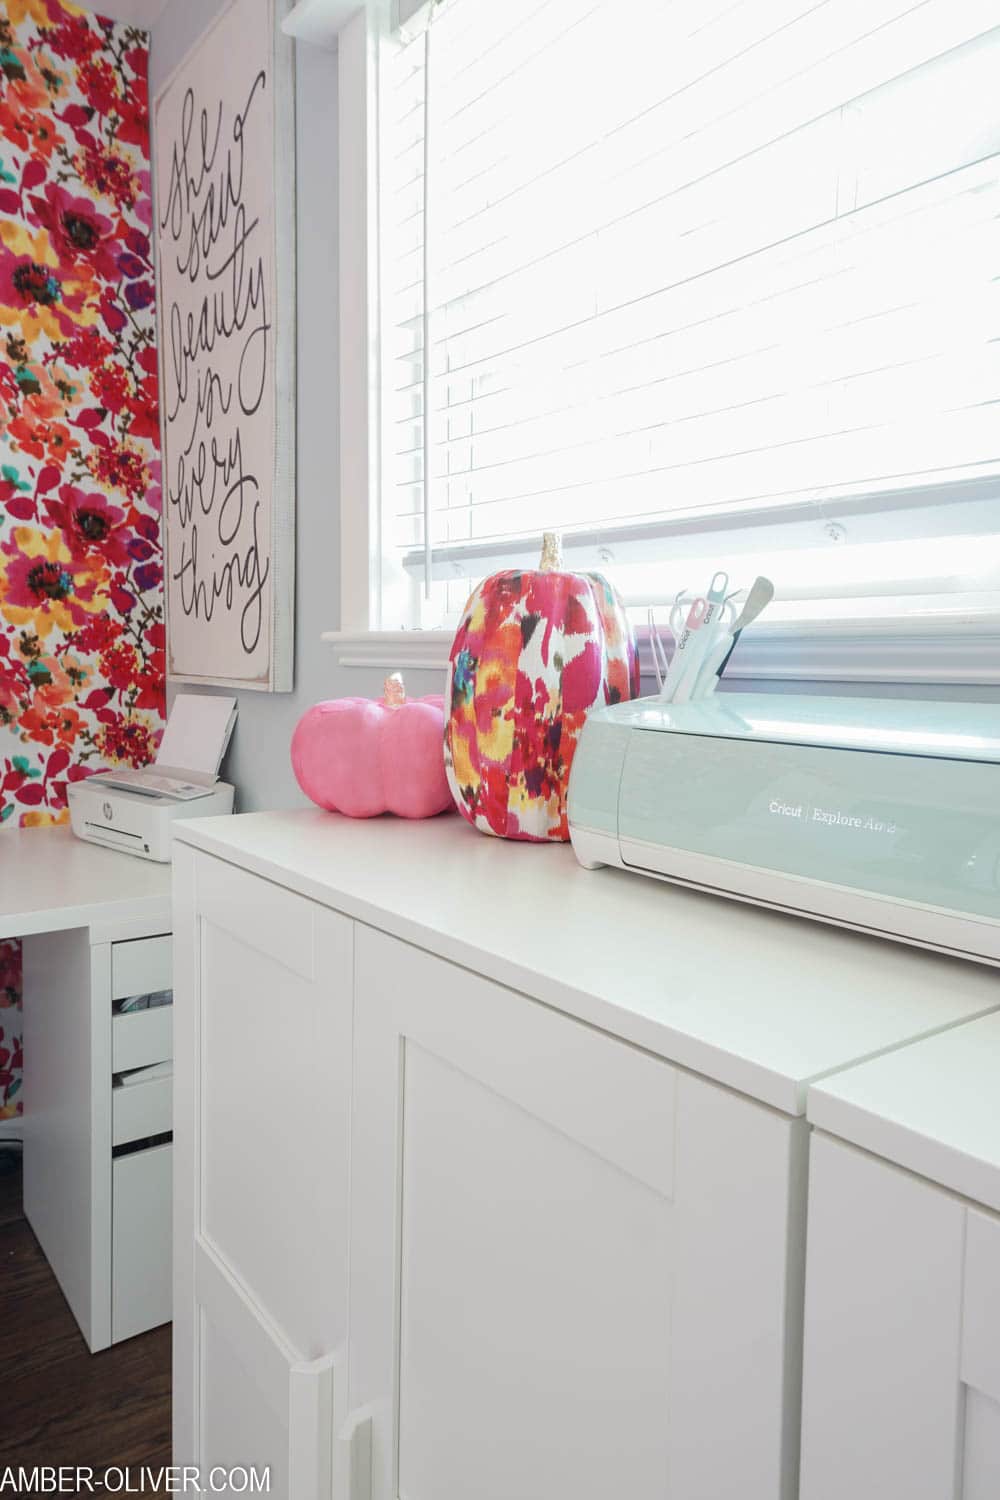
It only took me about 30 minutes to transform those plain paper mache pumpkins into beautiful and colorful autumn decor. My favorite part? The super glam gold leaf stems! I used these colorful fabric pumpkins to decorate my office.
Don’t forget to PIN for later!



Leave a Reply