
Last updated September 13th, 2022 at 04:51 pm
This modern DIY dog bowl stand is an easy project that any dog lover will adore!
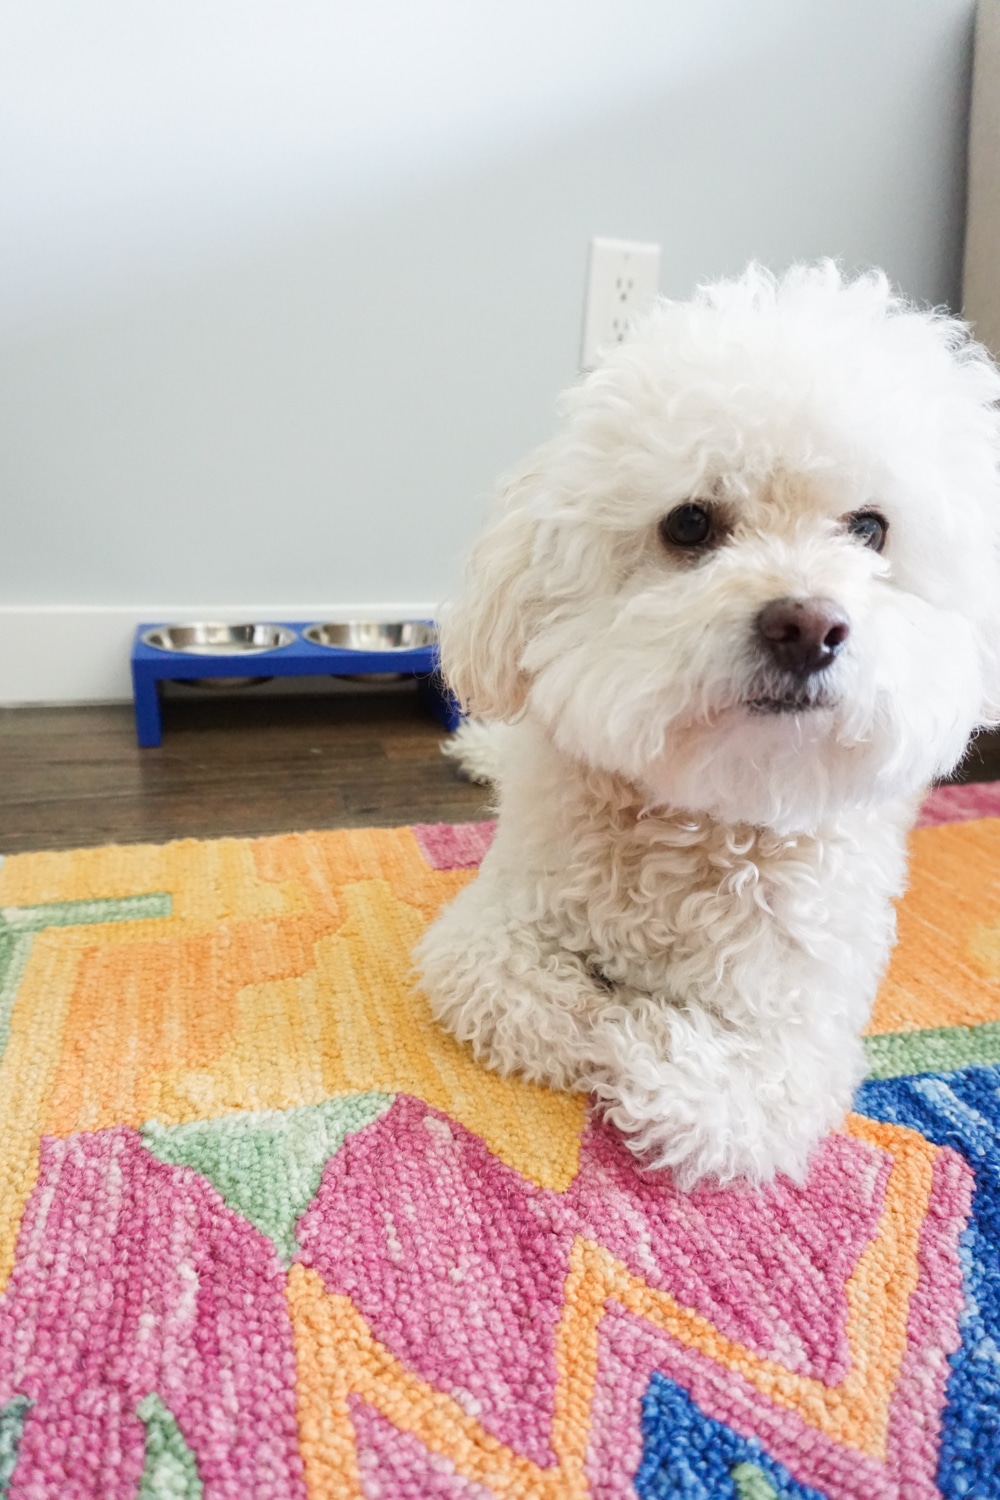
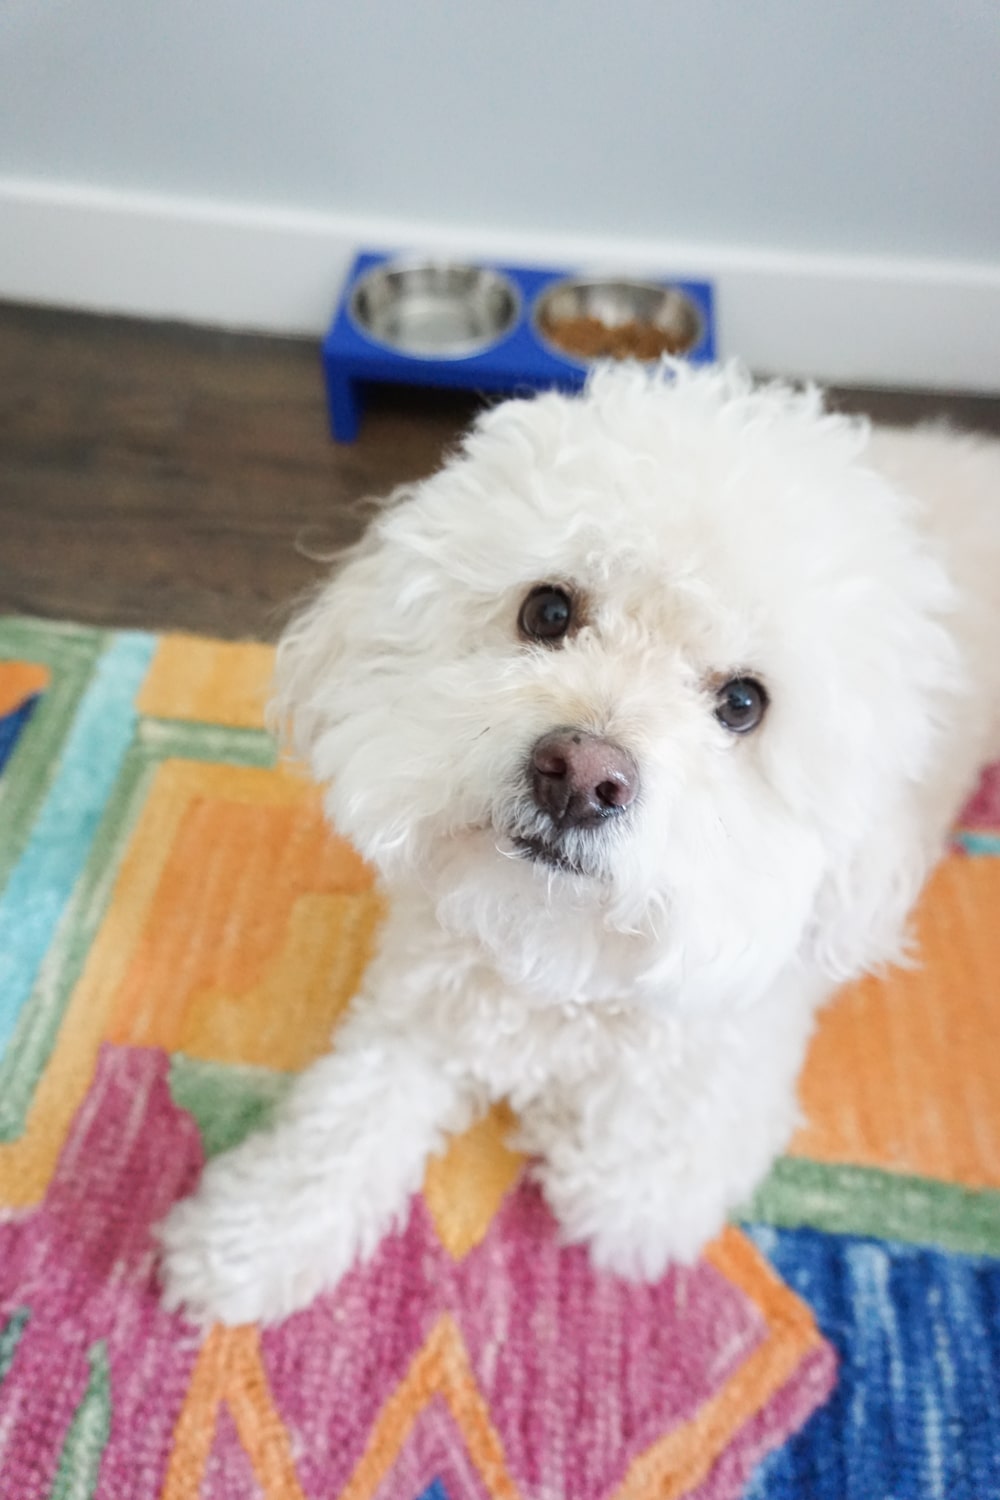
To say I love my dog, Barkley, would be an understatement. I’m kind of obsessed with this little fur ball! He brings so much joy to our lives and is considered a member of our family.
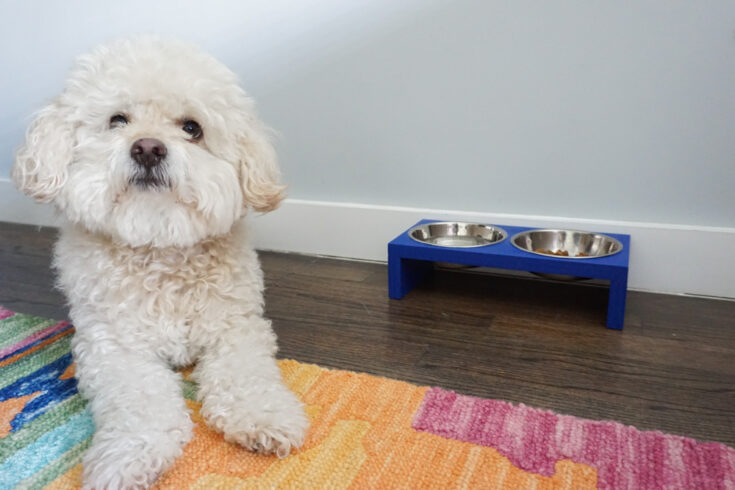
Our special little pooch deserved a special way to eat his dinner – so I built him a modern DIY dog bowl stand! My main goal for this project was to use these removable bowls to make them easy to remove.
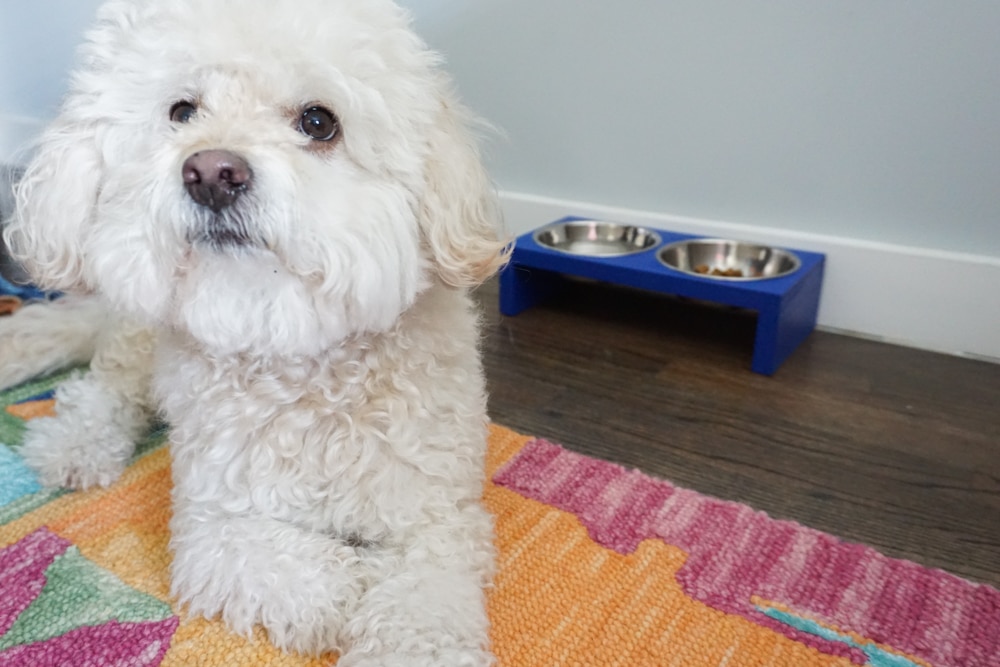
My dog would frequently get his kibble in the water side of his dog bowl, and without removable pieces it was a pain to dump out the water without dumping out his food was well. Now we can make sure he has fresh water, without spilling his food!
Modern DIY Dog Bowl Stand
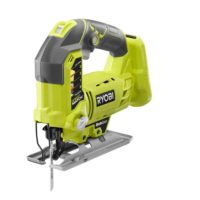
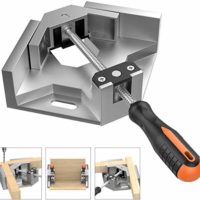
To create this modern DIY dog bowl stand, you'll need a few power tools but this is a *perfect* beginner project. Whether you are just starting with power tools, or an experienced DIYer, you can easily knock this project out in one afternoon. There's versatility in the tools used - so even if you are limited on the tools in your workshop, you should be able to adapt to get this made!
Materials
Instructions
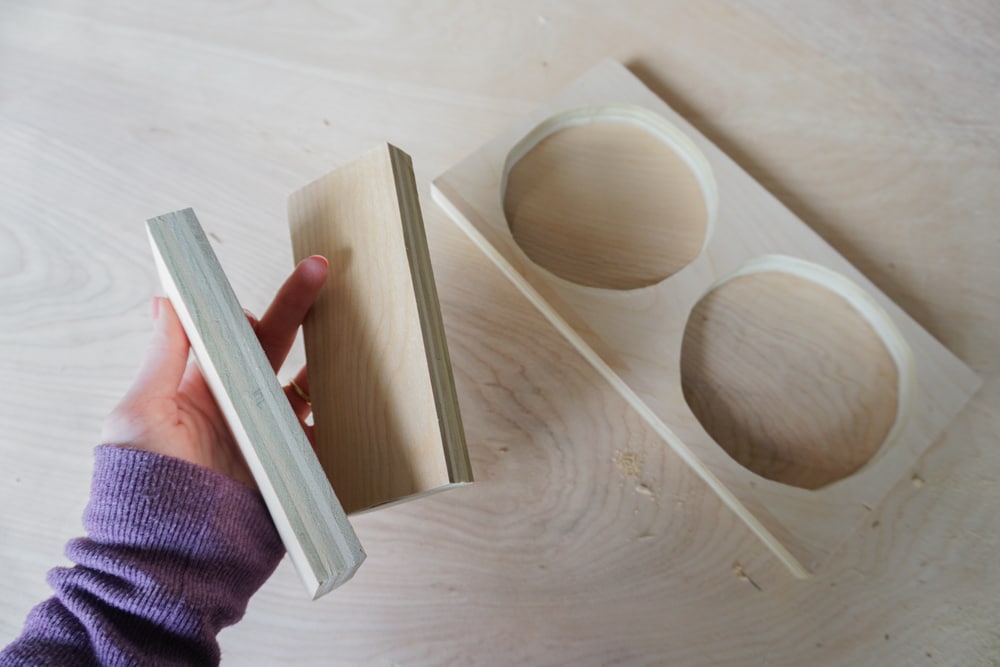
- Trace your bowls onto the board and cut to the appropriate size. Mine was approximately 12 inches x 6 inches.
- Drill a hole into the middle of each circle. Whether you're using a jig saw or the scroll saw, you'll need a hole in the middle to start with.
- Using either the scroll saw or jig saw, cut out the circles. Note: it doesn't matter *too* much how good a job you do on this part. If your circles aren't perfect, don't fret! They will be covered!
- Use sand paper or a Dremel, sand down the circles and any rough edges.
- Using the remnants of the 1x8 - cut 2 sections to add on either side as the legs for your modern DIY dog bowl stand. Mine were approximately 3 inches, but if you have a taller dog you'll need to make yours wider!

- Using wood glue, attach the "legs" to either side. I used clamps to hold in place, but you could also set something heavy on top until it dries if you don't have clamps or a corner clamp.
- After it's dry, use wood filler if needed (then sand) and add paint or stain as desired!

Recommended Products
As an Amazon Associate and member of other affiliate programs, I earn from qualifying purchases.

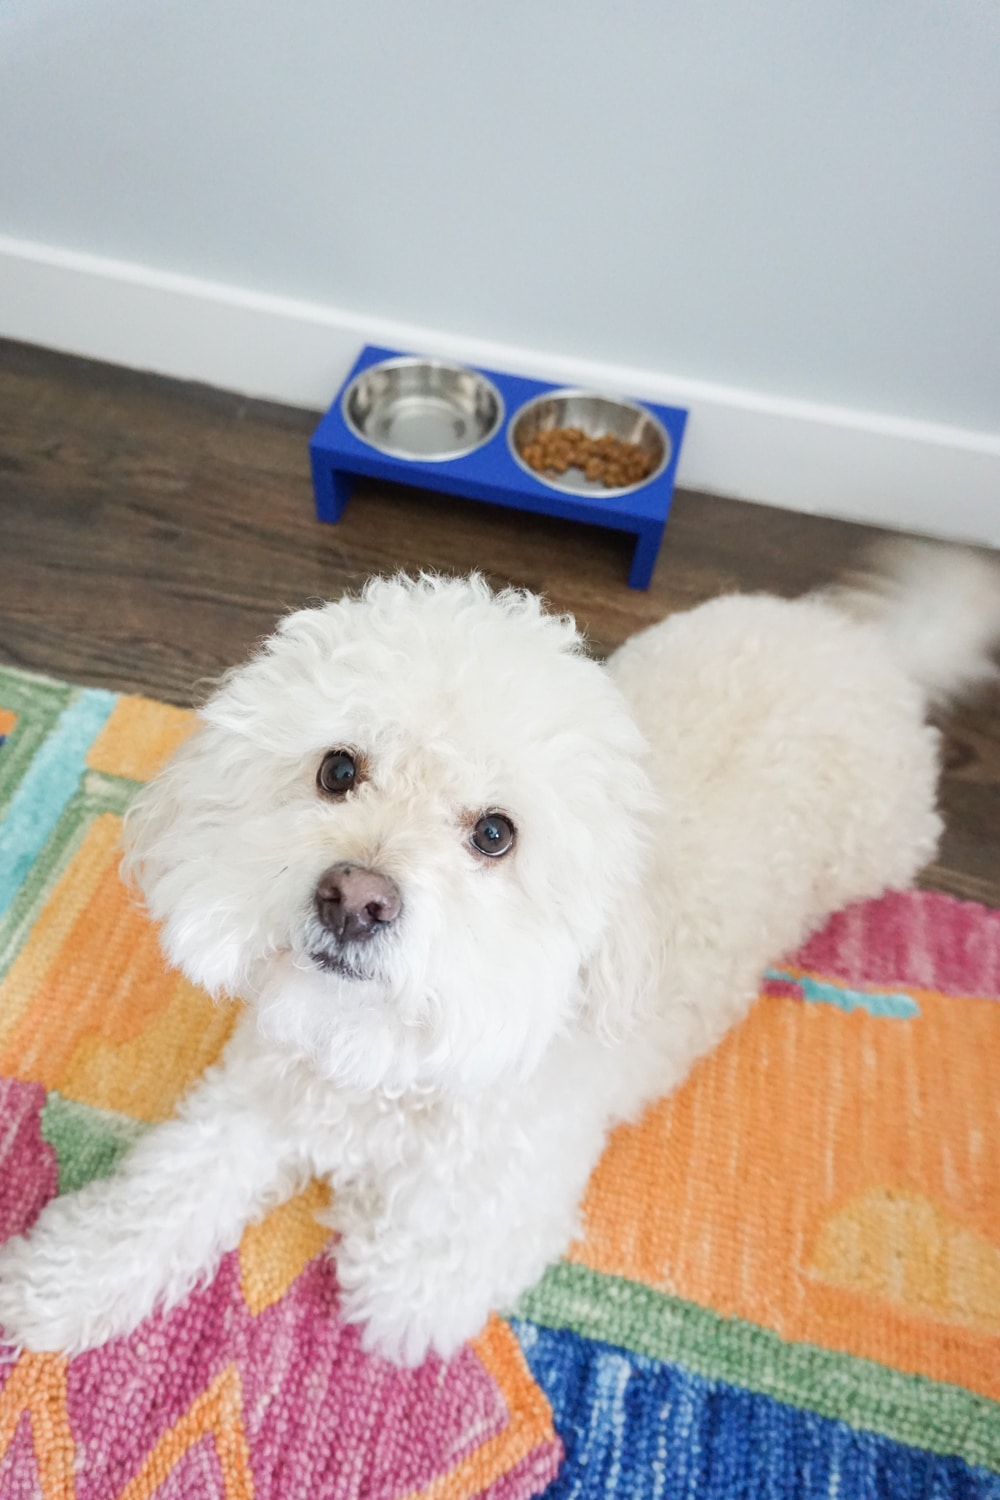
Barkley loves his new modern DIY dog bowl stand – just look at that tail! He was so excited his tail wouldn’t stop wagging. Of course it may have had something to do with the treats I used to get him to pose for the photos!
Check out this other doggie DIYs:
Don’t forget to PIN for later!

Leave a Reply