Last updated November 24th, 2020 at 09:12 pm
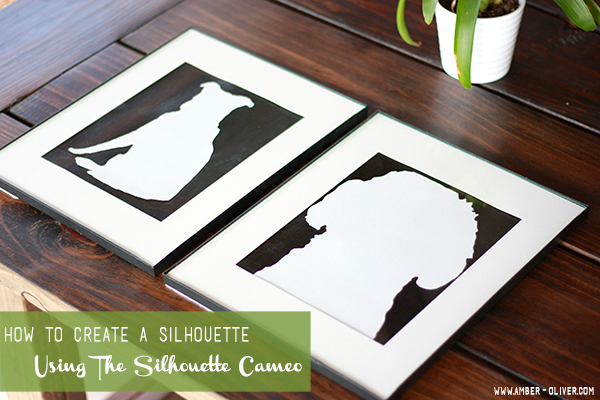
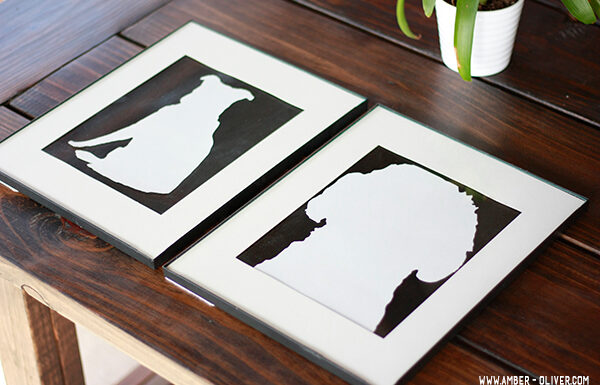
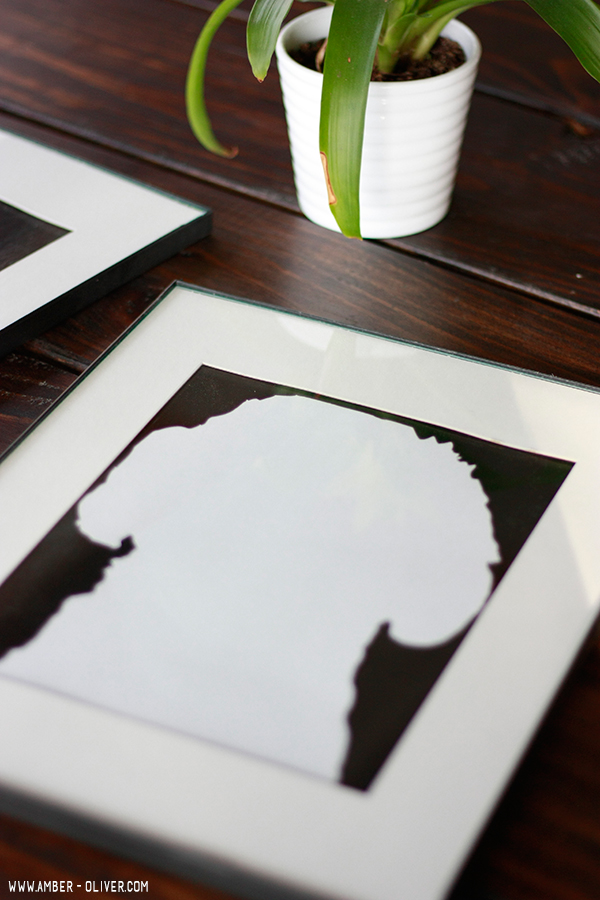
I got a Silhouette Cameo for my birthday and couldn’t wait to start creating amazing things! I immediately created a Pinterest board and started looking for inspiration – that was 2 months ago! I decided it was time to finally pull this puppy out and get to cuttin’. Because I’m obsessed with dogs (shocked right?) I decided to try to create a dog silhouette using the Silhouette Cameo. Using a photograph and Photoshop, I was able to “cut” the sillhouette of the dog out and import that image into Silhouette Studio and cut the image. Easy peasy, right? The Photoshop part turned out to be a bit harder than I thought, but I created a quick video to show you how I did that part. This project is also part of an AWESOME Silhouette Project link up! Check out the other cool projects below and follow me on Instagram.

-
- Choose your photo! I did one for my dog and a friend’s dog but you could do this with any pet or human! The best photos have a high contrast; so a white dog in front of a dark background for example would be the best. The photo I chose for a friend had the dog in front of a window so it proved a little more difficult but you can make it work!
- Open your photo in photoshop.
- Create 2 new layers: I named them “black” and “white”.
- Select the Magic Wand tool. This tool is a little tricky so it’s helpful to understand what it’s doing. The Magic Wand selects pixels based on tone and color. It’s a little frustrating to get the correct selection with it (especially if you don’t have that handy high contrast photo) but there’s another tool we will use to “clean” it up after.
- I set the “Tolerance” around 10. Tolerance tells Photoshop how different in tone and color a pixel can be from the area we clicked on for it to be included in the selection. By default, the Tolerance value is set to 32, which means that Photoshop will select any pixels that are the same color as the area we clicked on, plus any pixels that are up to 32 shades darker or 32 shades brighter. I set this number low because in the photo, Kennedy blends in with the blinds, wall, and window. Near the pouf she’s sitting you, we could increase the Tolerance since the red is quite a bit darker than her white fur.
- Begin clicking to select parts of the subject (in my case the dog). You will notice it may select parts that you don’t want included in your silhouette. You can CTRL+Z to undo the selection and change your tolerance OR use the Lasso tool (set to SUBTRACT FROM SELECTION) to remove the part you don’t want included. When you “Lasso” the section you don’t want included, draw the selection around the part you want to remove and and draw the edge of the selection as close as you can to the subject. After you complete the circle, the selection line with drop down around the subject instead of all willy nilly in the background.
- After you’ve got the entire subject selected, copy and paste onto your BLACK layer.
- I then used the Paint Bucket Tool to fill in the selection. If any of the edges of your selection weren’t closed, it may fill it in the background as well. Undo it (CTRL+Z) and switch over to the brush tool. Adjust the size to about 20 and use it to fill in the edges; then switch back to the Paint Bucket and fill!
Here’s the video tutorial. Please pardon my first attempt at recording a video! If you still have questions, leave me a note in the comments!

Craving Some Creativity – Silhouette Project Challenge: Distressed Laundry Room Sign
DIY Passion – Cheeky DIY Tote Bags that will Make You Smile
Our House Now A Home – A Silhouette Giveaway and Creating New Wall Art
My Life From Home – Silhouette Challenge: What’s Cooking? Recipe Holder
Holy Craft – How to Use a Photograph to Make a Custom T-Shirt with Your Silhouette
Knock it Off Crafts – DIY Otomi Coasters using a Silhouette Machine and Silhouette Giveaway!
One Project Closer – DIY Princess Party Decorations
Dream Design DIY – Chalkboard Workout Calendar
The Country Chic Cottage – Makeup Organizer
Refresh Living – Custom Word Throw Pillows with Vintage Fabric
The Deans List – Scalloped Milk Glass for Valentine’s Day
Tried & True – Life is good tee
Tastefully Frugal – Valentine’s Day/St. Patrick’s Day Reversible Sign


Jenny @ Refresh Living says
Such a great tutorial! I am Photoshop illiterate, so these tips are very helpful to me. Such an adorable idea!
Cat @ Pocketful of Posies says
These are so cute and I love love that you included a video tutorial on how to make a silhouette. I am Photoshop challenged but I know my husband would love to have a set of these! Pinning!
Michelle Heath says
These turned out so cute! You’re so crafty!
Tiffany says
This is so cute! Love that you put the tutorial in there in a video!
Kim says
So lovely, Amber. I bet your friend so appreciated such a thoughtful gift! It was fun blogging along with you!
Helen Gullett says
Fabulous project! Thank you so much for the tutorial 🙂
Amy says
Love this!! I don’t understand Photoshop at all. Obviously I need to get learning! ?
Rachel says
My word these are adorable! Our dog is like family so I love that you can create fun silhouettes of your furry family members so easily!
Ashley ~ 3 Little Greenwoods says
Absolutely adorable! This project would make an awesome addition to my foyer gallery wall.
I would love for you to share this project at The DIY Collective this week! The party goes live on Thursdays at 6 am EST.
Have an awesome week!
~ Ashley
Amber | In The Loop Blog says
Thanks, Ashley! I will link up 🙂