Last updated May 9th, 2021 at 01:07 pm
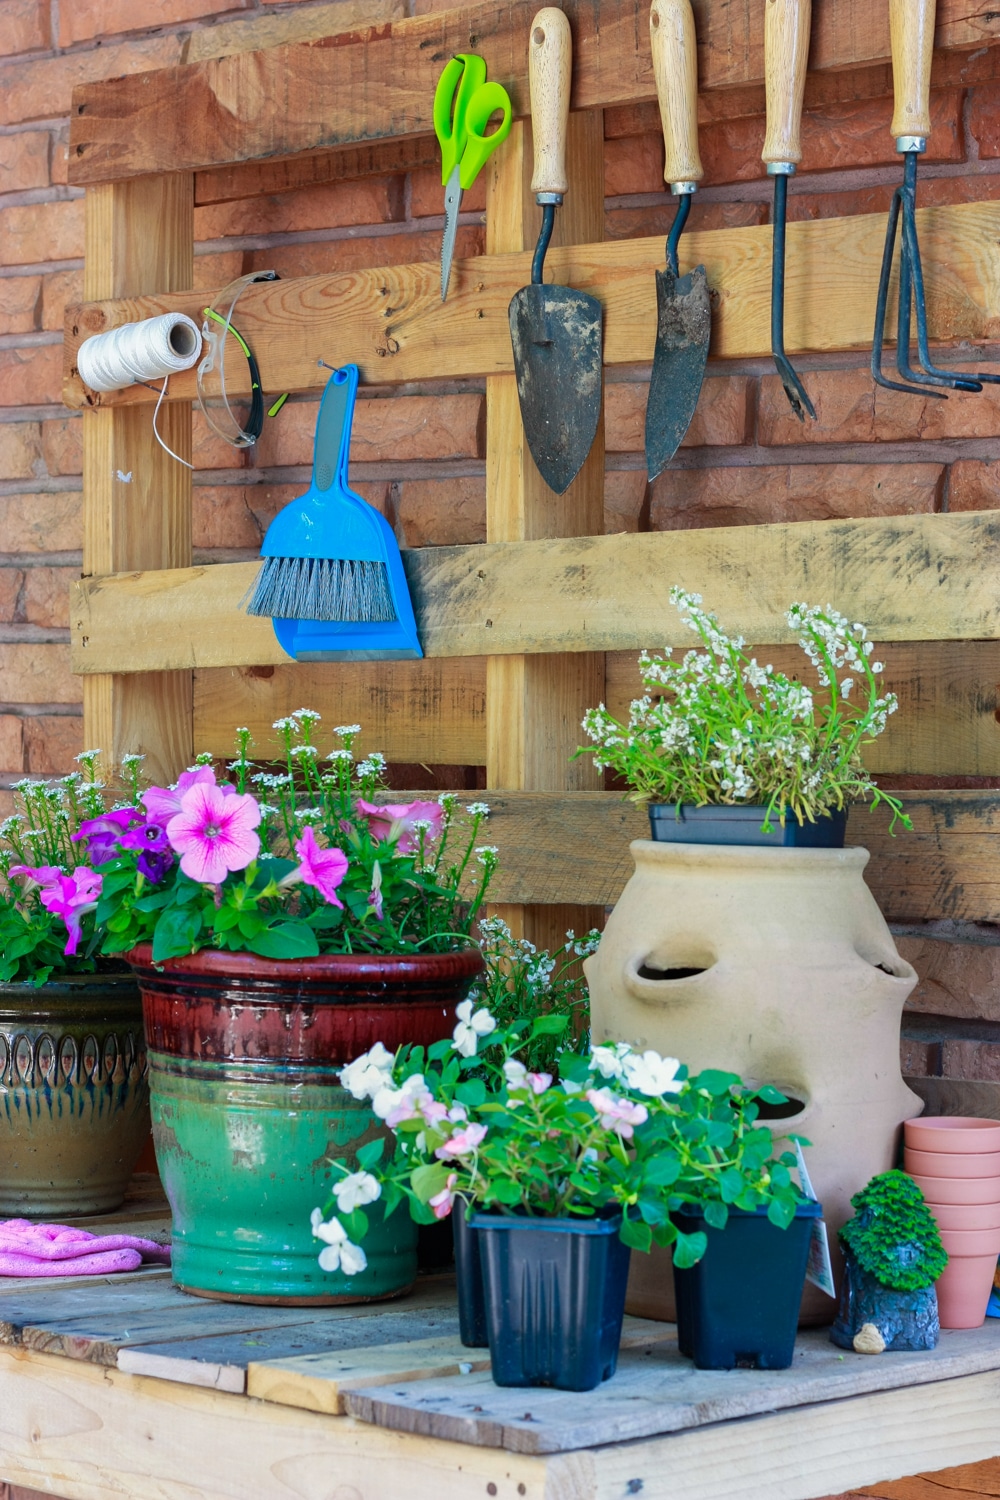
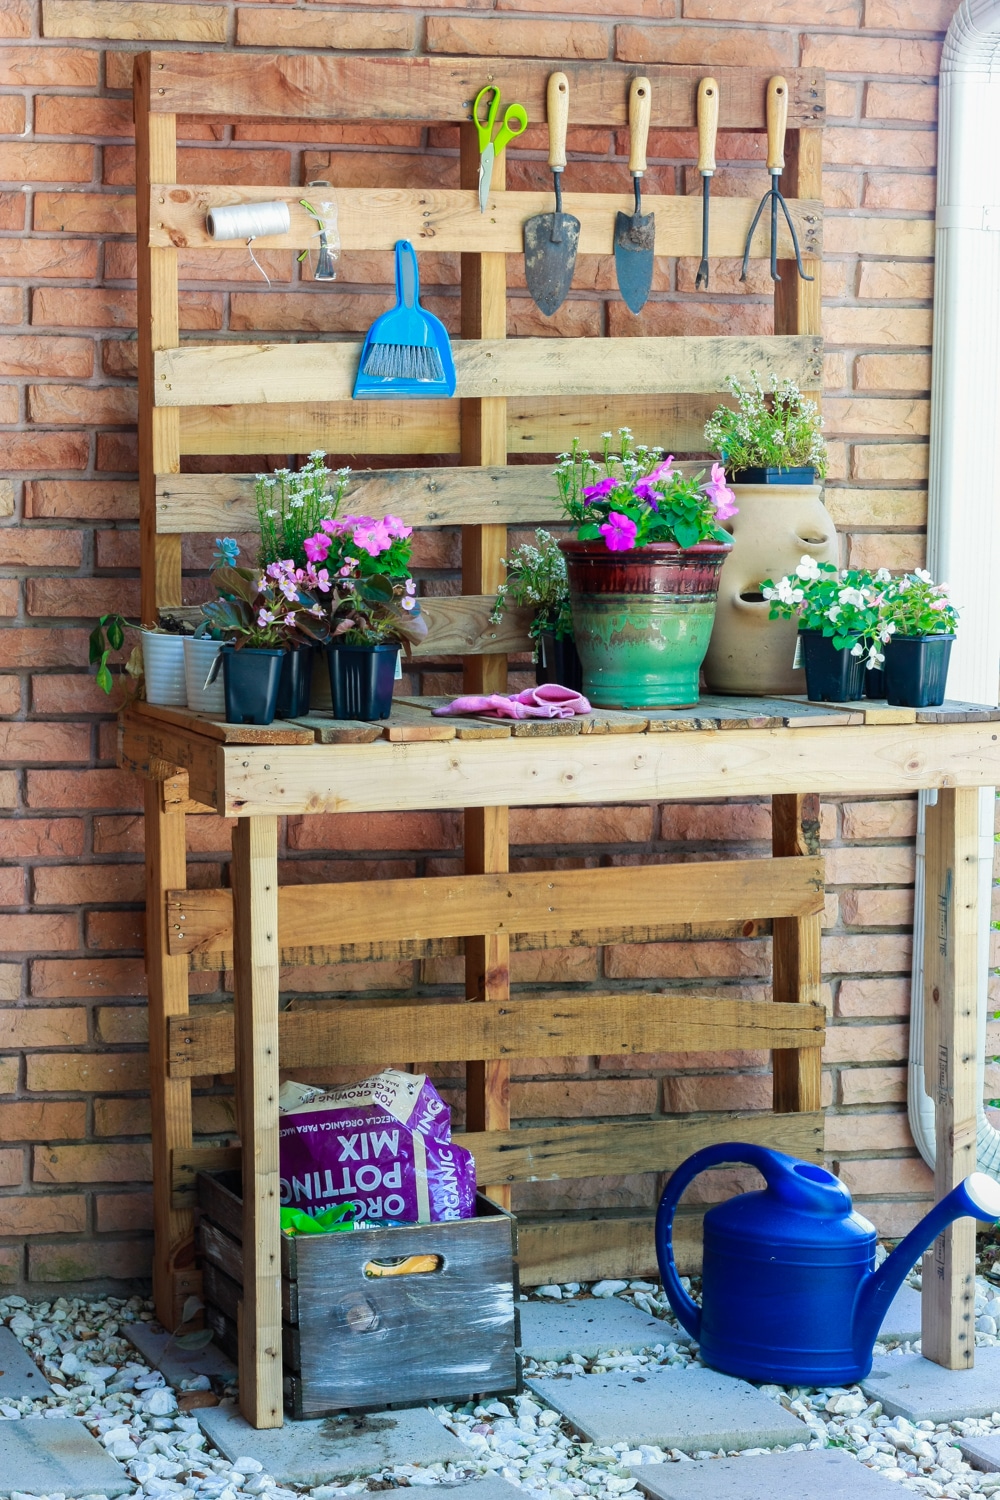
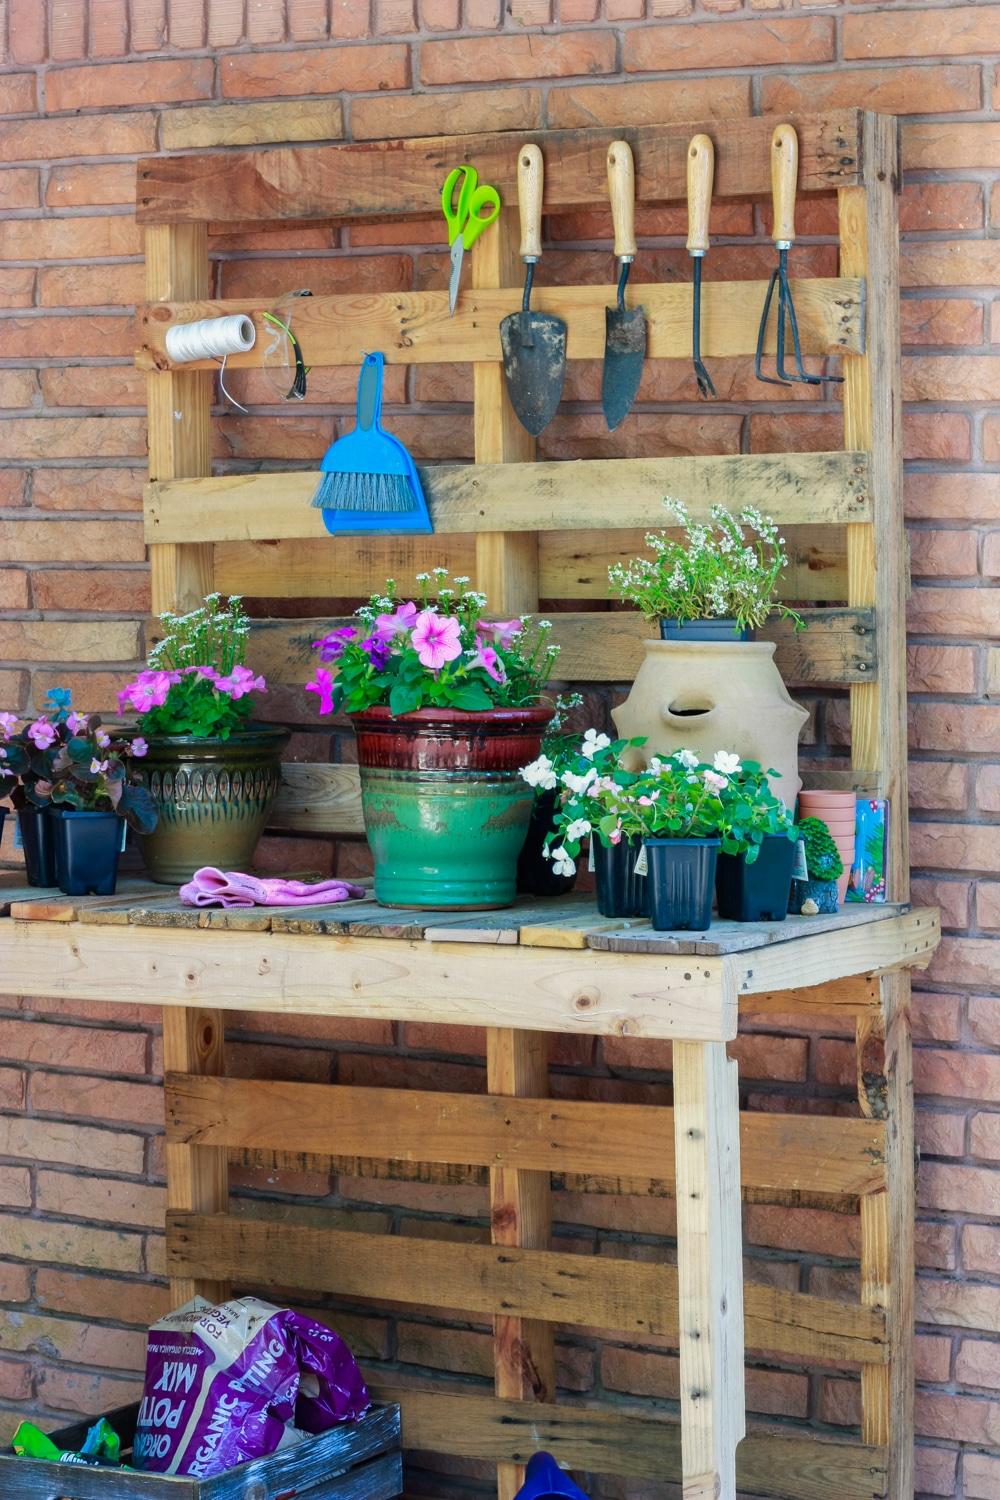
Make a DIY potting bench using upcycled pallets! I even reused the nails making this a completely FREE project!
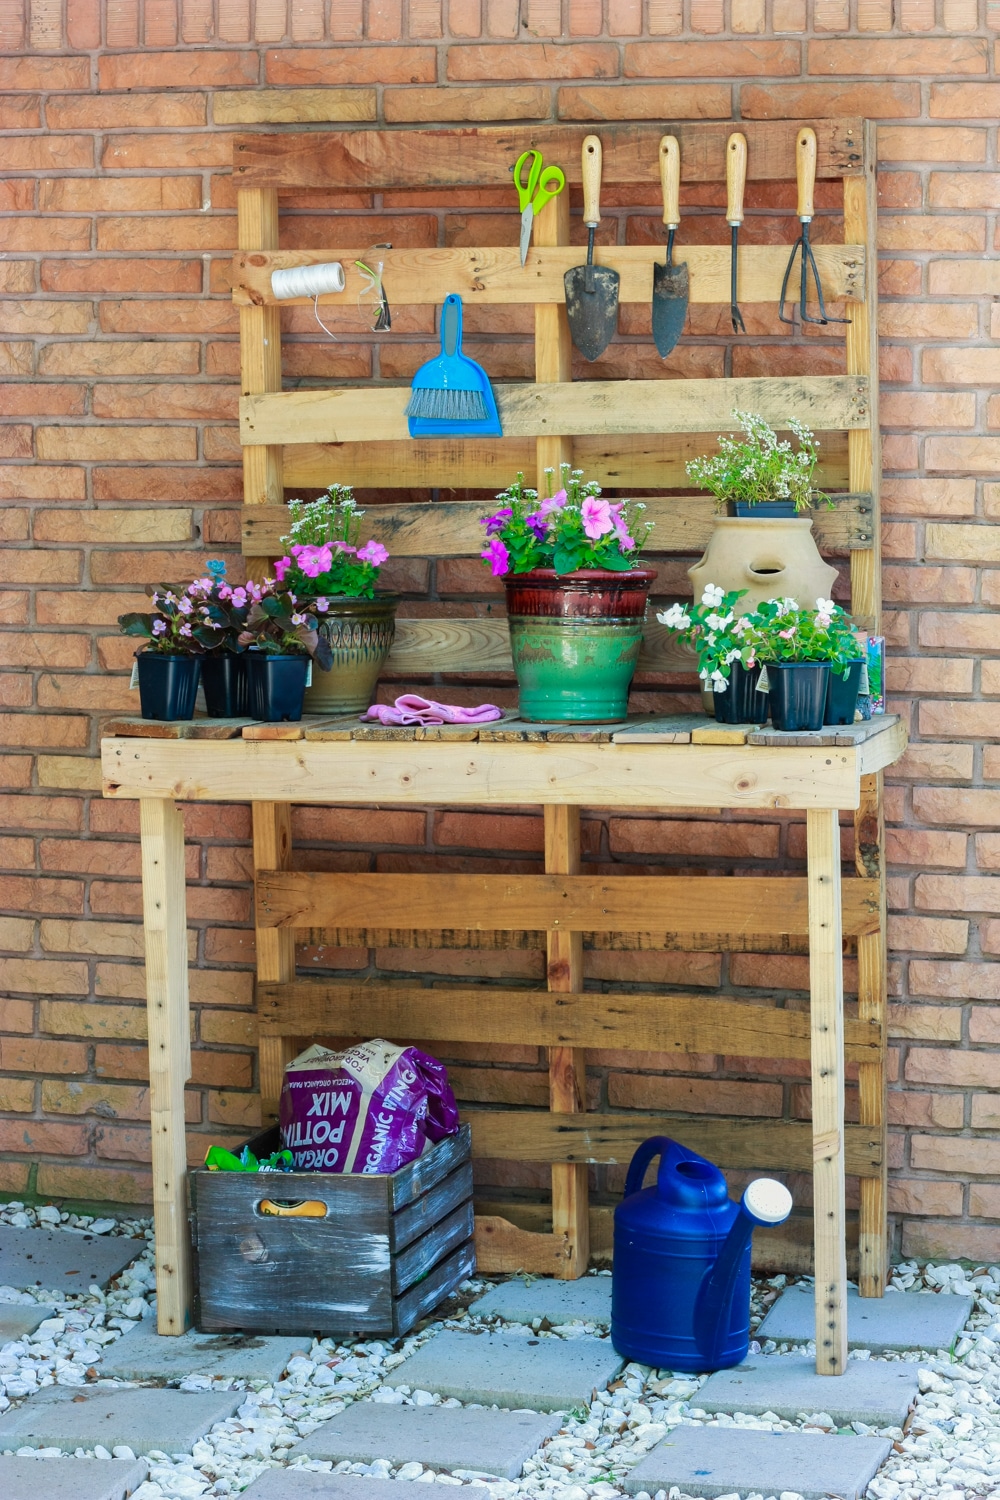
Sometimes I get my mind set on something and I don’t stop until it’s done. Other times, I get an idea and sit on it for months! This project was BOTH. I’ve wanted a potting bench for a while because I hated to get my DIY outdoor farmhouse table dirty every time I wanted to plant some new flowers. I searched online and looked around each time we were shopping and I never found anything I wanted. One Sunday morning, I dropped Eric off at the airport super early and decided not to go back to bed – instead I came up with a plan for a DIY potting bench and built it that day!
[one-half]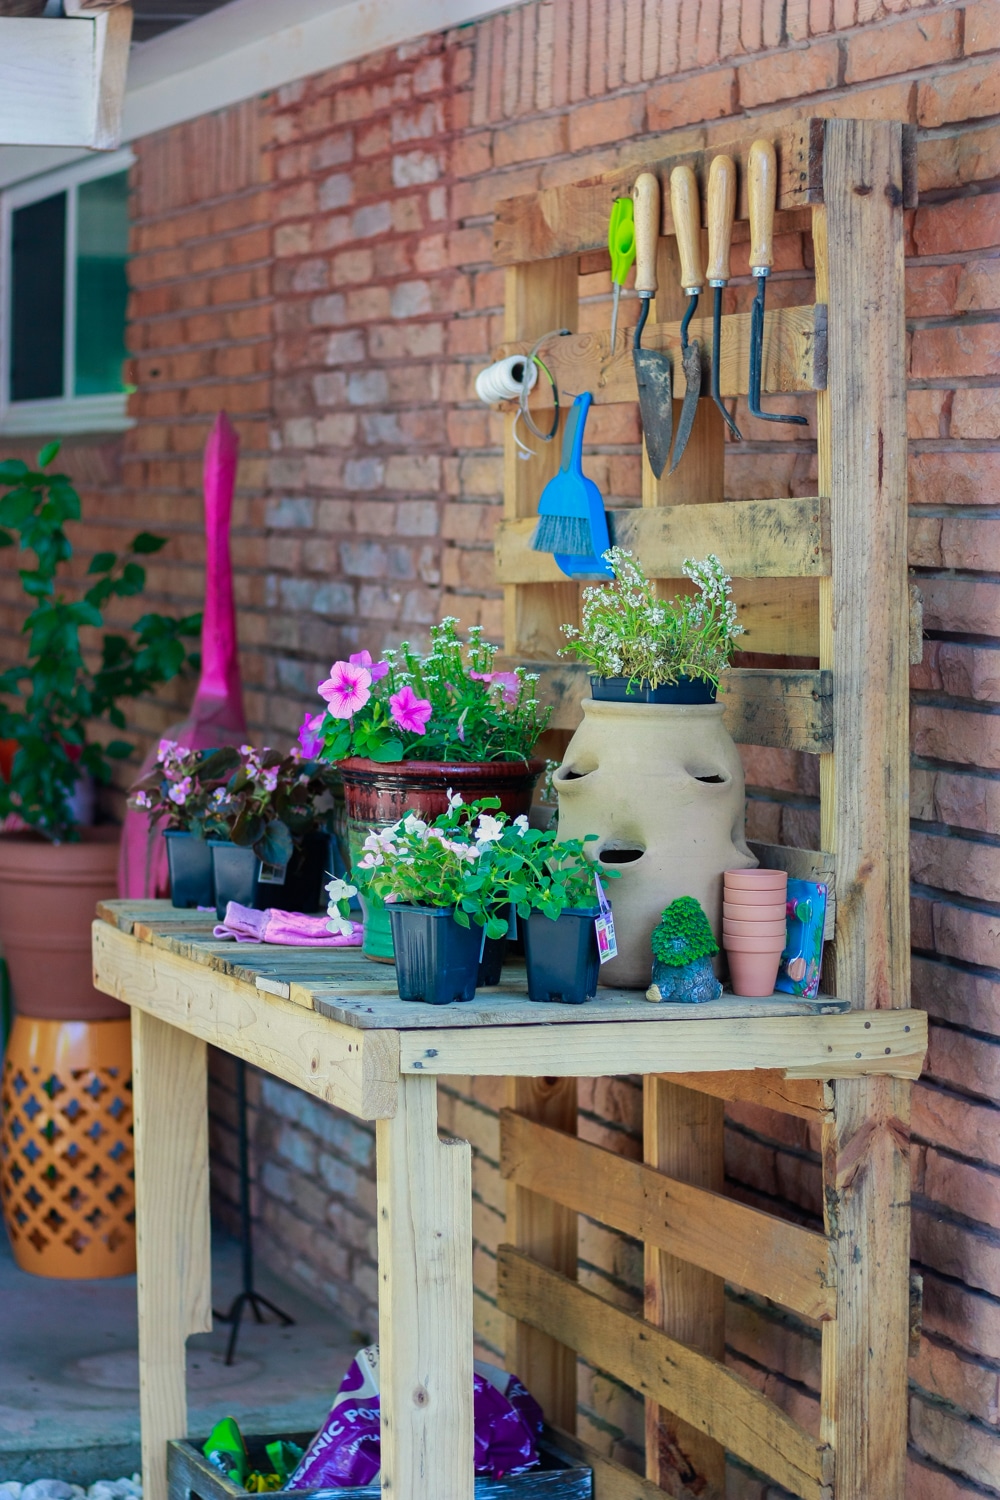
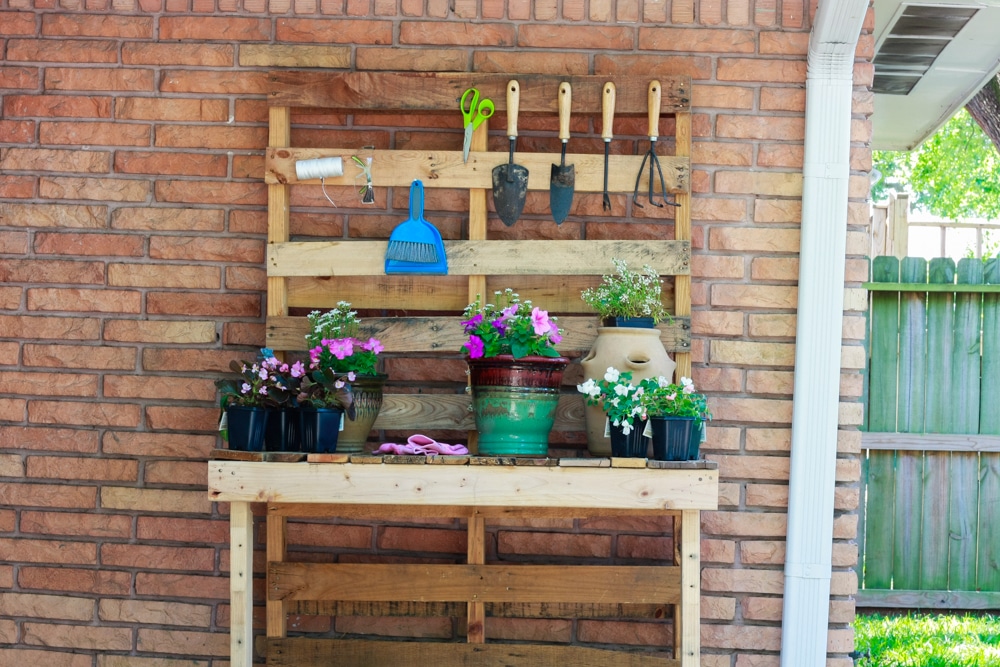
I still had a stack of pallets left over from our outdoor couch project and realized I could make a pallet potting bench pretty easily – or so I thought! Have you ever tried to disassemble a pallet?? IT’S A WORK OUT! It also wasn’t as easy as I thought because I didn’t have someone to help. That being said – I built this DIY potting bench in ONE afternoon BY MYSELF! If that doesn’t motivate you, I don’t know what will!
DIY Potting Bench
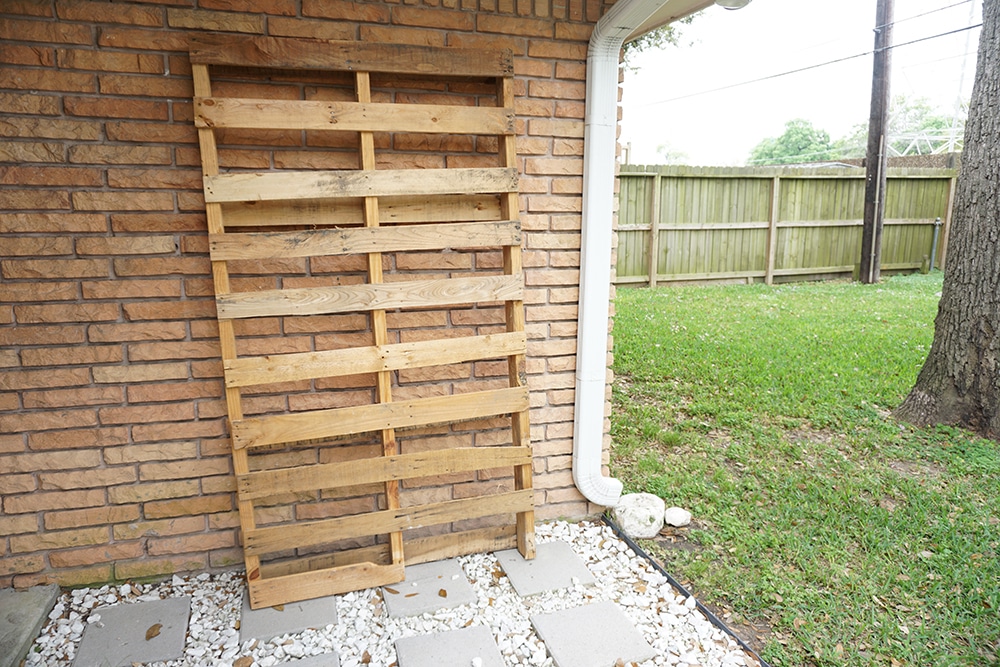
The number of pallets you need depends on the size and what shape they are in. If you’re able to pull off enough boards to make the work space, you won’t need more than 3 or 4 pallets. I had a hard time pulling the boards off and broke quite a few before I had enough. I also had a LONG pallet I was able to use as the back – I didn’t have to attach two pallets to make it taller.
Step 1: Pull off enough boards to make the “table top” work space. I first tried a crowbar (holy crap that’s hard!) and found the best way is to hammer the boards loose from the back side then pry them off. As long has half the board stays intact you’re good since you’ll cut them down.
Step 2: Pull all the nails out of the boards you removed. I actually used these nails to assemble our DIY potting bench!
Step 3: You’ll also need about 5 2x4s so you’ll need to fully disassemble at least 2 pallets.
Step 4: Figure out how deep you’d like your work space. I made mine about 20 inches deep. Cut the 2 sides at 20 inches then cut another 2 the width of your pallet back.
Step 5: Figure out how tall you’d like your potting bench, and cut two of the 2x4s the height you’d like.
Step 6: Attach one 2×4 to the back at the height you’d like your potting bench.
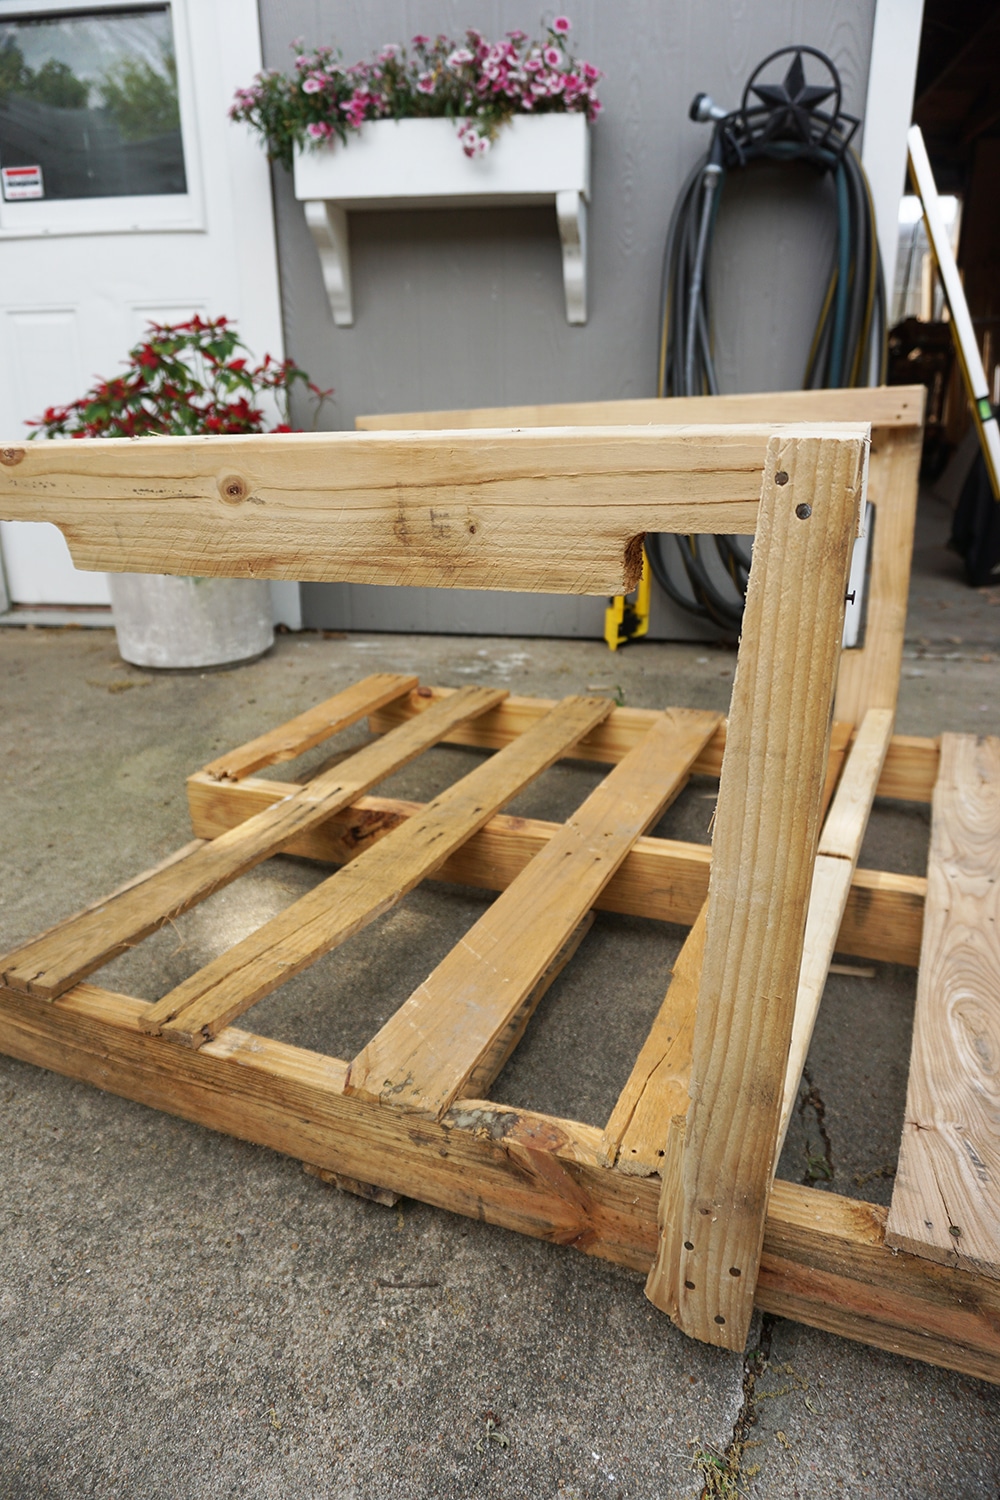
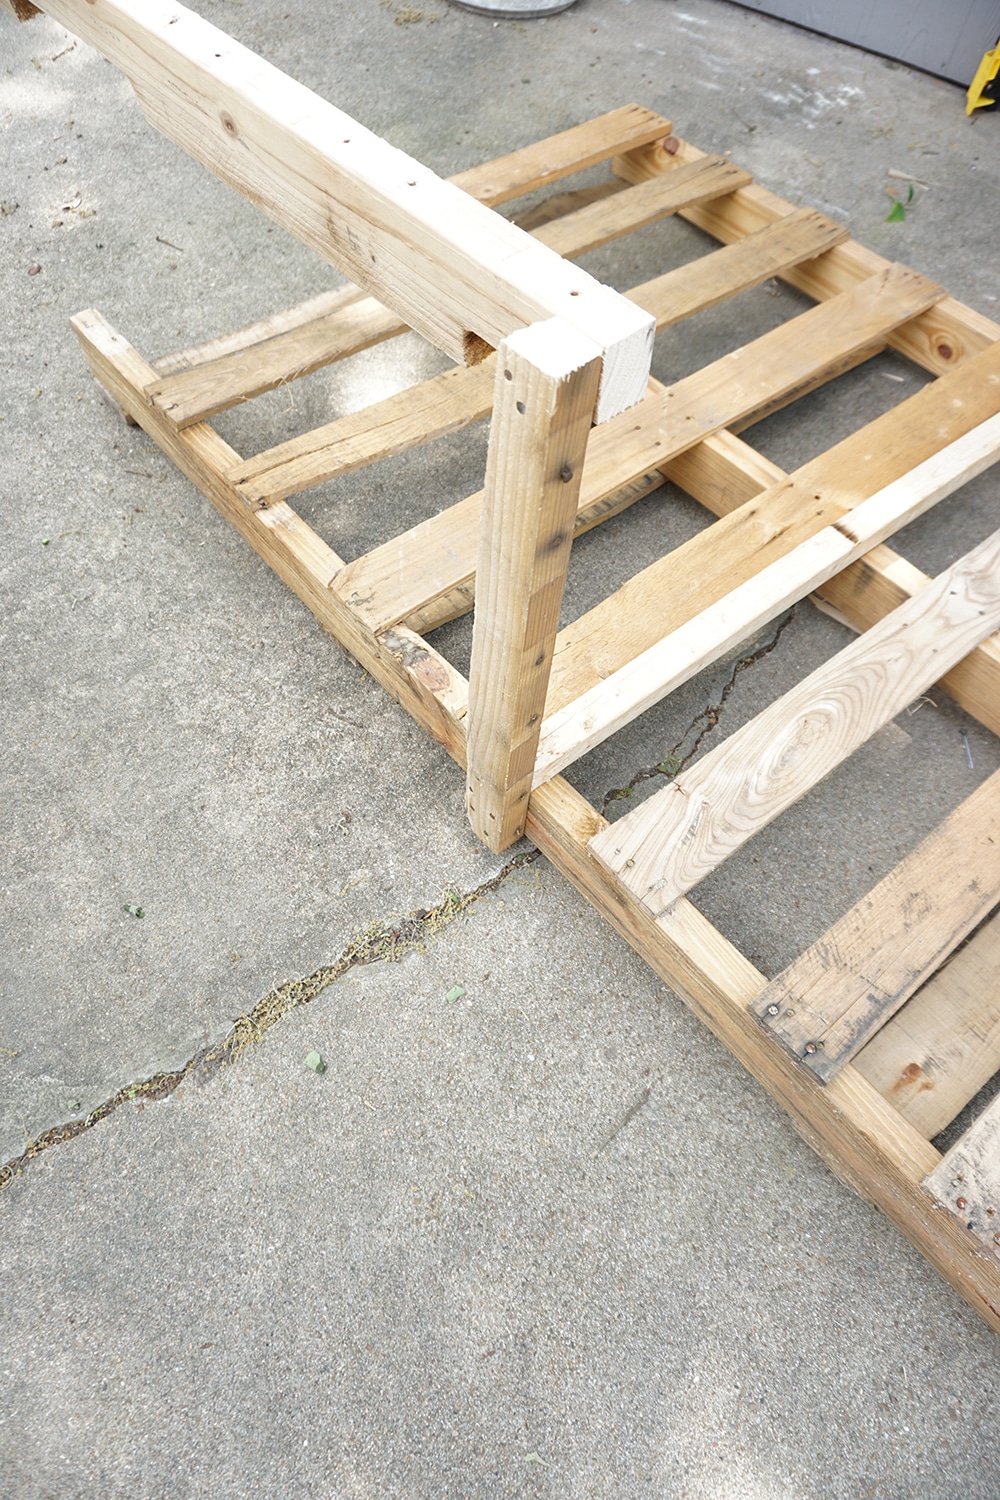
Step 7: Attach the legs to the 2 smaller side pieces then attach to the back piece:
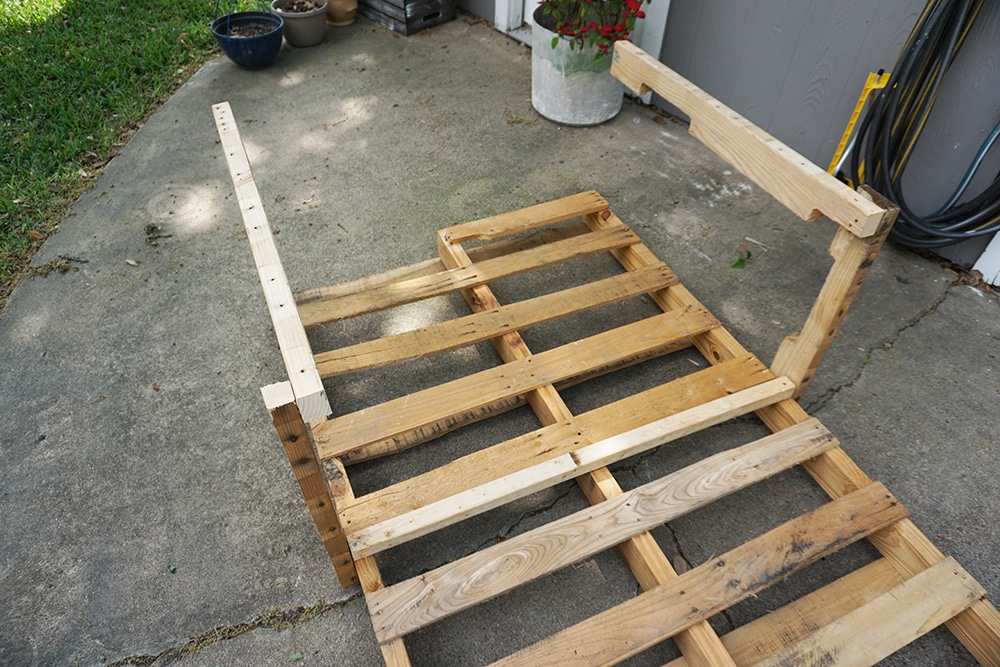
Step 8: Cut and attach your last 2×4 on the front of the DIY potting bench.
Step 9: Move the piece into place and add the boards to create the workspace. (I did skip the hammer and nails on this step and opted to use my Ryobi Airstike Nailer.)
Step 10: The last step is to lightly sand any areas that need it and add hooks to hang up all your gardening tools!
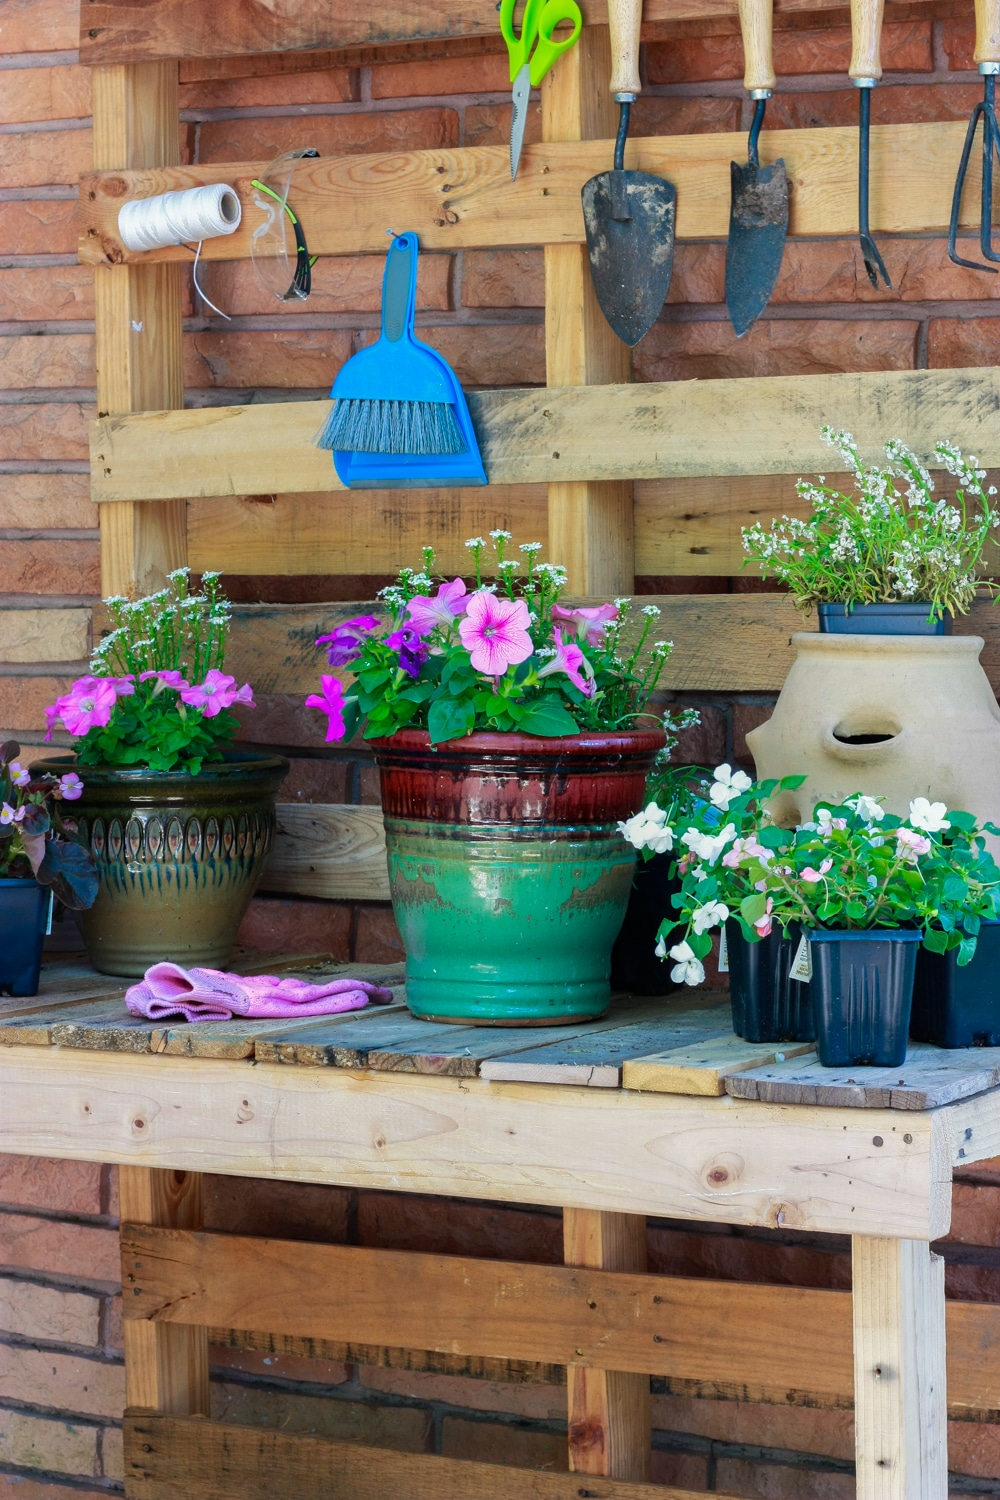
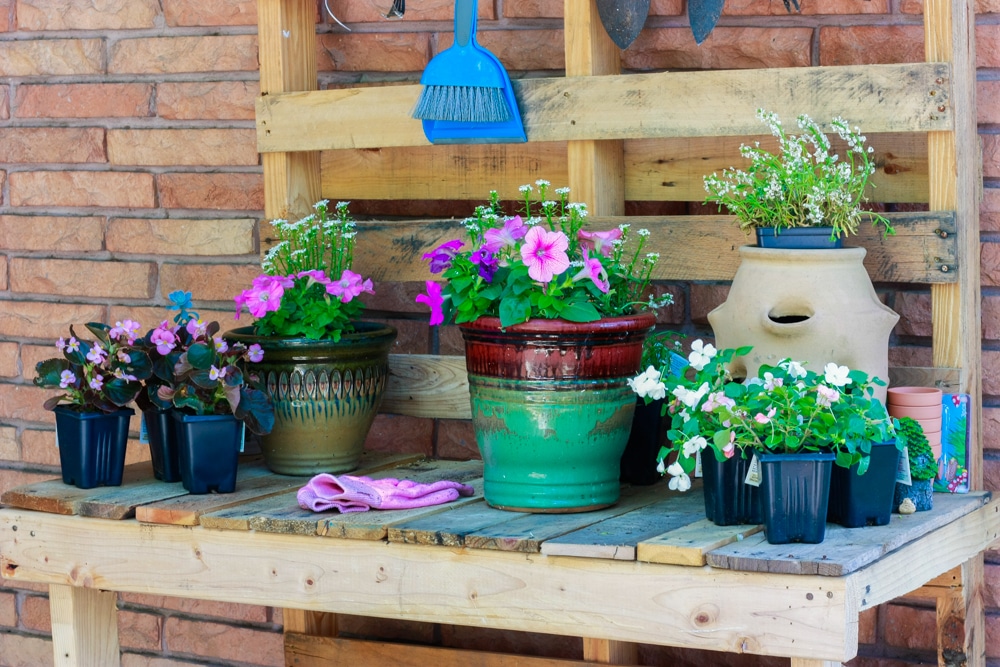
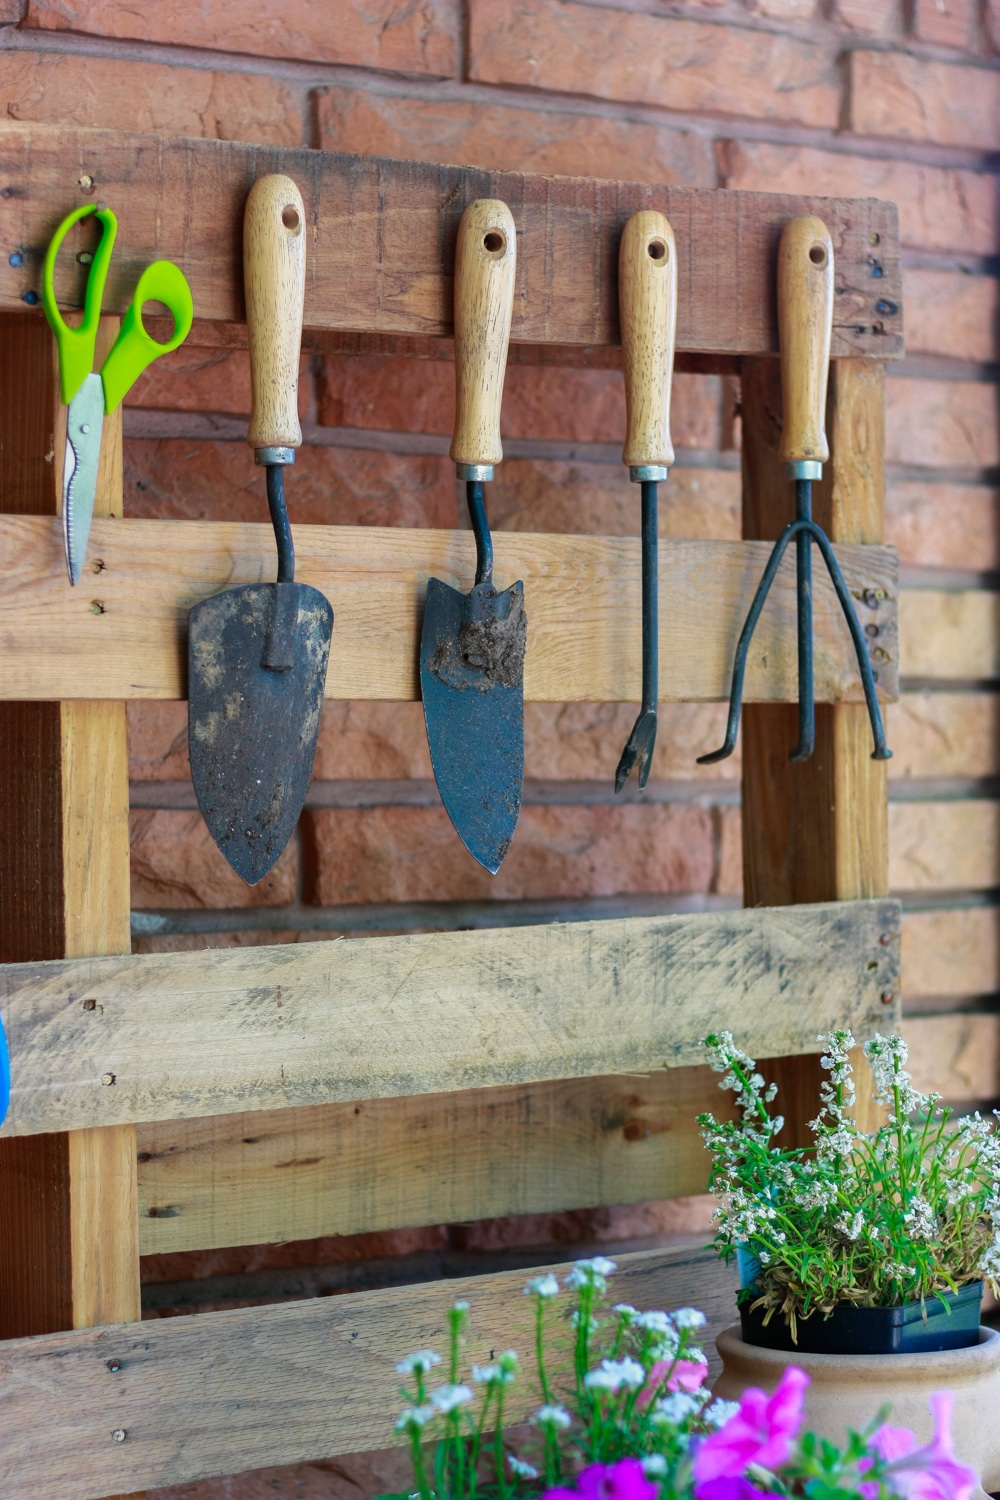
Hopefully the assembly is pretty straight forward – you can see how to put it together from the photos above but if you have any questions please feel free to comment! Enjoy your new DIY potting bench!
Shop this post:
Don’t forget to PIN for later!
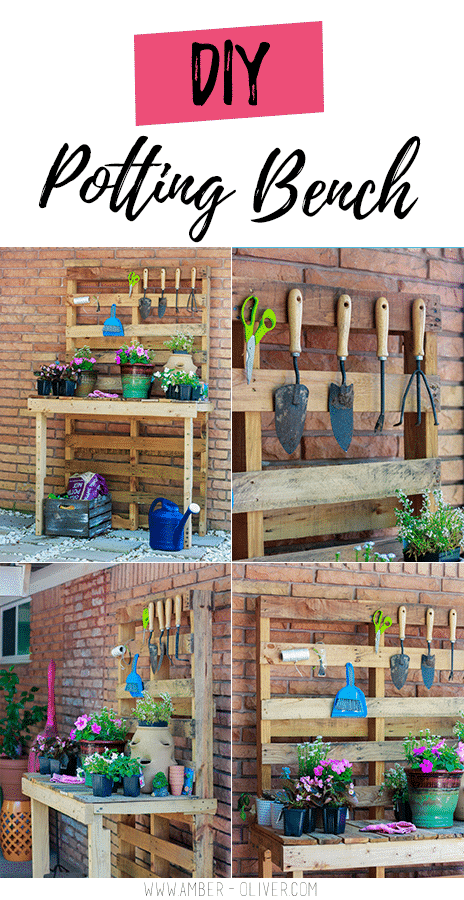
DIY Potting Bench
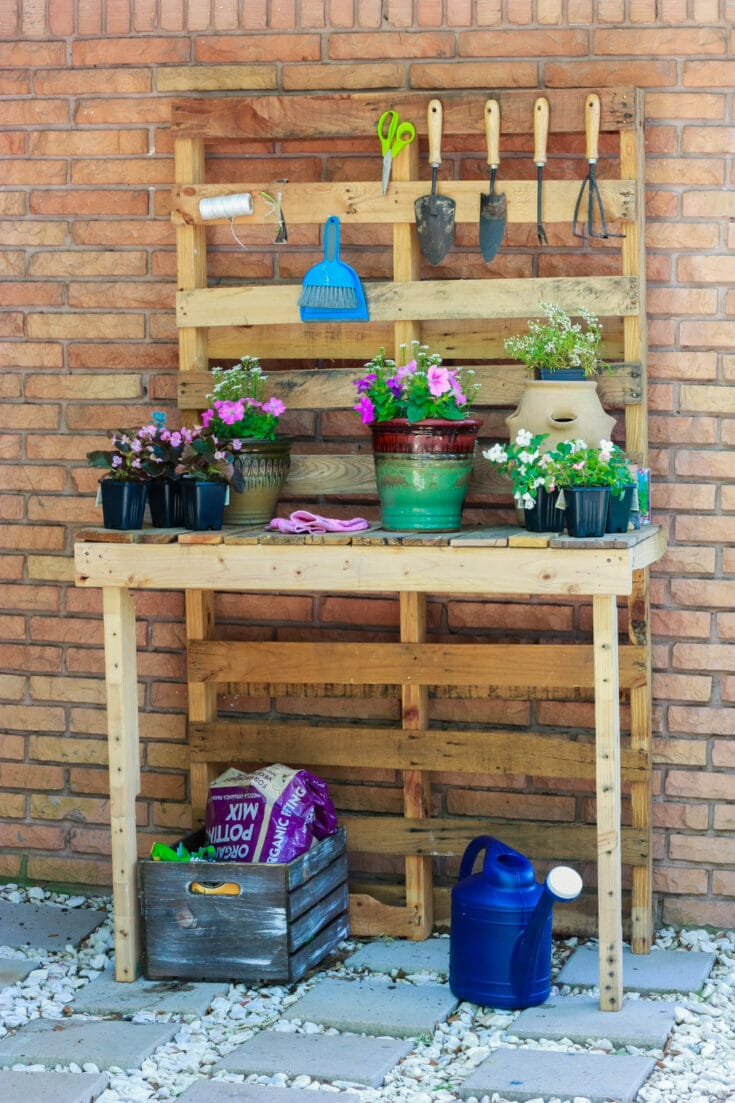
See how I built this DIY potting bench in ONE afternoon BY MYSELF! It's so helpful for spring and summer planting, and is inexpensive to build.
Materials
- Pallets
- Hooks
- Nails
Tools
- Hammer
- Nail Gun
- Sand Paper
Instructions
- Pull off enough pallet boards to make the “table top” work space.
- Pull all the nails out of the boards you removed.
- You’ll also need about 5 2x4s so you’ll need to fully disassemble at least 2 pallets.
- Cut the 2 sides at 20 inches then cut another 2 the width of your pallet back.
- Cut two of the 2x4s the height you’d like.
- Attach one 2×4 to the back at the height you’d like your potting bench.
- Attach the legs to the 2 smaller side pieces then attach to the back piece.
- Cut and attach your last 2×4 on the front of the DIY potting bench.
- Move the piece into place and add the boards to create the workspace.
- Lightly sand any areas that need it.
- Add hooks to hang up all your gardening tools!

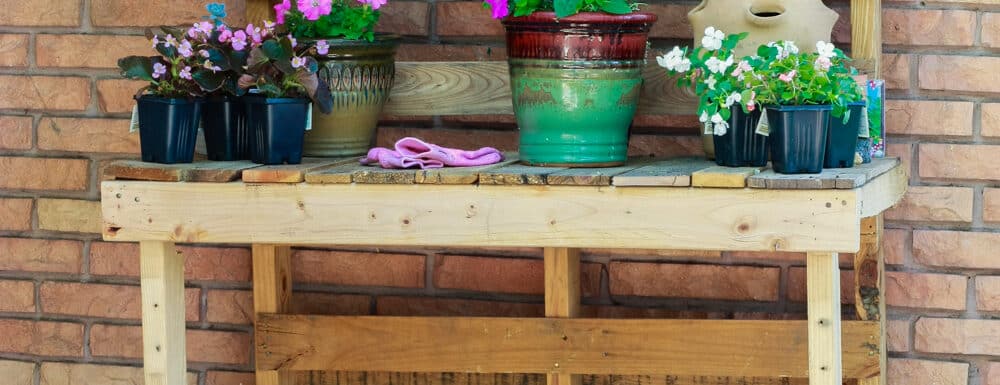

Barbara Chapman ~ French Ethereal says
Hello Amber! I love your new potting bench!!! Isn’t it amazing all the things that pallets can be turned into?? I love it! Recently when I was down visiting my daughter in Austin, TX, I saw someone’s entire fence that surrounded their home made out of nothing but good pallet boards. It was awesome!
Love your bench and I pinned it to my Ethereal Gardens and Decor board for you and our readers,
Thanks,
Barb <3
Alexa says
Hi Amber! I’m also in Houston and would love to make this. Where do you get your free pallets from?
Amber Oliver says
Hi Alexa! I found them via Facebook! Check out neighborhood groups and marketplace – I got ours free!!
Susan says
I appreciate that you show the finished product at the start. Helps following the directions easier and yes– I did read to the end!
Amber Oliver says
Thanks for stopping by!!
Mary says
Your simple design made it possible for me to attempt this project alone. Great step-by step!!! The tall pallet was key. Finished product looked very similar to yours. Then painted mine teal/green for s pop of color. Live, love it!!!
Griz says
Beautiful design
Beautiful concept. I am in need of a garden workspace but not willing to spend $$$ for one
How many pallets were needed?
Griz says
Beautiful design.
Beautiful concept.
I am in need of a garden workspace but not willing to spend $$$ for one.
How many pallets were used?