Last updated November 30th, 2020 at 04:29 pm
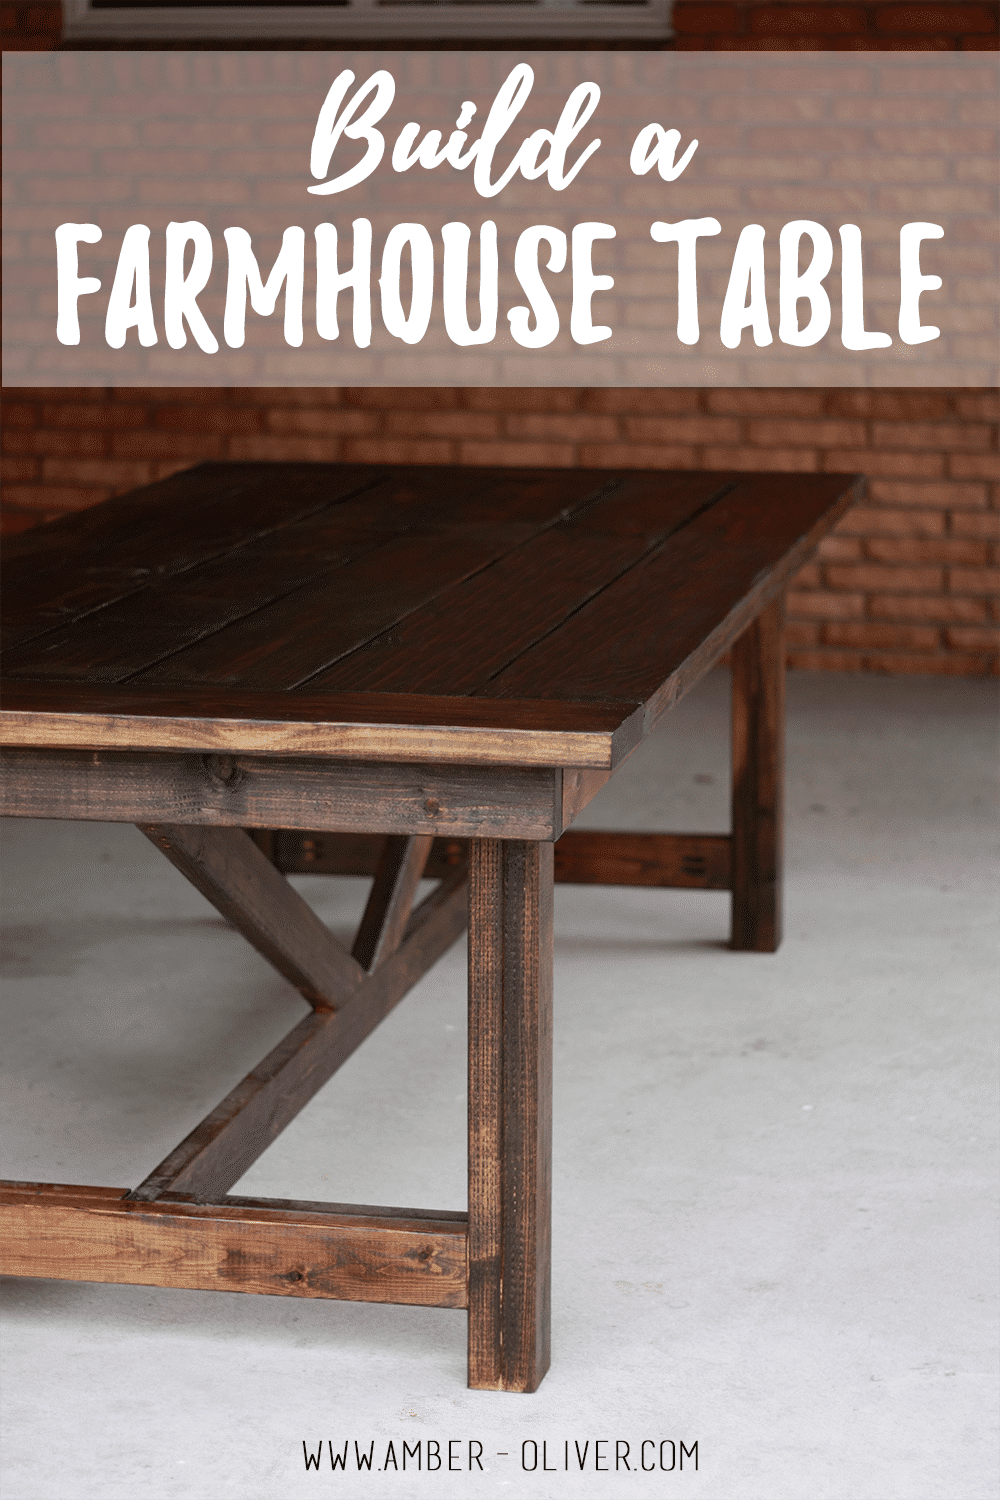
Make a DIY farmhouse table to bring some farmhouse charm to your home or patio (can also be a beautiful outdoor farmhouse table!)
Spring is here, and summer is just around the corner! We’ve been working hard to get our backyard and patio ready for the season of grilling and dining al fresco.
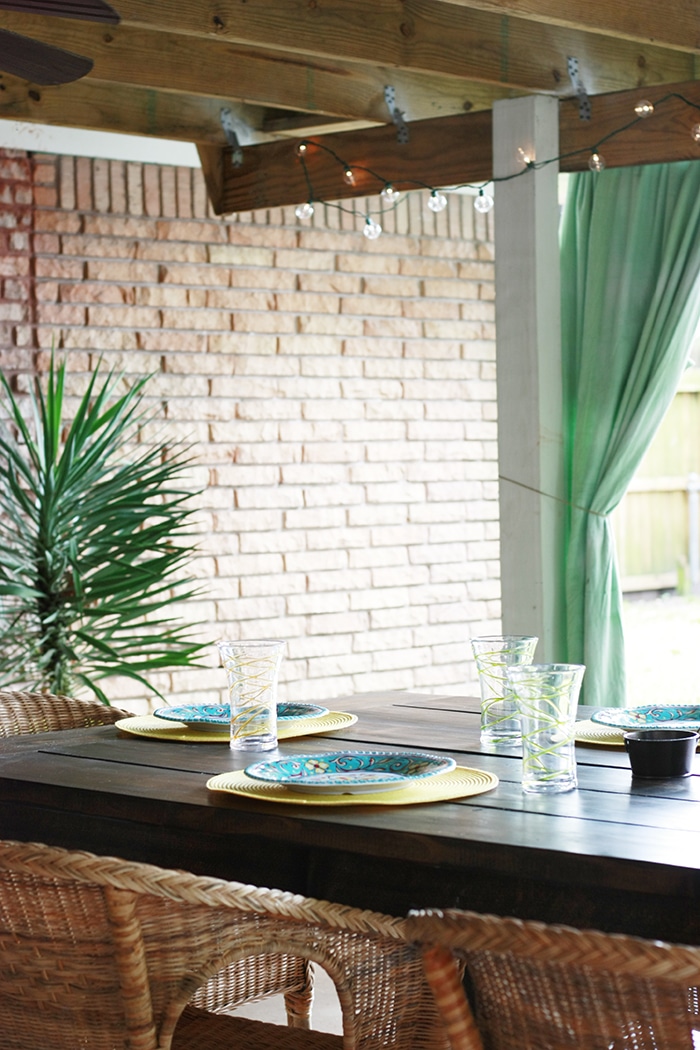
We revived a dying plant and created a DIY Pineapple Pot for it. We also added DIY patio curtains. One of our favorite things to do is host friends in our home. We have a weekly bible study that meets at our house (we all take turns bringing dinner) and we needed a table to accommodate a large group.
We really wanted a big farmhouse table for our covered patio so I searched and searched for plans. I found several that I liked, but ultimately I liked certain parts of different tables. So we decided to draw up plans for our own DIY Farmhouse Table!
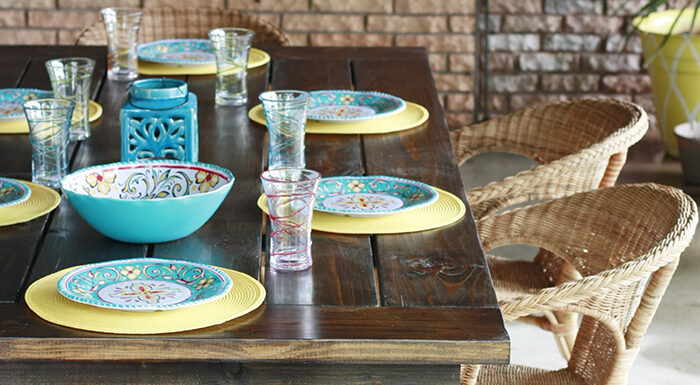
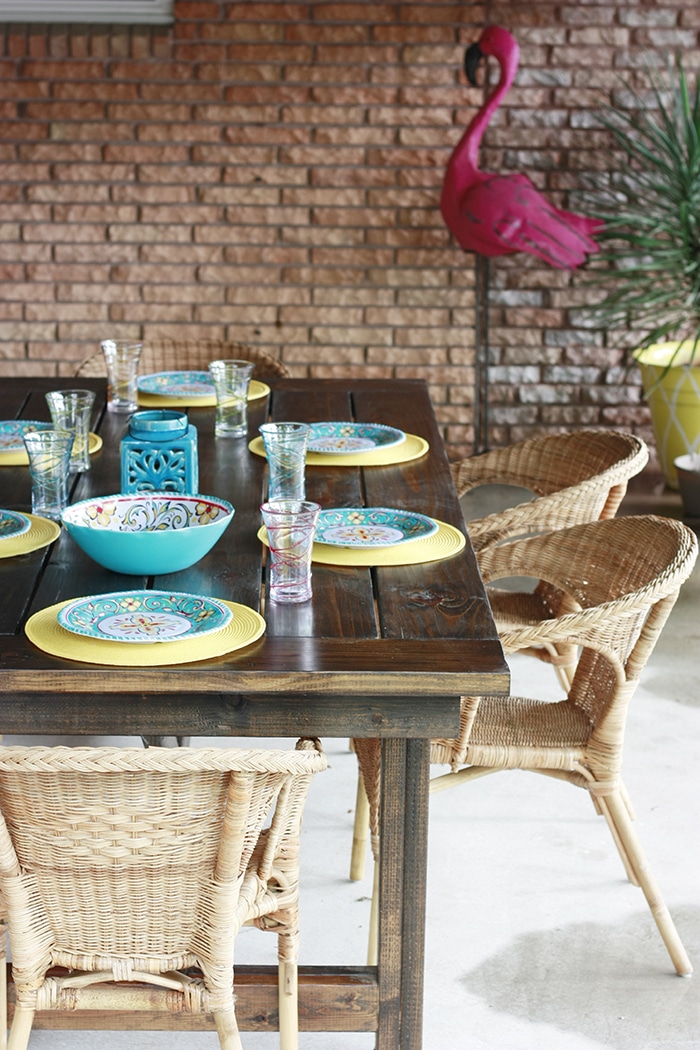
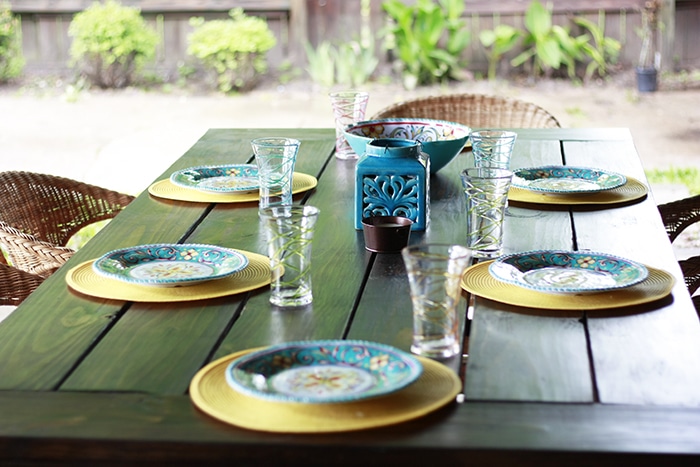
We were able to get this outdoor farmhouse table built in a weekend and ready for stain (thanks in large part to our buddy Jeff!). We love this table and have used it many times when we had friends over. It’s perfect for hosting parties on the back patio! We can fit up to about 10 people around it.
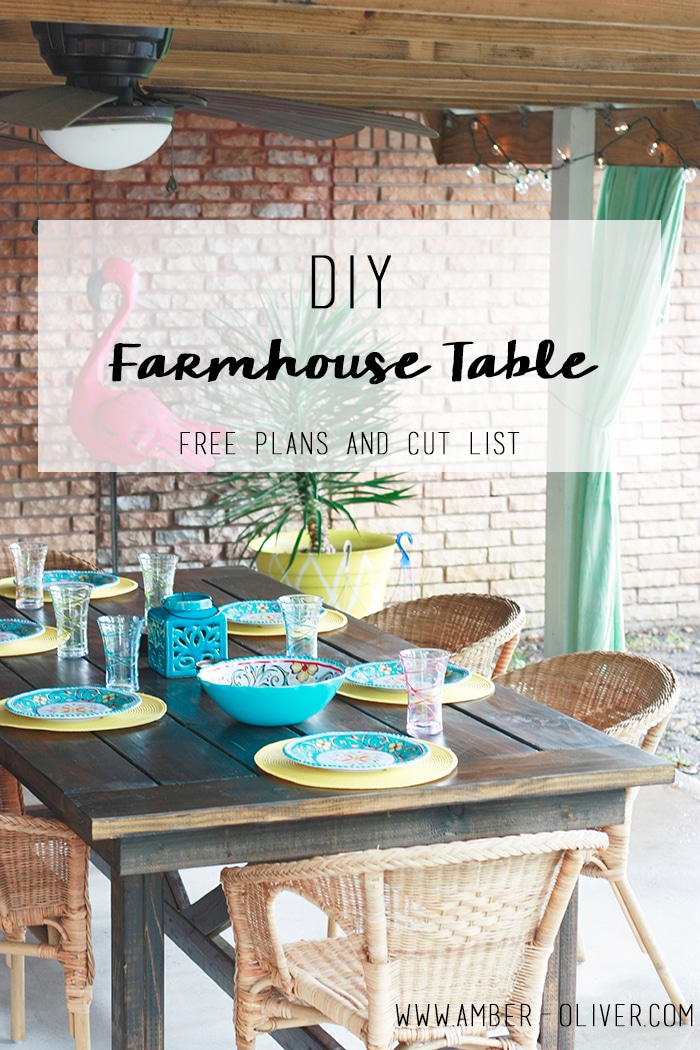
How to Build a DIY Farmhouse Table
Spring is here, and summer is just around the corner! Get your patio ready with a DIY Farmhouse table! I've included plans and a cut list to build your own.
Materials
Tools
Instructions
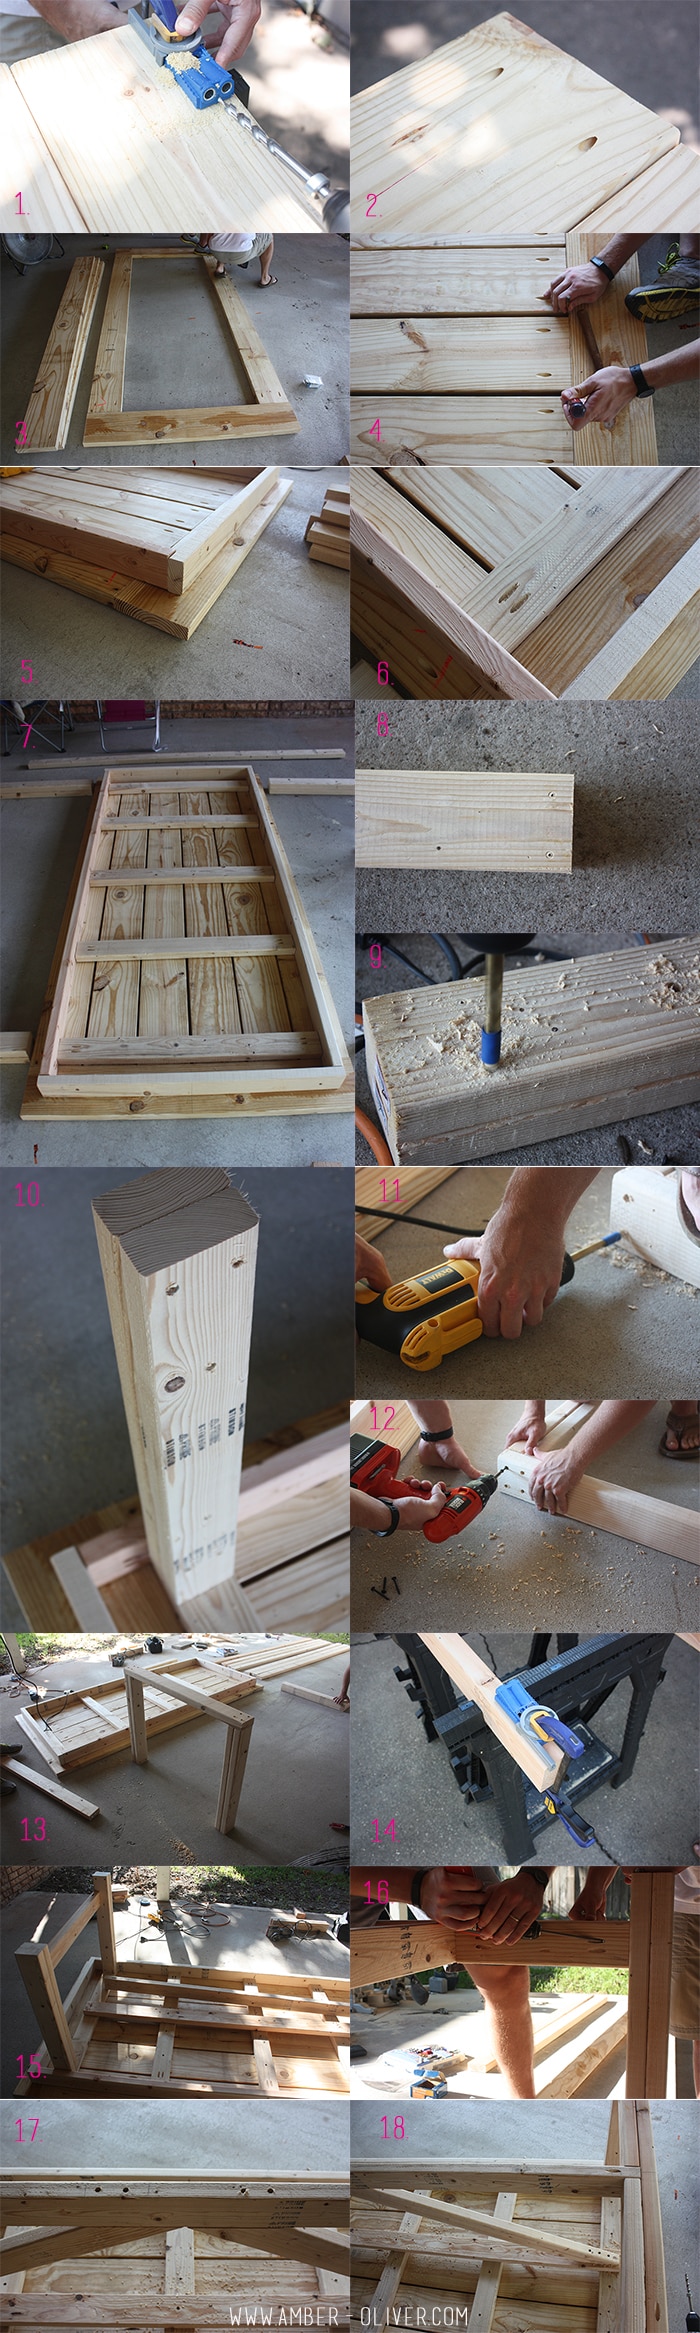
- Put together top surface. Using the Kreg Jig to drill pilot holes for screws (picture 1) attach the Top Planks to Breadboards. Make sure they are spaced evenly. (Pictures 1, 2, 3, 4)
- After the flat, top surface is put together, build the frame that it sits on. These are called the Side and End Aprons in the cut sheet and diagram. (Picture 5, 6)
- Cut 5 boards (Top Bars) to go across the Top Planks (on the underside of the table top) for reinforcement. Add the 3 in the middle and set the 2 for the ends aside for now as they will be attached to the Legs. (Pictures 7, 8)
- Cut 2x4s to length for the Legs (there will be 2 together to make a 4×4 leg). To put them together, first drill pilot holes with an 1/8 inch drill bit. Then in order to hide the screw, use a drill bit that’s larger than the head of your screw. We marked with tape so we knew how far to drill in to create the hole to countersink the screws. Then drill the screws in to put the 2 2×4’s together to create the Legs. (Pictures 9, 10)
- Using the same method on the 2 Top Bars you set aside earlier create holes then countersink your screws and connect the Legs to their base. (Pictures 11, 12, 13)
- Next, use the Kreg Jig to create pocket holes so you can add the board between the 2 legs on either side of the table. We call these pieces the Outer Base Crossbars. (Picture 14)
- Measure and cut the board that will go along the middle of the underside of the table. This is known as the Top Spreader. (Picture 15)
- Measure and cut the Spreader and Inner Base Crossbars. You will want to connect the Inner Base Crossbars before attaching the Spreader but make sure they all fit before attaching. (Pictures 16, 18)
- Last cuts are the boards the go diagonal on the underside of the table for support (and decoration!). Use a miter saw for these angled cuts and drill pocket holes with the Kreg Jig. We did not cut these the way we had originally planned, and ended up with one “V” instead of two “Xs” as noted in the cut sheet and diagram. (Pictures 17, 18)
- The last steps are to sand the entire table, stain, and apply polyurethane to your new DIY Farmhouse Table!
After the table was built it was time to accessorize! We headed to Big Lots to pick up some table decor and accessories to get ready for an outdoor dinner.
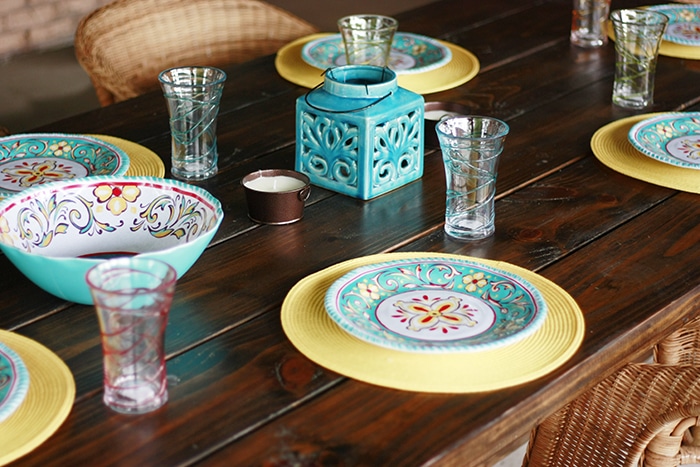
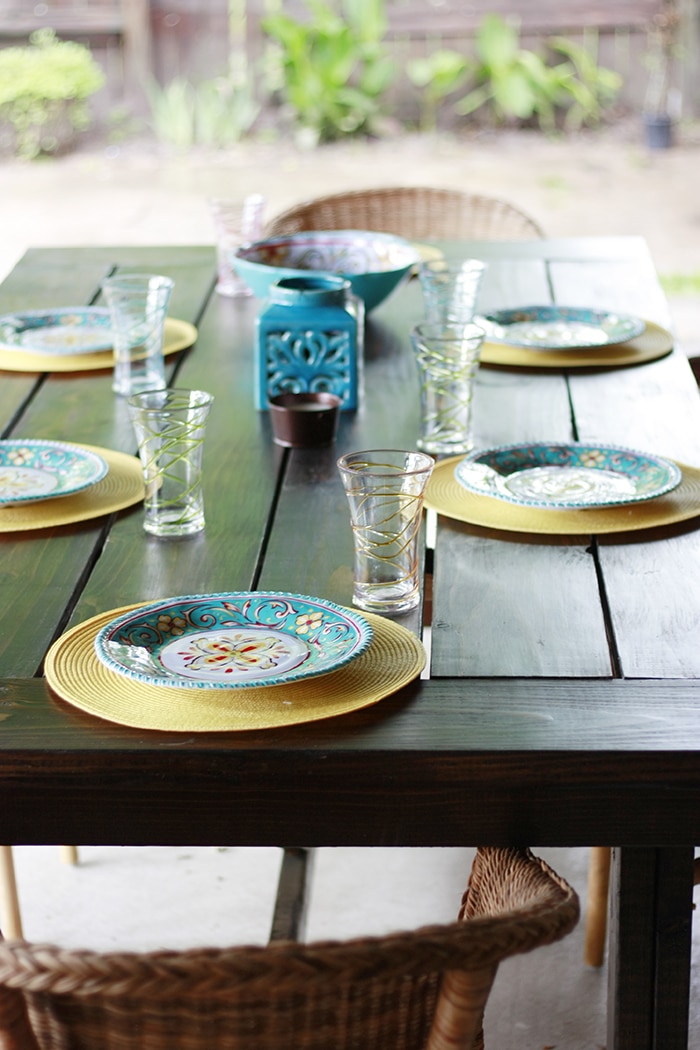
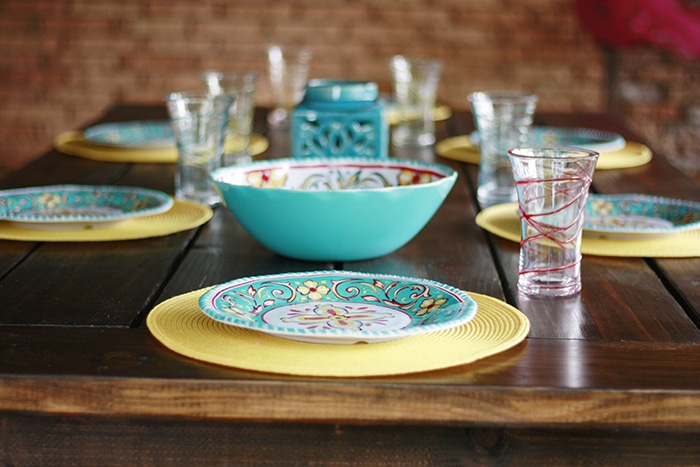
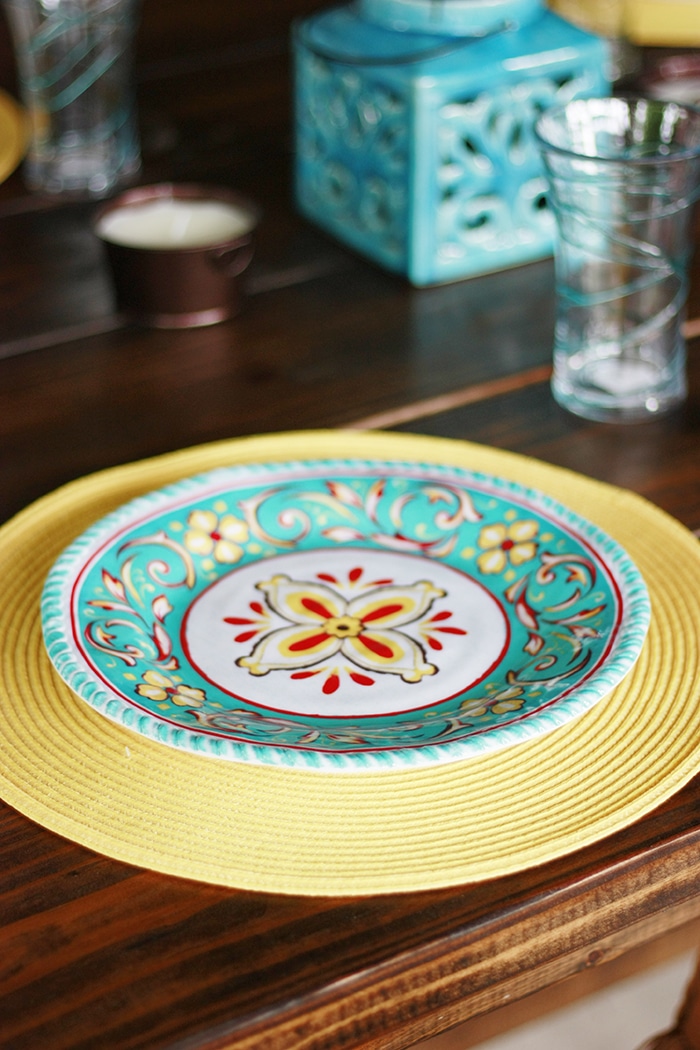
We found tons of high-quality lawn and garden decor products that were perfect for our space. I chose some bright turquoise and yellow accessories that are great for summer!
The pattered medallion melamine dinner plates went amazingly with bright yellow place mats. The plastic glasses we picked up came in a variety of colors so it will make it easy to tell cups apart when we have guests. I loved that everything was value priced, on trend, and easy to mix and match. We also picked up some serving bowls and platters that will be great when we grill!
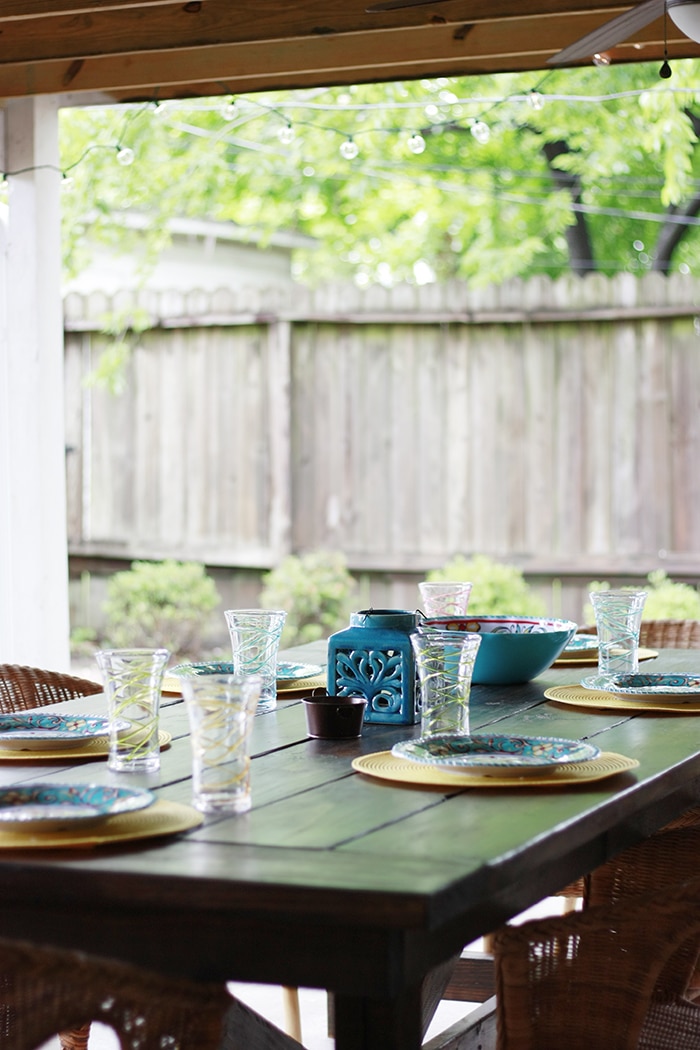
One of the things I was most excited about finding were the outdoor lights! Big Lots had a large selection of outdoor lights, and we chose some cool globe lights to string around our patio.
I love the mood these lights create and feel like they really completed the look! We also picked up a lantern and some candles. They had several citronella candles so we’ll be able to ward off bugs and keep the party going!
Is your backyard ready for summer? What outdoor projects do you have on your “to do” list? If you decide to use our the DIY farmhouse table let me know in the comments below!
Shop this project:

Don’t forget to PIN for later!
Claudia Jane says
that is incredible! such a beautiful table. very cool post!
xo, Claudia
http://www.lifesrichpaegant.com
Chuck Wiegand says
What kind of wood is best for this project?
Amber Oliver says
We used pine 🙂
Lindsey says
Love this! What is the rough estimate of cost to make this table?
Amber Oliver says
Thanks, Lindsey! It was around $120 🙂
John says
Looks great!! It looks slightly two-toned – how were you able to do that?
Amber Oliver says
It’s just the lighting 😉
Erwin says
Where did you get the chairs?
Amber Oliver says
Hi, they are from IKEA! Here’s a link: https://fave.co/2V4NYr3
Shane Waites says
Is there a cut sheet with measurements?
Amber Oliver says
Hi! it’s emailed to you when you join the mailing list!
Brendan says
Hey there, I signed up for the newsletter, never got the cut list. 🙁
Amber Oliver says
Oh no! Sorry about that. I just resent.