Last updated March 11th, 2022 at 06:09 pm
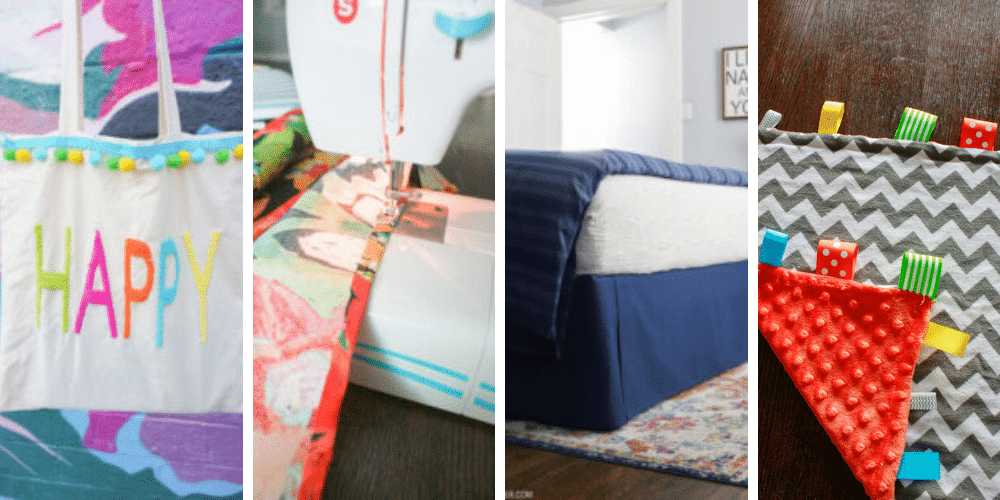
Need a baby shower gift idea? Make your own DIY taggie blanket! Babies love this soft blanket, with it’s bright colors and different texture ribbons.
I’ve had babies on the brain lately.
Don’t get too excited; I’m not having a baby (yet) but I have been to several baby showers and got to meet my brand new nephew last month. So I’ve done several sweet little baby DIYs recently.
I used up scrap wood and made a custom wood sign for my nephew. I also did a DIY taggie blanket for our friends from church. I made this exact blanket over two years ago for some friends and their little girl loved it. This is a simple sewing project that makes for a great DIY baby shower gift!
DIY Tag Blanket
Need a baby shower gift idea? Make your own DIY tag blanket! Babies love this soft blanket, with it's bright colors and different texture ribbons.
Materials
Instructions
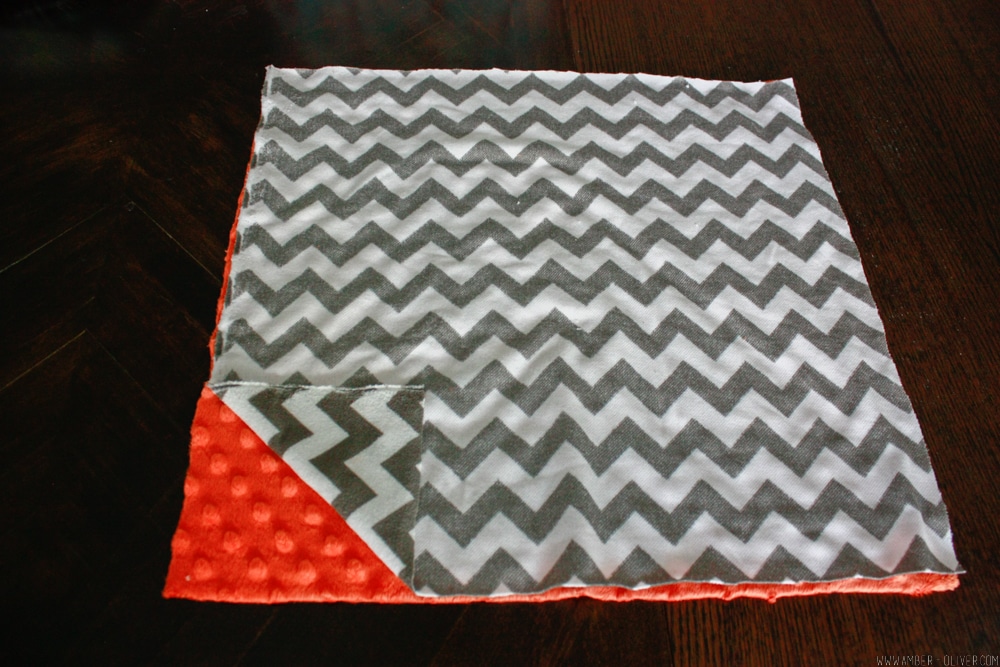
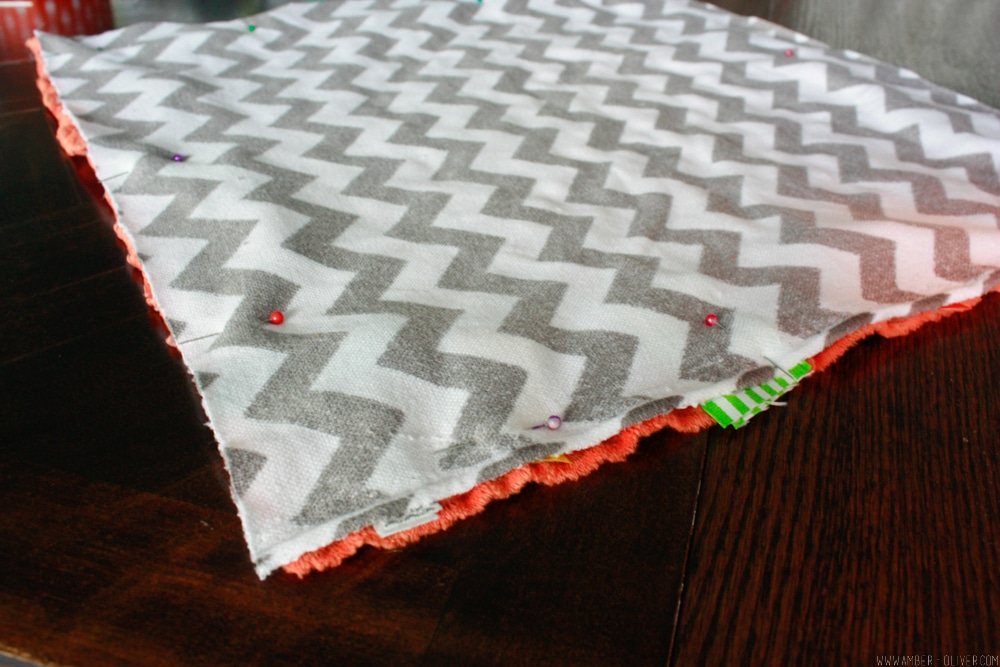
- Cut two squares from coordinating fabrics. You can do any size you like, but I usually make them about 15 inches.

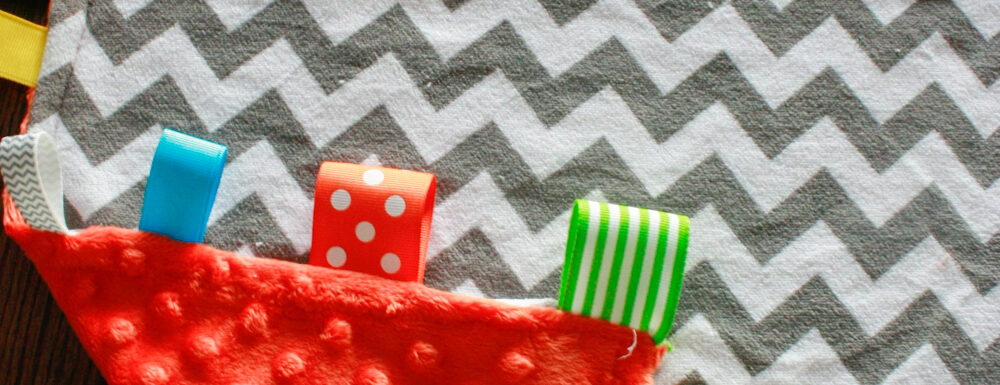
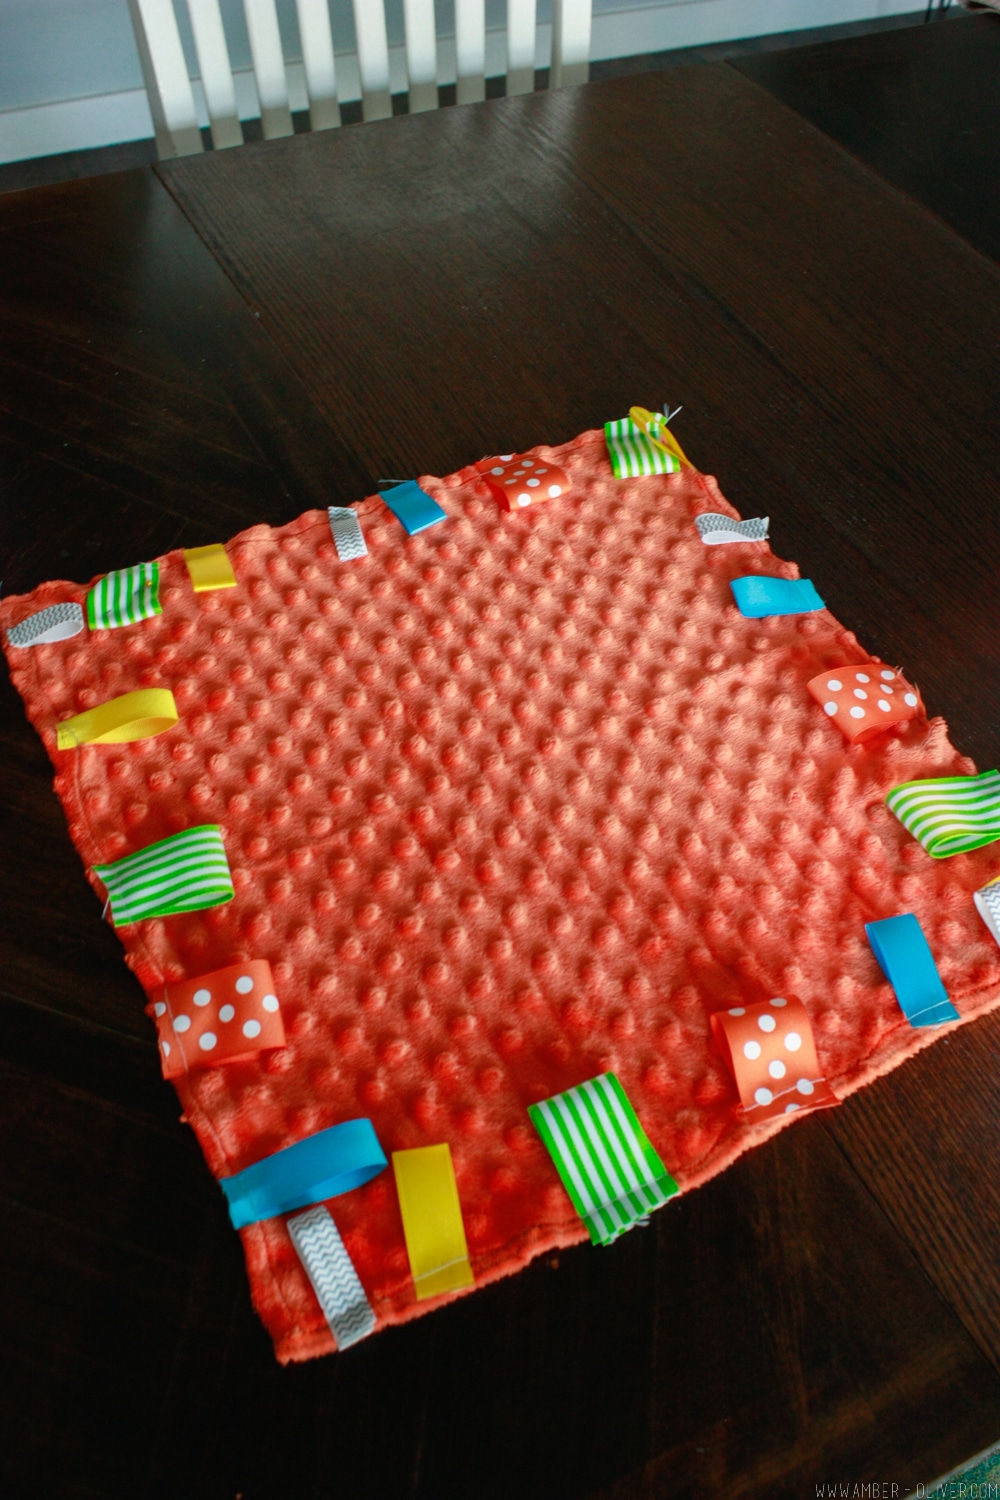
- Cut the ribbon into 4 inch sections, fold them and pin them around the perimeter of one of the squares of fabric. Make sure you pin it to the PRINT side of the fabric. Since I was using Minky, I made sure the bumps were on the side with the ribbons. Sew these in place.

- After you’ve pinned and sewed your ribbons, add the second square fabric on top of the first square with the ribbons. Pin it into place then sew around the perimeter, leaving a 2 inch gap. Make sure the print sides are facing each other!
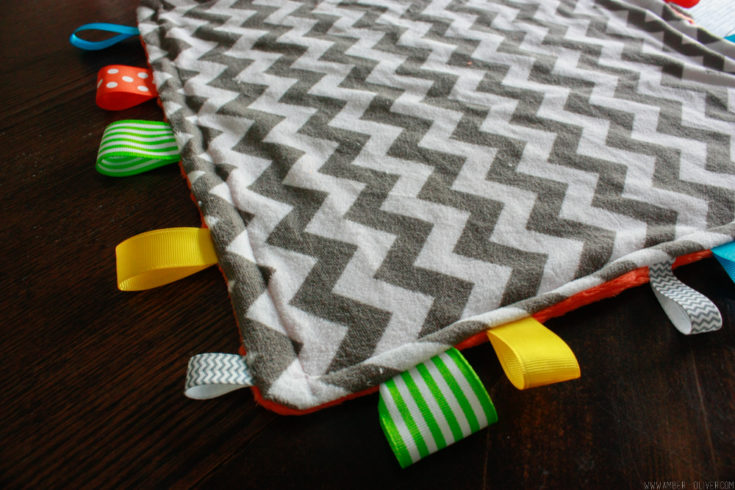
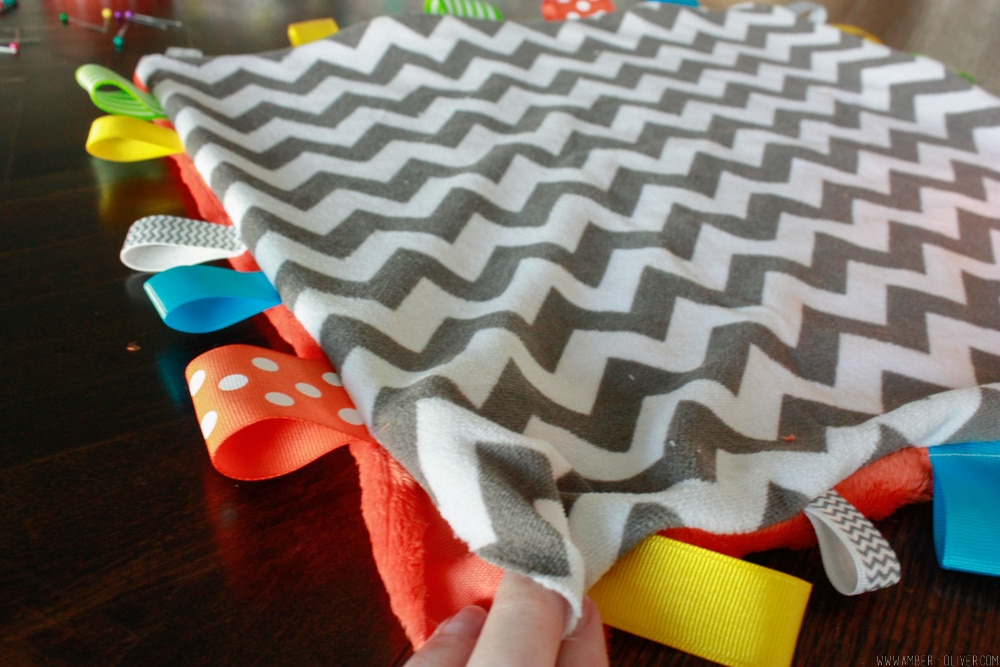
- After you’ve sewed the two pieces together, turn the DIY taggie blanket right sides out by pushing it through the small hole you left. Then sew the hole shut.
- I also like to run another stitch around the perimeter so it gives the blankey a nice finished look!

DIY TAGGIE BLANKET
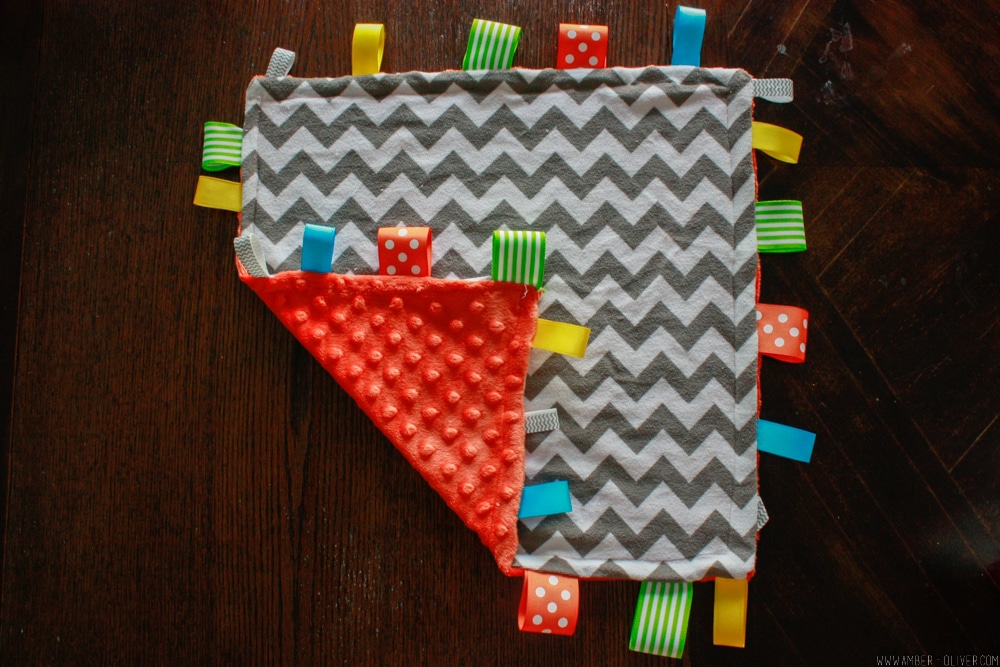
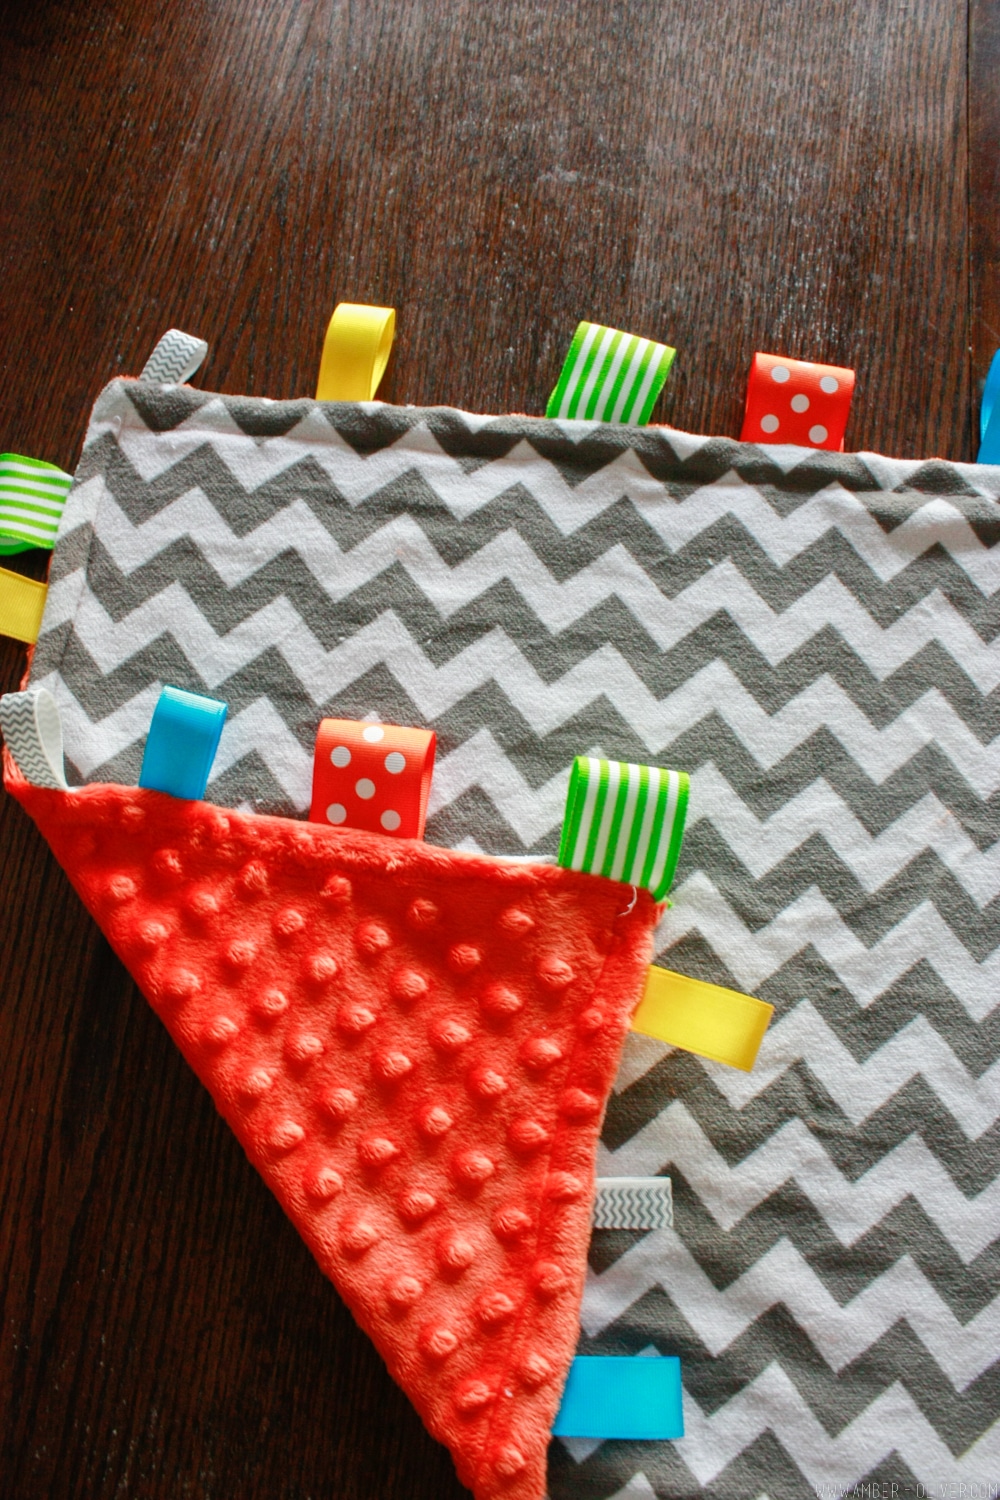
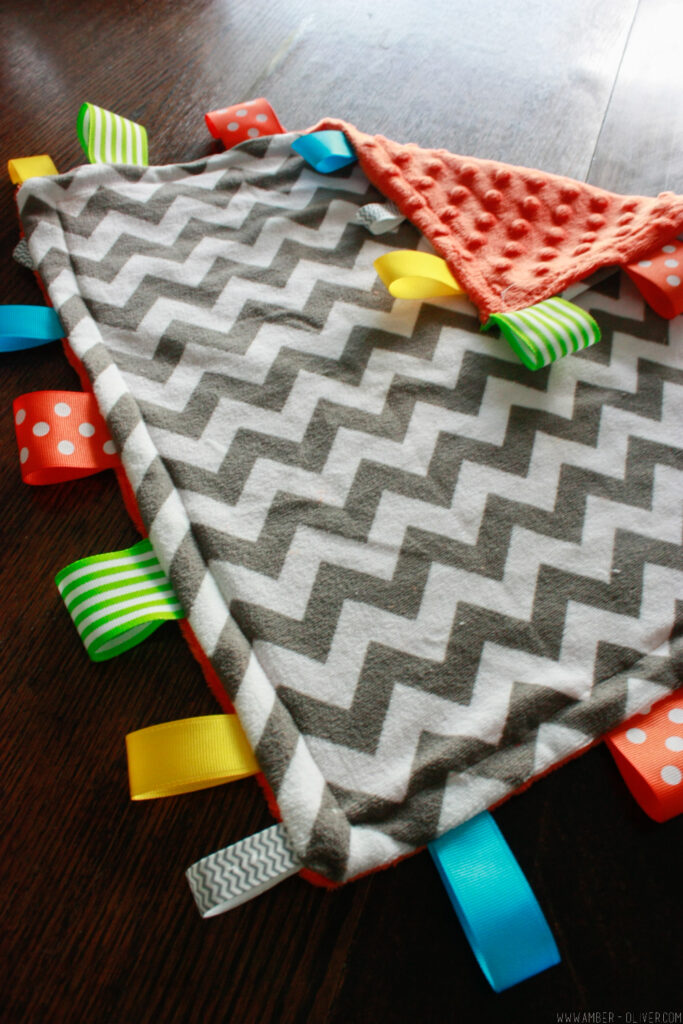
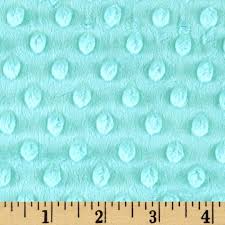
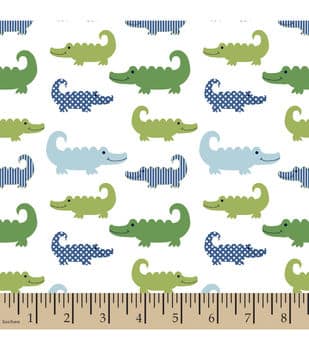
These taggie blankets have been a big hit every time I’ve given one! They are a lot of fun to make and there are so many different kinds of mink fabric and of course ribbons to choose from! My favorite is to do a print on one side with a coordinating color on the other. Go crazy with the ribbons as the more varied they are the better!
Babies love this soft blanket, with it’s bright colors and different textures on the ribbons. Make one next time you need a baby shower gift idea!


SEWING ARCHIVES
View our collection of Sewing projects!
Scarlet says
This DIY baby lovey blanket with colorful tags is so cute. I made it for my grand nephew and his mother was loves it.